
Citadel makes this pretty sophisticated and money saving procedure really easy. Once I figured out what I was doing, the install took me about 45 minutes to complete, here are the steps I took!
I’m running PHPvirtualbox on ubuntu server 12.04 as detailed in this post.
First thing’s first, get a virtual machine with a debian based OS loaded up.
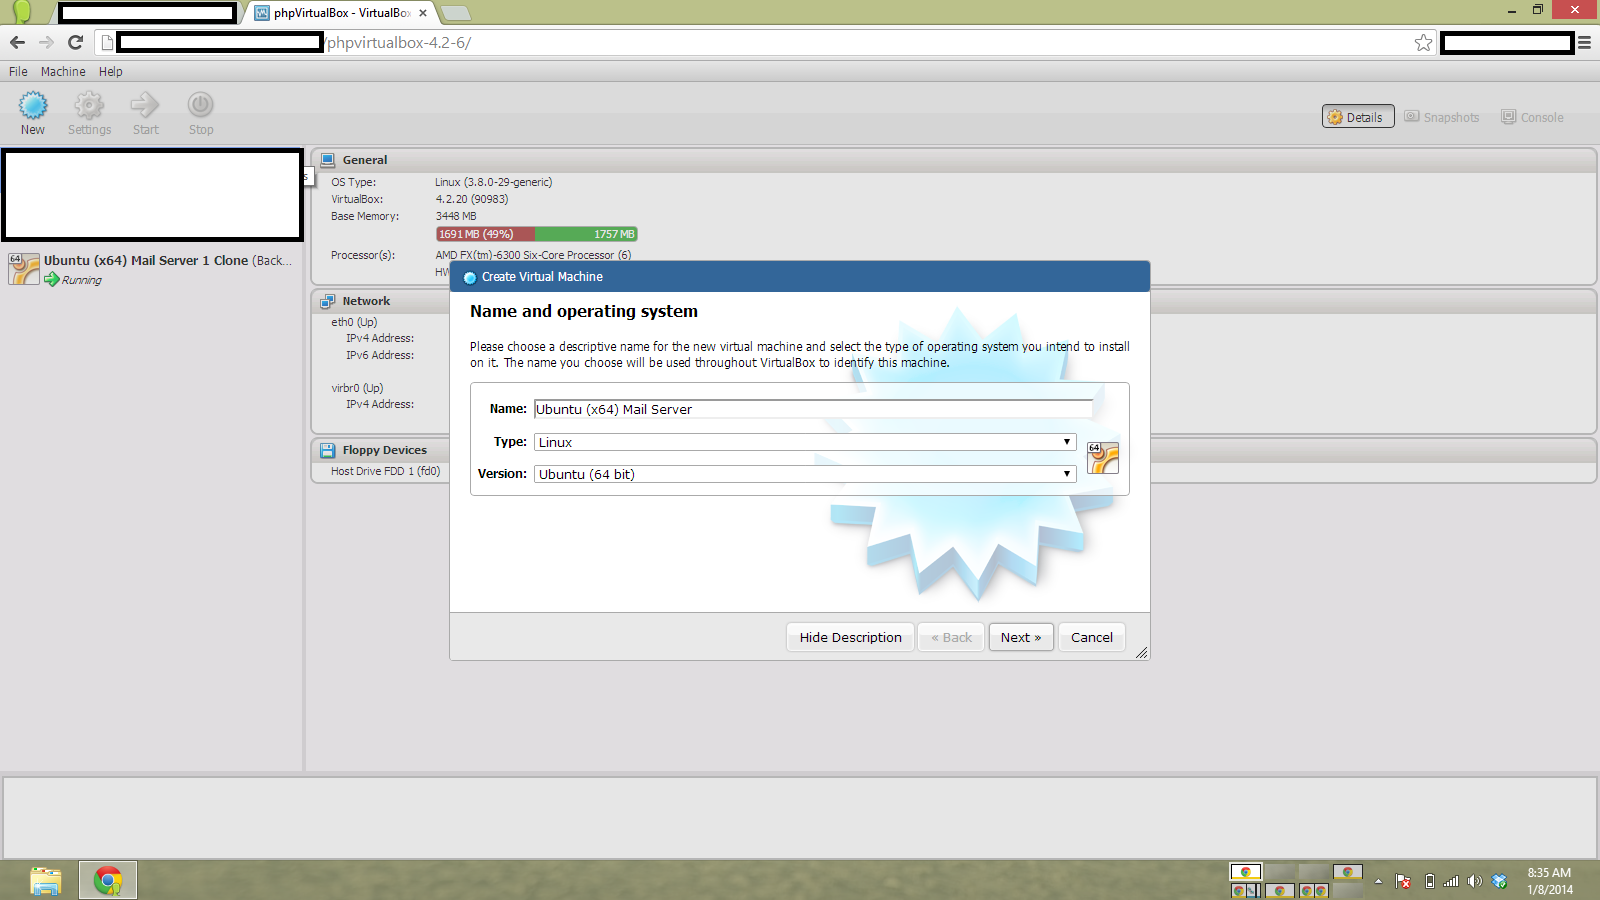
I’m using 12.04 for the VM as well
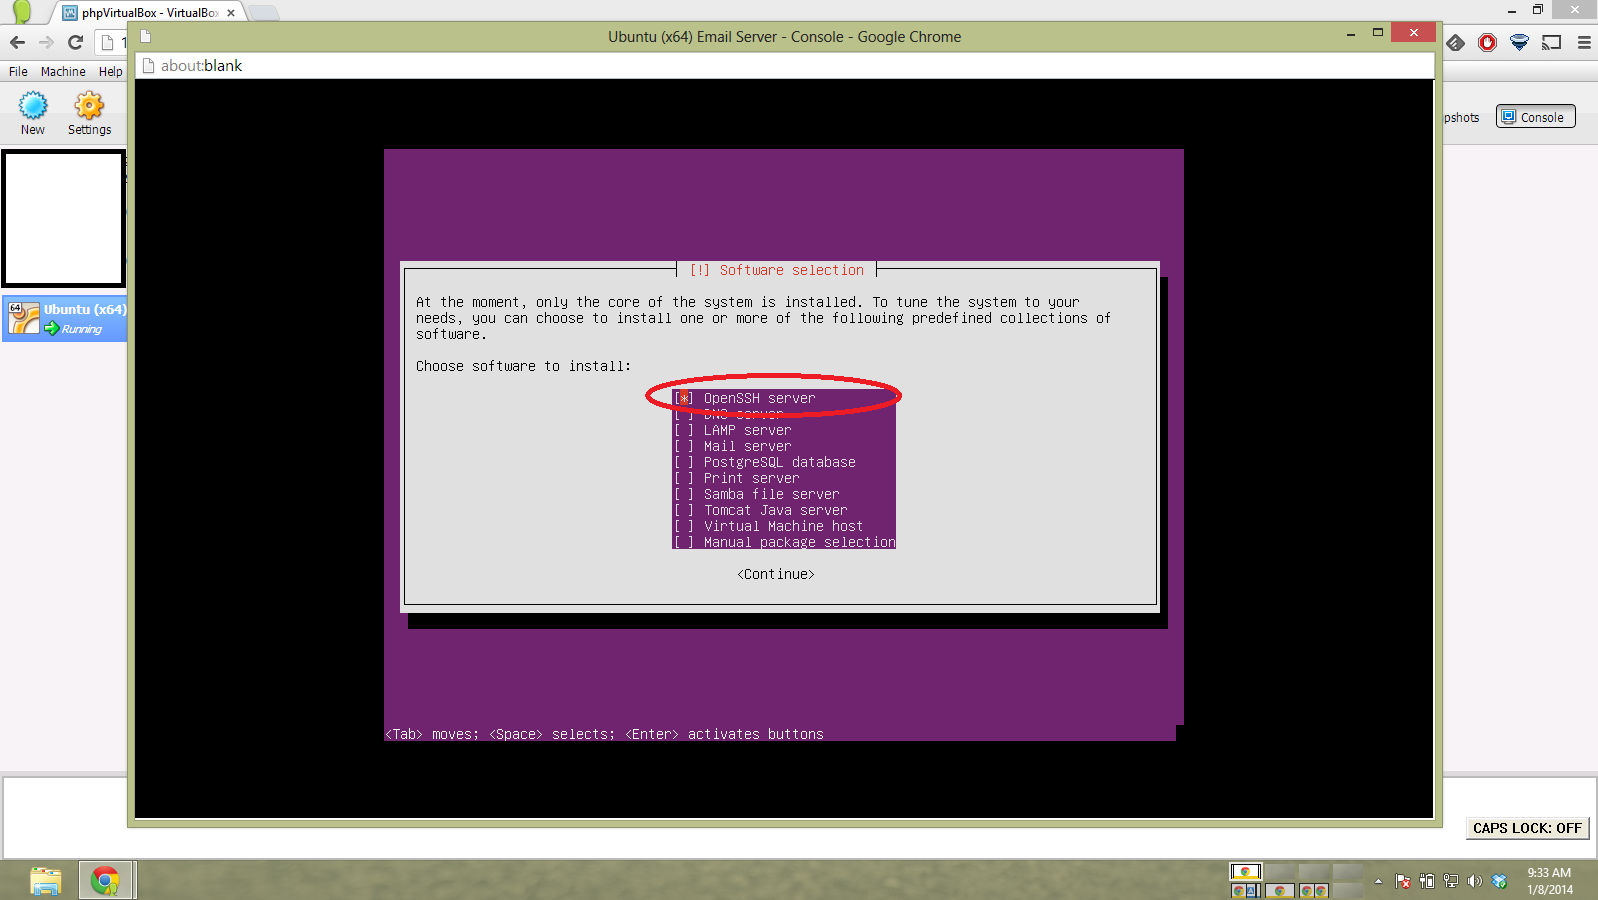
Then go through the OS install, only installing openssh-server as additional software.

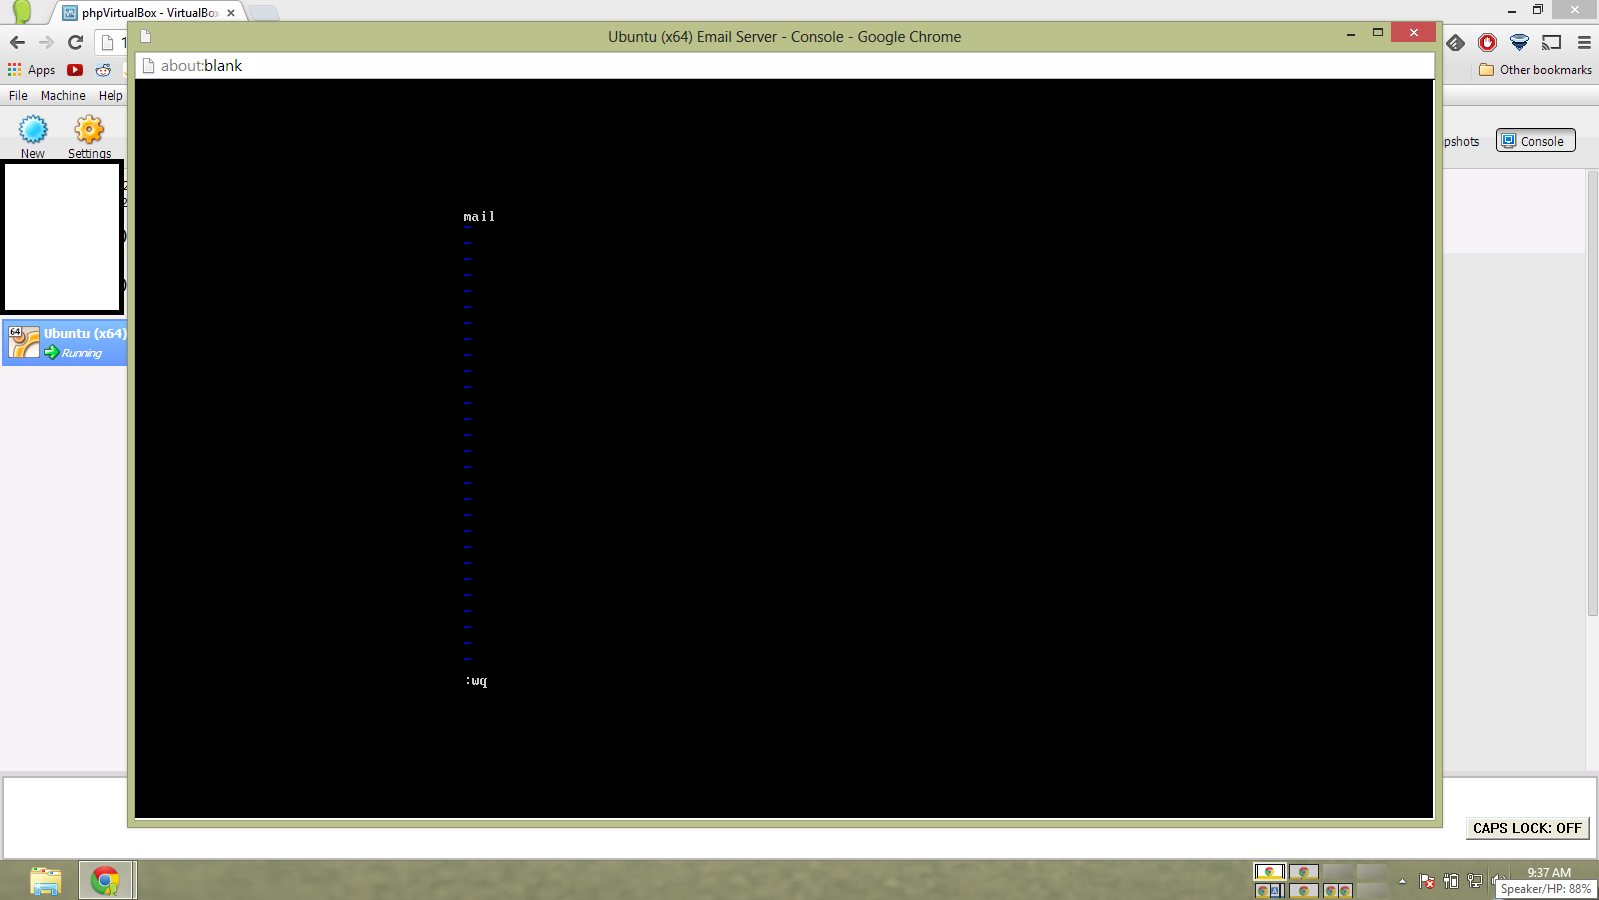
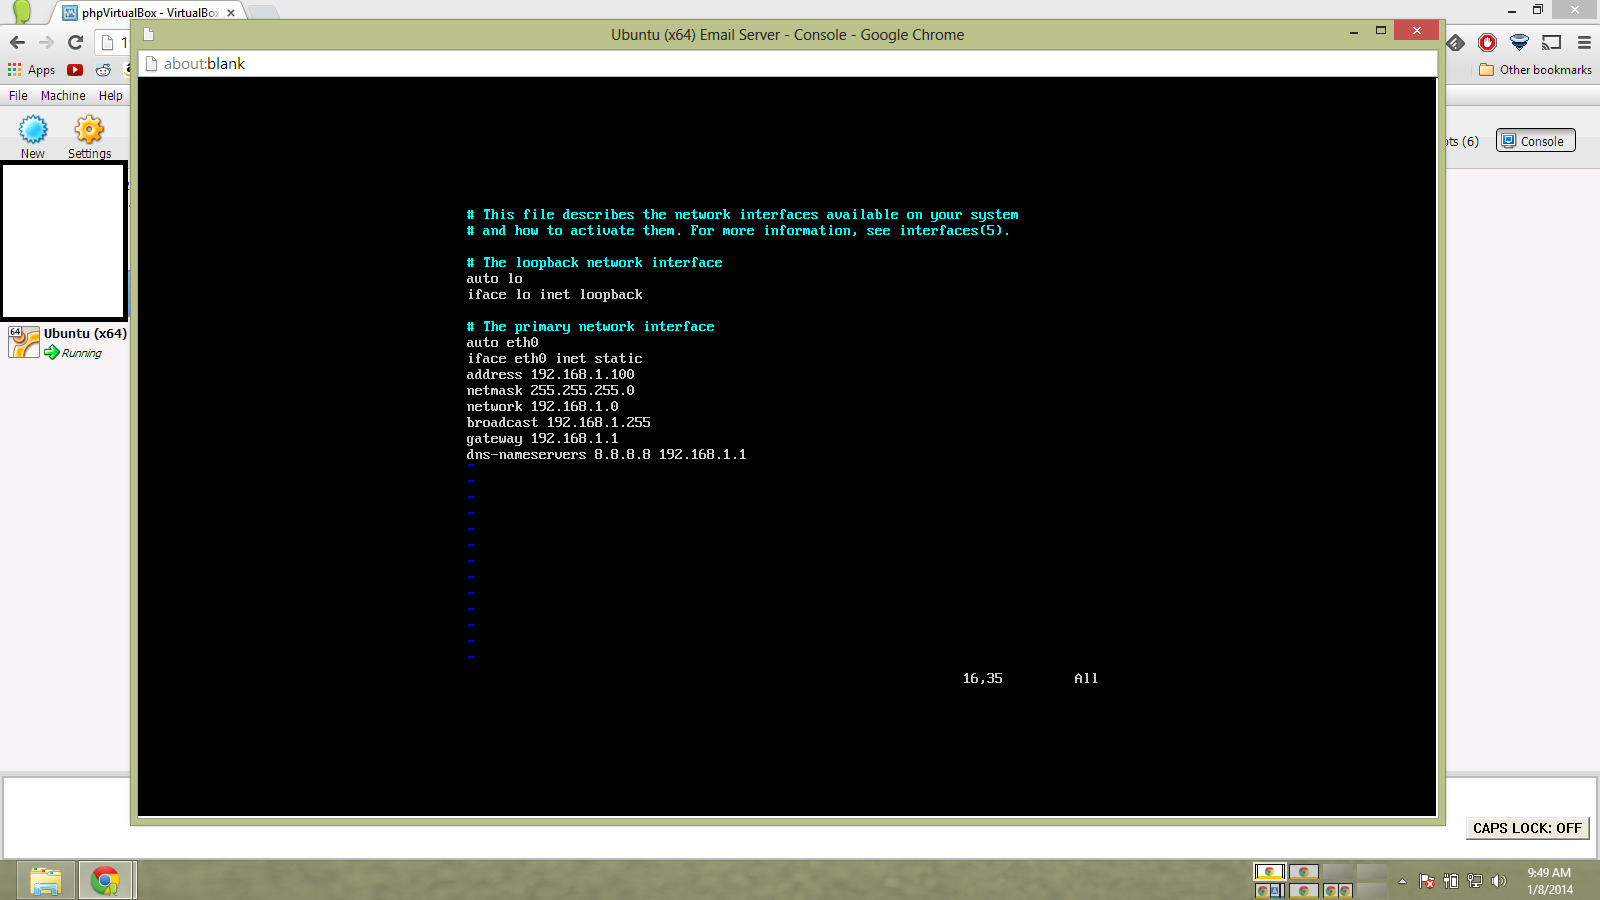
First we need to give the server a Fully Qualified Domain Name (FQDN)
You will need to edit the
/etc/hosts
/etc/hostname
files.
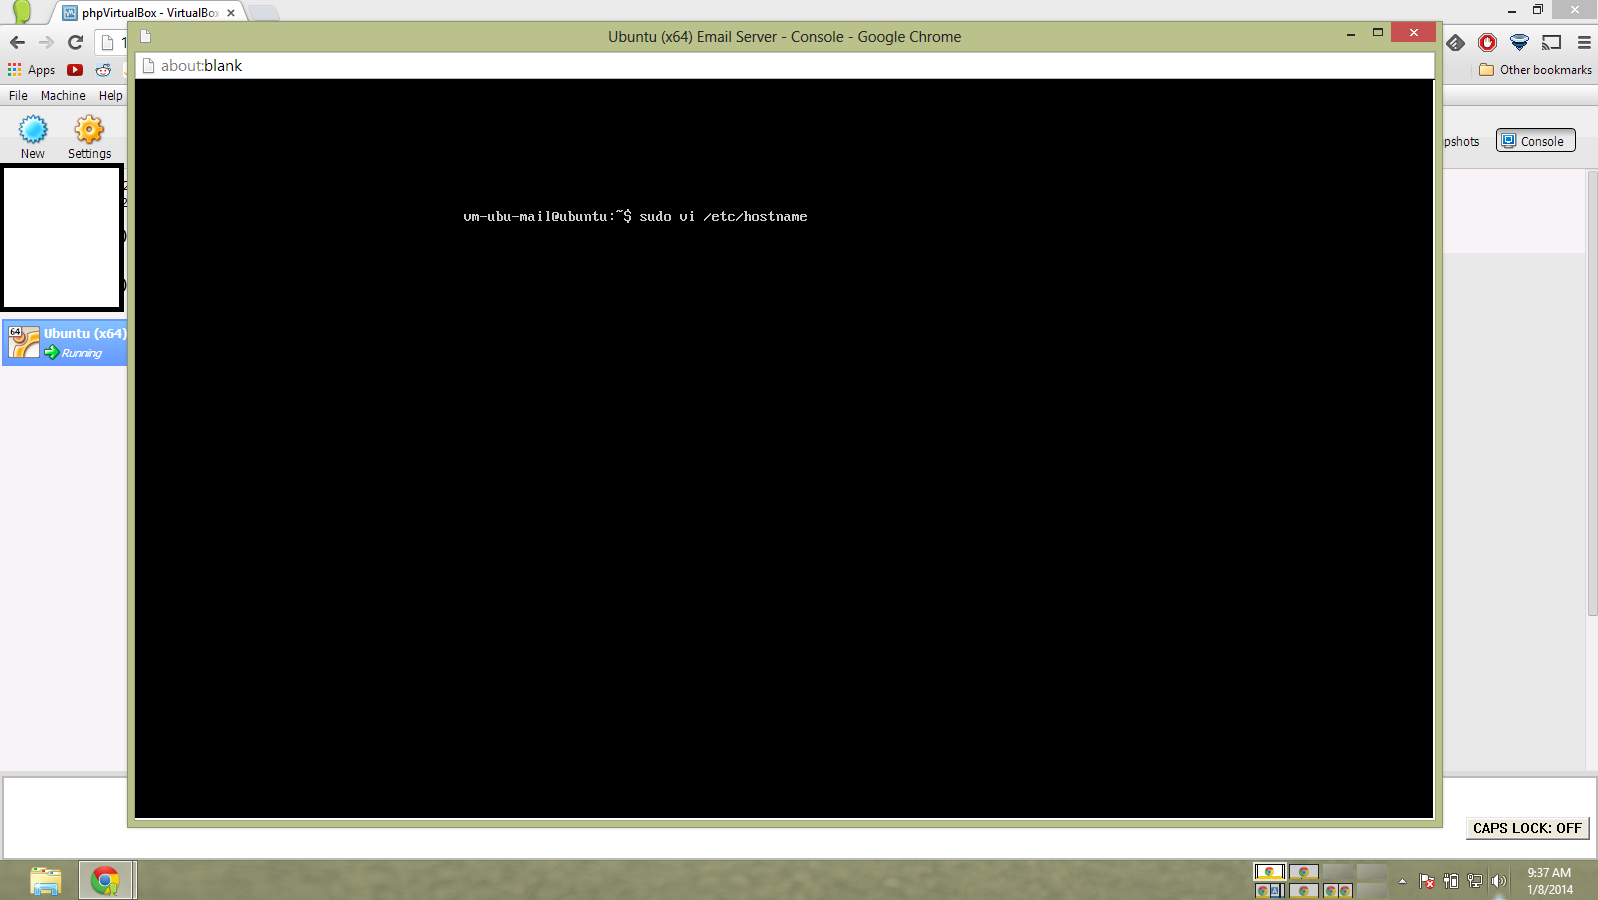
Change whatever name you chose in the install process to ‘mail’ in the /etc/hostname
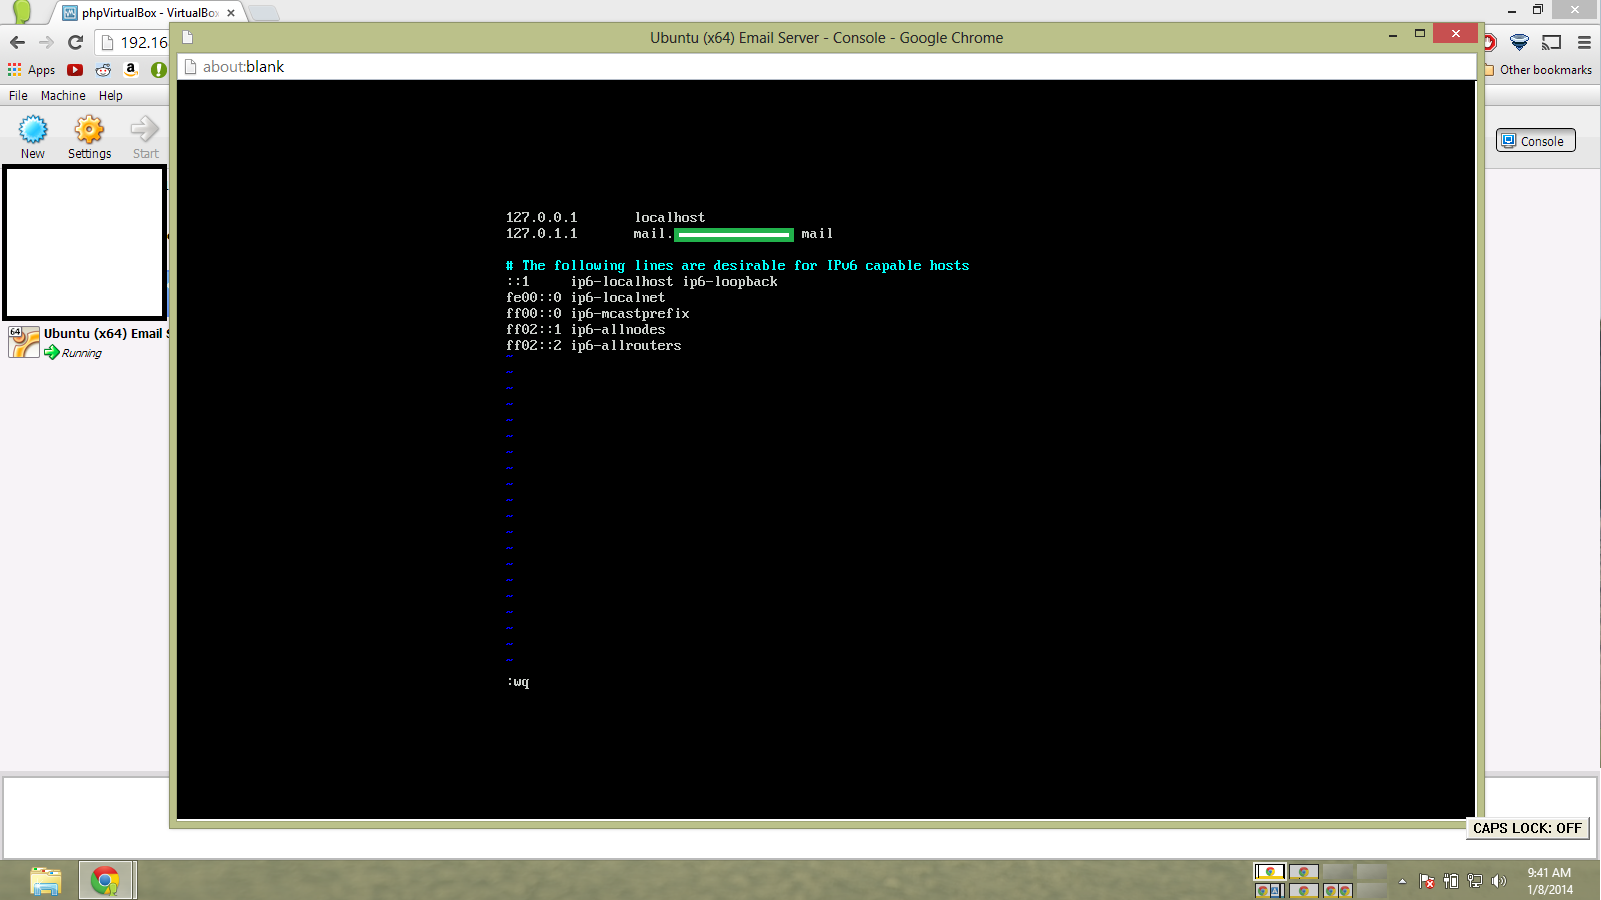
Modify your /etc/hosts as follows. The green box is the domain you will be using.
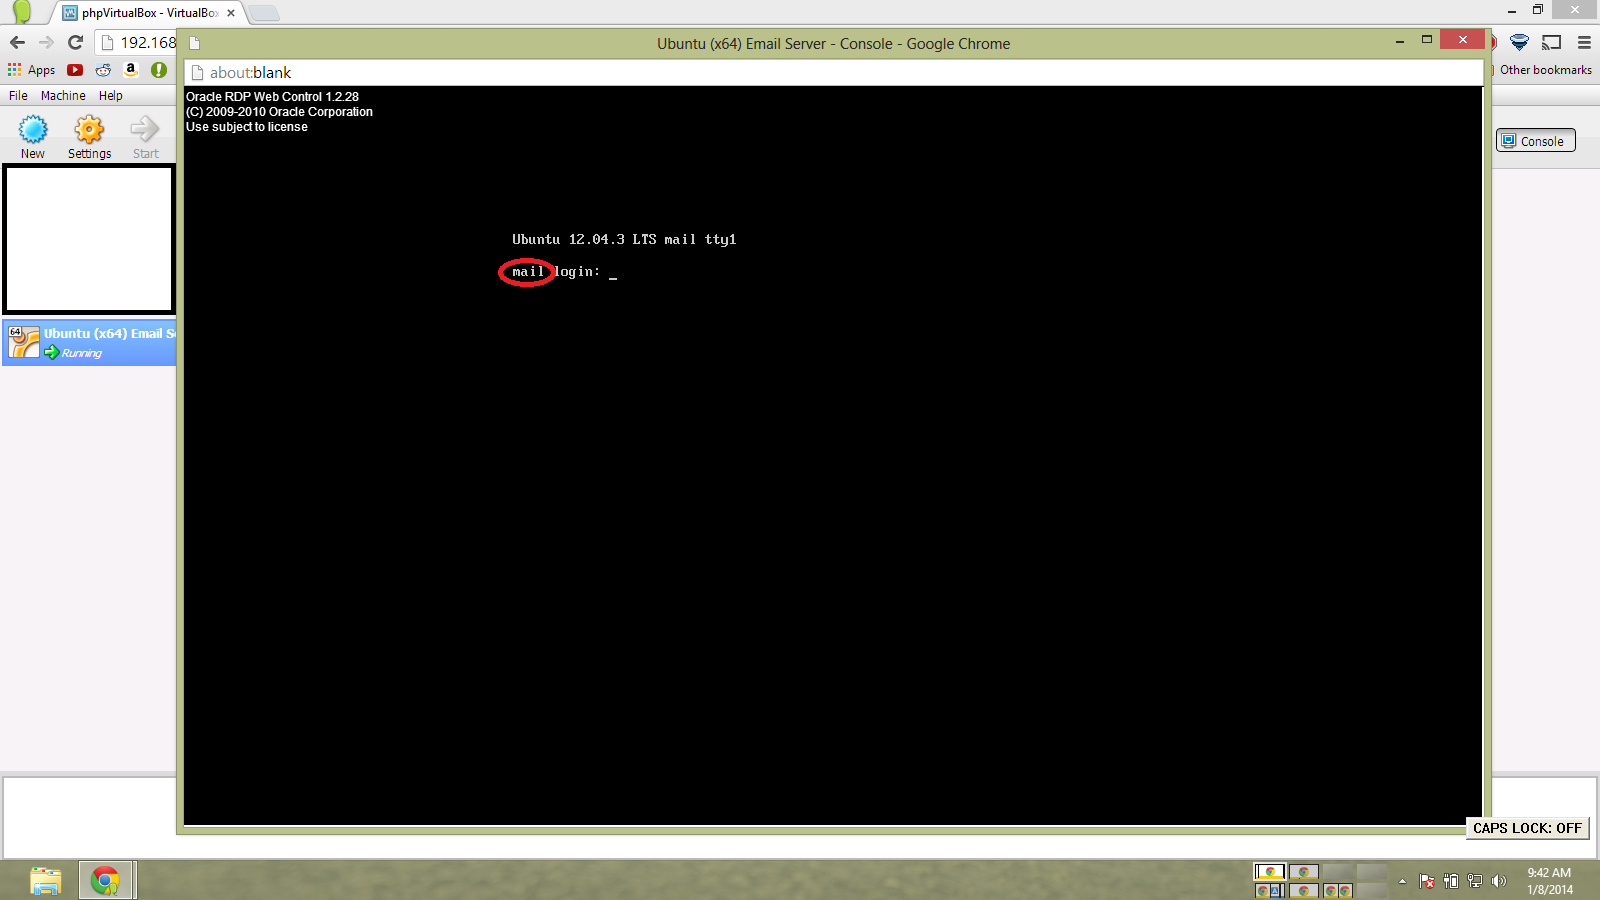
After rebooting, you will be greeted with a your hostname set to mail. You can still log in with your regular username & password.
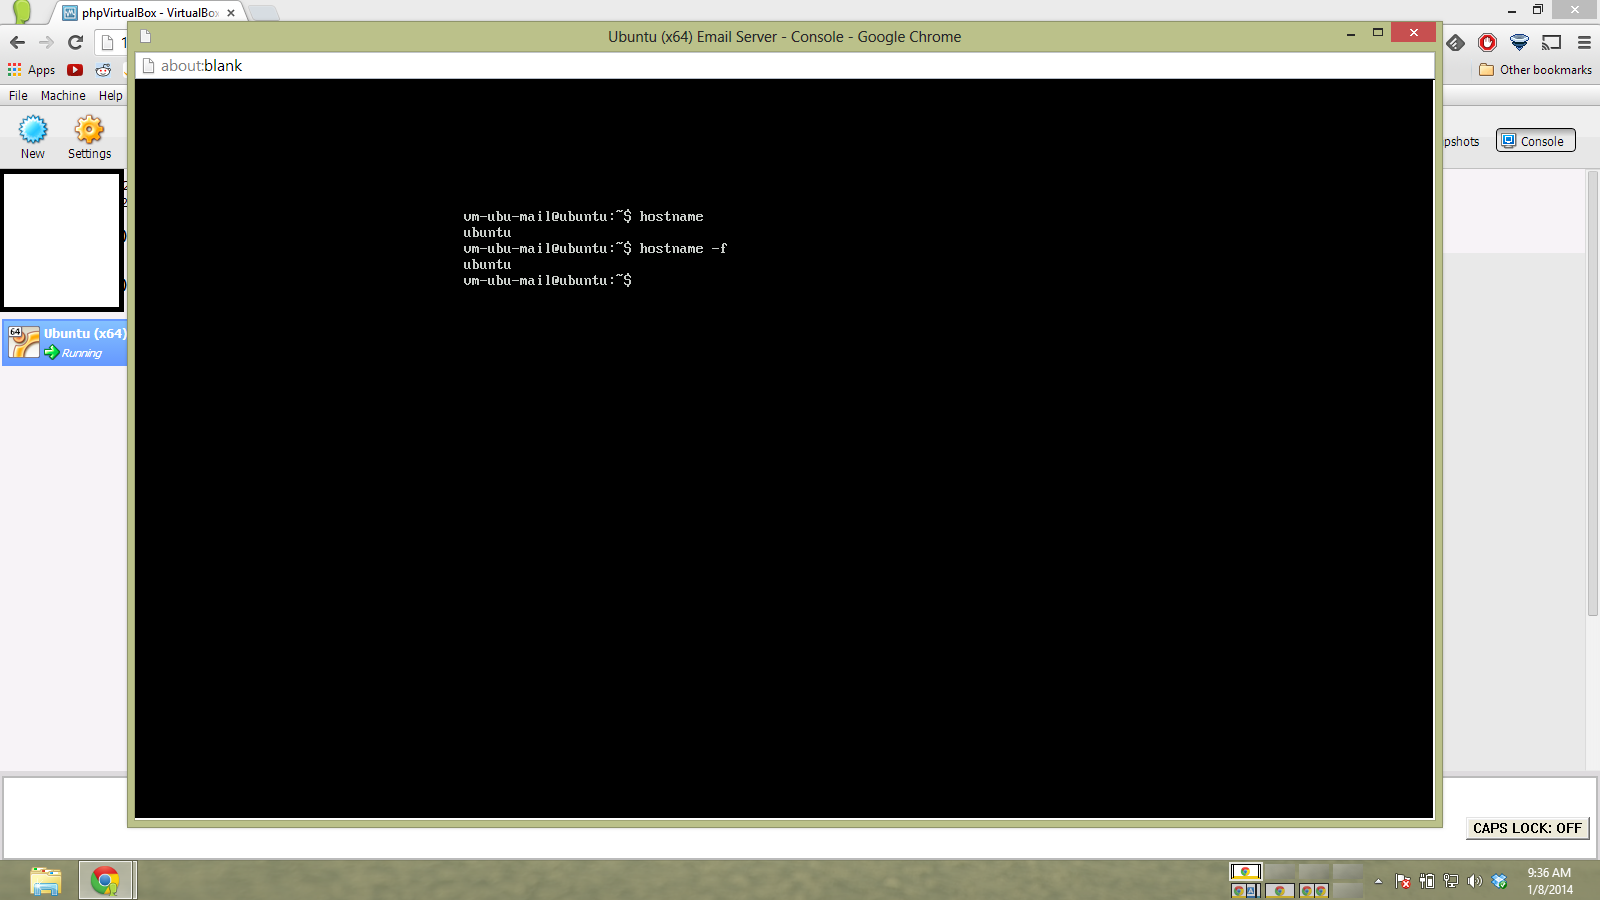
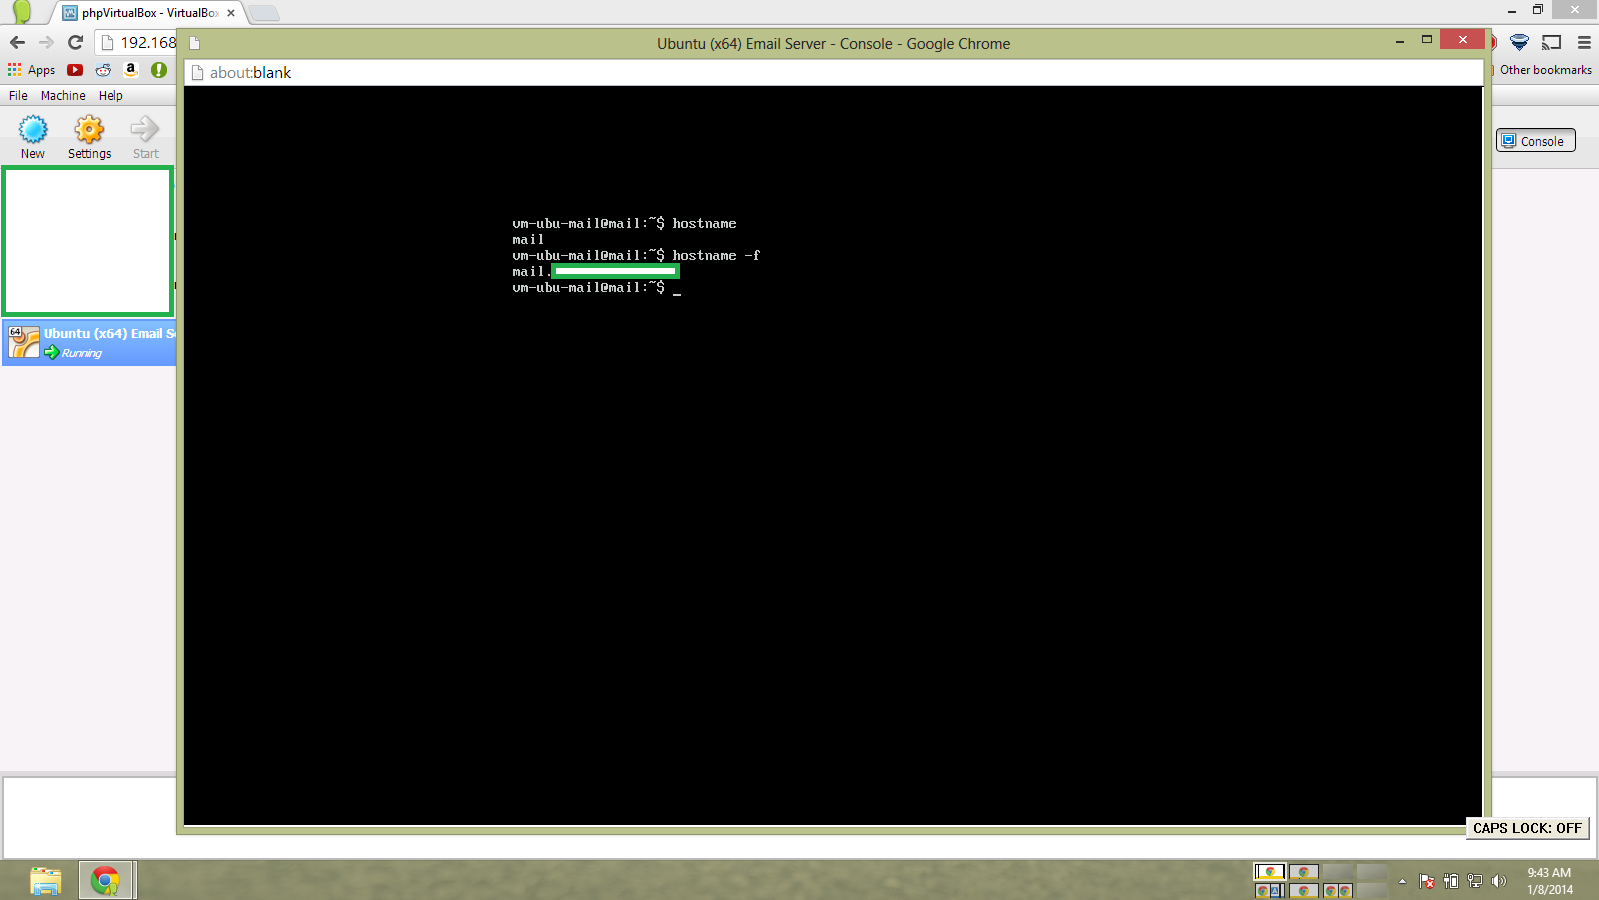
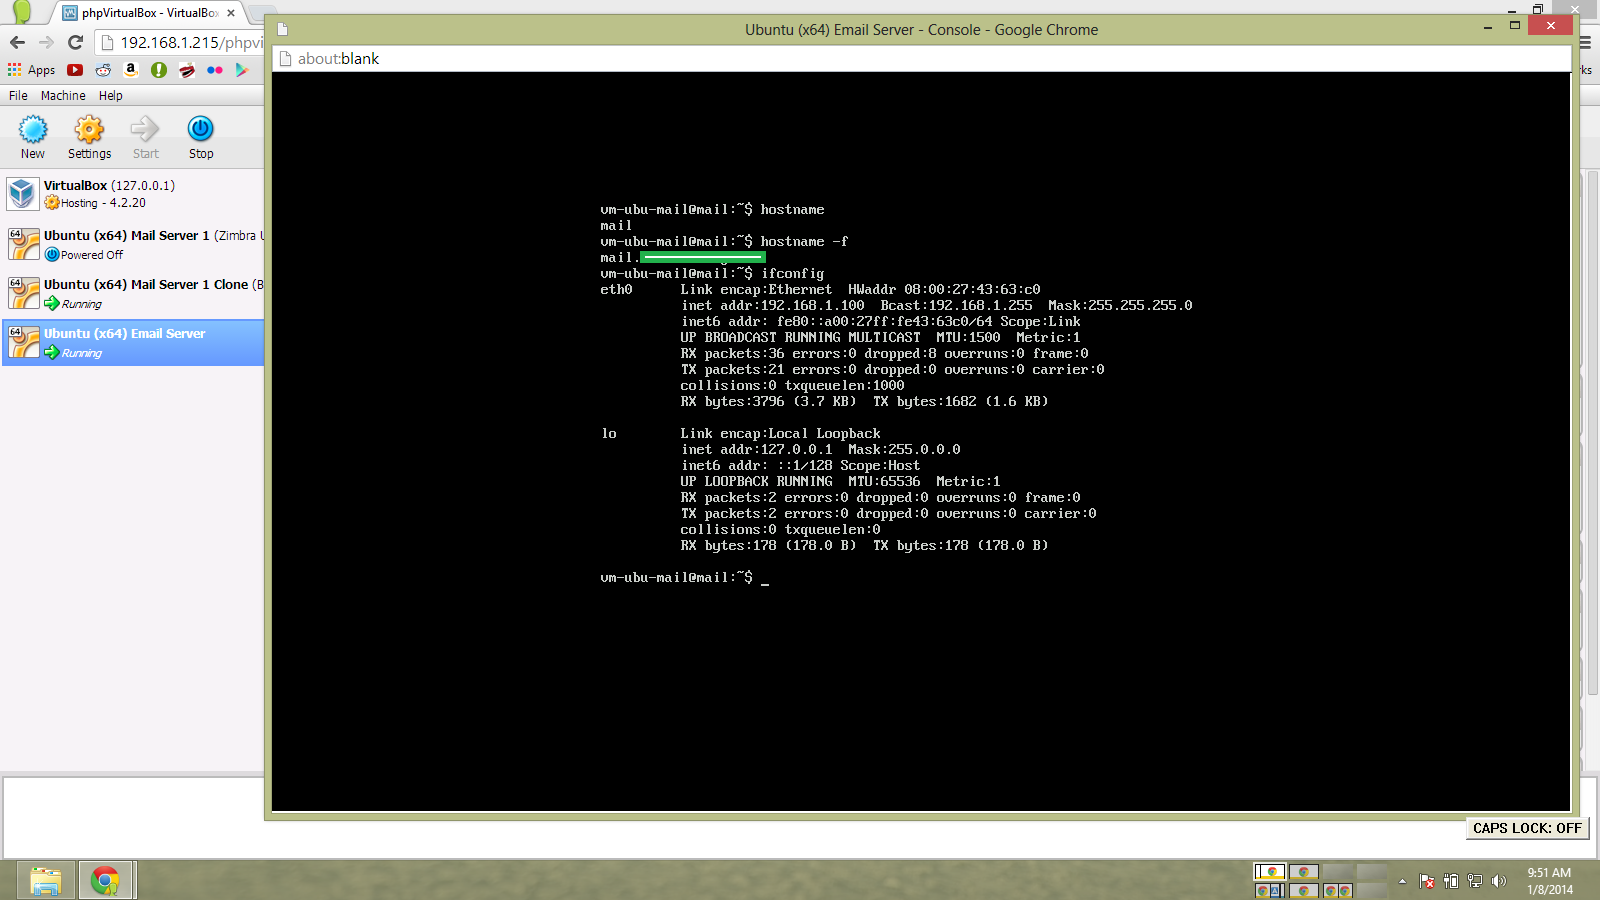
Running
hostname
hostname -f
Should yield very similar results.
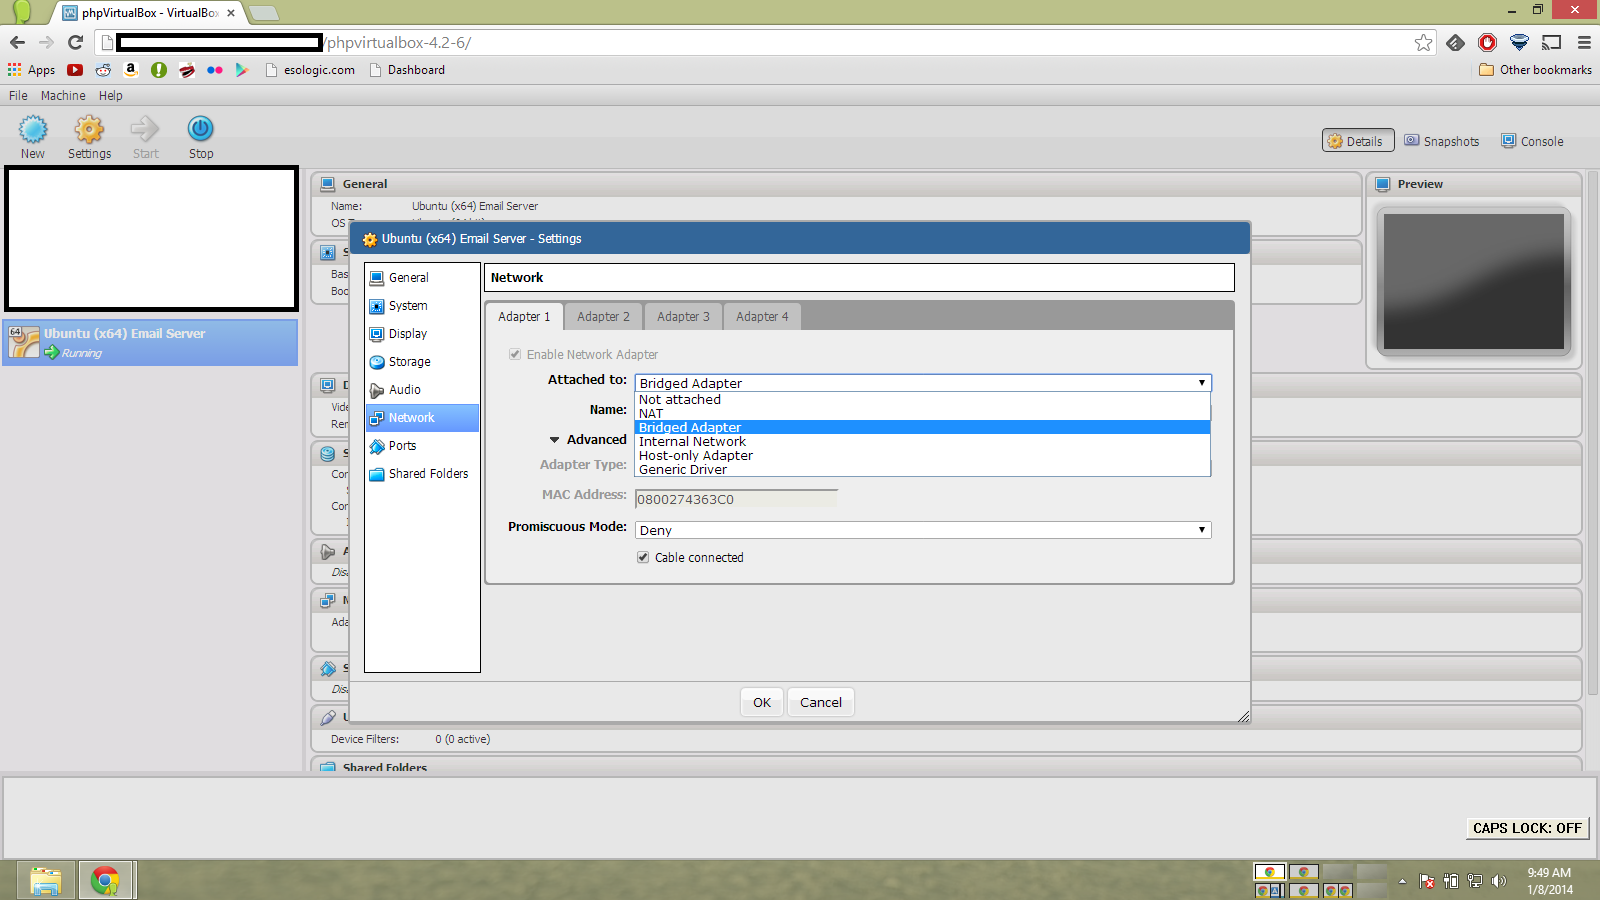
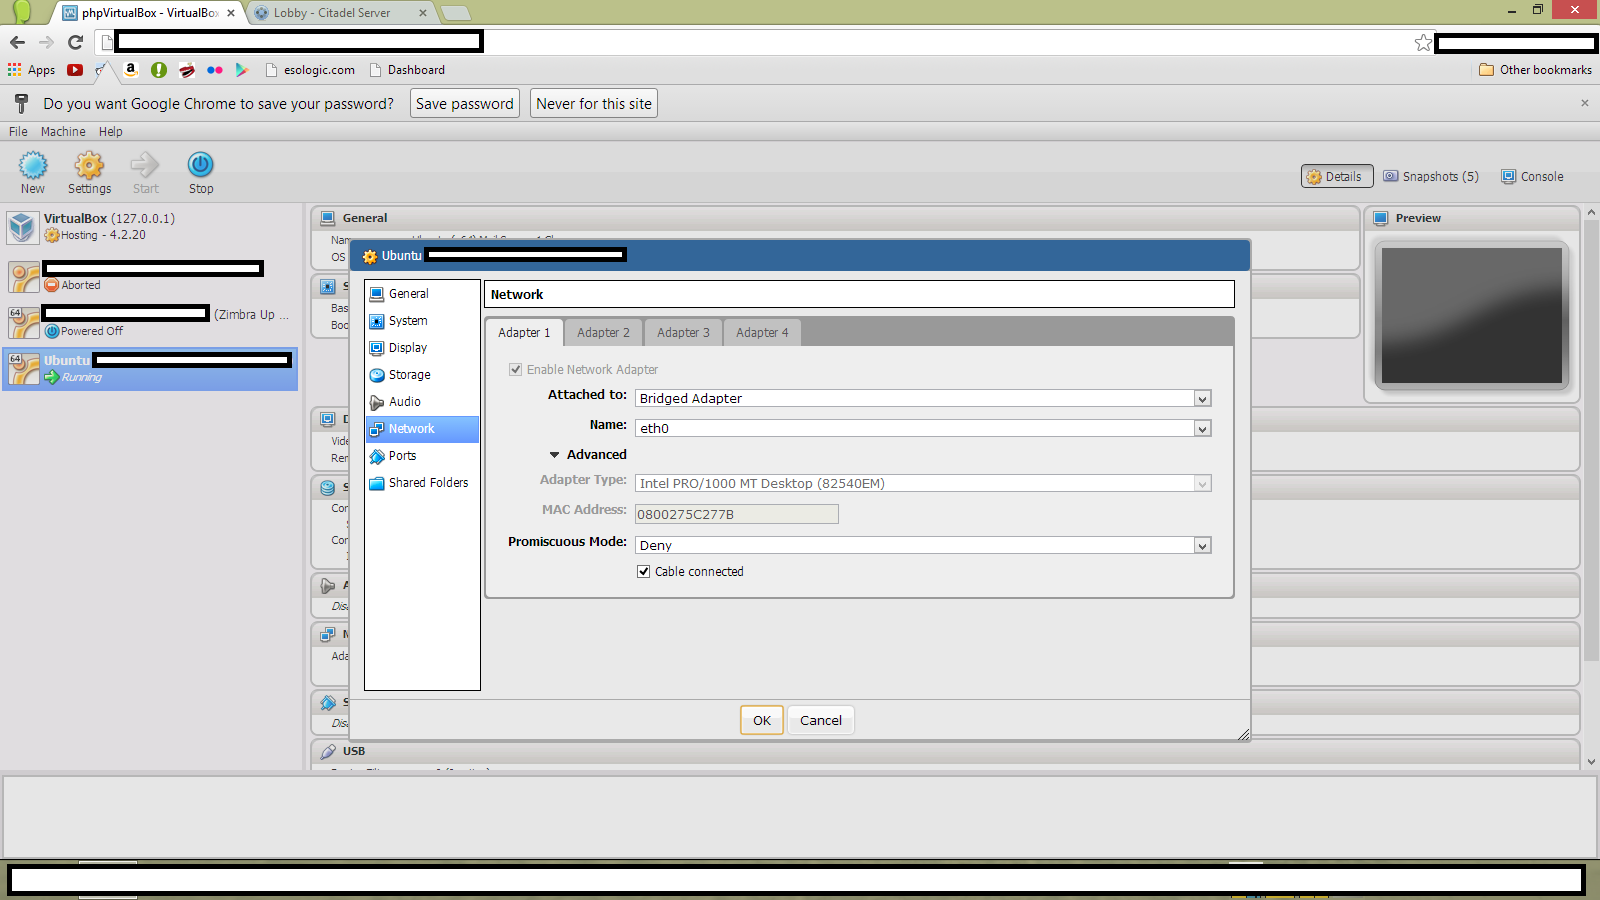
Now we need to establish a static for our virtual machine.

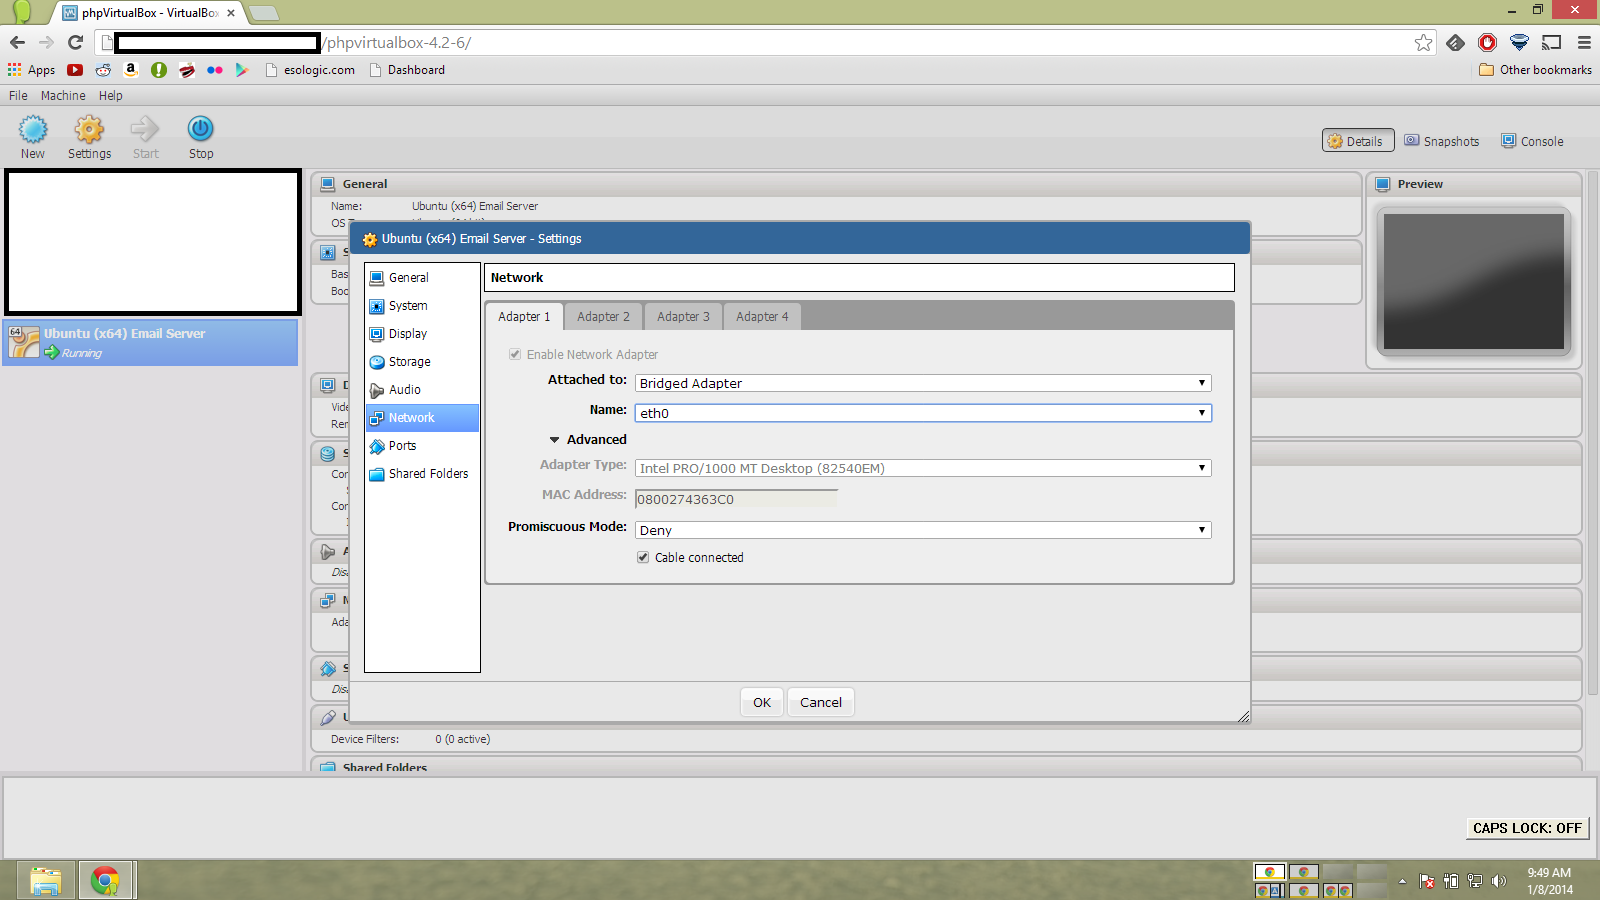
In PHPvirtualbox, set the network mode to ‘Bridged Adapter’
Running the following commands
hostname
hostname -f
ifconfig
And getting these results means our configuration is ready to go!
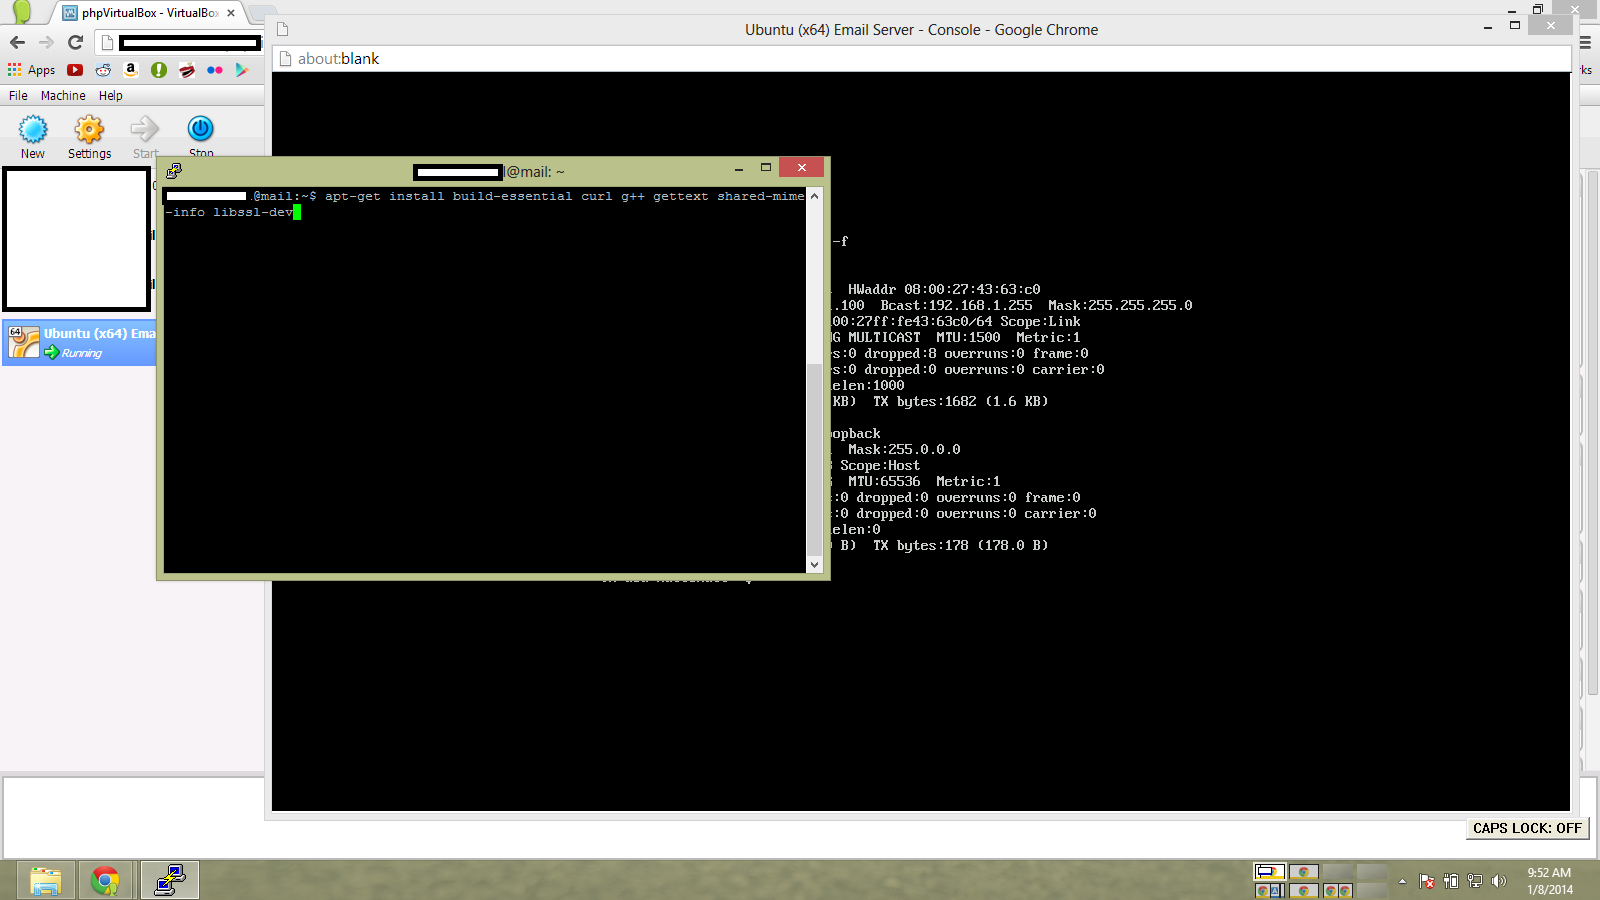
I am now using the Putty window so I can copy commands in. First log in as root.
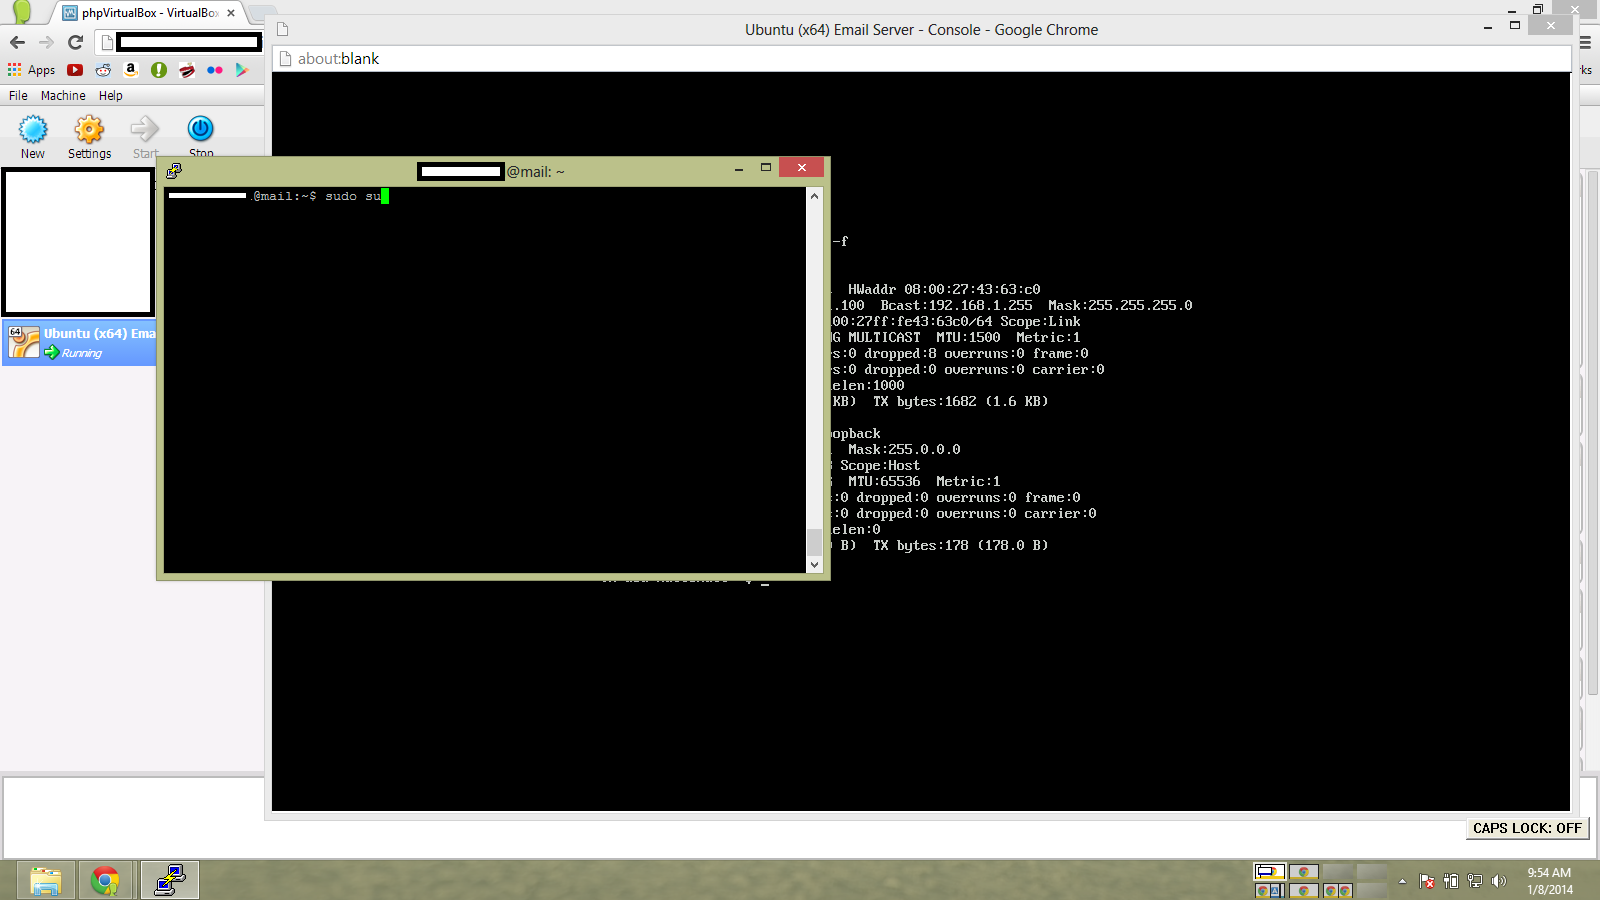
Run
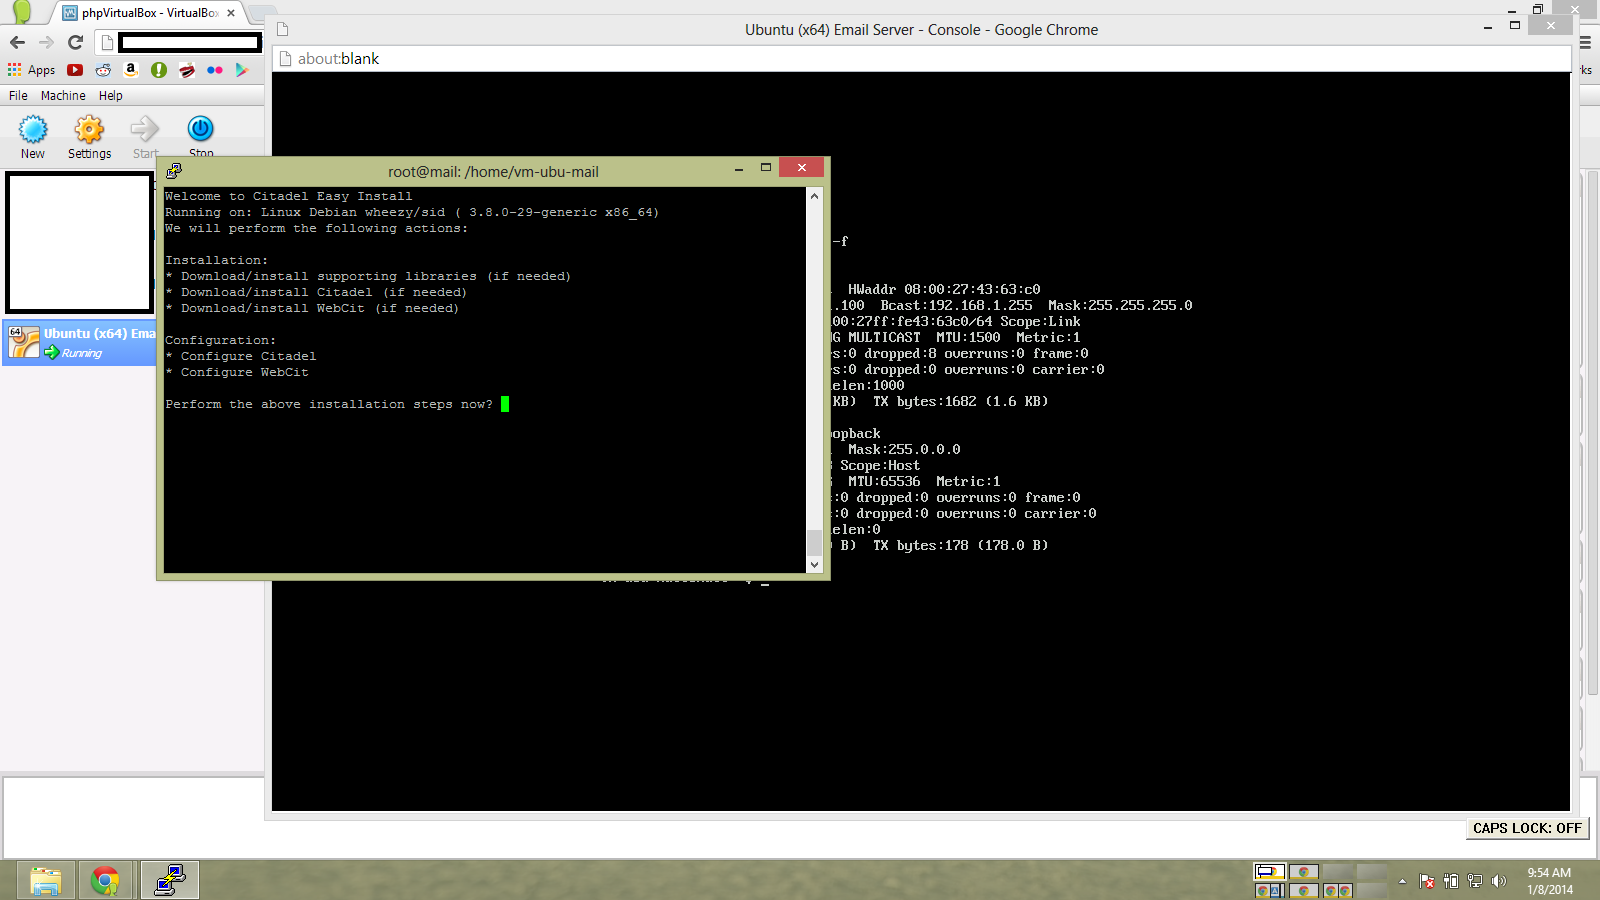
</pre>
apt-get install build-essential curl g++ gettext shared-mime-info libssl-dev
curl http://easyinstall.citadel.org/install | bash
<pre>
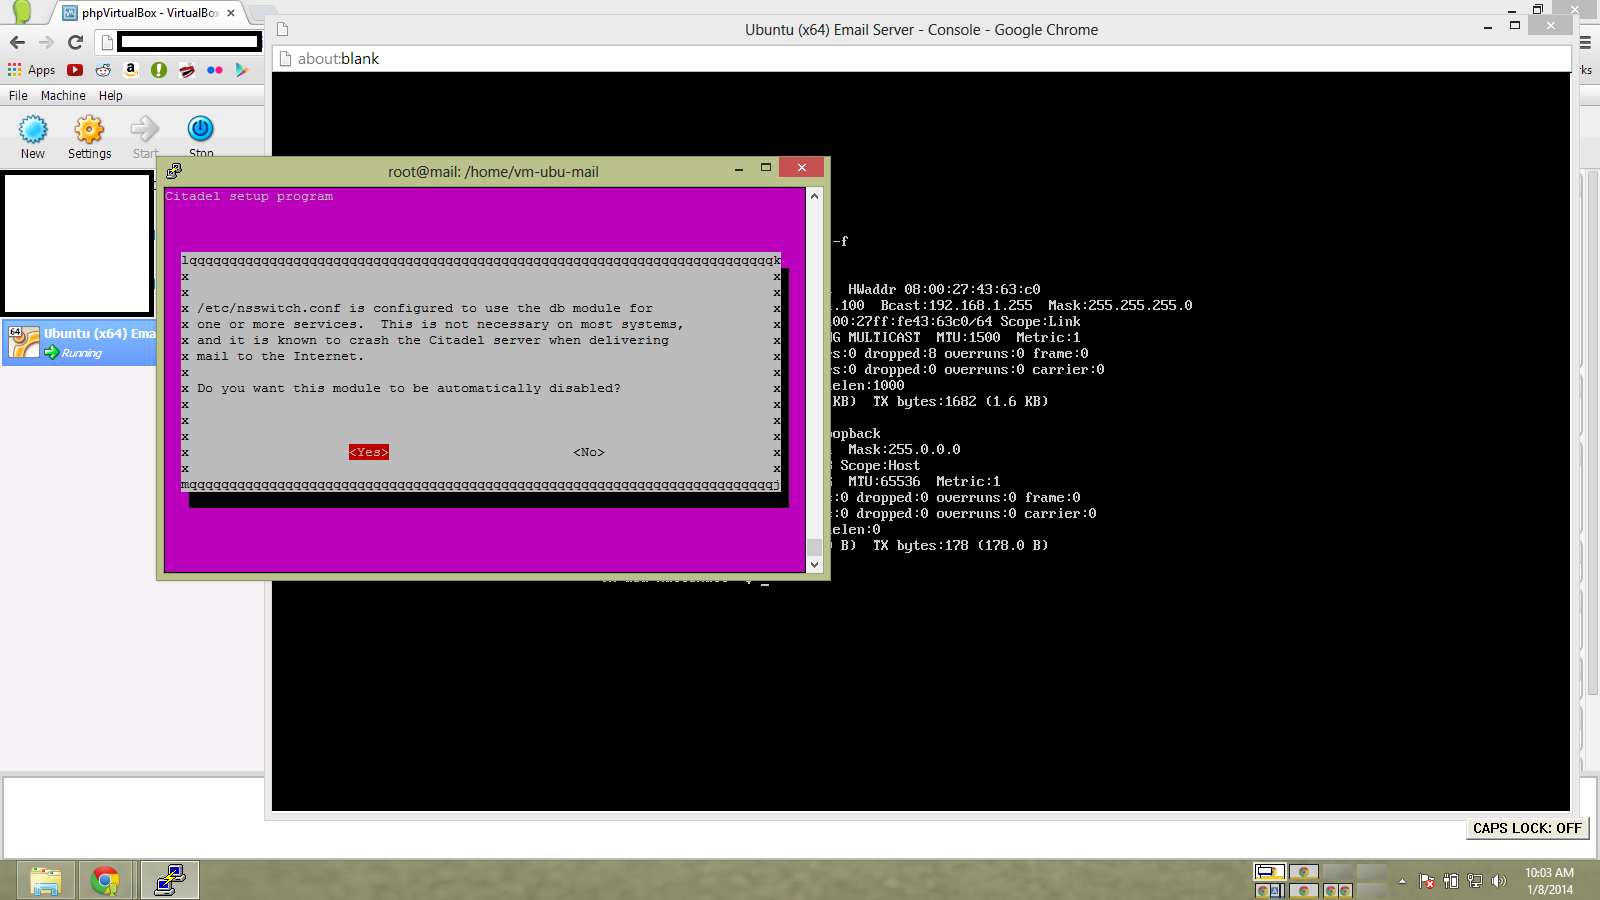
and go through the citadel install process.


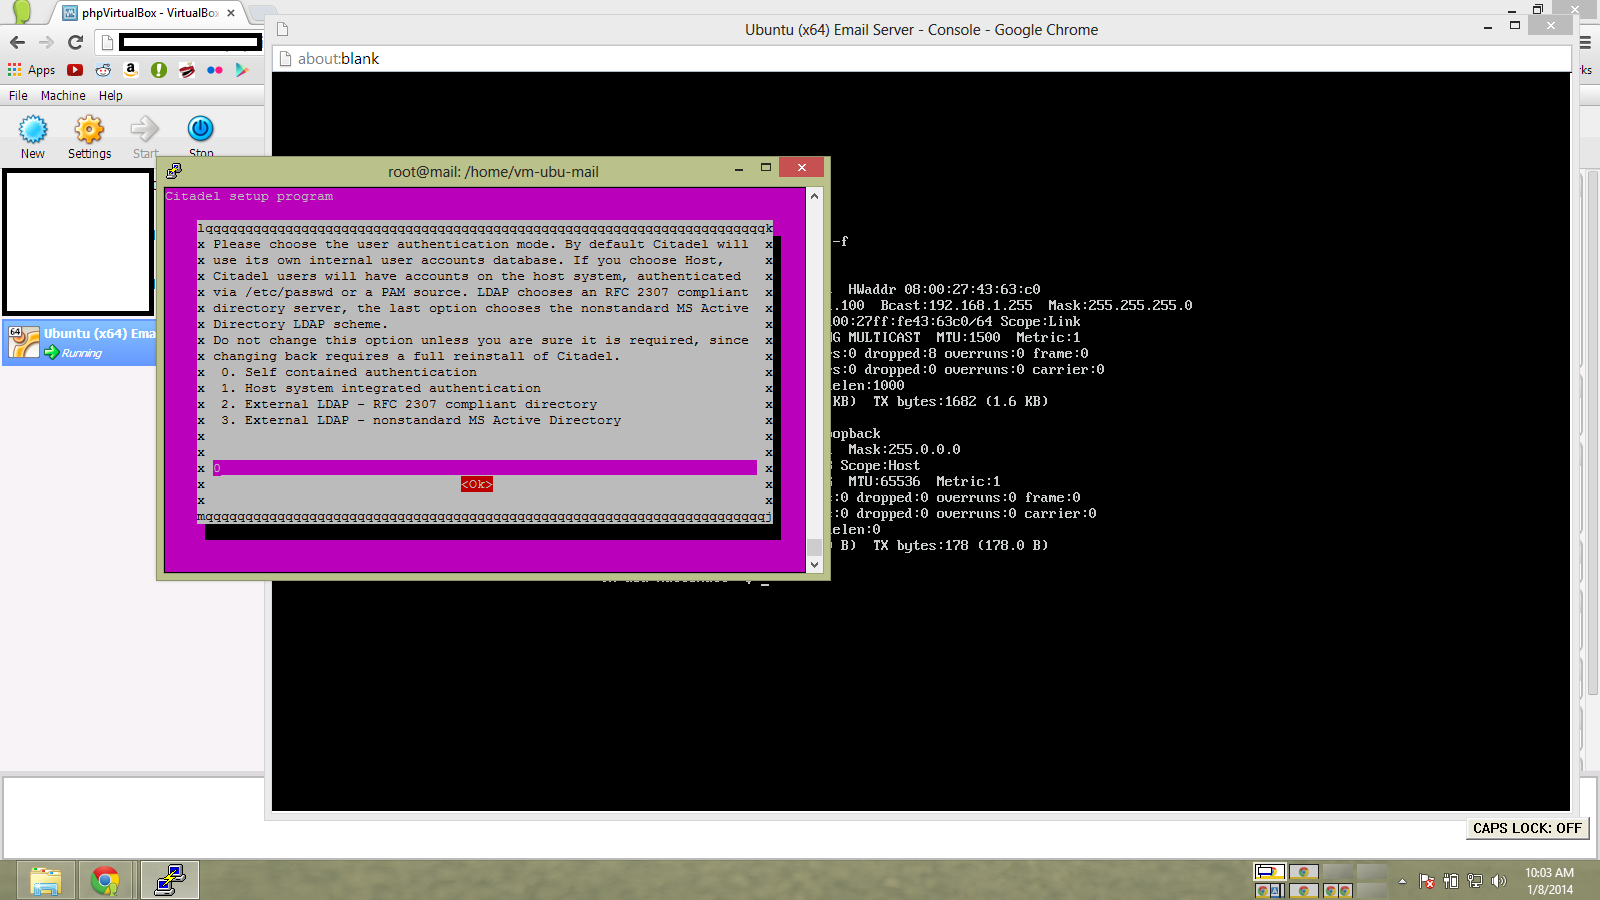

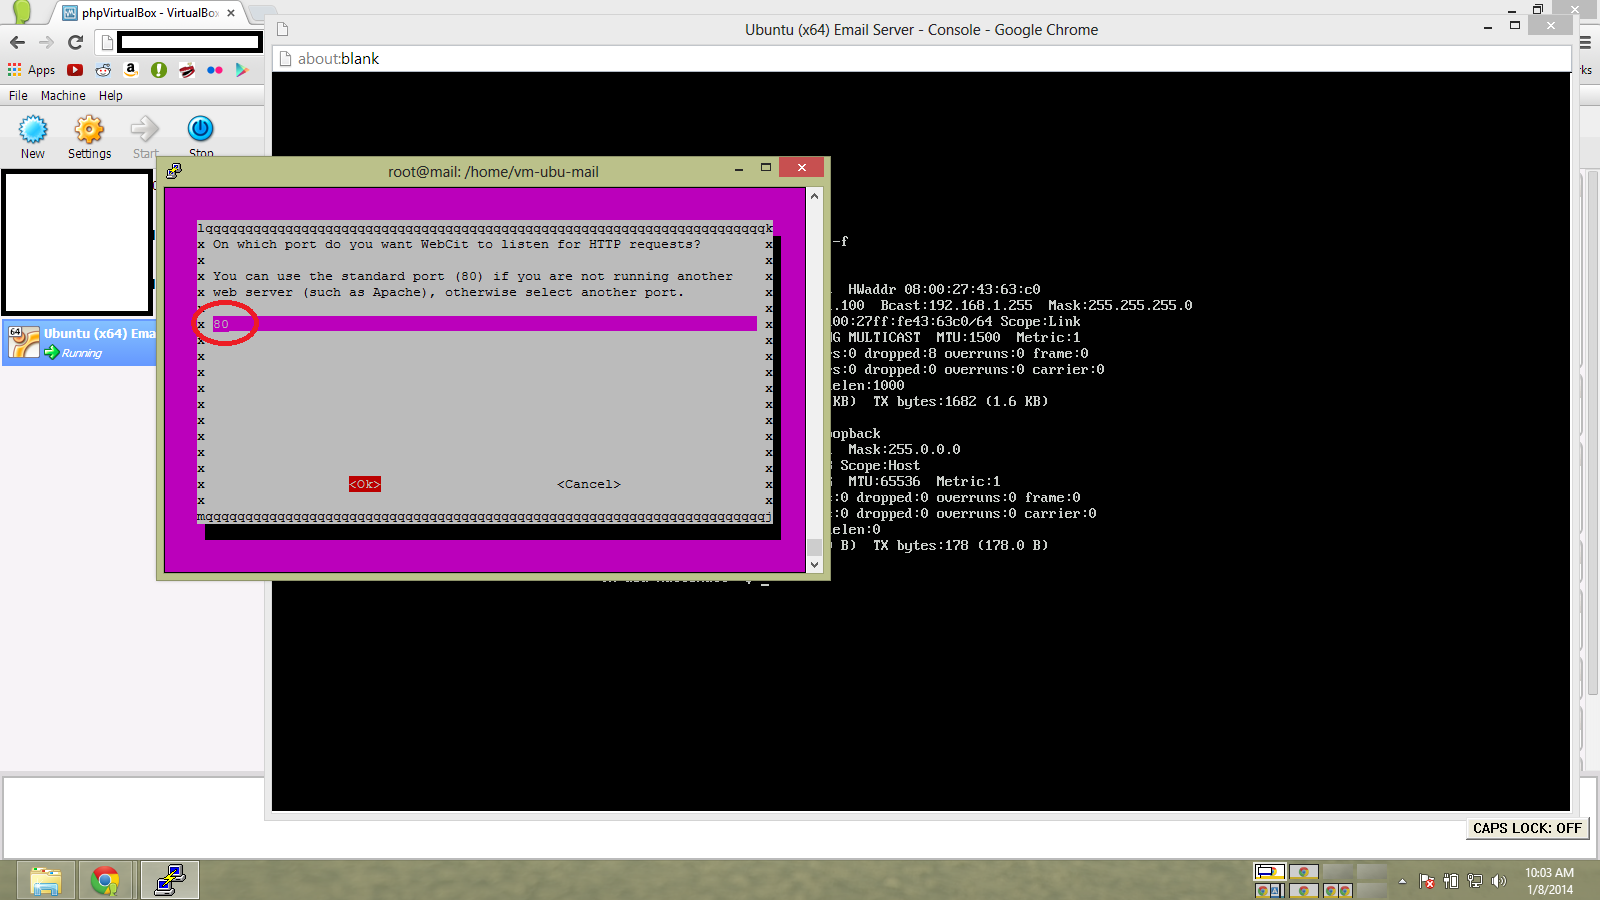
I’m changing the default port to 80 for now, just for simplicity.

After the install, reboot the VM.

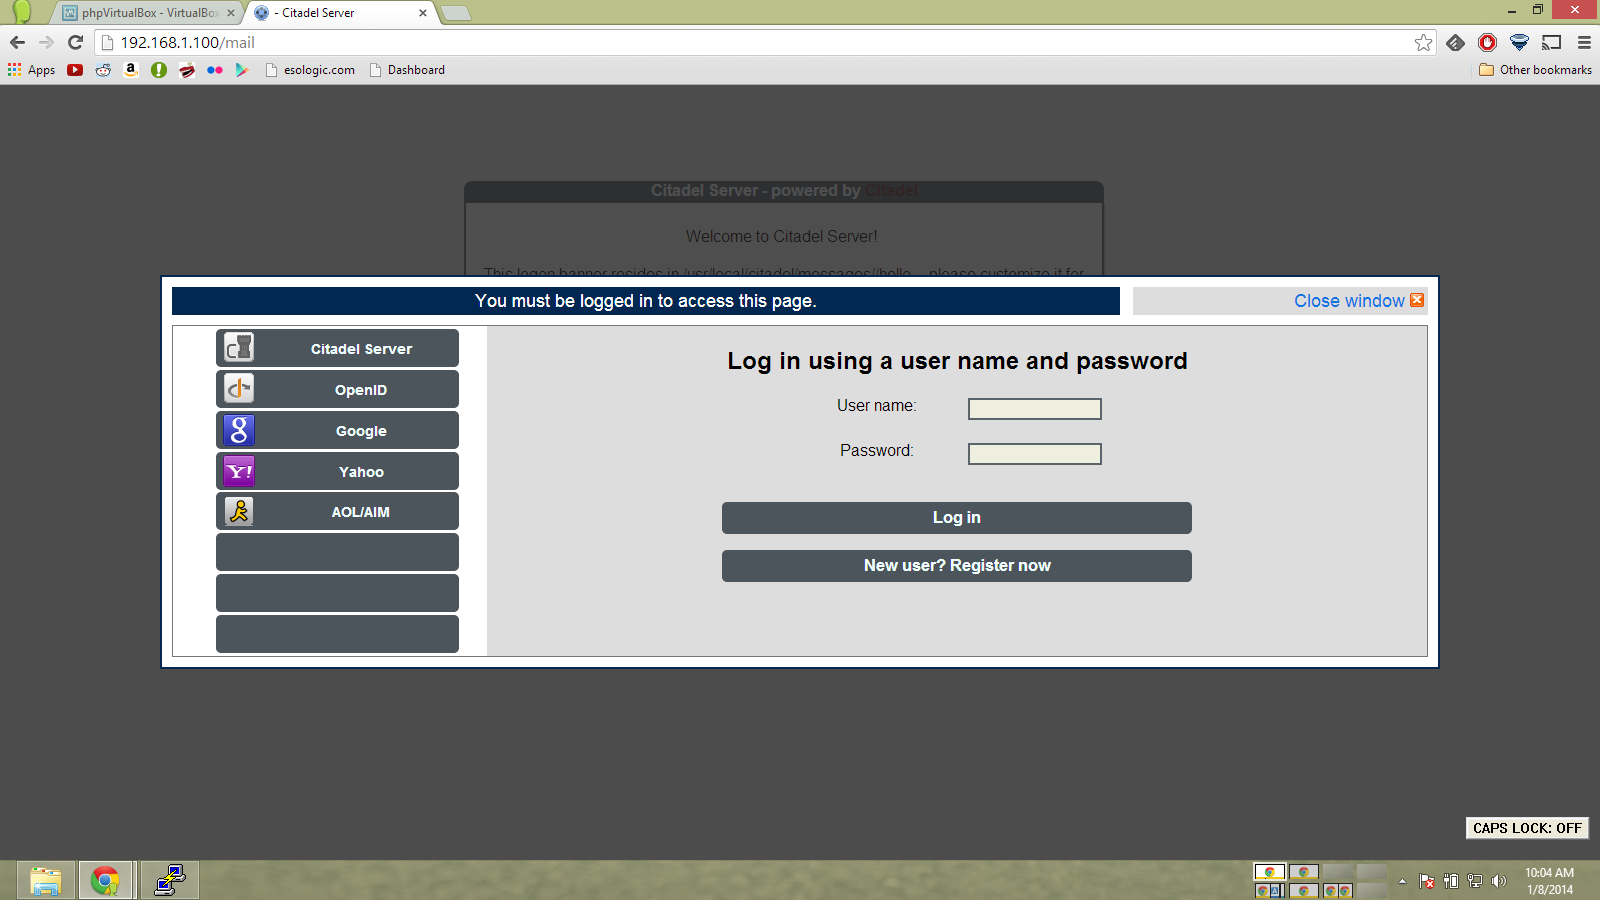
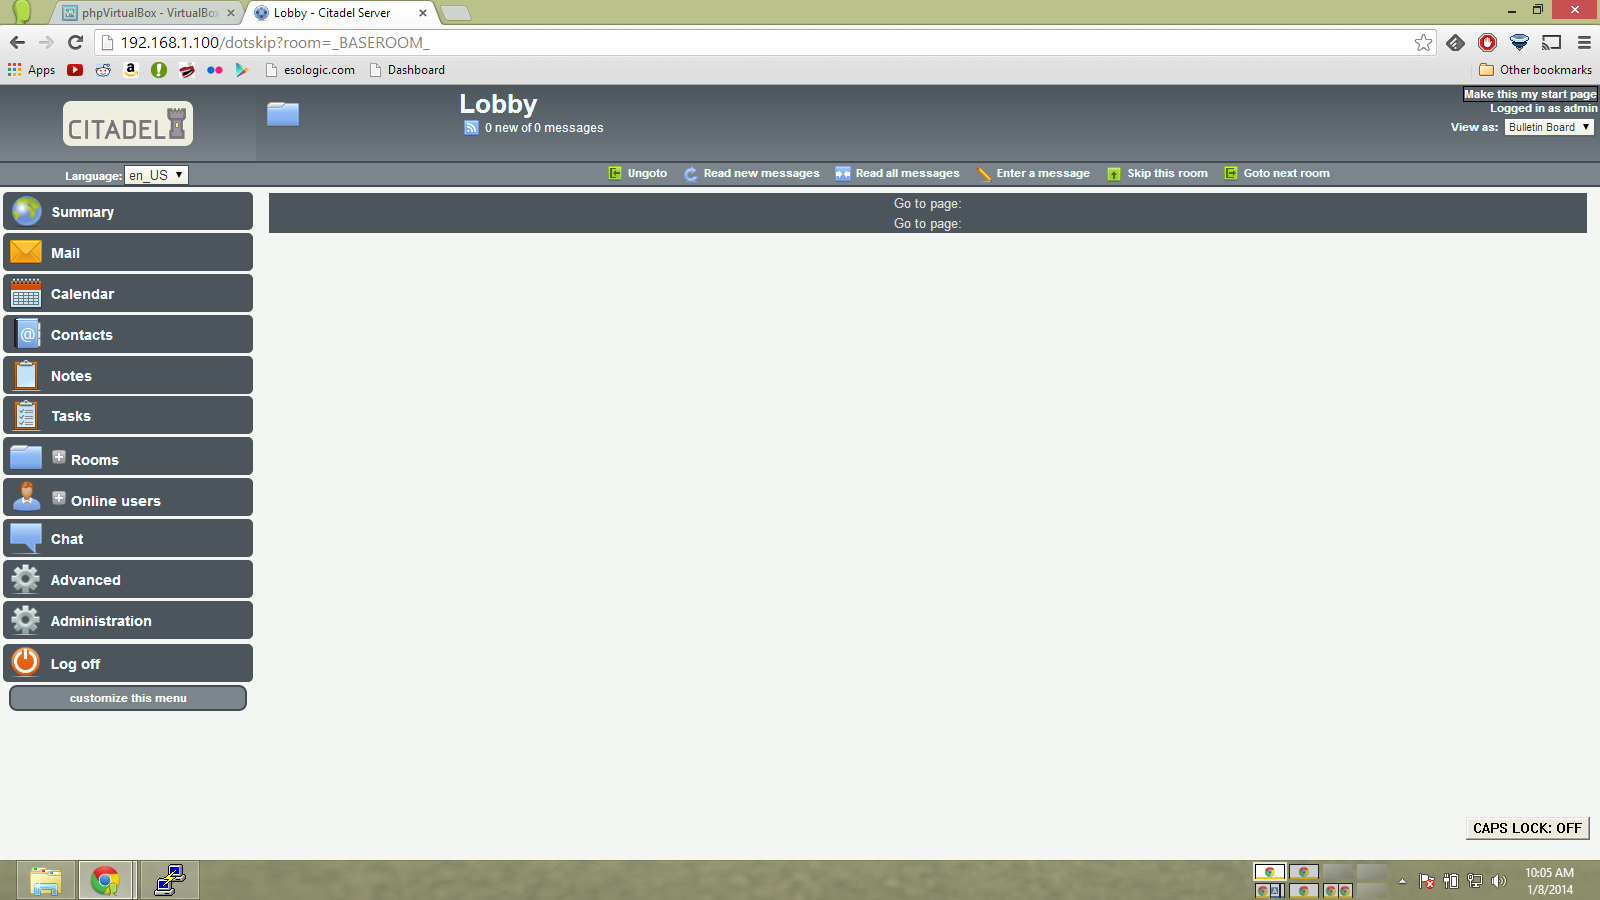
Now log in to citadel!
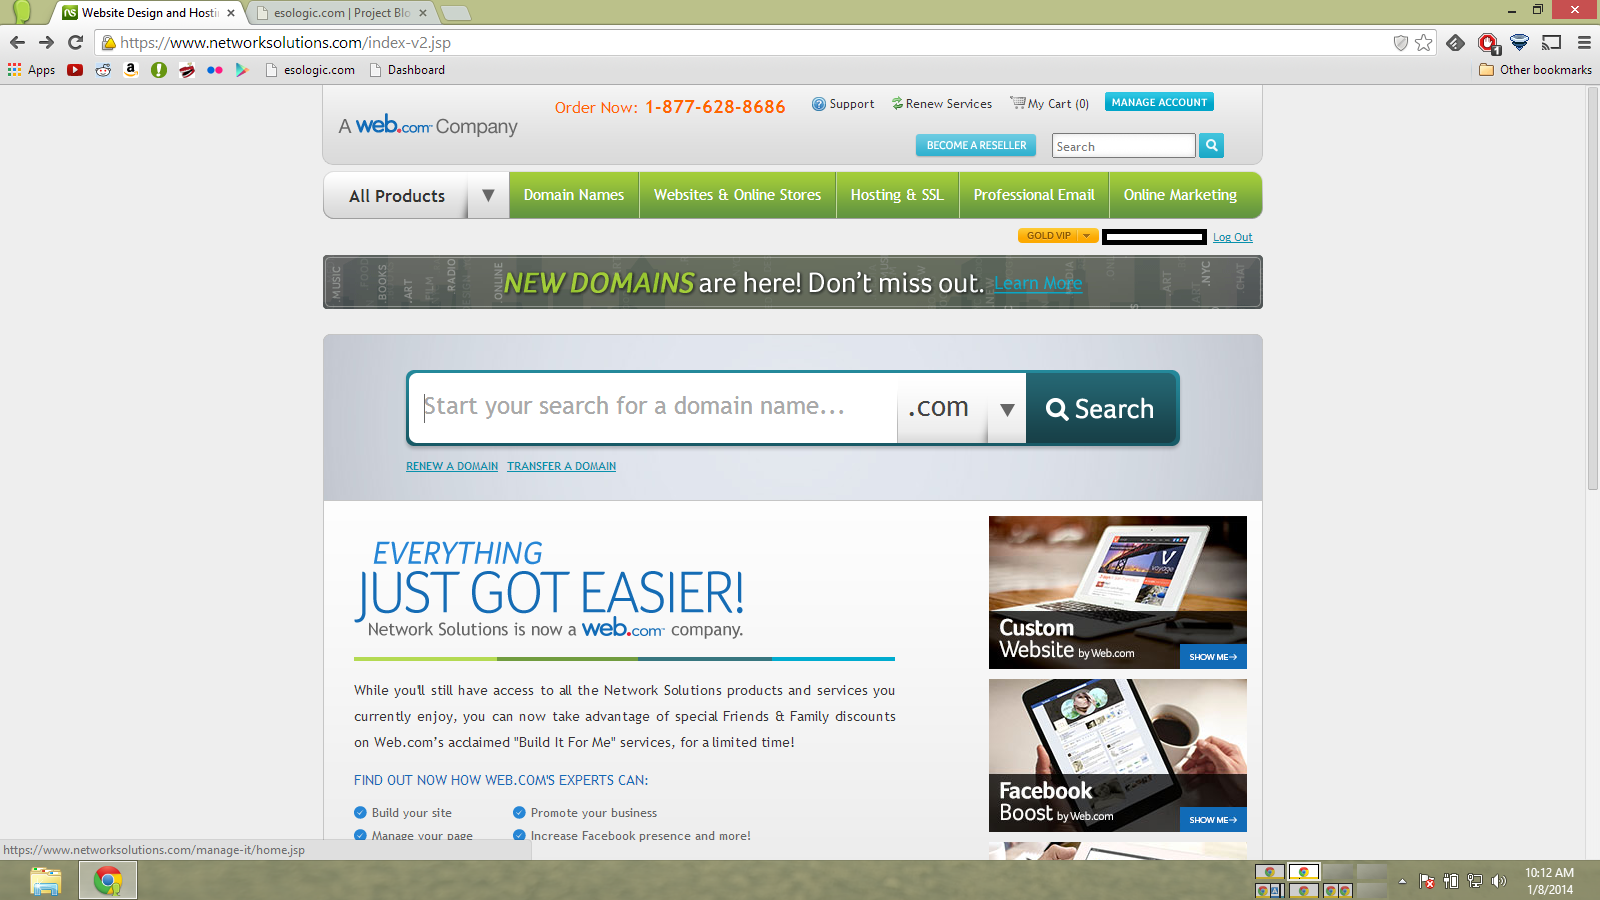
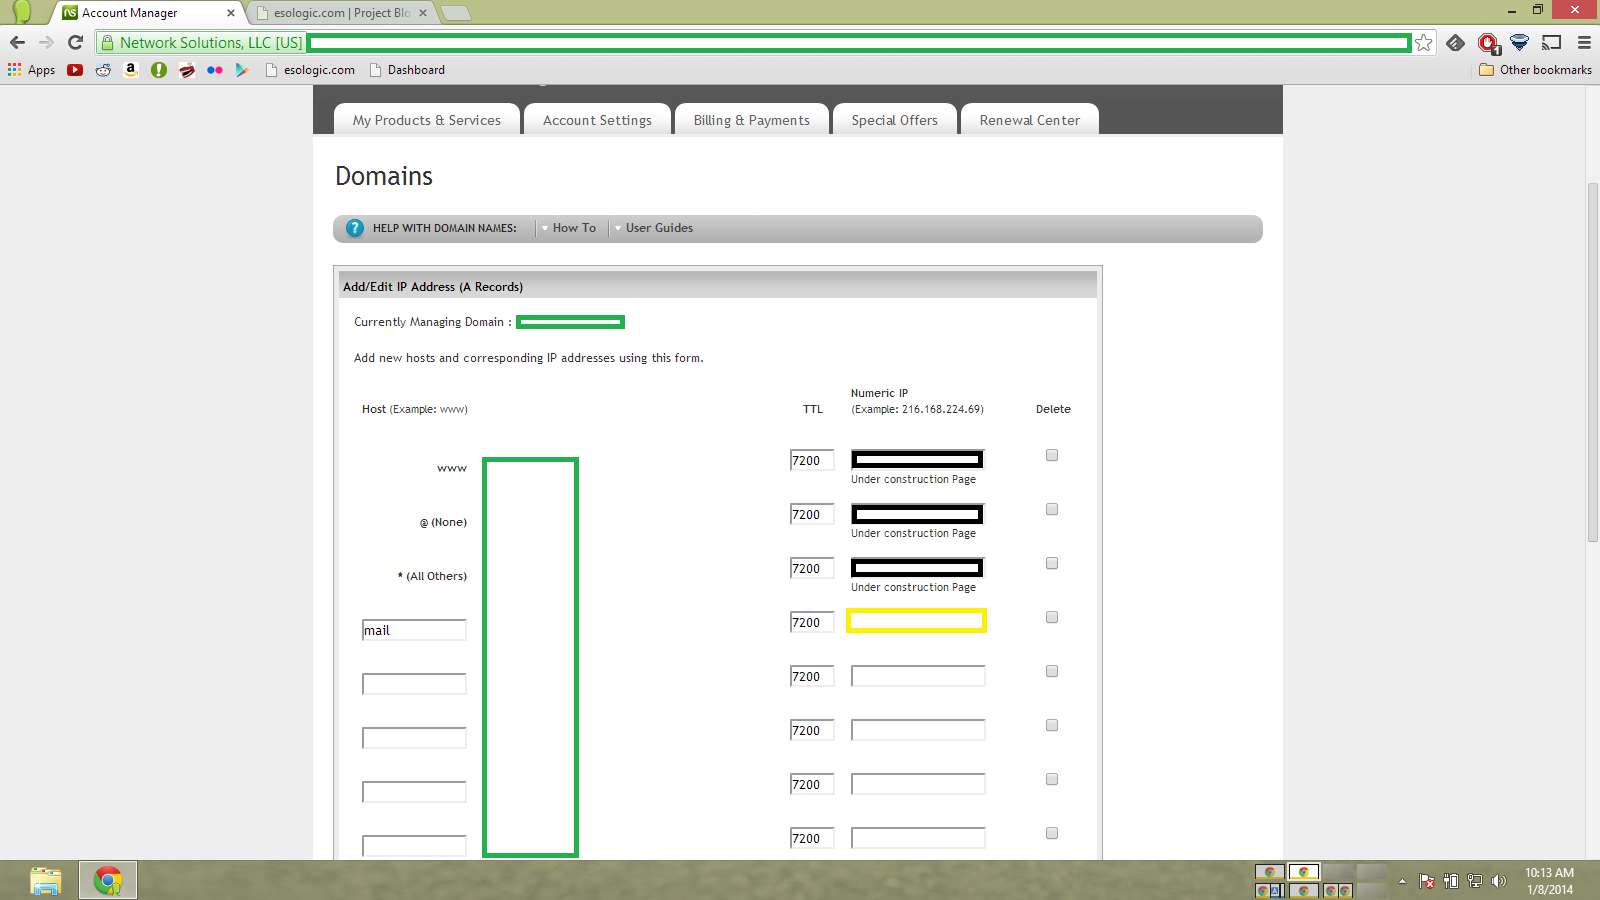
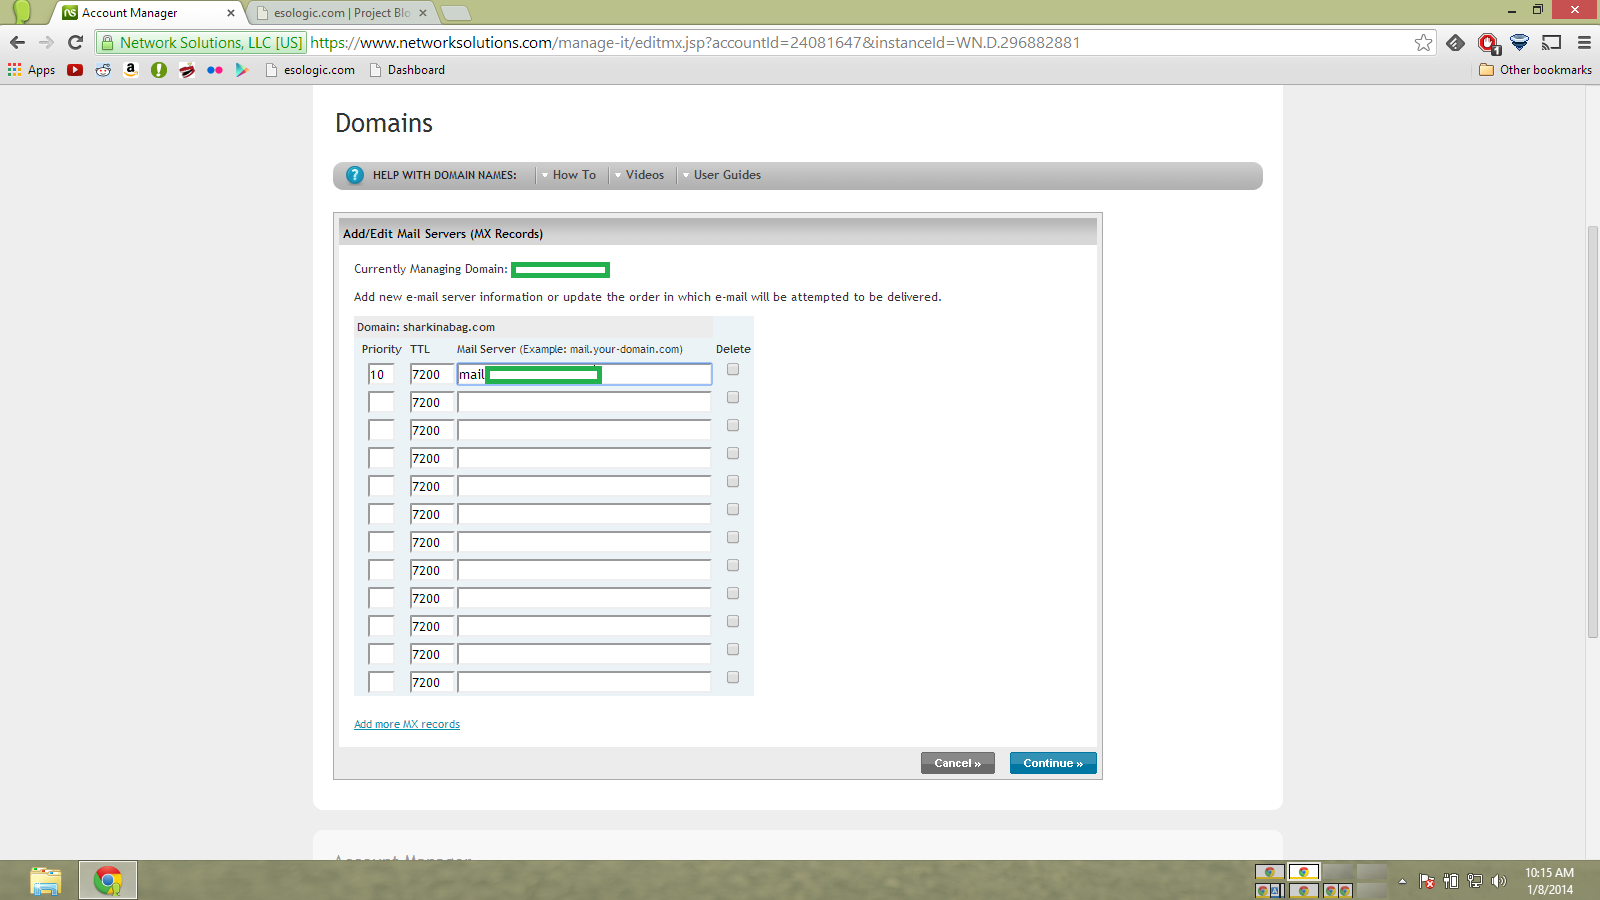
Now we need to do MX forwarding. My DNS host is network solutions, but the process is very similar regardless to which provider you use.
Again, your domain is represented by the green box.
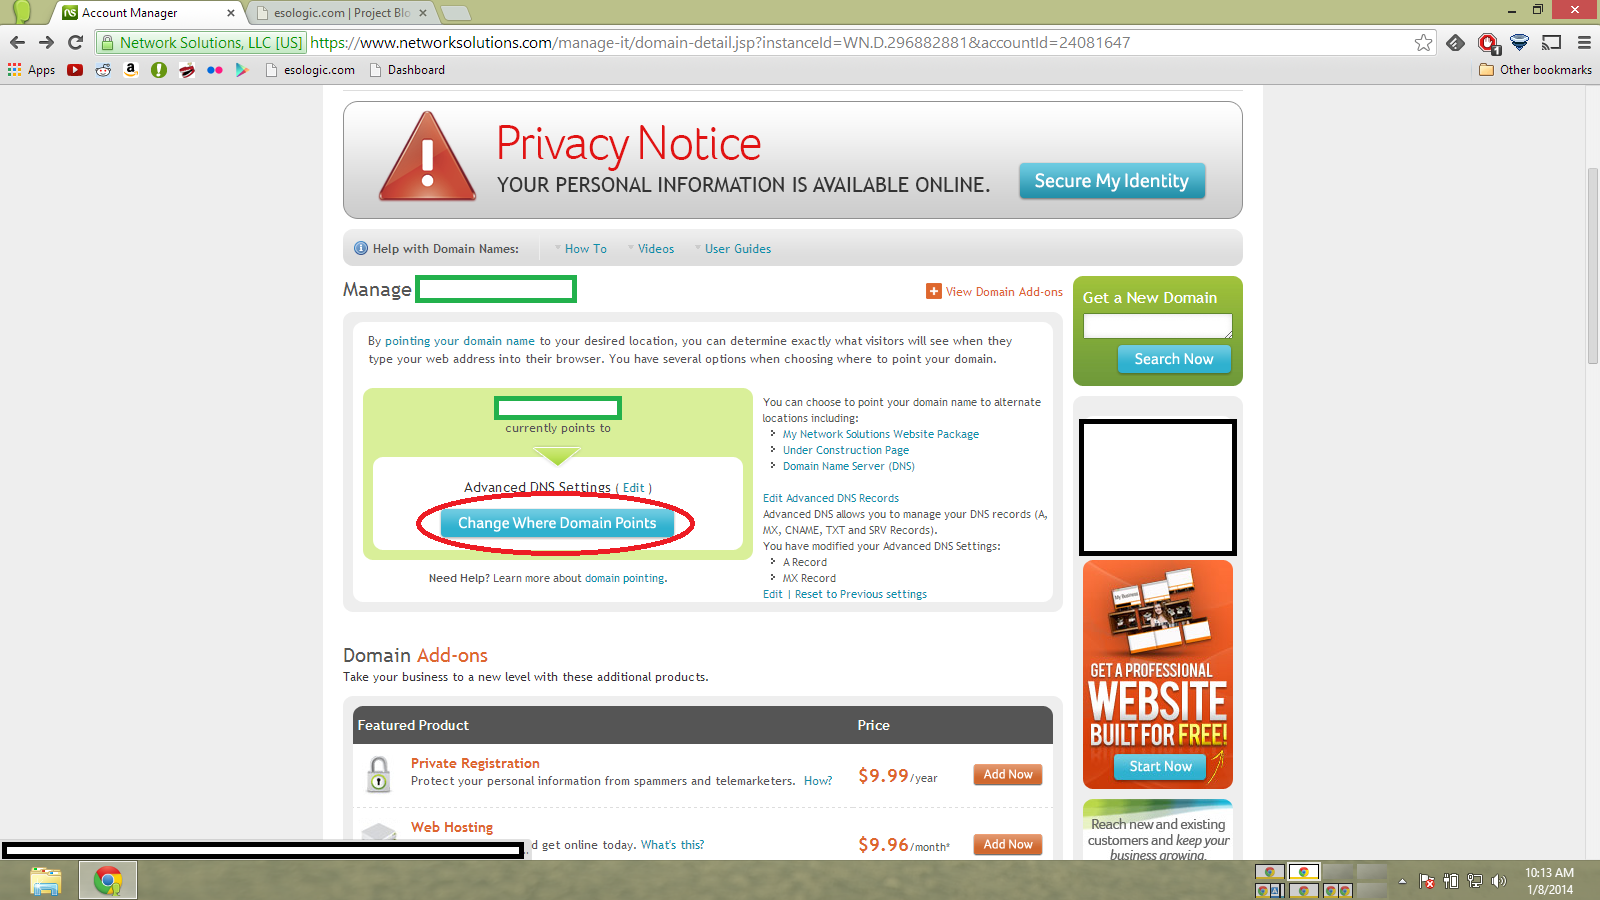
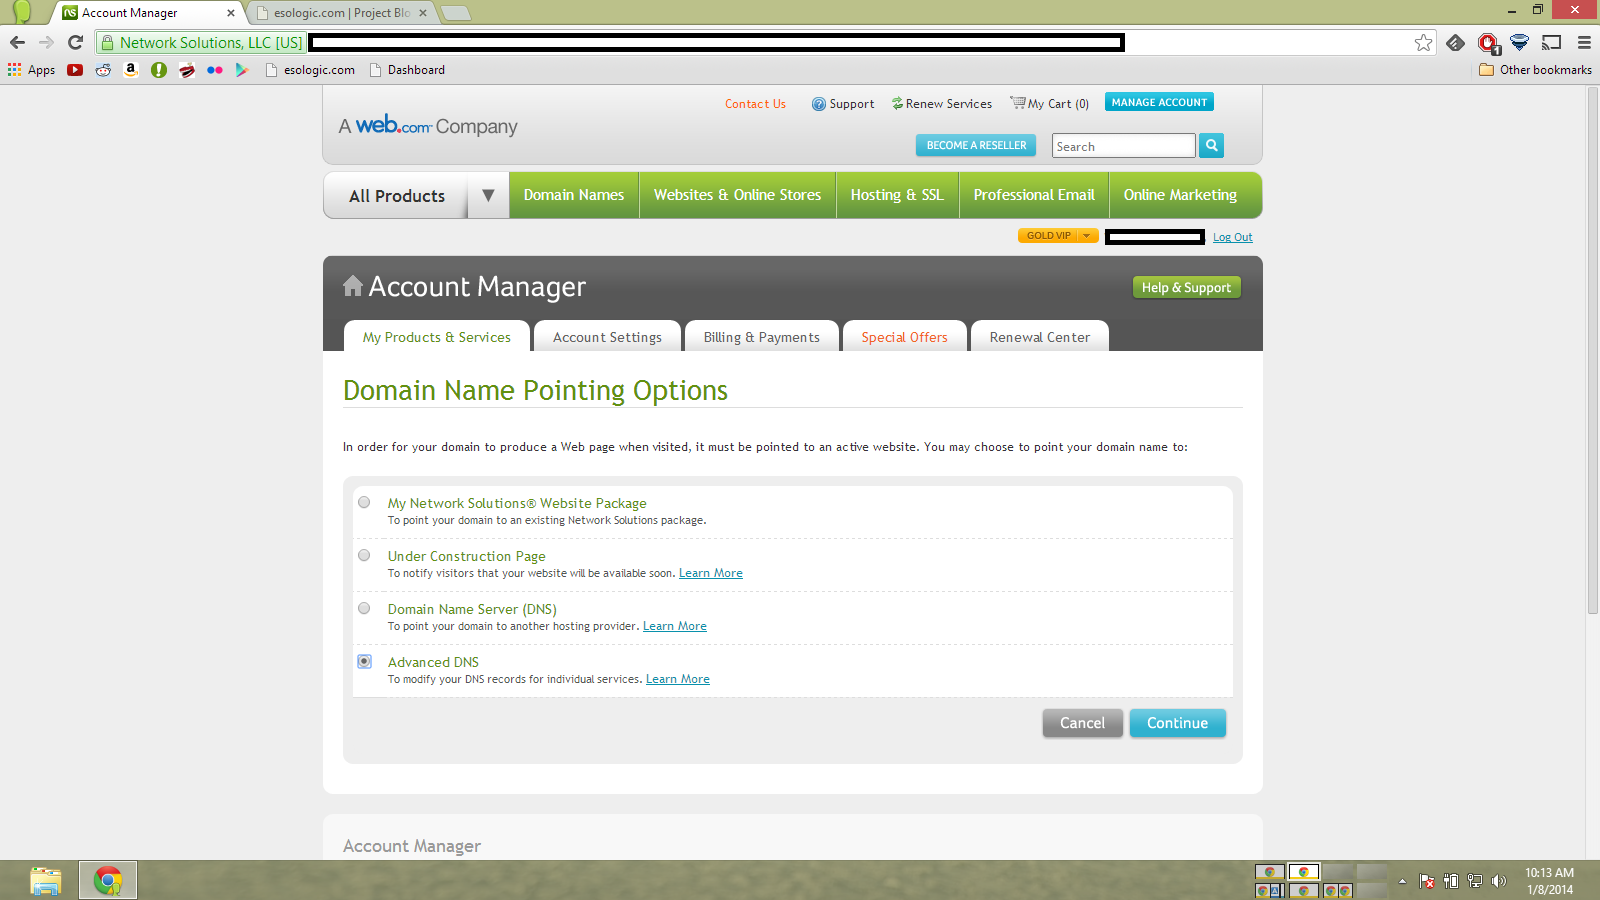
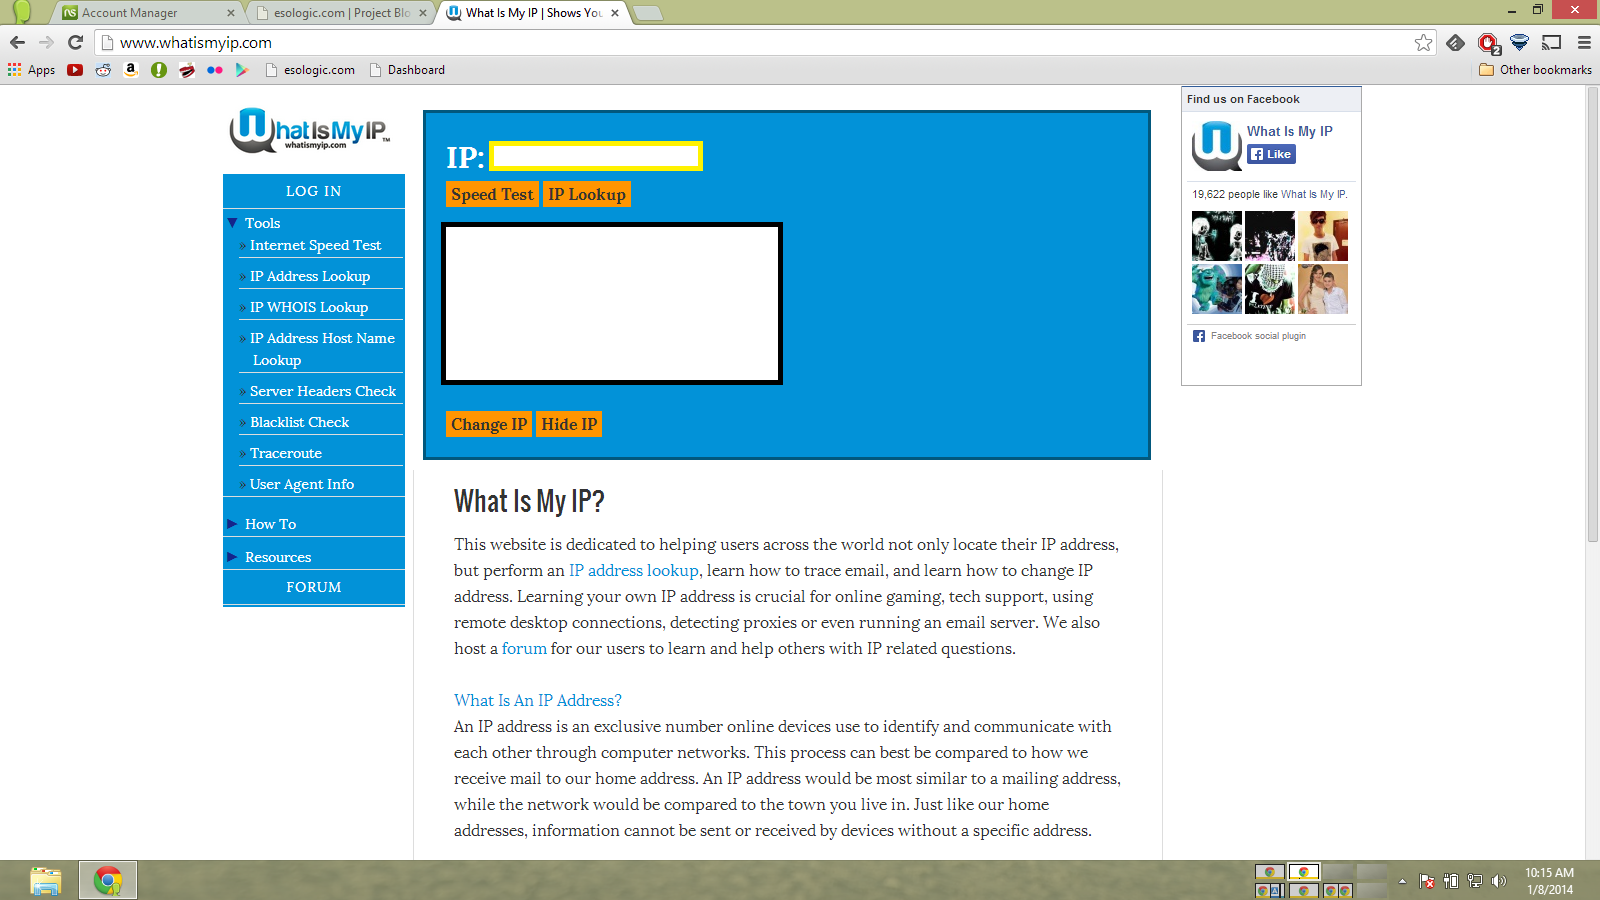
The yellow box is your IP
You can use whatismypi to determine your IP address. If it is dynamic, you can use No-IP to get a static one .
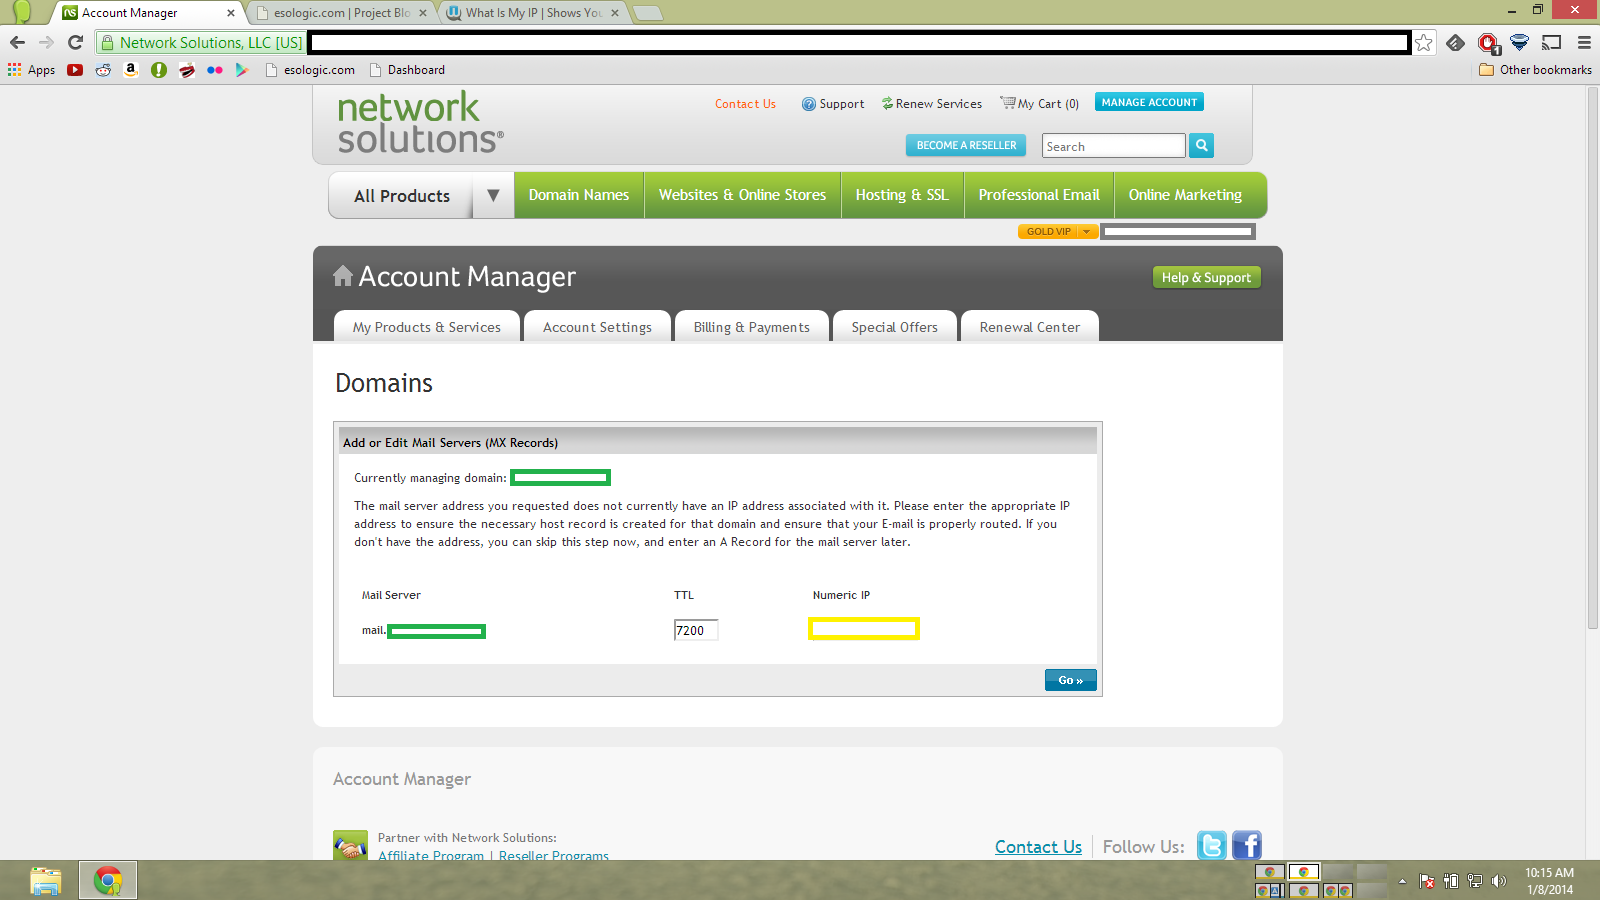
The records should look something like this.
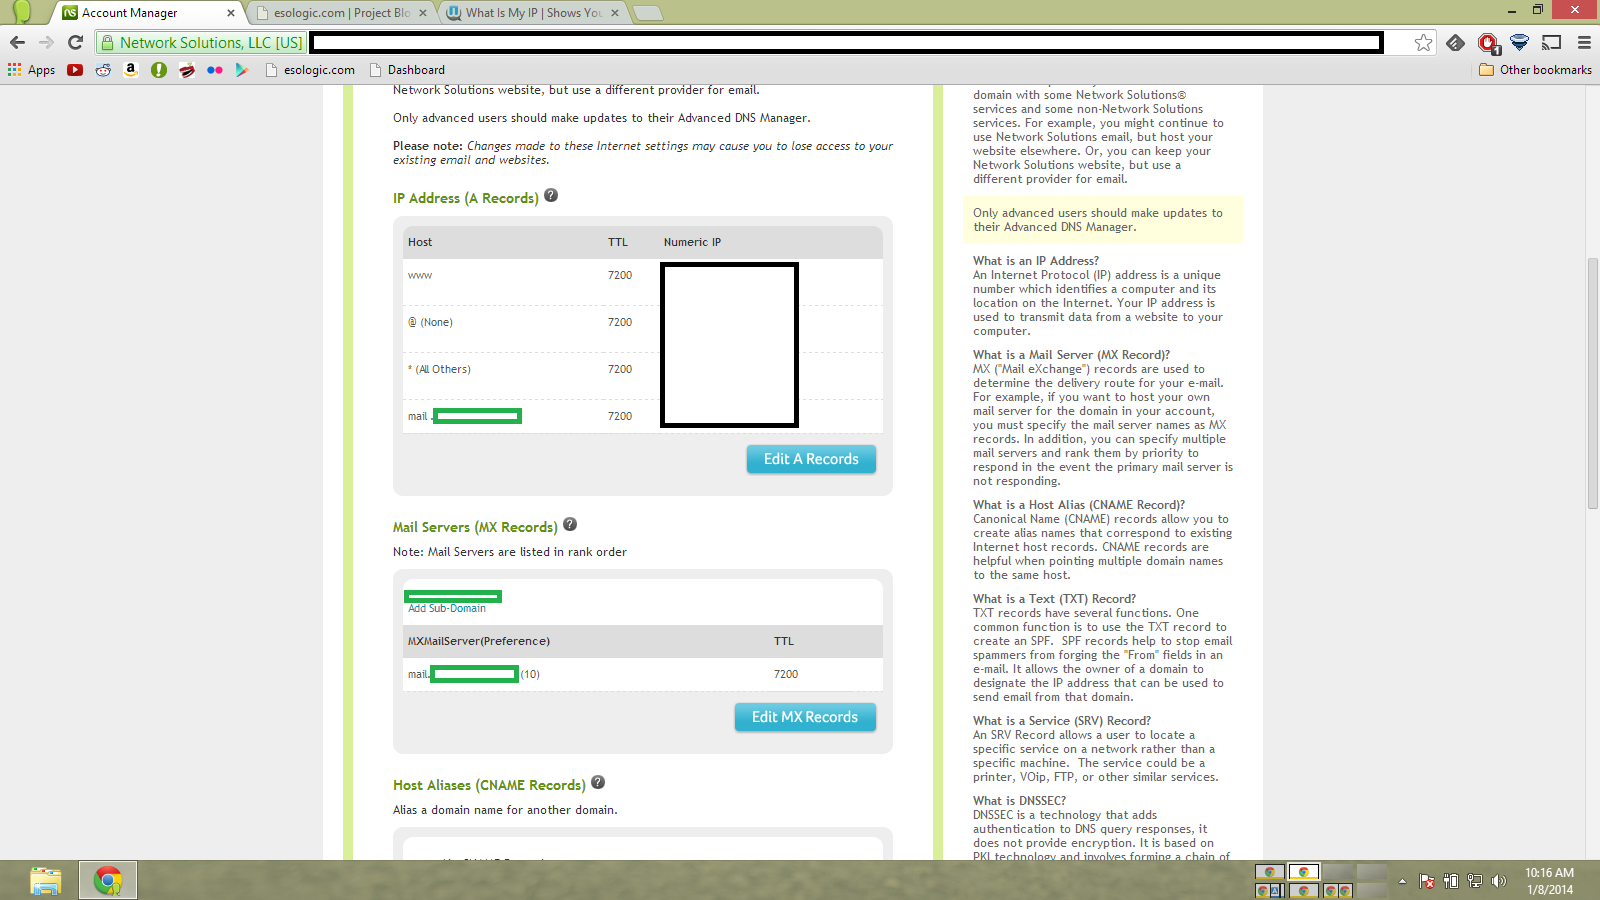
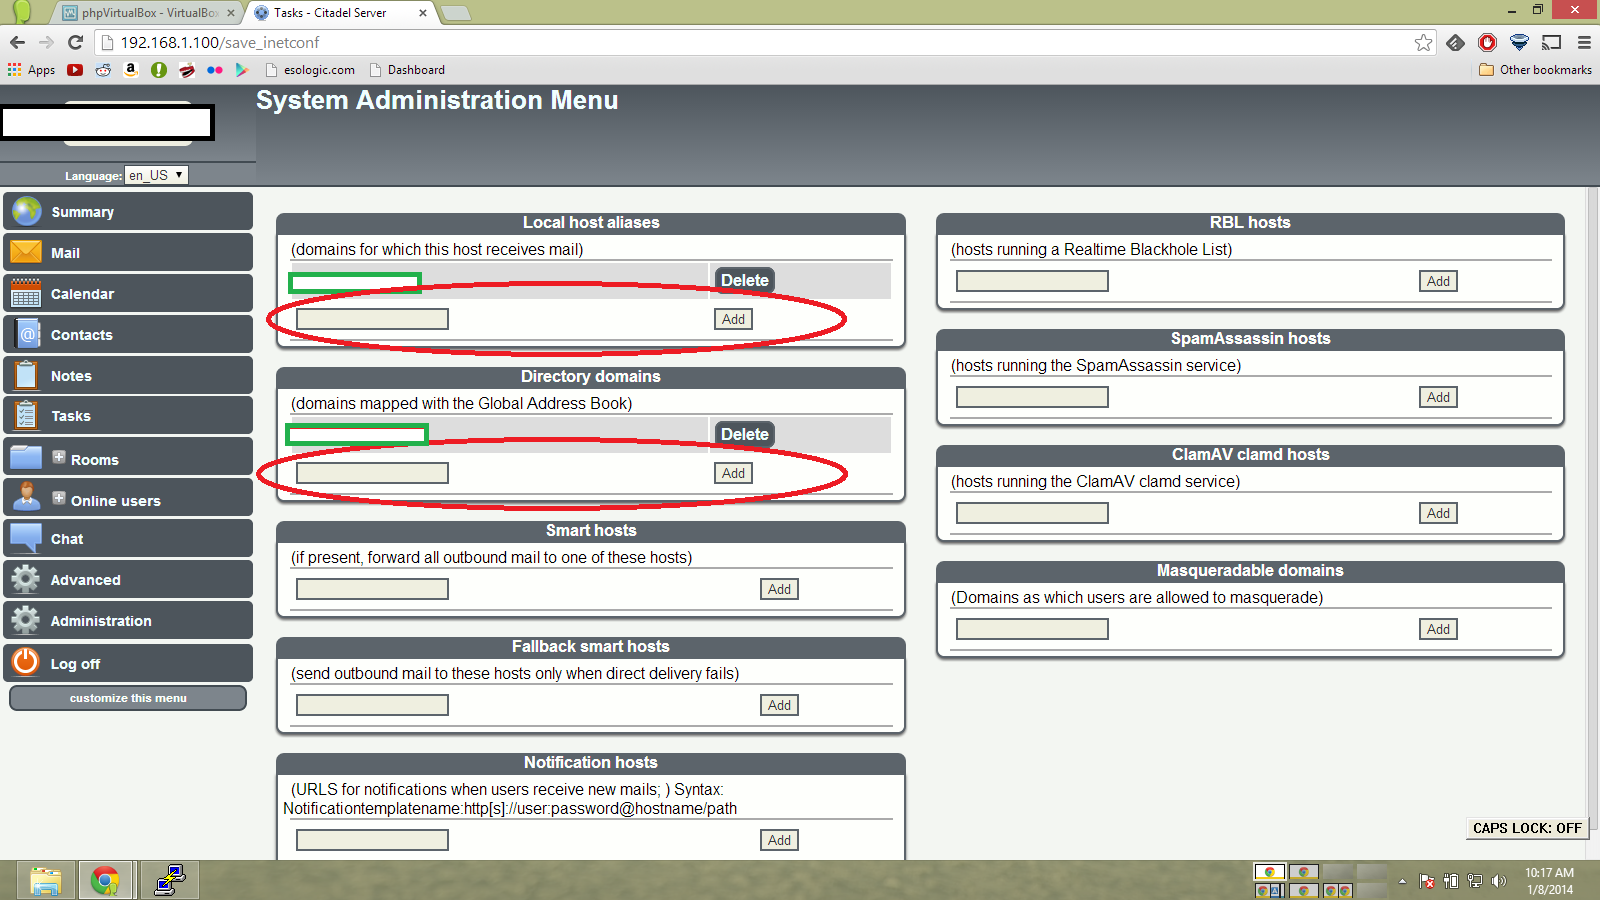
Now in citadel, you need to go to ‘Administration’ -> ‘Domain names and Internet mail configuration’ and add your domain.
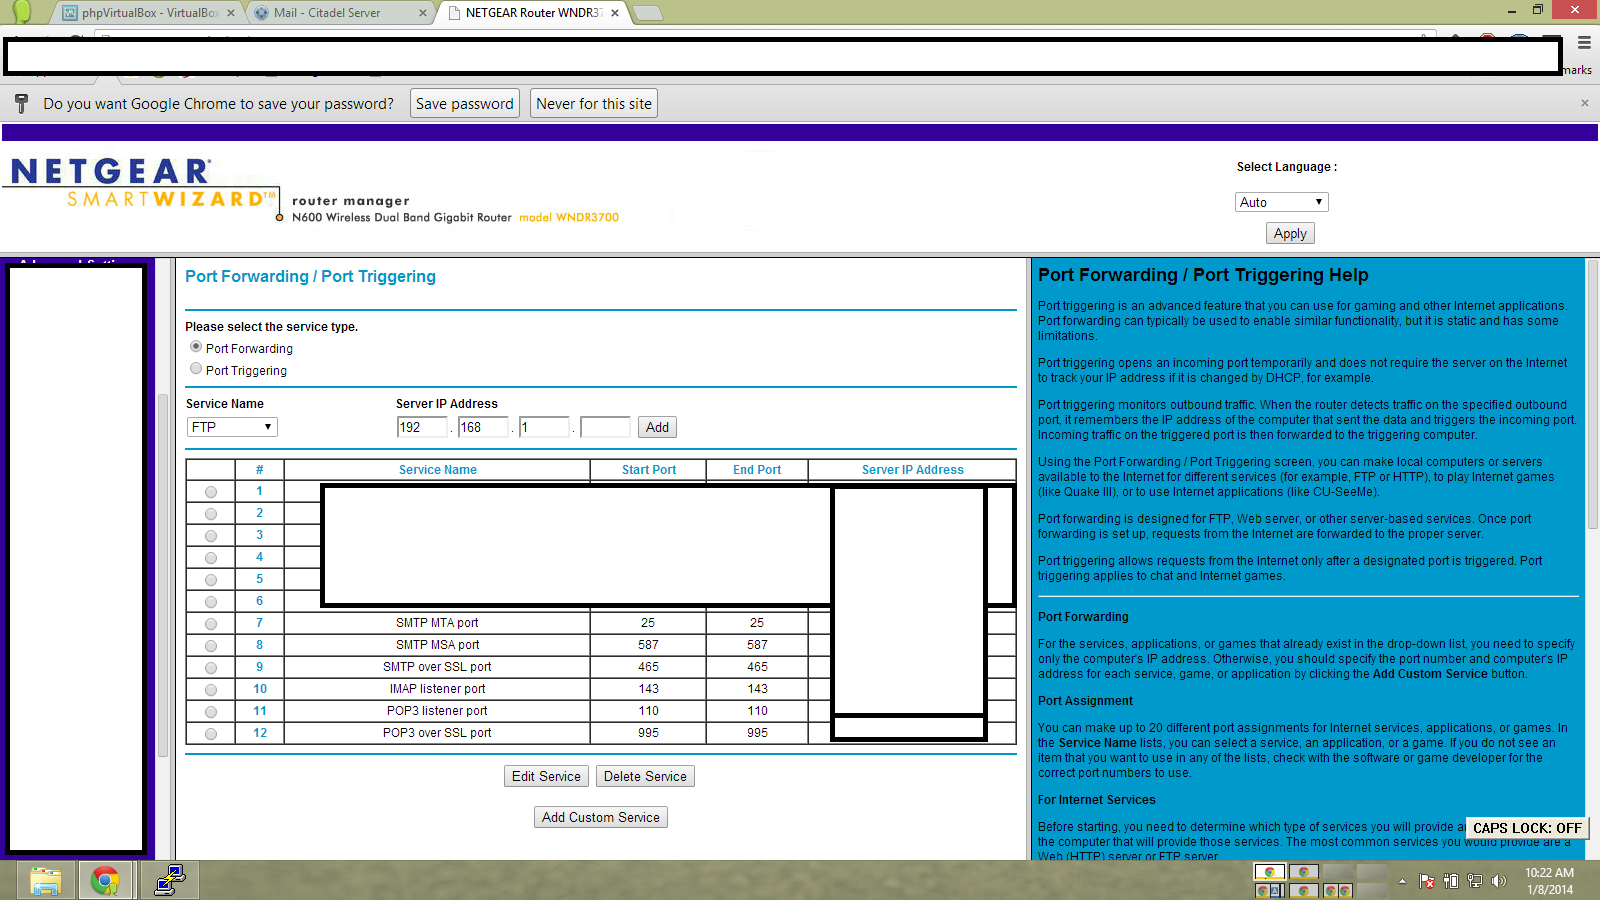
Now open the following ports on your router. This is dangerous, but IMO worth it.
Now we test!
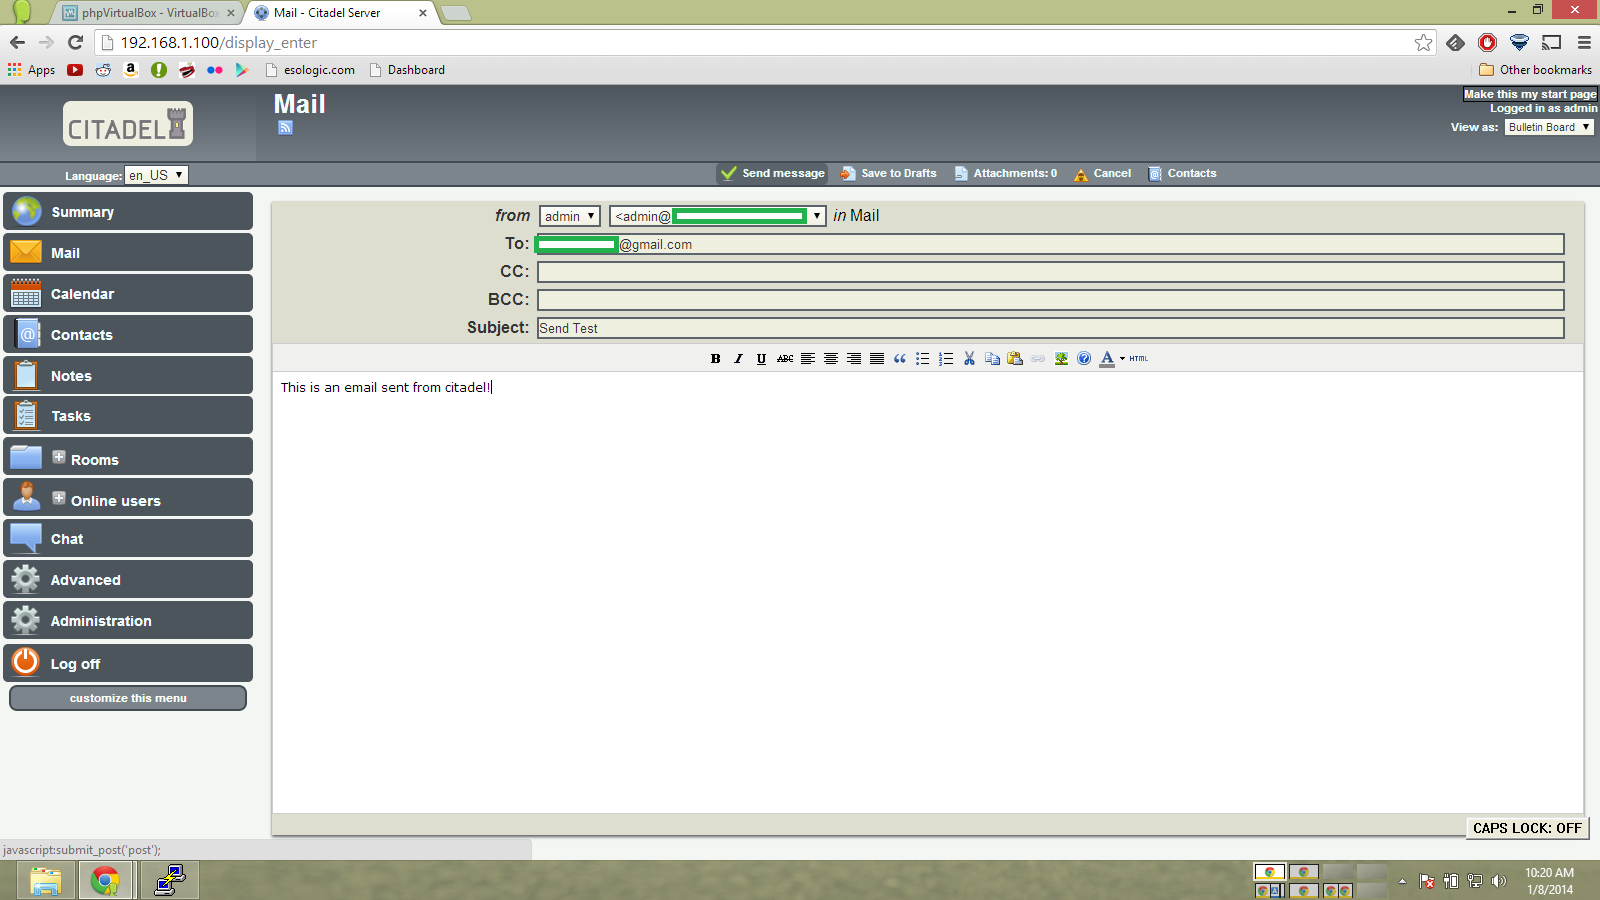
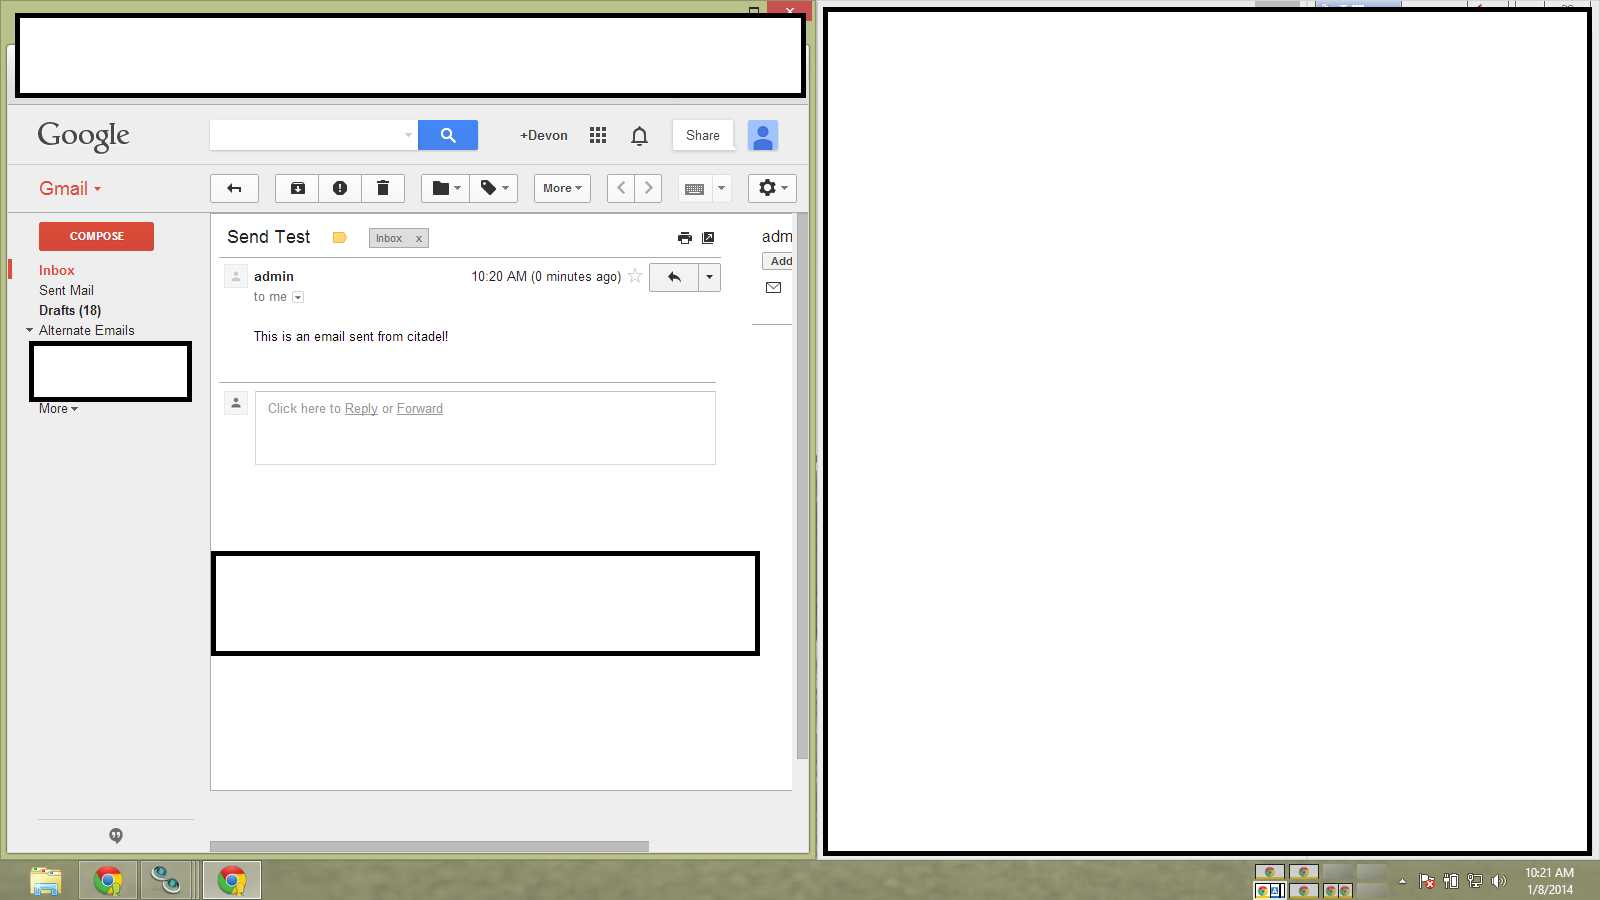
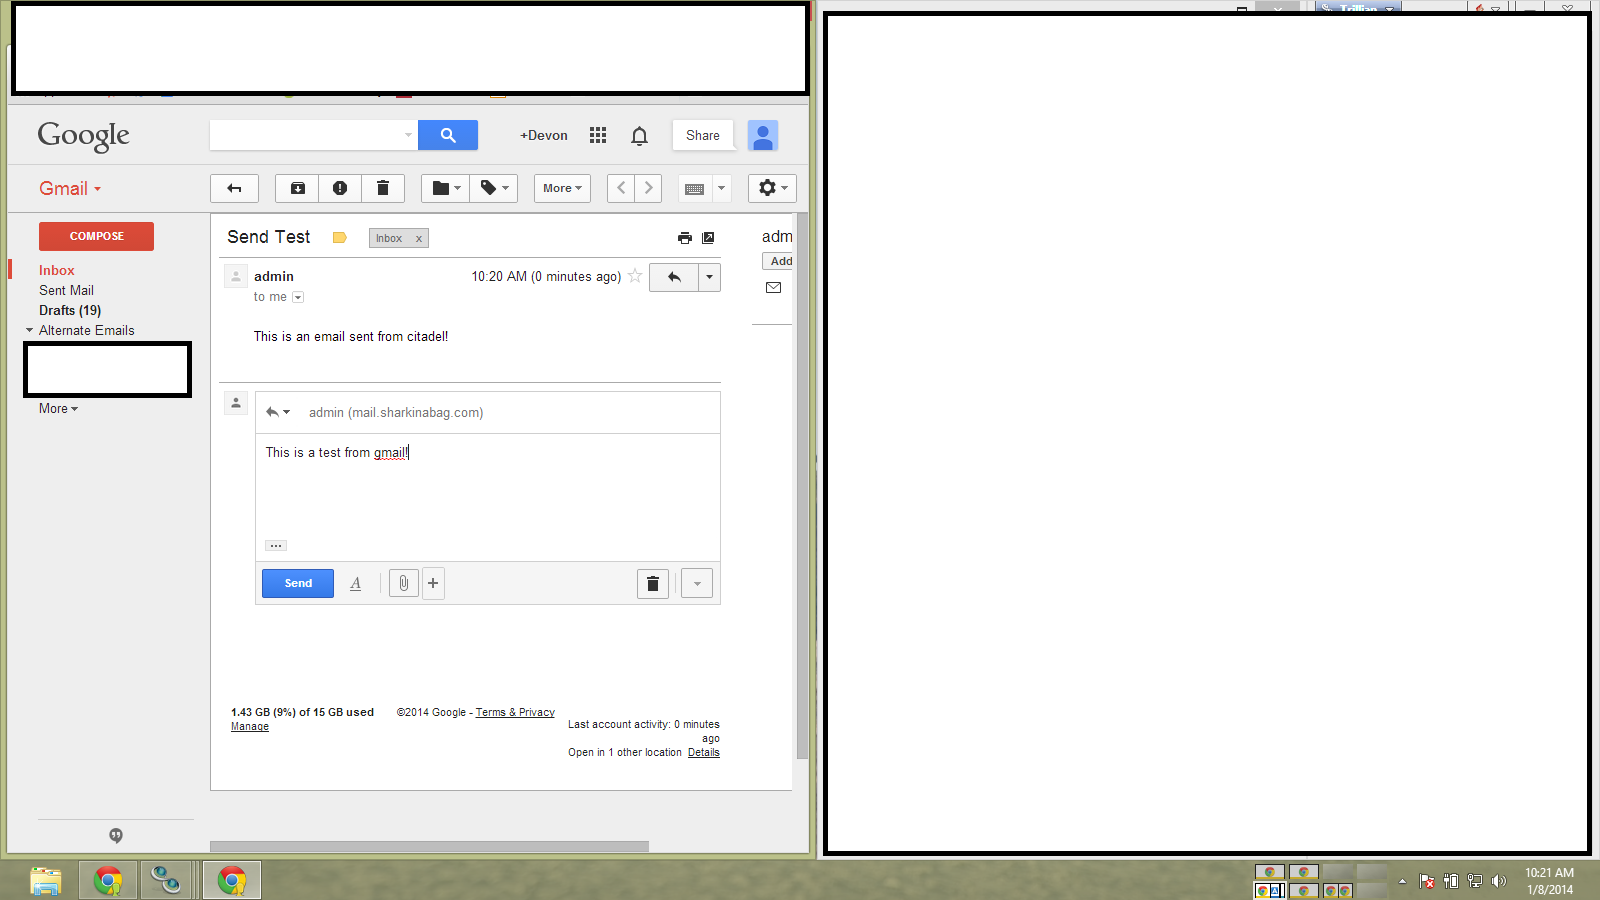
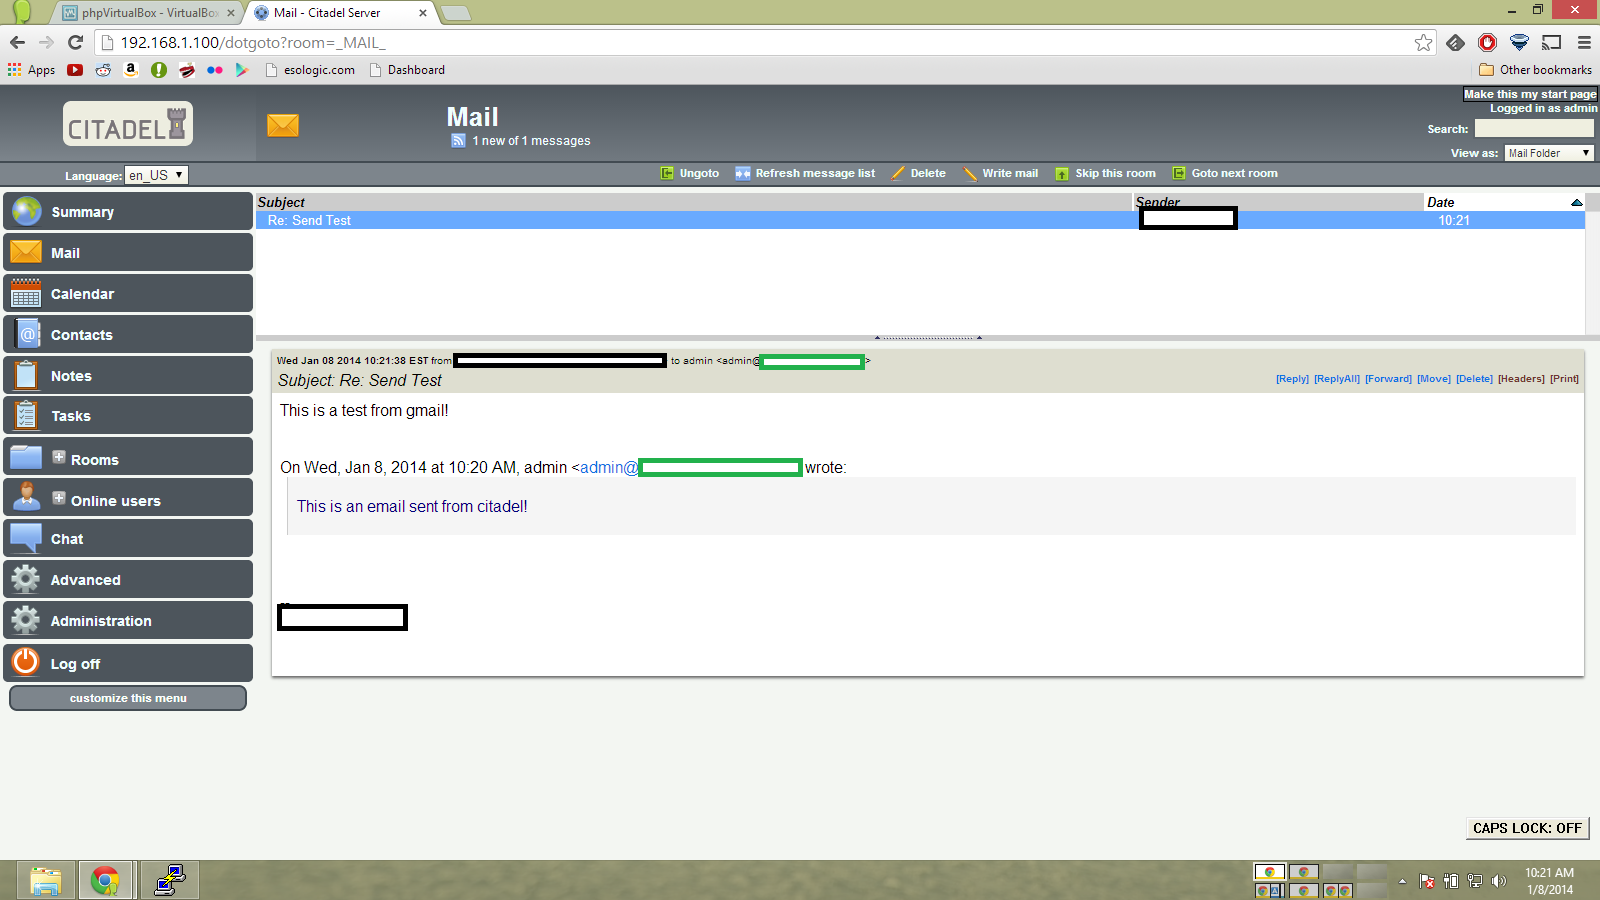
There we go! Pretty much no cost email addresses!
Thanks for reading, leave any improvements in the comments.

.png)
.png)


