Hello! sorry about my absence, I’ve been very busy with school/baseball over the past few weeks, but summer is soon, and I’ll be updating with a higher frequency once that happens.
So. you’ll need a few things in order to make sure this whole process works.
1. Multiple ethernet connections.
2. An Arduino and a compatible wiznet device (ethernet shield)
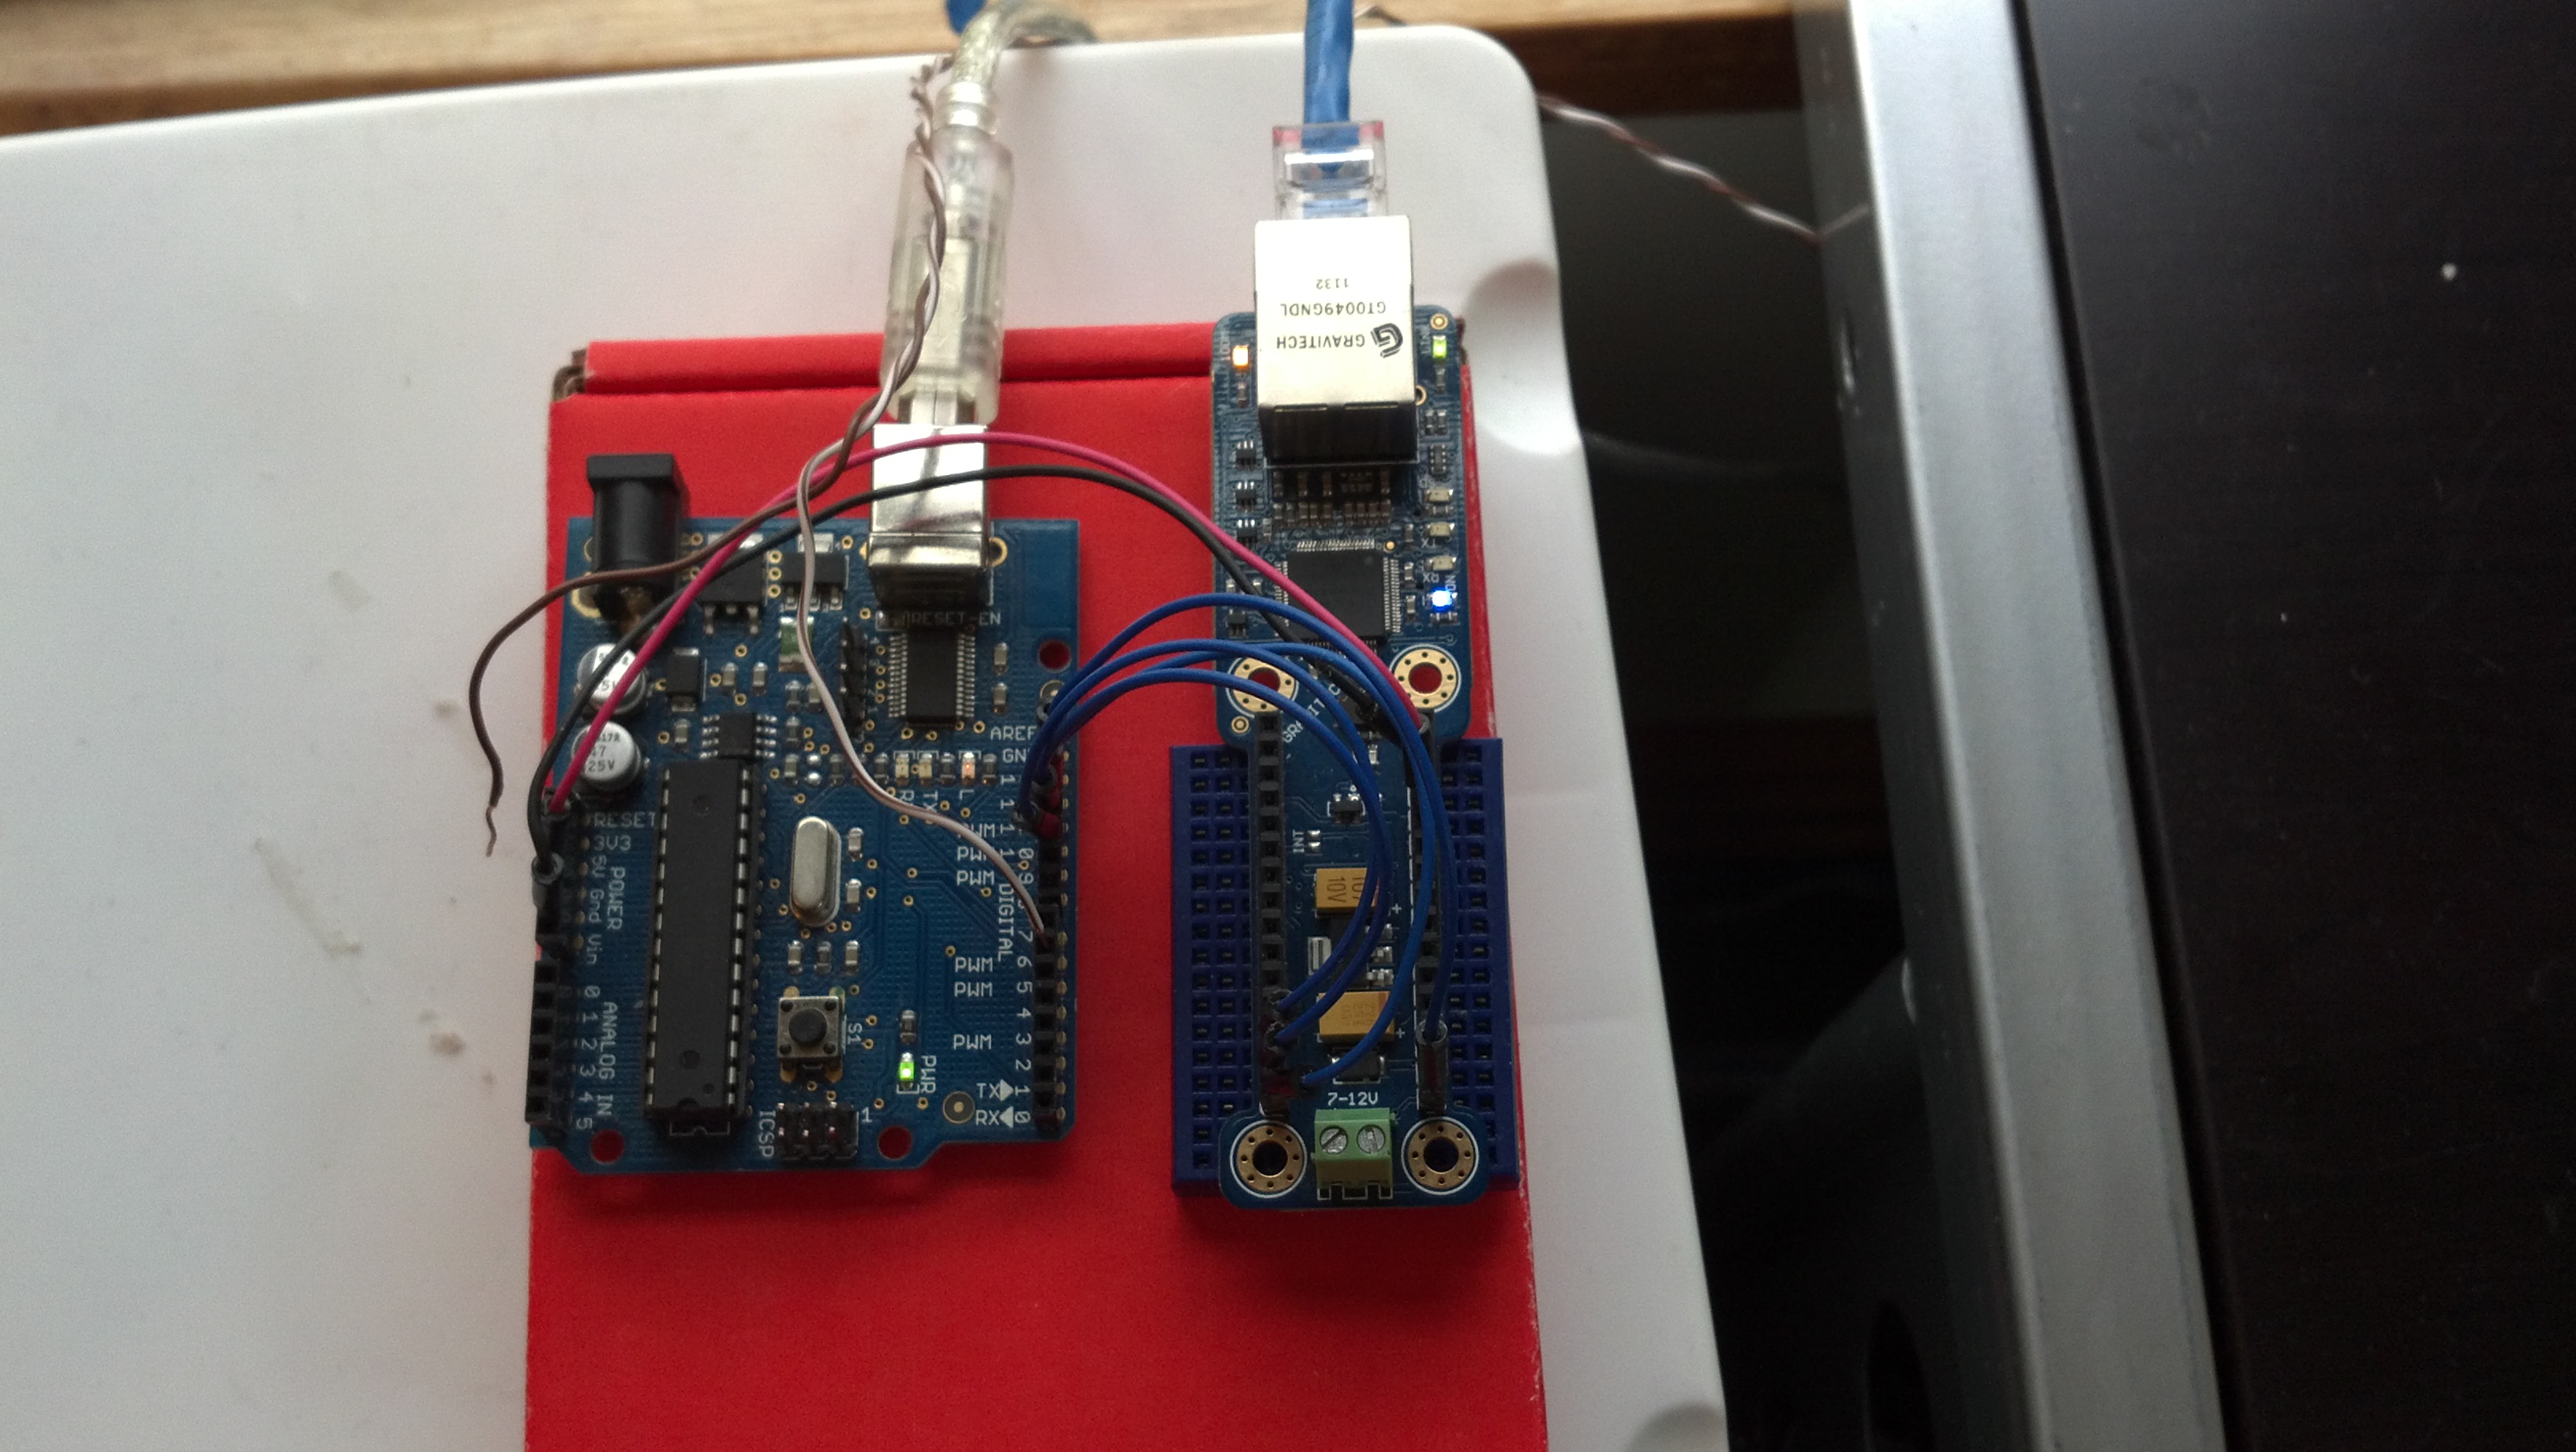
Here I’m using an arduino knockoff I got 2 years ago when I first got into hobby electronics, and an “ETHERNET 4 NANO” by gravitech. I didn’t want to permanently implement my arduino nano, but I still wanted to be able to do the project. It’s powered by 5v from my computer (well from a powered hub) and the brown striped wire goes to the + on the powerswitch tail II. The blue cable is ethernet.
3. A webserver with php installed on it. (Mine’s just LAMP’d)
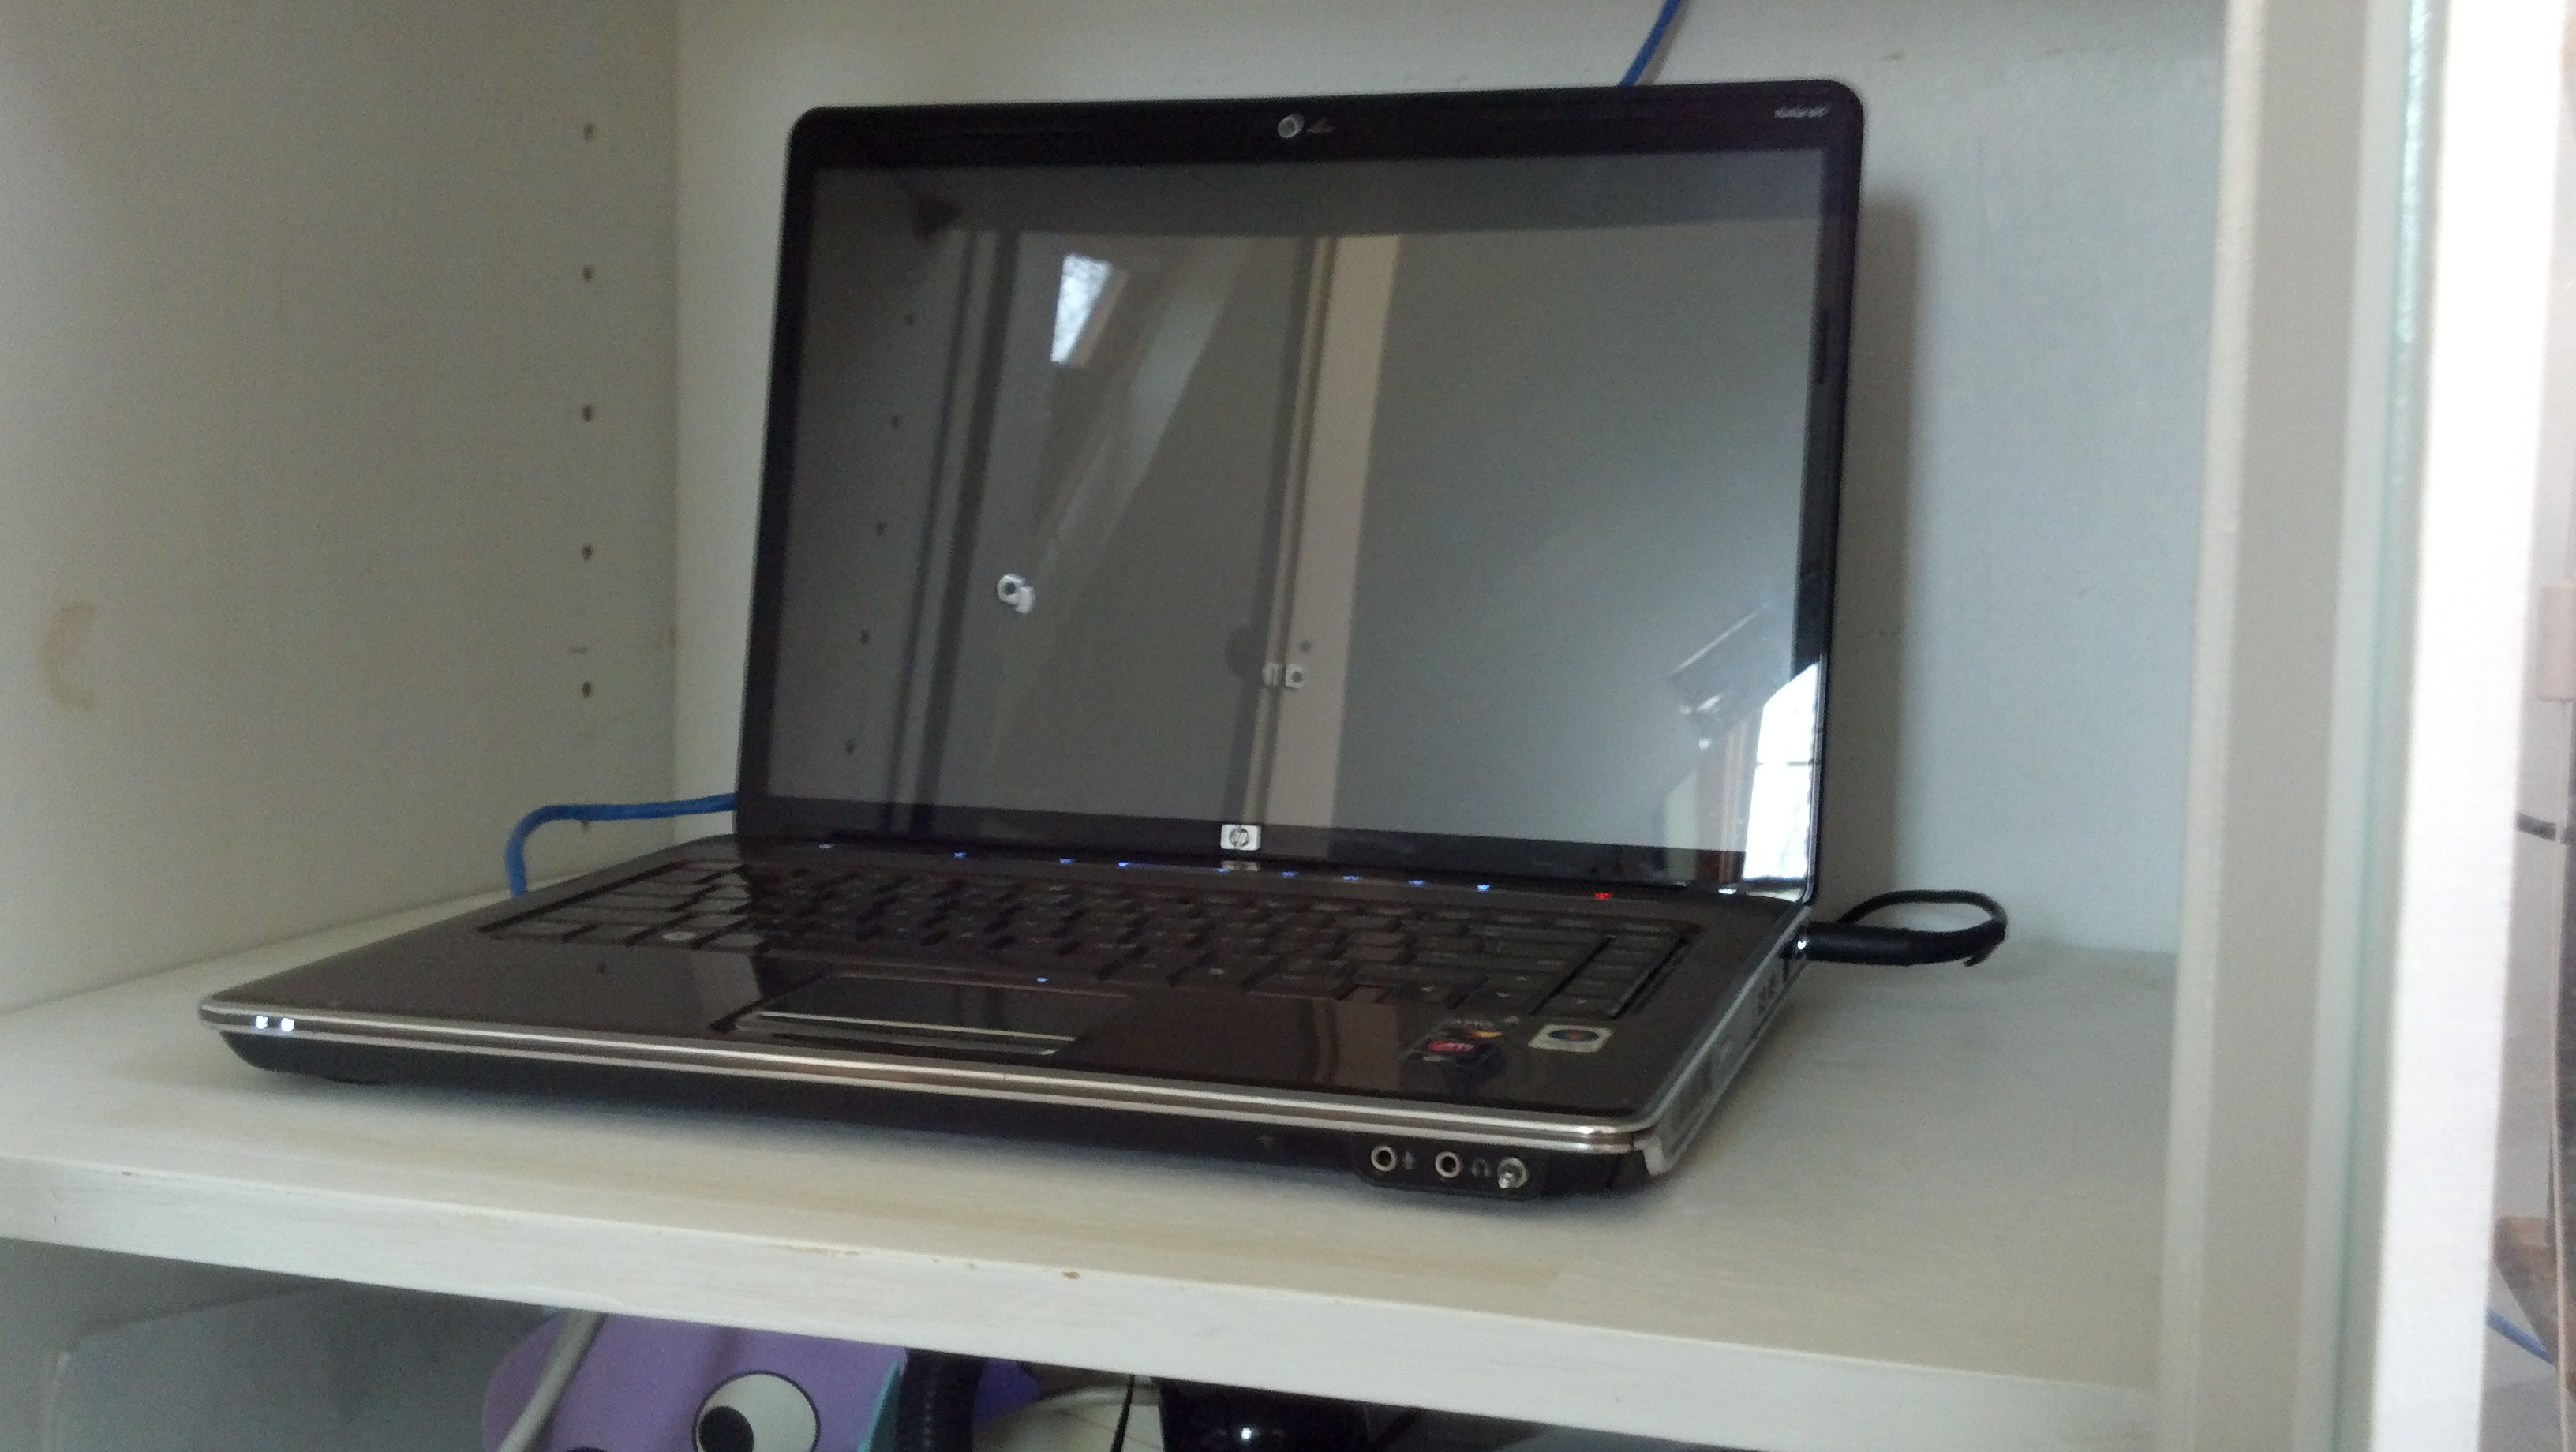
This is the important part. The arduino is accessing a .php document on the server to tell weather or not the lamp should be on. The UI is also hosted out of the servo. That laptop is my old HP laptop that I’ve had for almost 6 years, it’s now got ubuntu 10.04 LTS on it and it’s been LAMP’d among other things.
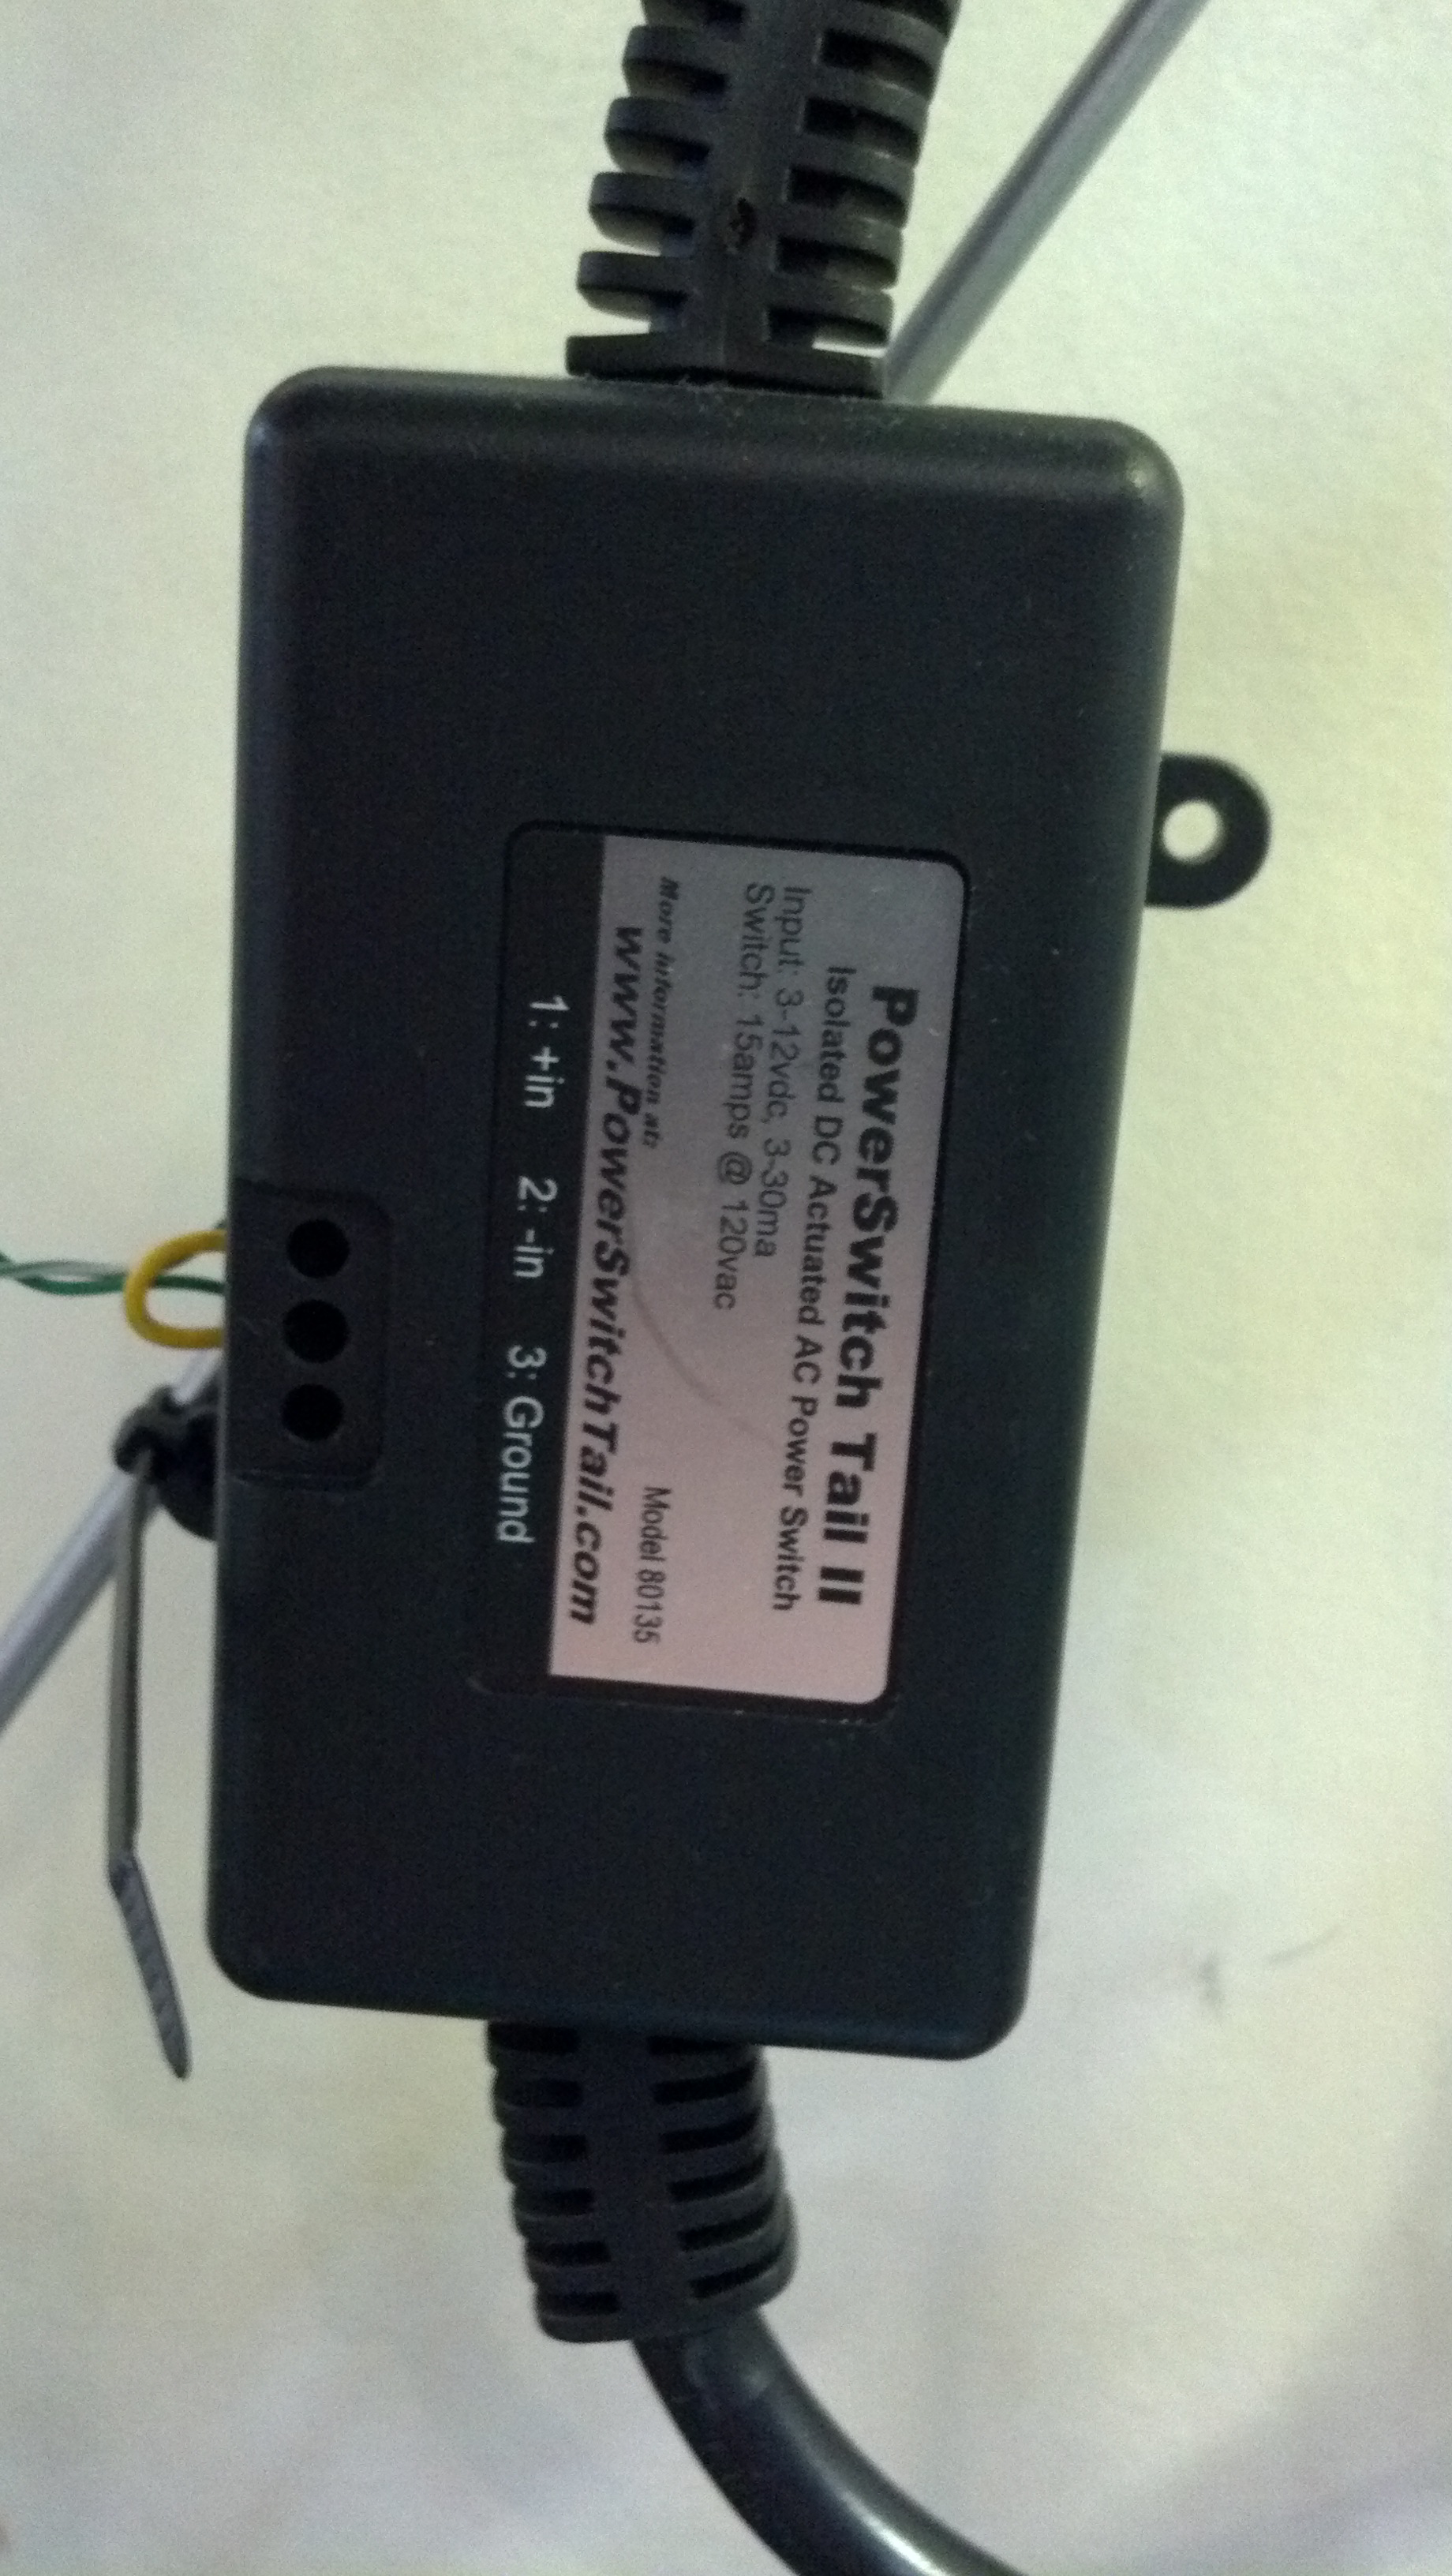
4. Something that can SAFELY switch line voltage. (I’m using a powerswitch tail II, because I really don’t want to get killed, and it’s also very simple – if you’re using naked relays, please for the love of god, be careful with line voltages.)
This thing is a beast. I can drive it via 5v easily, and it switches line like a champ. It’s been in constant use since my last post about home automation.
START OF GUIDE
1. So first, we need to hook up the shield, the arduino and the PSTII. It’s really easy.
2. Get linux on the computer you want to run the server out of. I made a video a long time ago back when I was first getting into linux. The installation process is still the same, you can find that video here.
3. Install various programs your server. First things first, you have to install openssh by running the command:
sudo apt-get install openssh
This will make the server headless, and it will enable you to access the server via command line. Specifically through PuTTY for windows. You can then ssh to your server which is key. You then need to install LAMP by running the command:
sudo apt-get install LAMP
This will install PHP on your server as wells apache and mysql. The two ladder objects are not essential for this project, but if you are going to use the server for other things, I strongly recommend you get them as well. The install process is very easy, just make sure you WRITE EVERY USERNAME AND PASSWORD YOU USE DOWN. I’ve had to reinstall several times before I learned my lesson on this.
After you are done with that, install vim by running the command:
sudo apt-get install vim
Vim is a text editing program for linux. You also need to get pure ftp to upload and download files from your server. Get it by running the command:
sudo apt-get install pure-ftpd
Congrats! you are now an owner of a very powerful linux server. Wasn’t that easy?
4. Upload the call.php, res.php documents to your server.
This is the call.php text, you just need to make it into a .php document and upload it to the server. This document creates a form that the user accesses to turn the lamp on and off.
This is the res.php. It is what the user is taken to once they have entered the information in the call.php.
If you walk though the code. You will see that once the correct password gets entered, the res.php document creates a functioning document stat.php. This is the same document that the arduino reads, and compares to.
5. You need to upload the arduino code.
Here it is, upload it to your board with the shield attached, and everything should work. Access the call.php via your server, and go through the process.
At this point everything should work, please let me know if it doesn’t in the comments.


i love your post, thank you for sharing.http://www.dpmicro.net
very good stuff.http://www.maladiretasegmentada.com.br
good one keep posting more…http://www.divulgaemail.com
thanks very much for this great post! i had a lot of interesting thoughts while reading this which i might just put into action right away. thanks.http://www.acertemail.com
wdnigftpmphjd, hqzlnaxzkl
Hi, Nice to meet you.
My name is Daniel, at WIZnet in Korea.
We have been searching some application references in which WIZnet solution is applied, and found your project “A comprehensive guide to controlling a lamp via the internet on any web enabled device.
” using Ethernet Shield. In the Ethernet Shield WZnet’s W5100 chip is embedded. Your development looks very cool & smart.
Recently we opened WIZnet Museum (http://wiznetmuseum.com) site. This is a academic-purposed collection of open projects, tutorials, articles and etc from our global customers.
If you are O.K. we would like to introduce your projects in here. Hopefully, you will allow this.
Also, if you are interested, we would like to send the Ethernet shield of our latest chip version, W5500 or WiFi Shield. You may be able to establish another project with them.
Hopefully, keep contacting us for the friendship.
Thank you very much