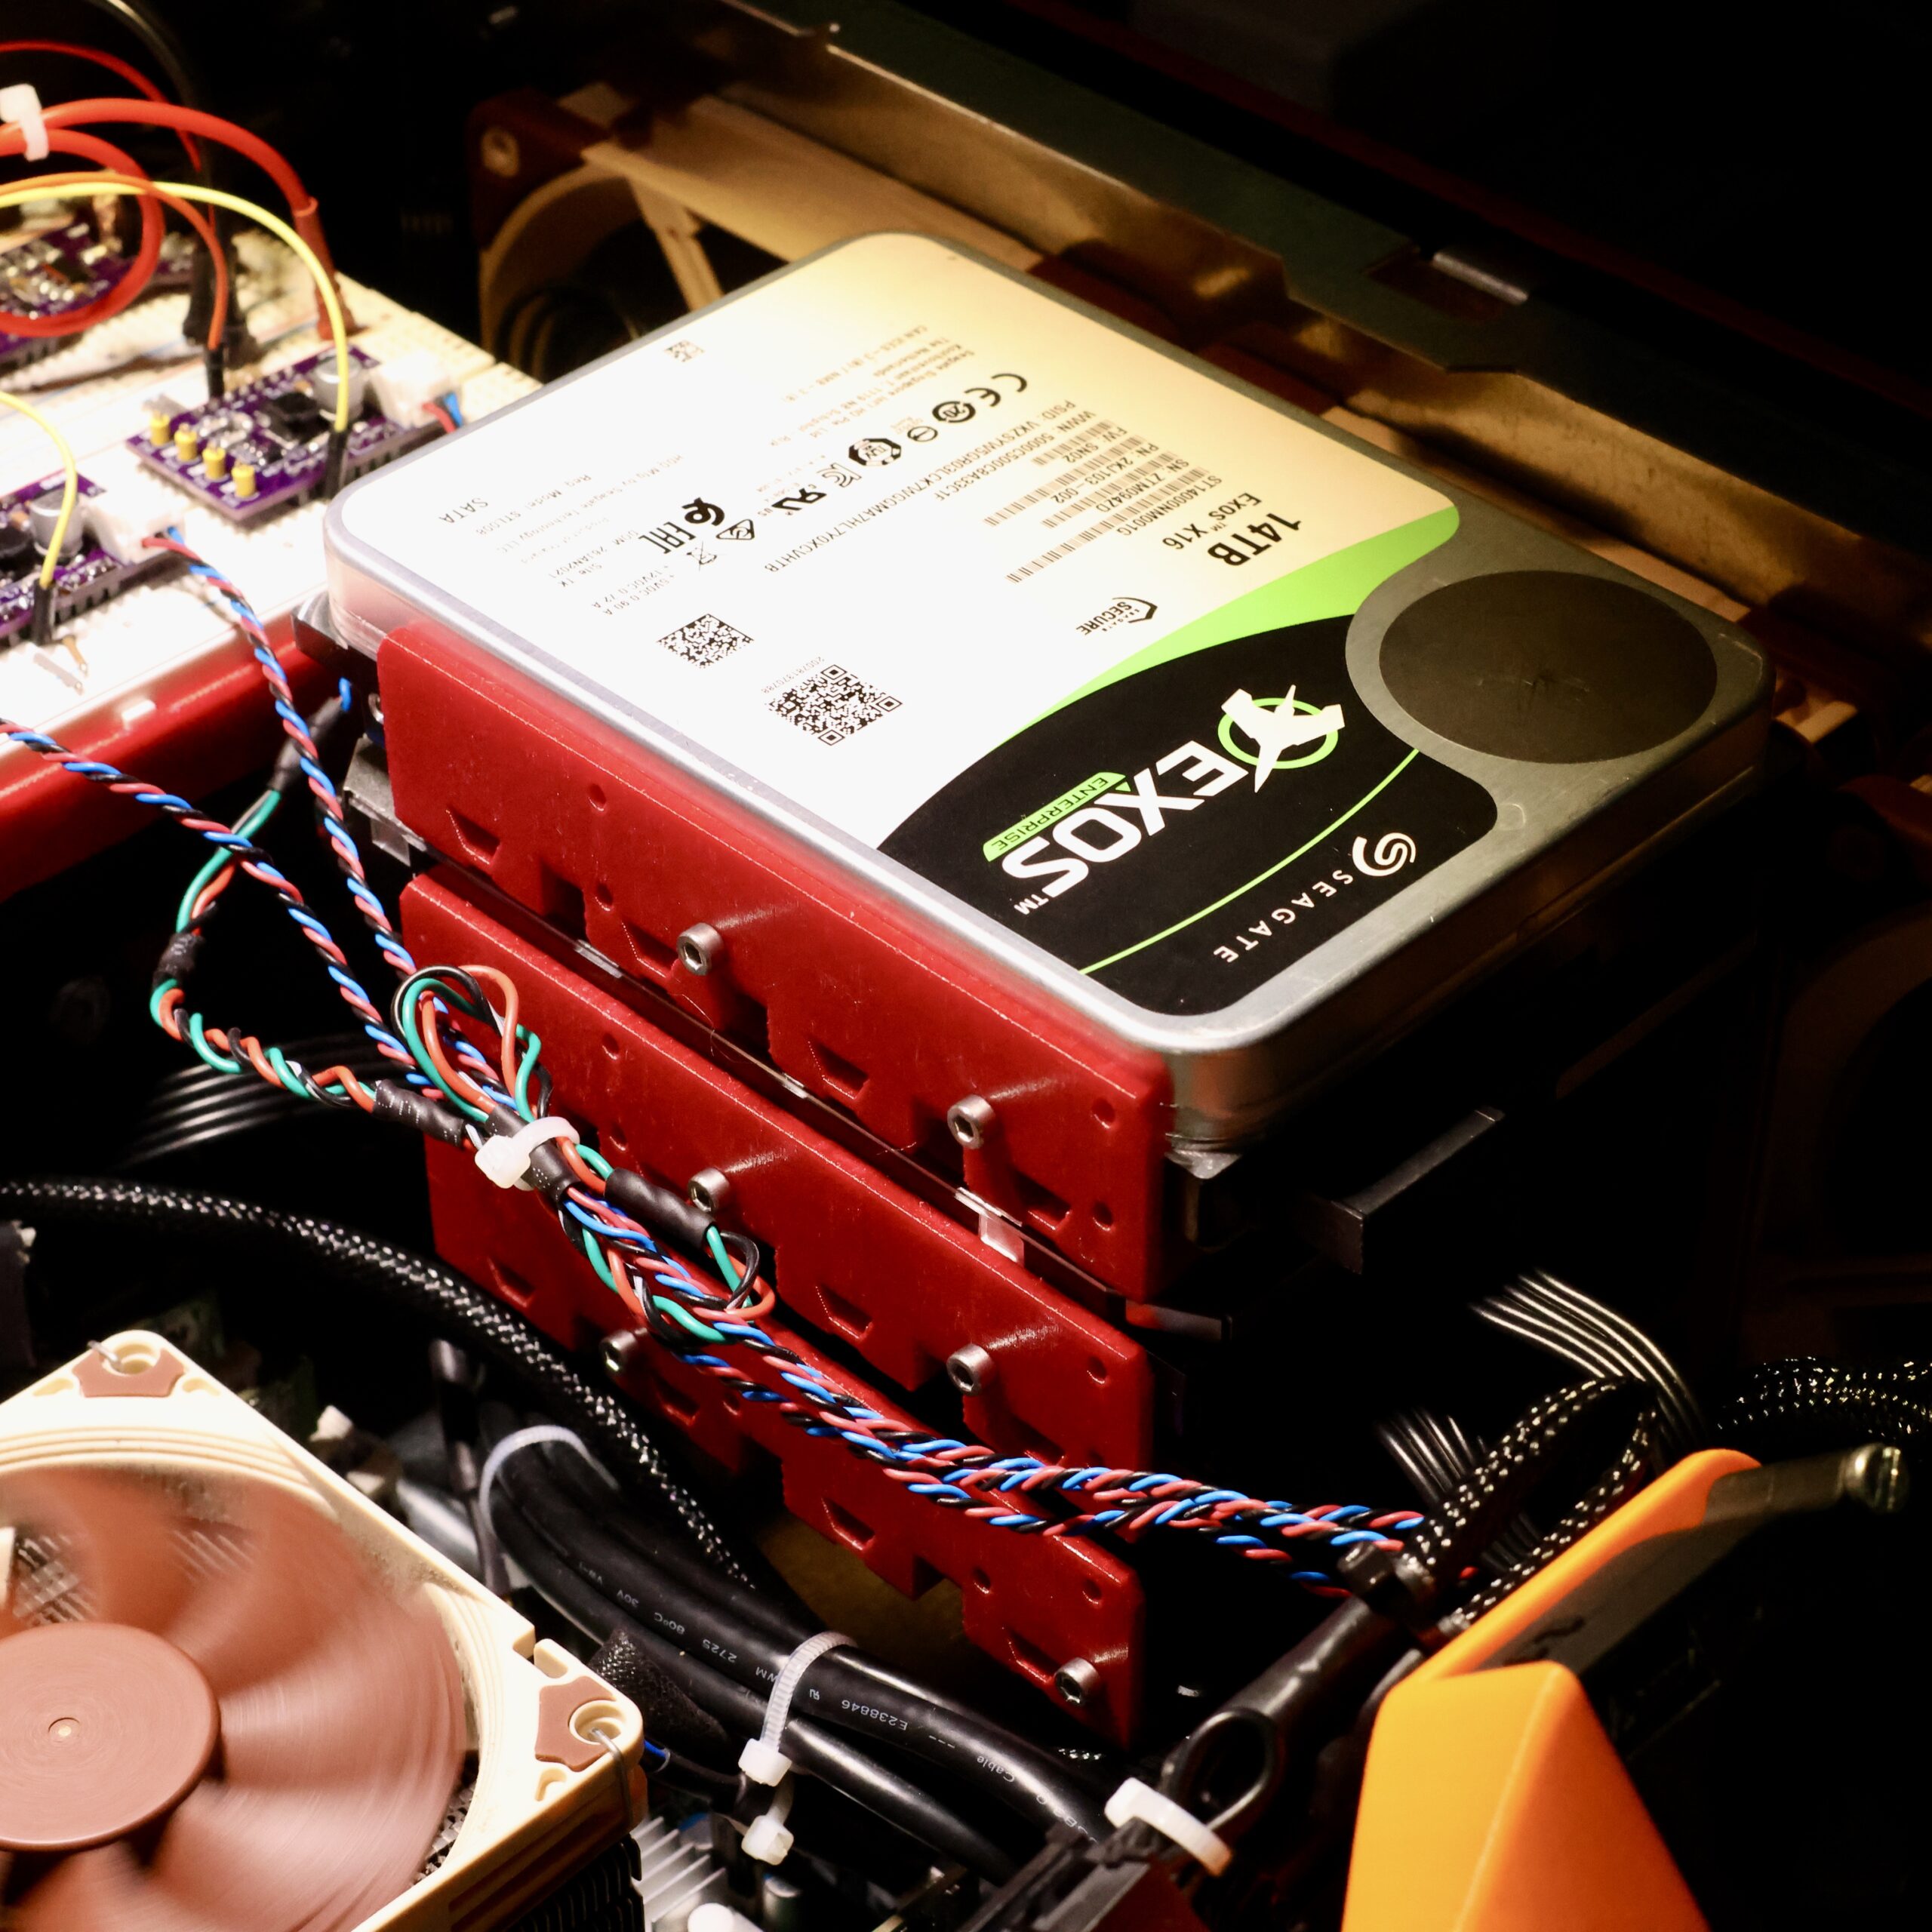
Hardware for Engineering Stream

My beloved blog post still sits on the throne as the most effective format for engineering projects. To me, Inlining code, photographs, CAD models and schematics in an interactive way trumps other mediums. This level of interactivity closes the gap between reader and material, allowing an independent relationship with the subject outside of the story being told by the author.

Working on stream to an online audience has a similar effect, the unedited and interactive format yielding a real understanding of the creators process and technique.

For a while there, I’d settled into a nice habit of broadcasting project development live on twitch. Two moves later, things have settled down enough in my personal life that I feel it’s time to try to get back into this habit.

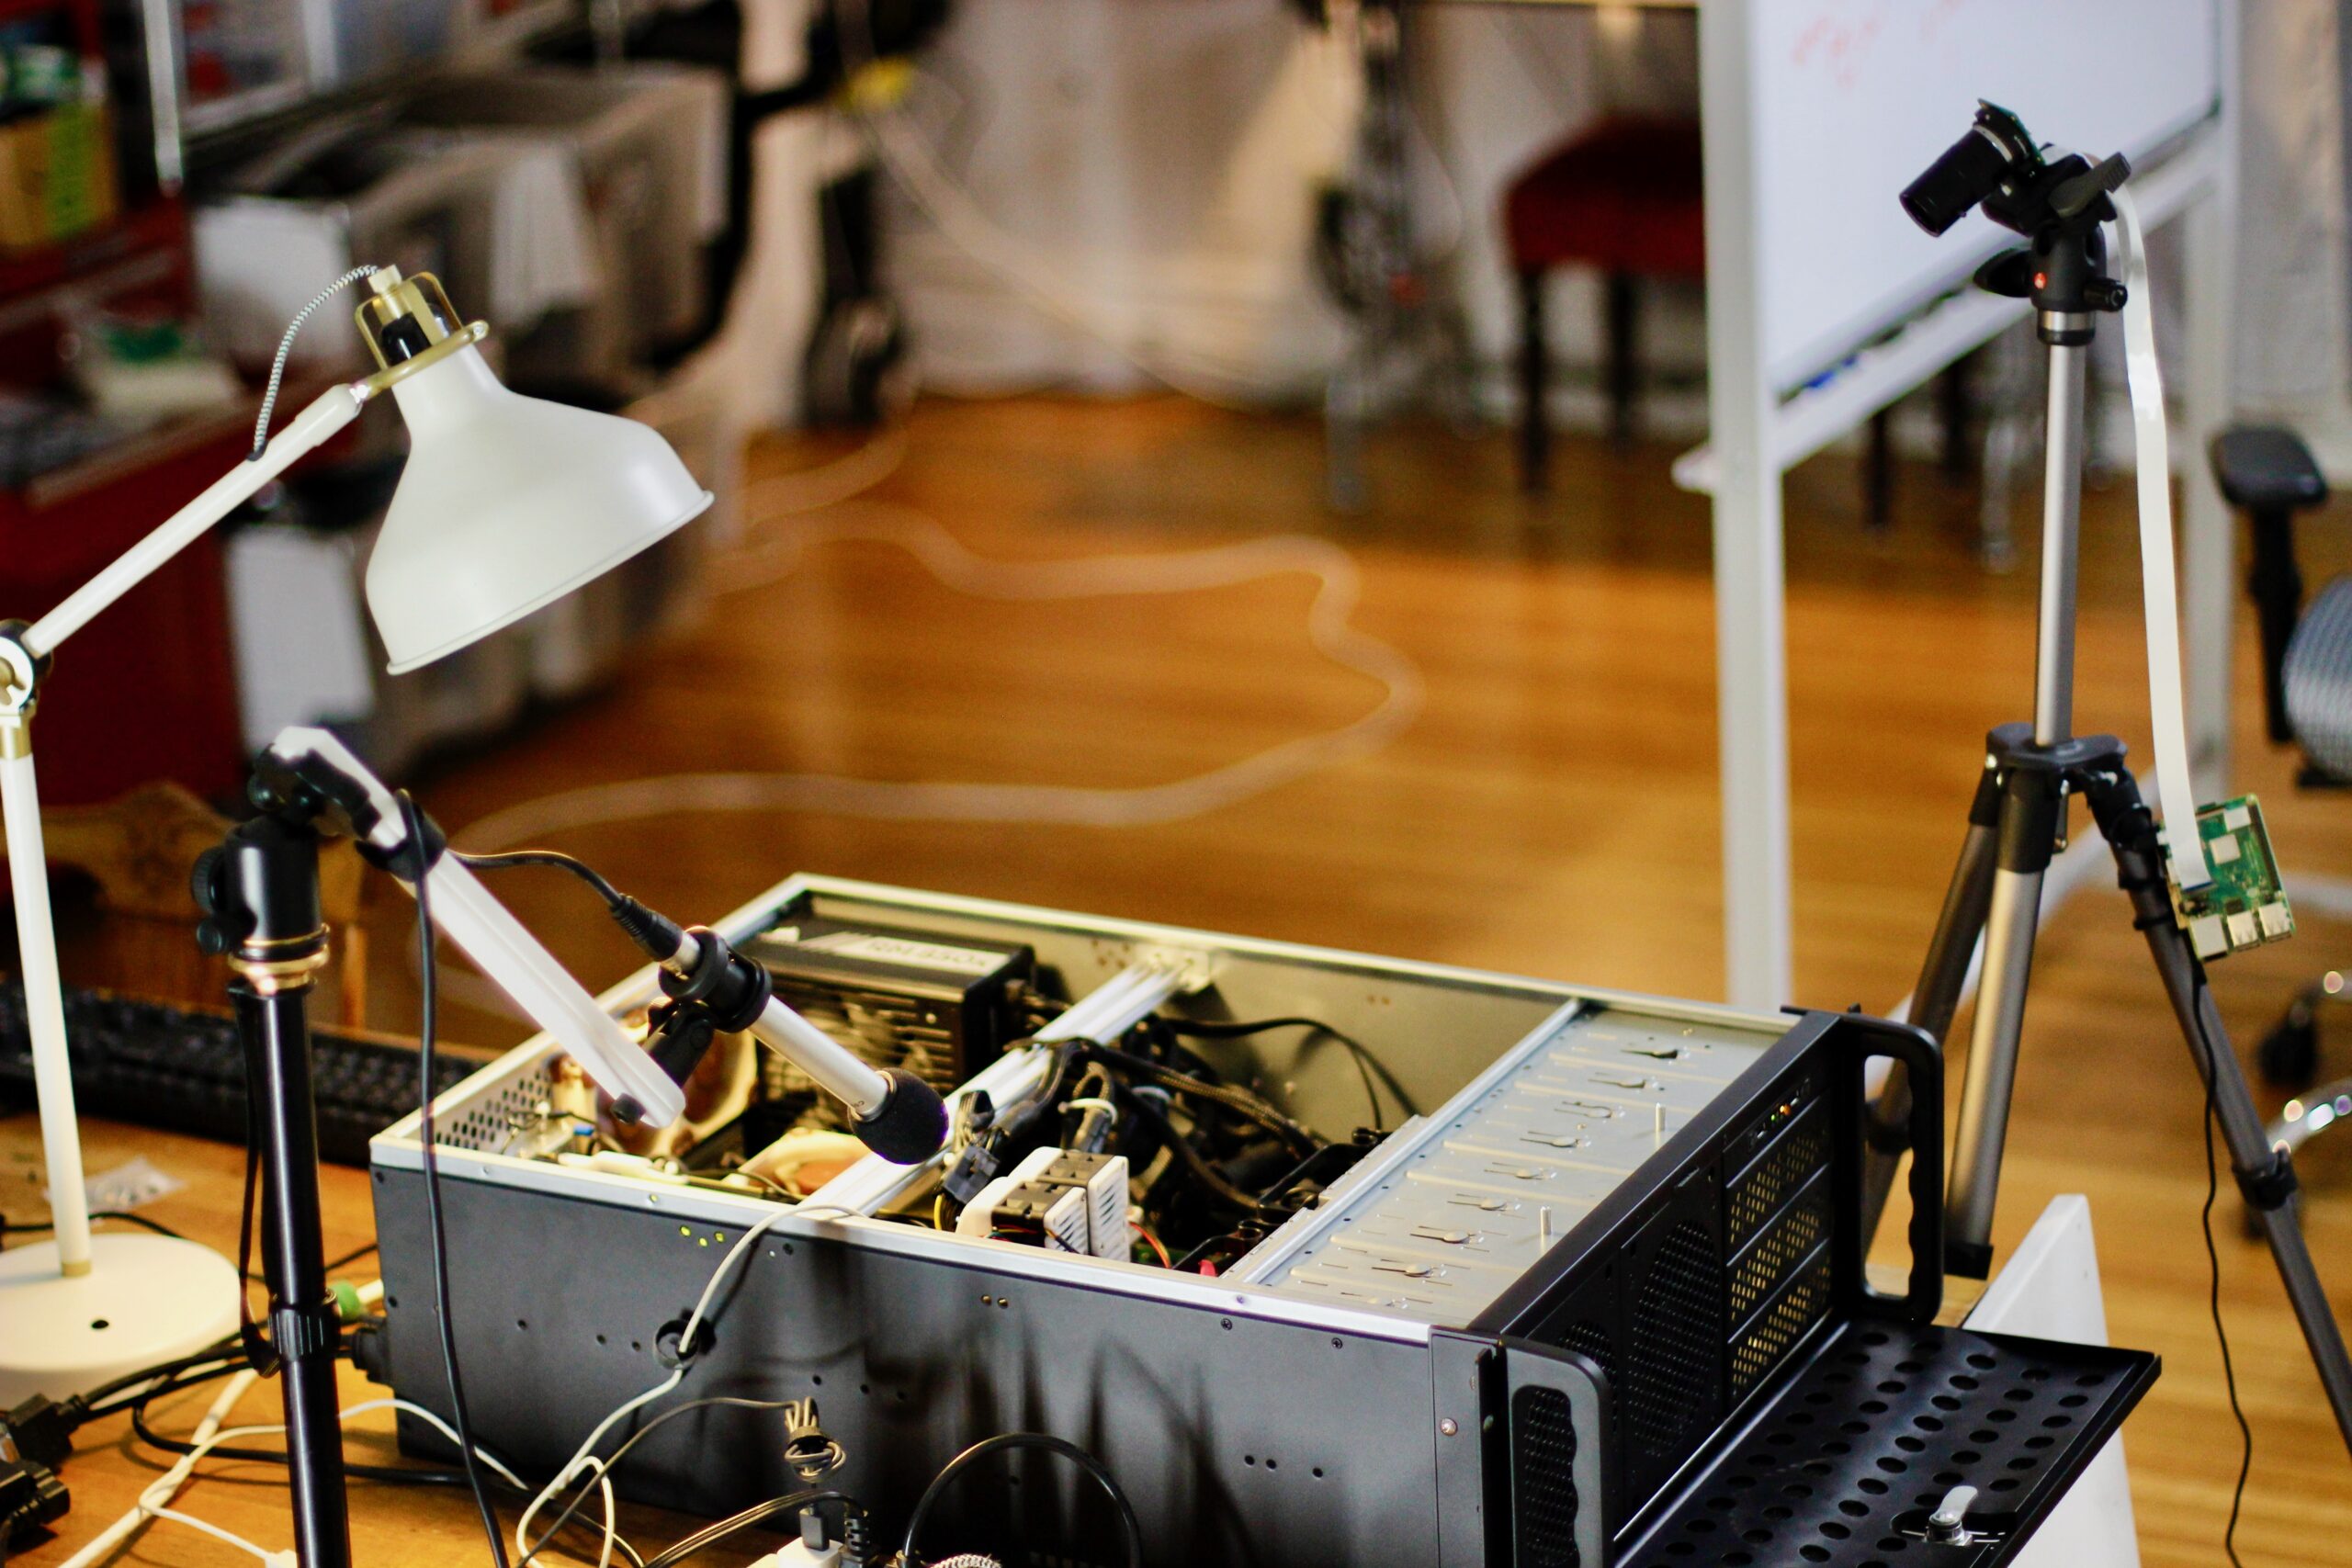
Before we get started again, I took some time to improve the ergonomics (both hardware and software) of my stream setup. The following documents a few smaller projects, all in service of these upcoming broadcasts.

Continue reading →

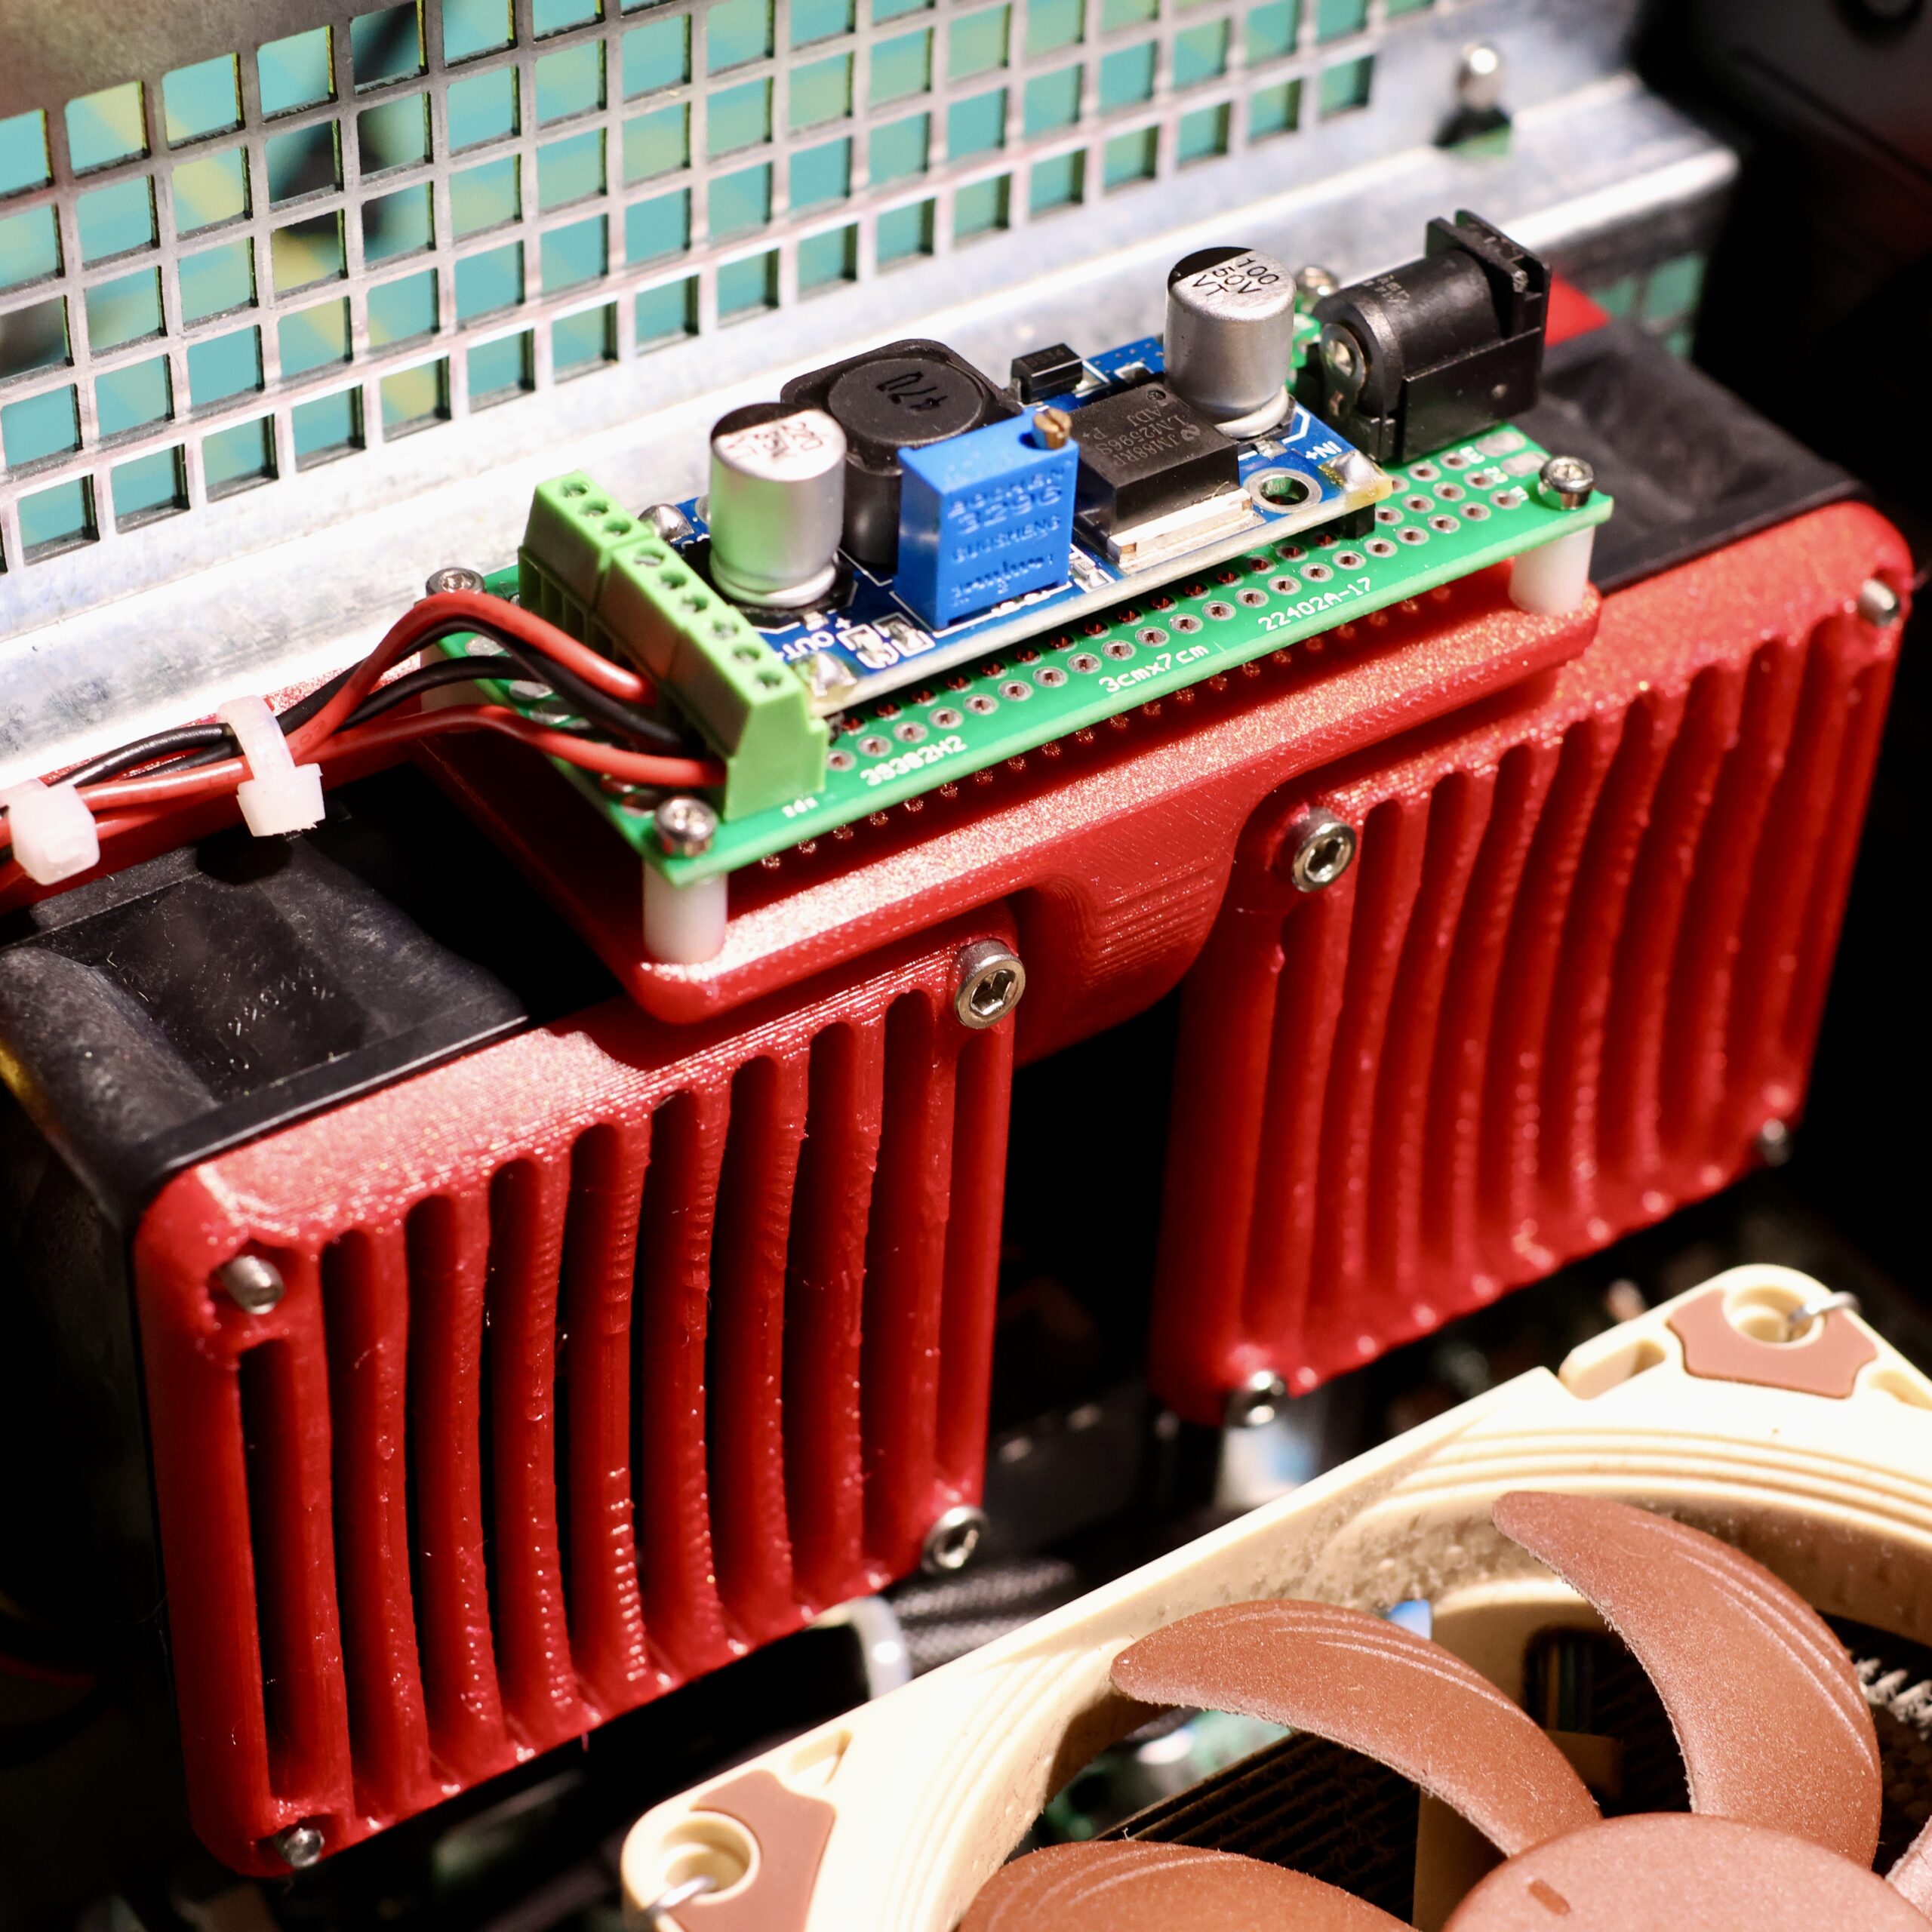
Perfecting the Sliger CX4200A: Rear Exhaust Fans + Drive Shelf

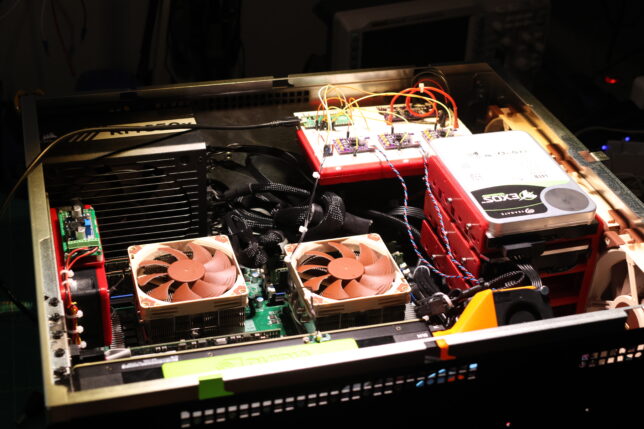
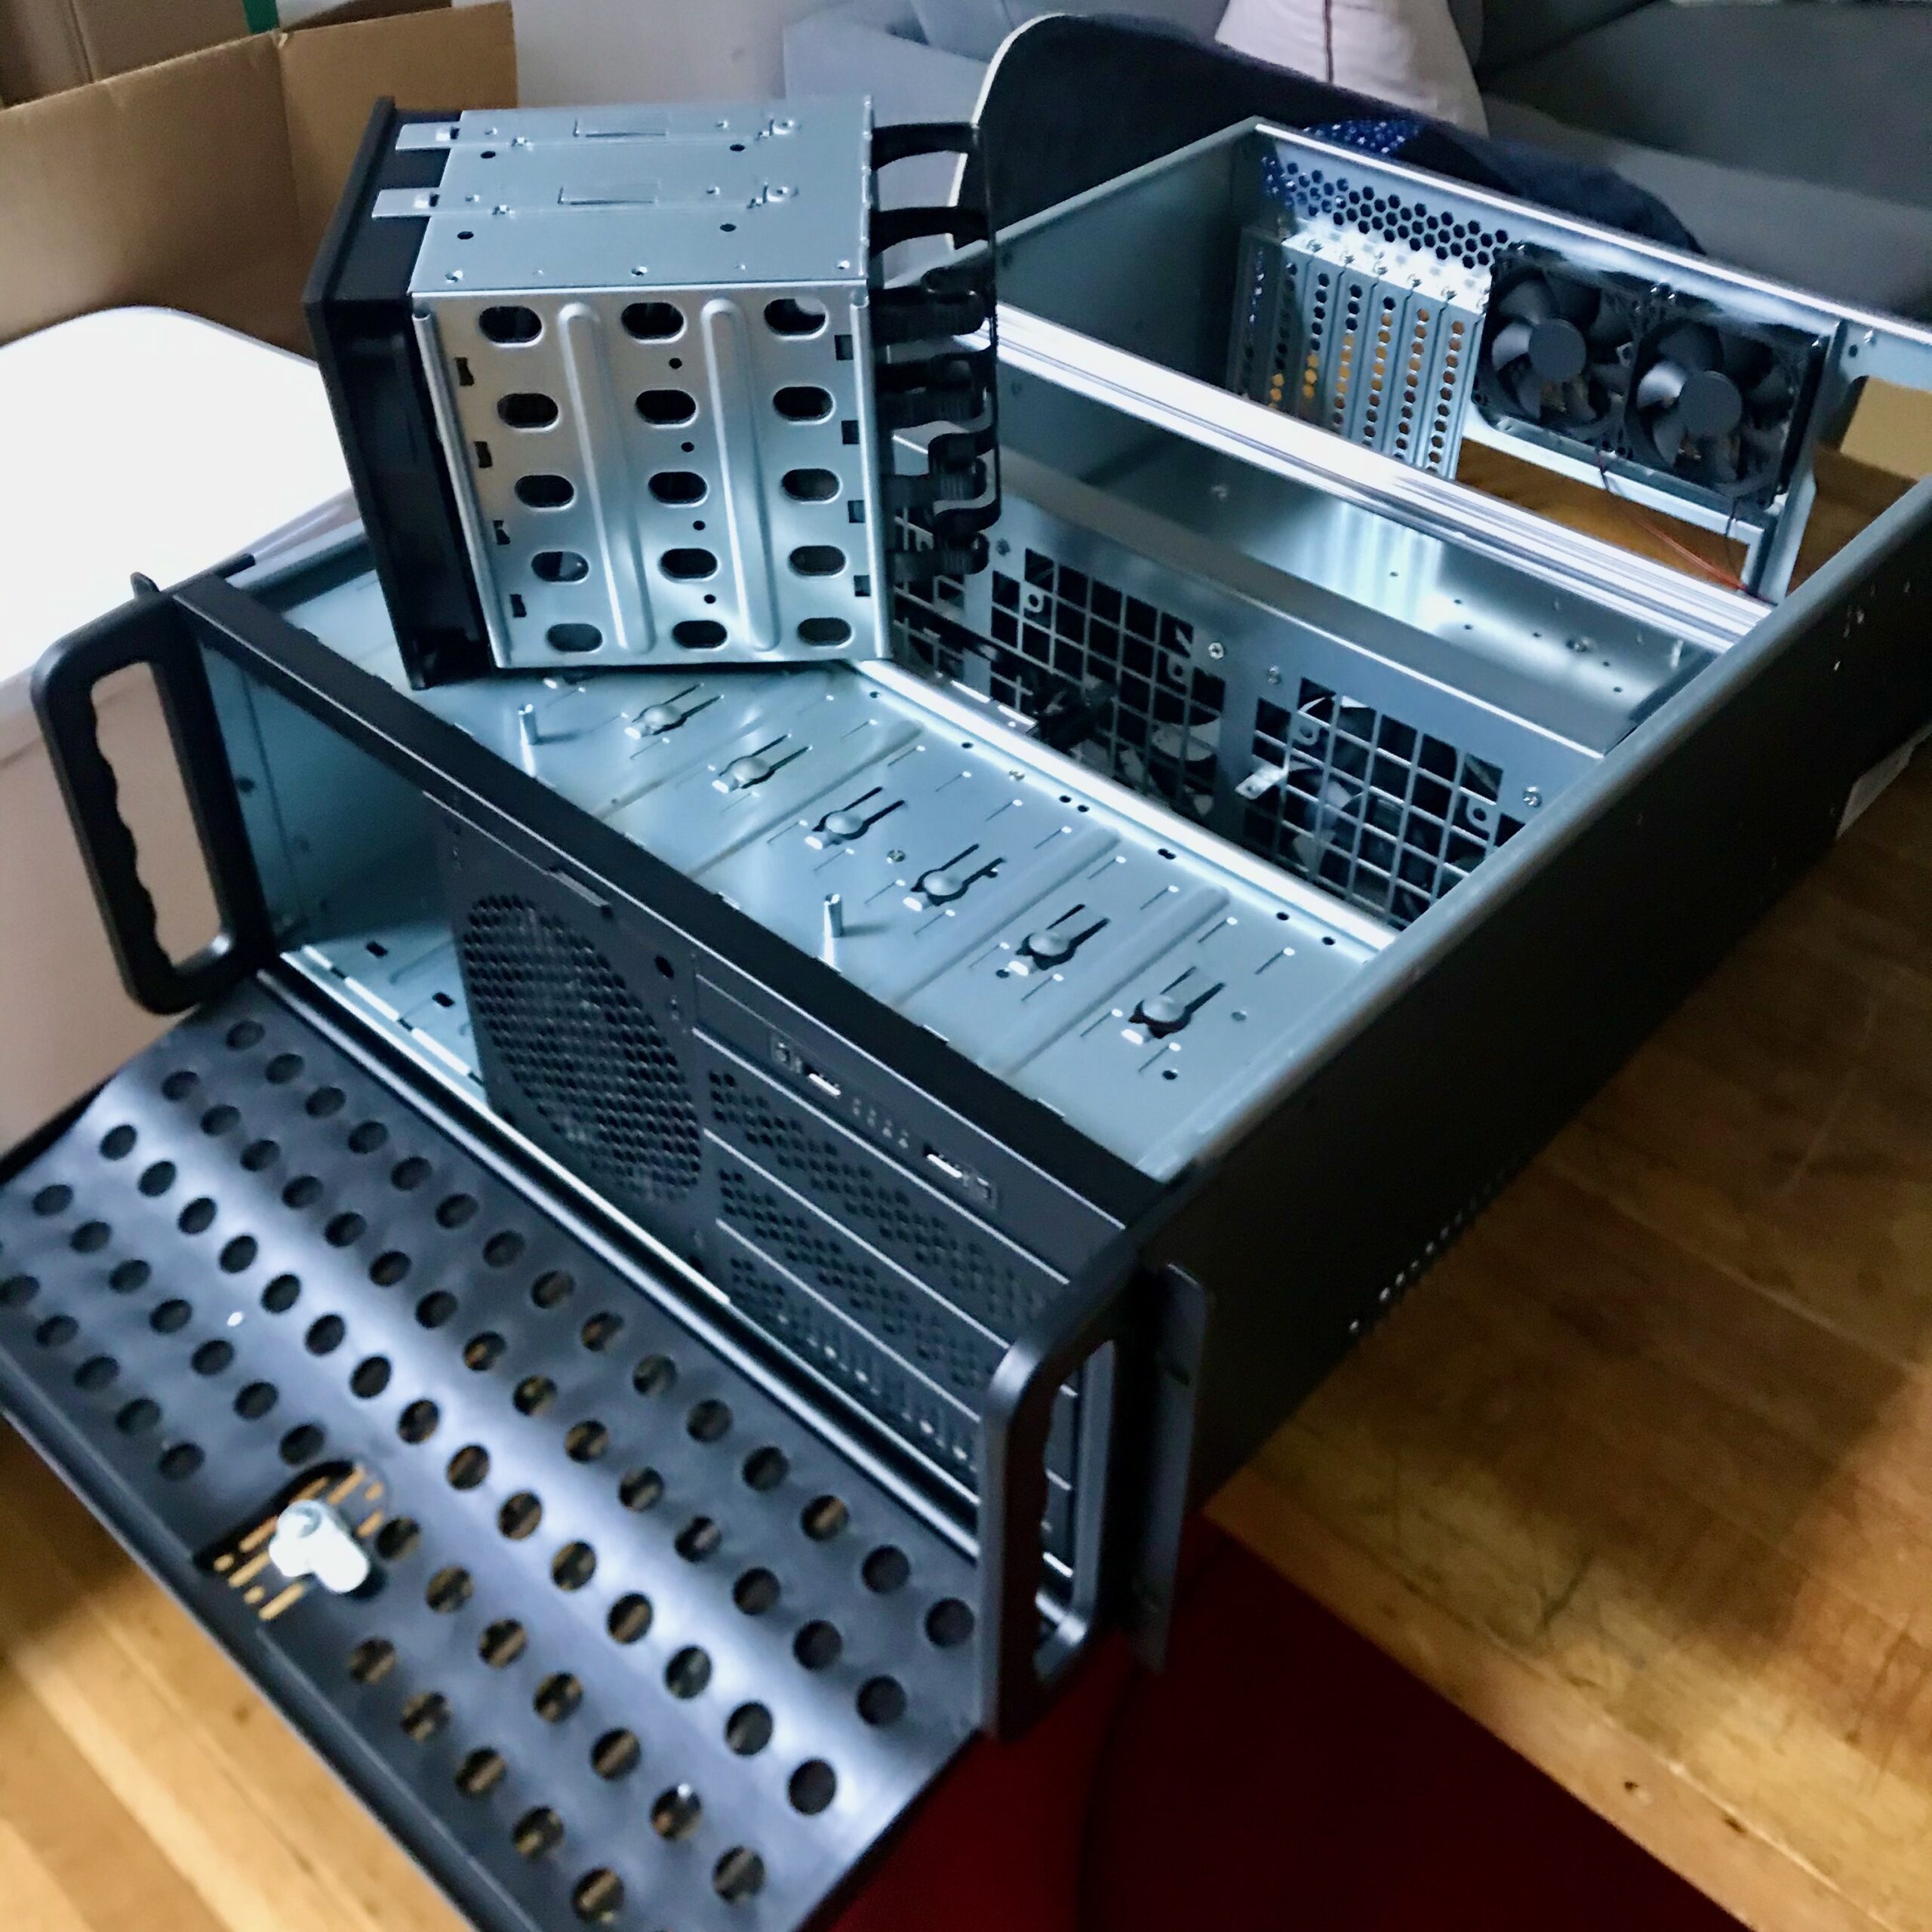
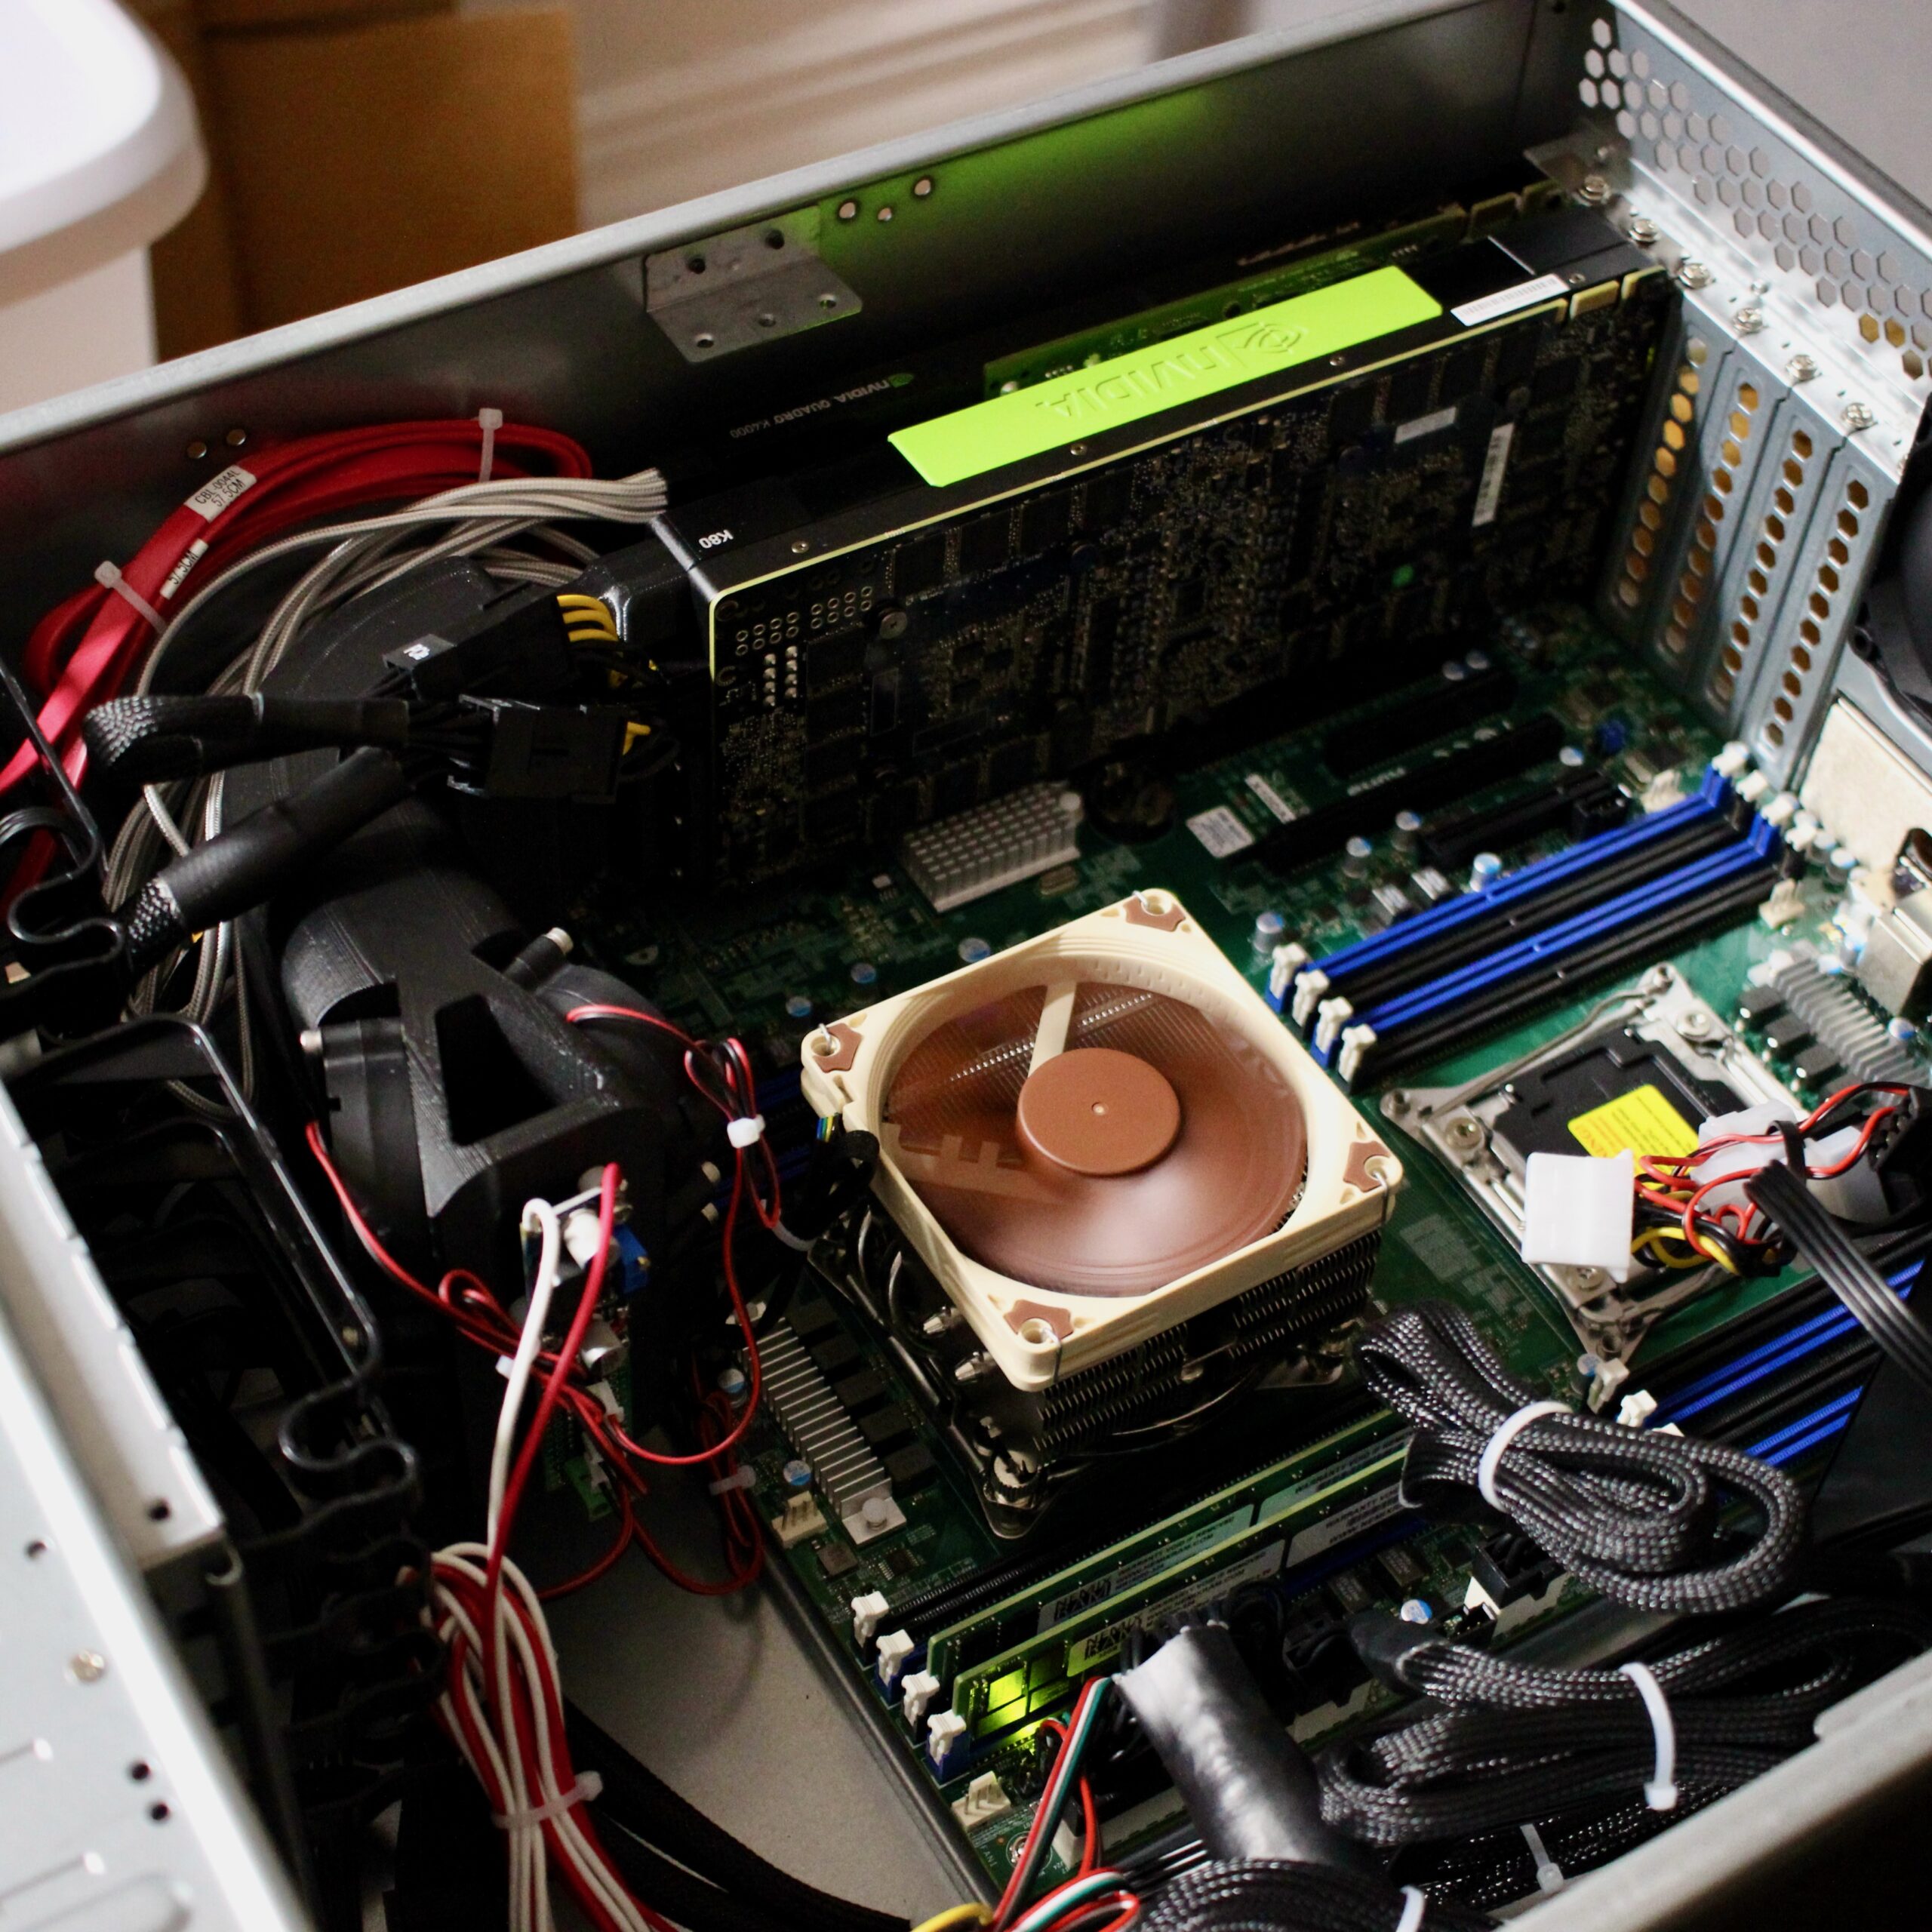
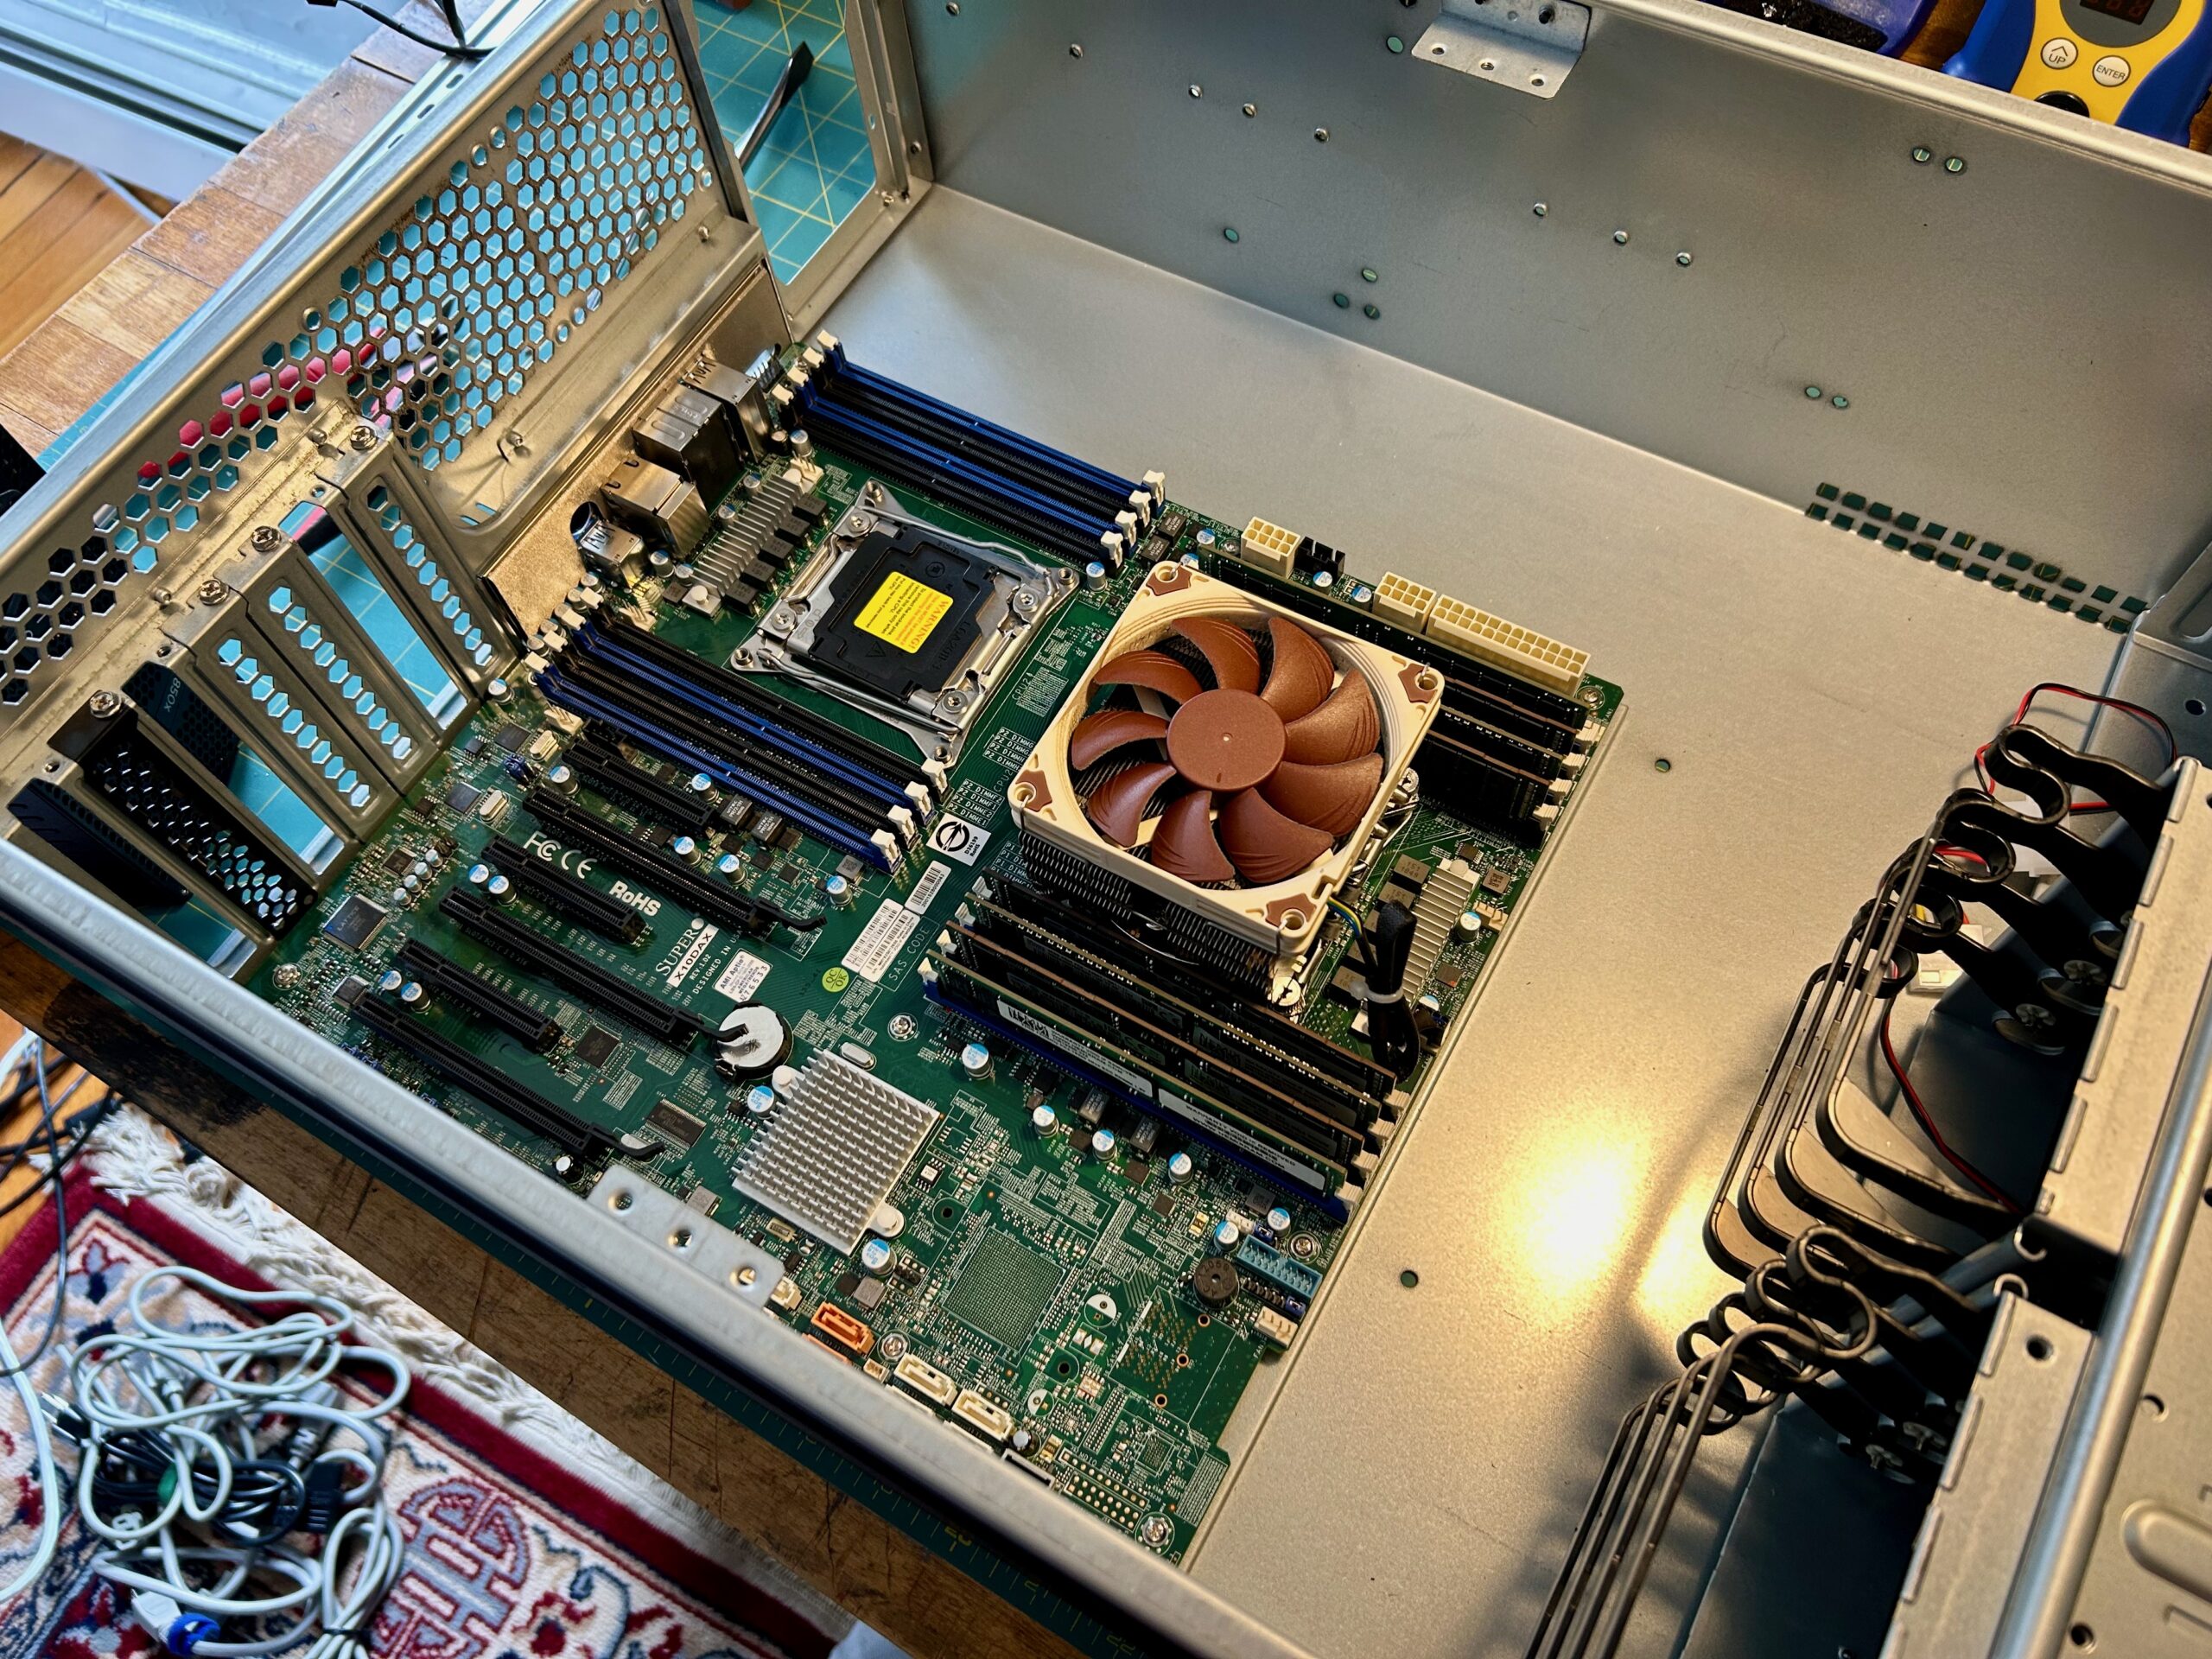
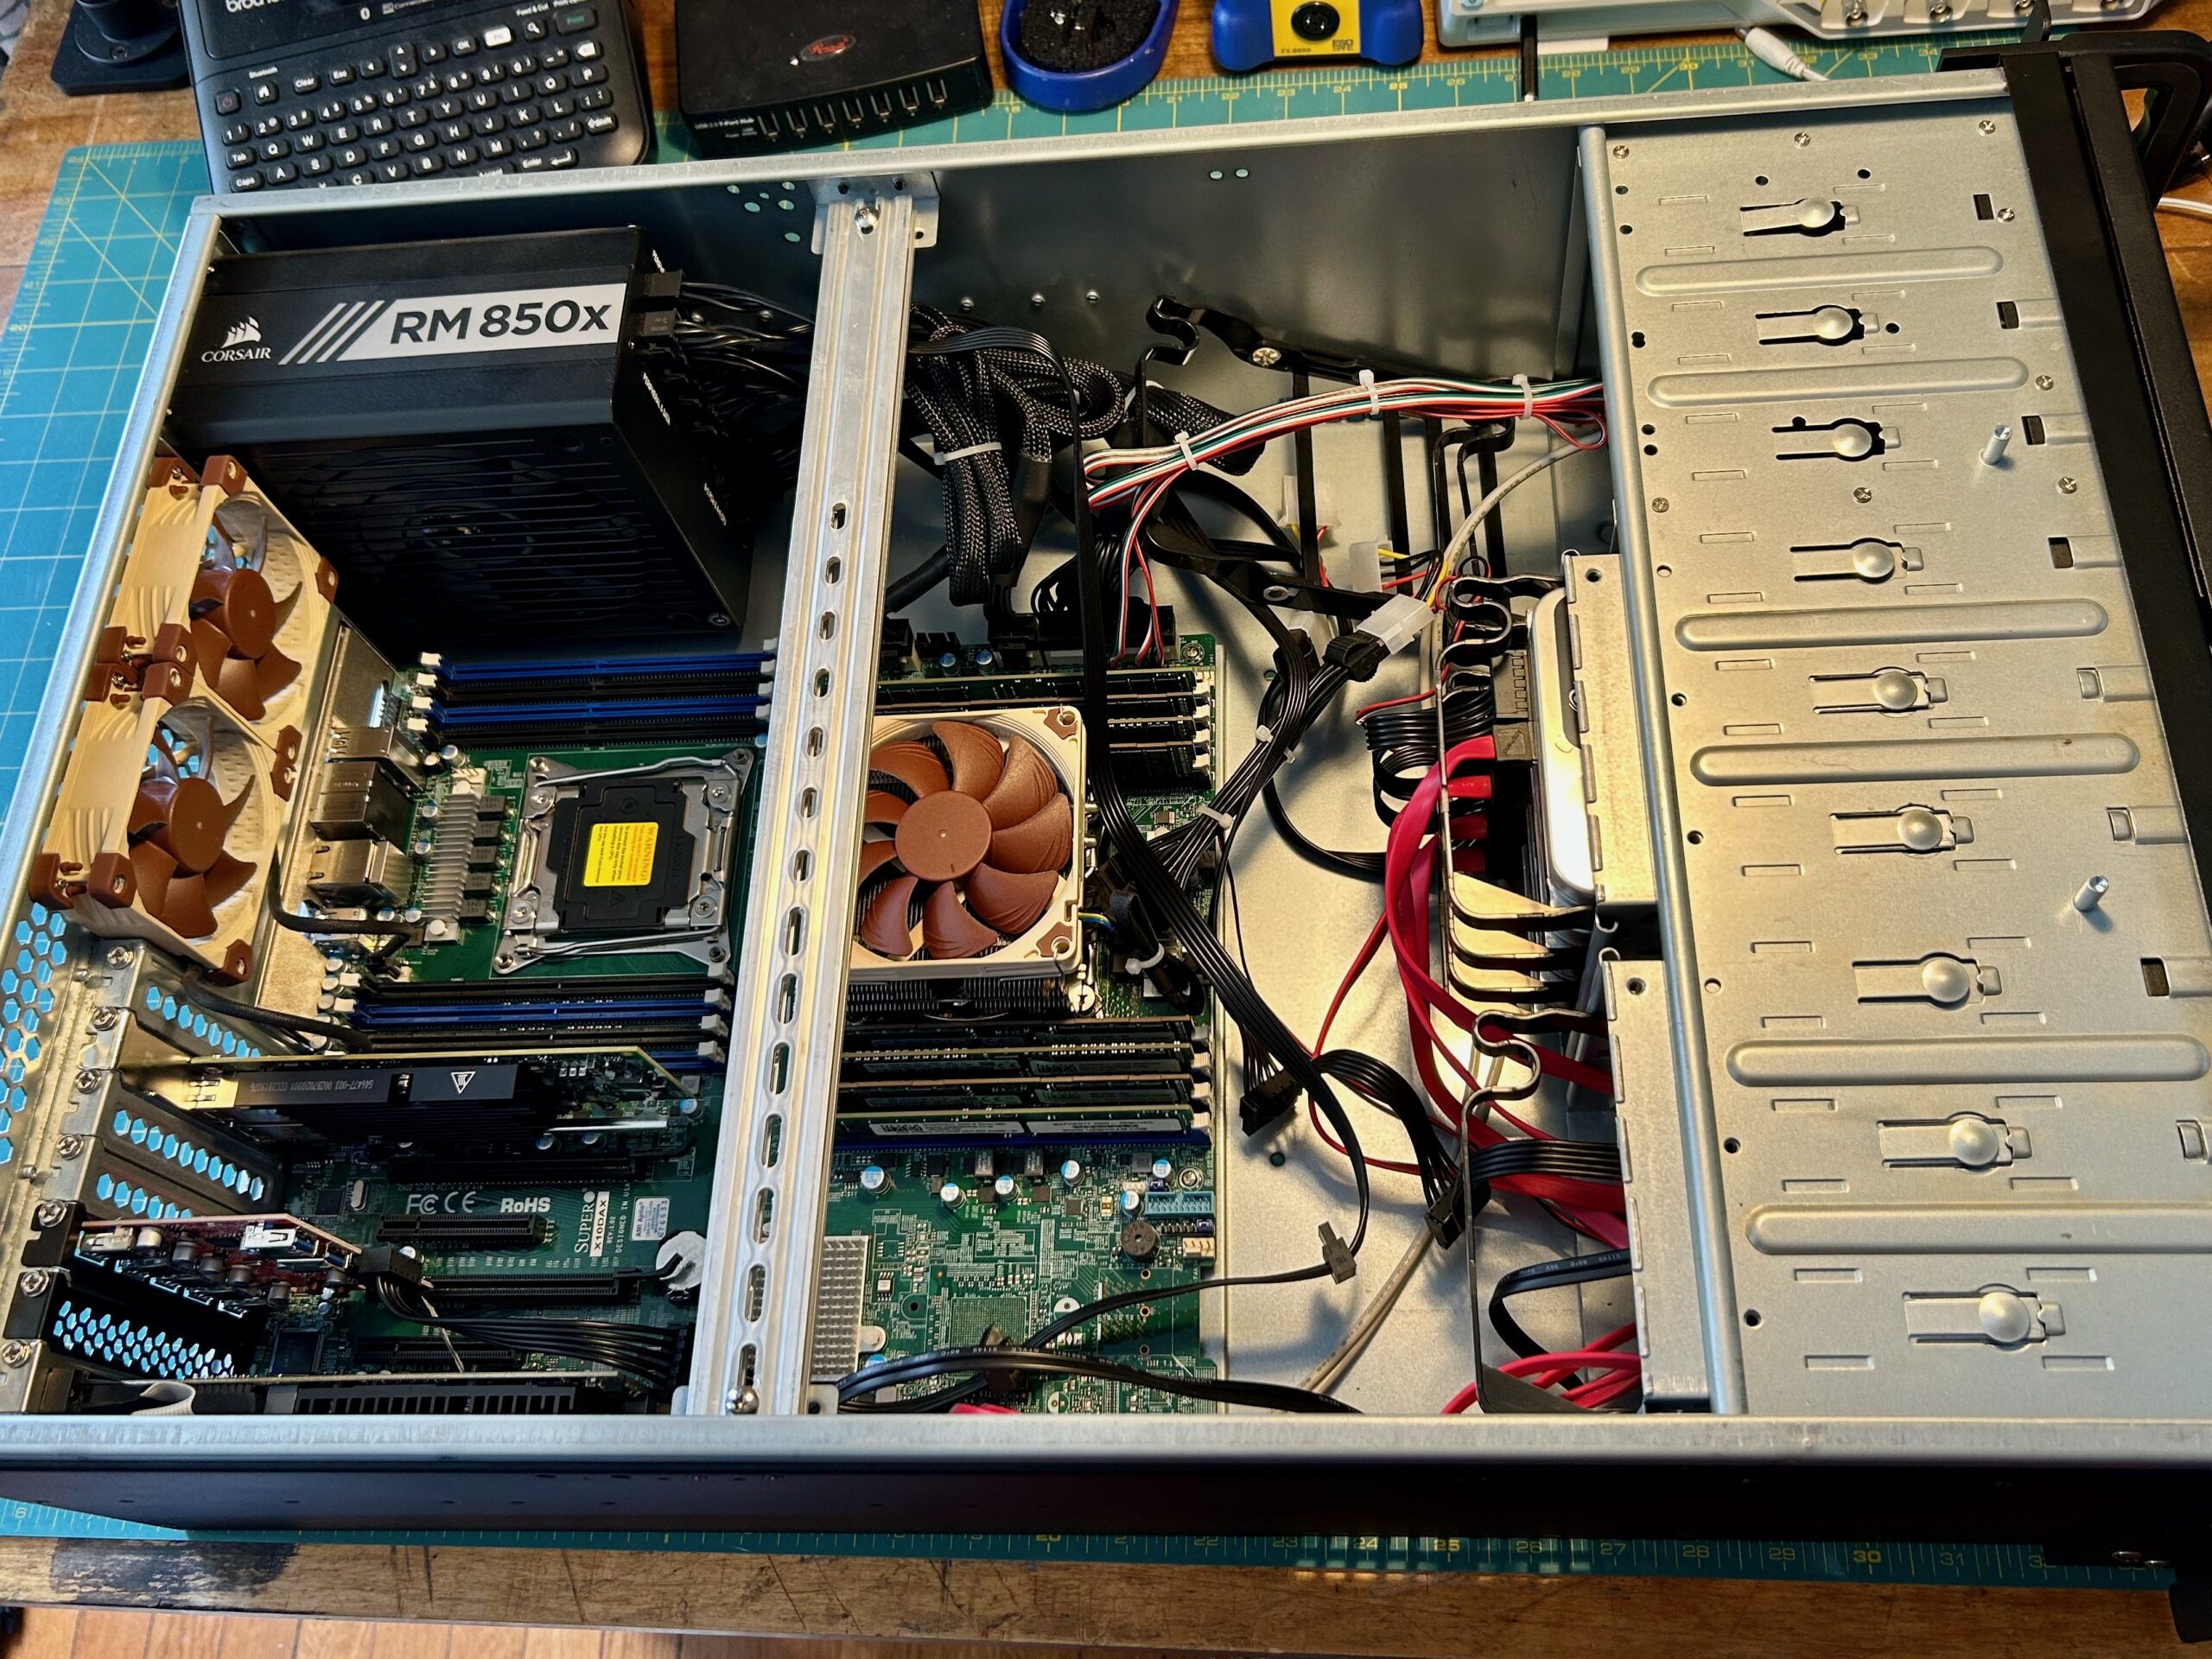
In the years since the GANce days, Rosewill’s massive 4U chassis, RSV-L4000U has housed my daily-driver virtualization host. The guts of the build are almost identical to the original spec, but it has come time to move into a smaller case. CX4200A from Sliger won out because of a few factors.

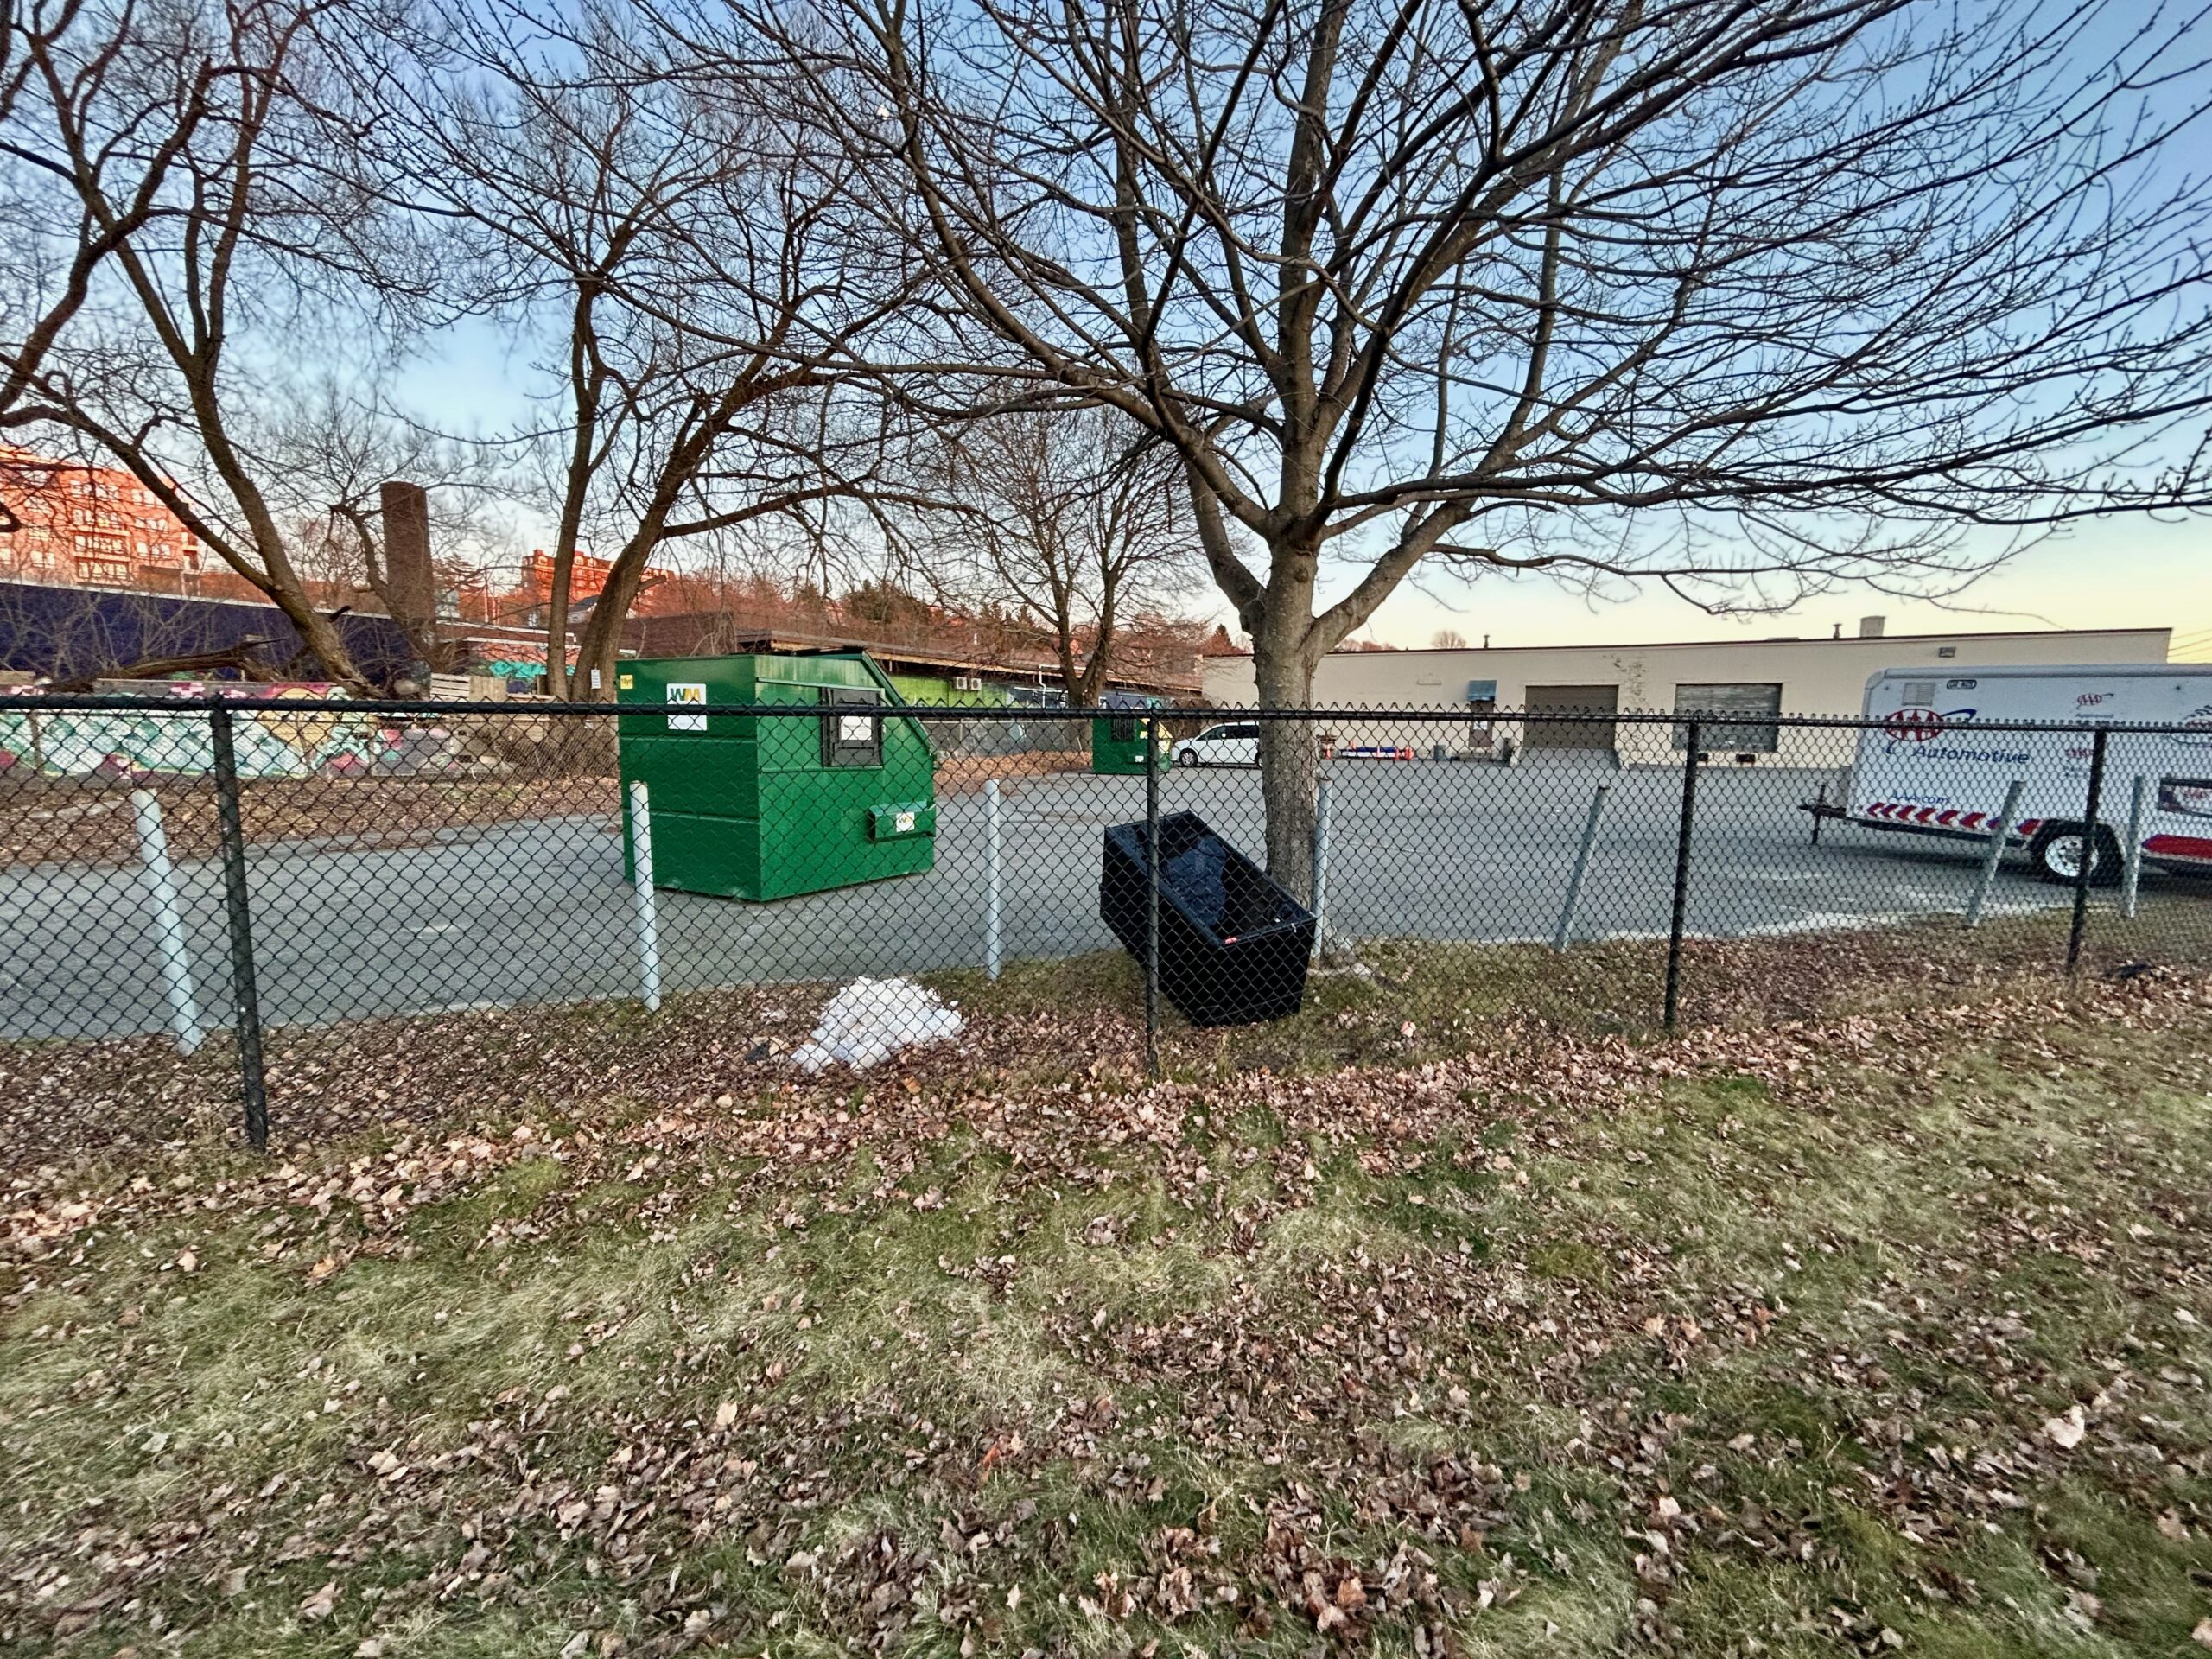
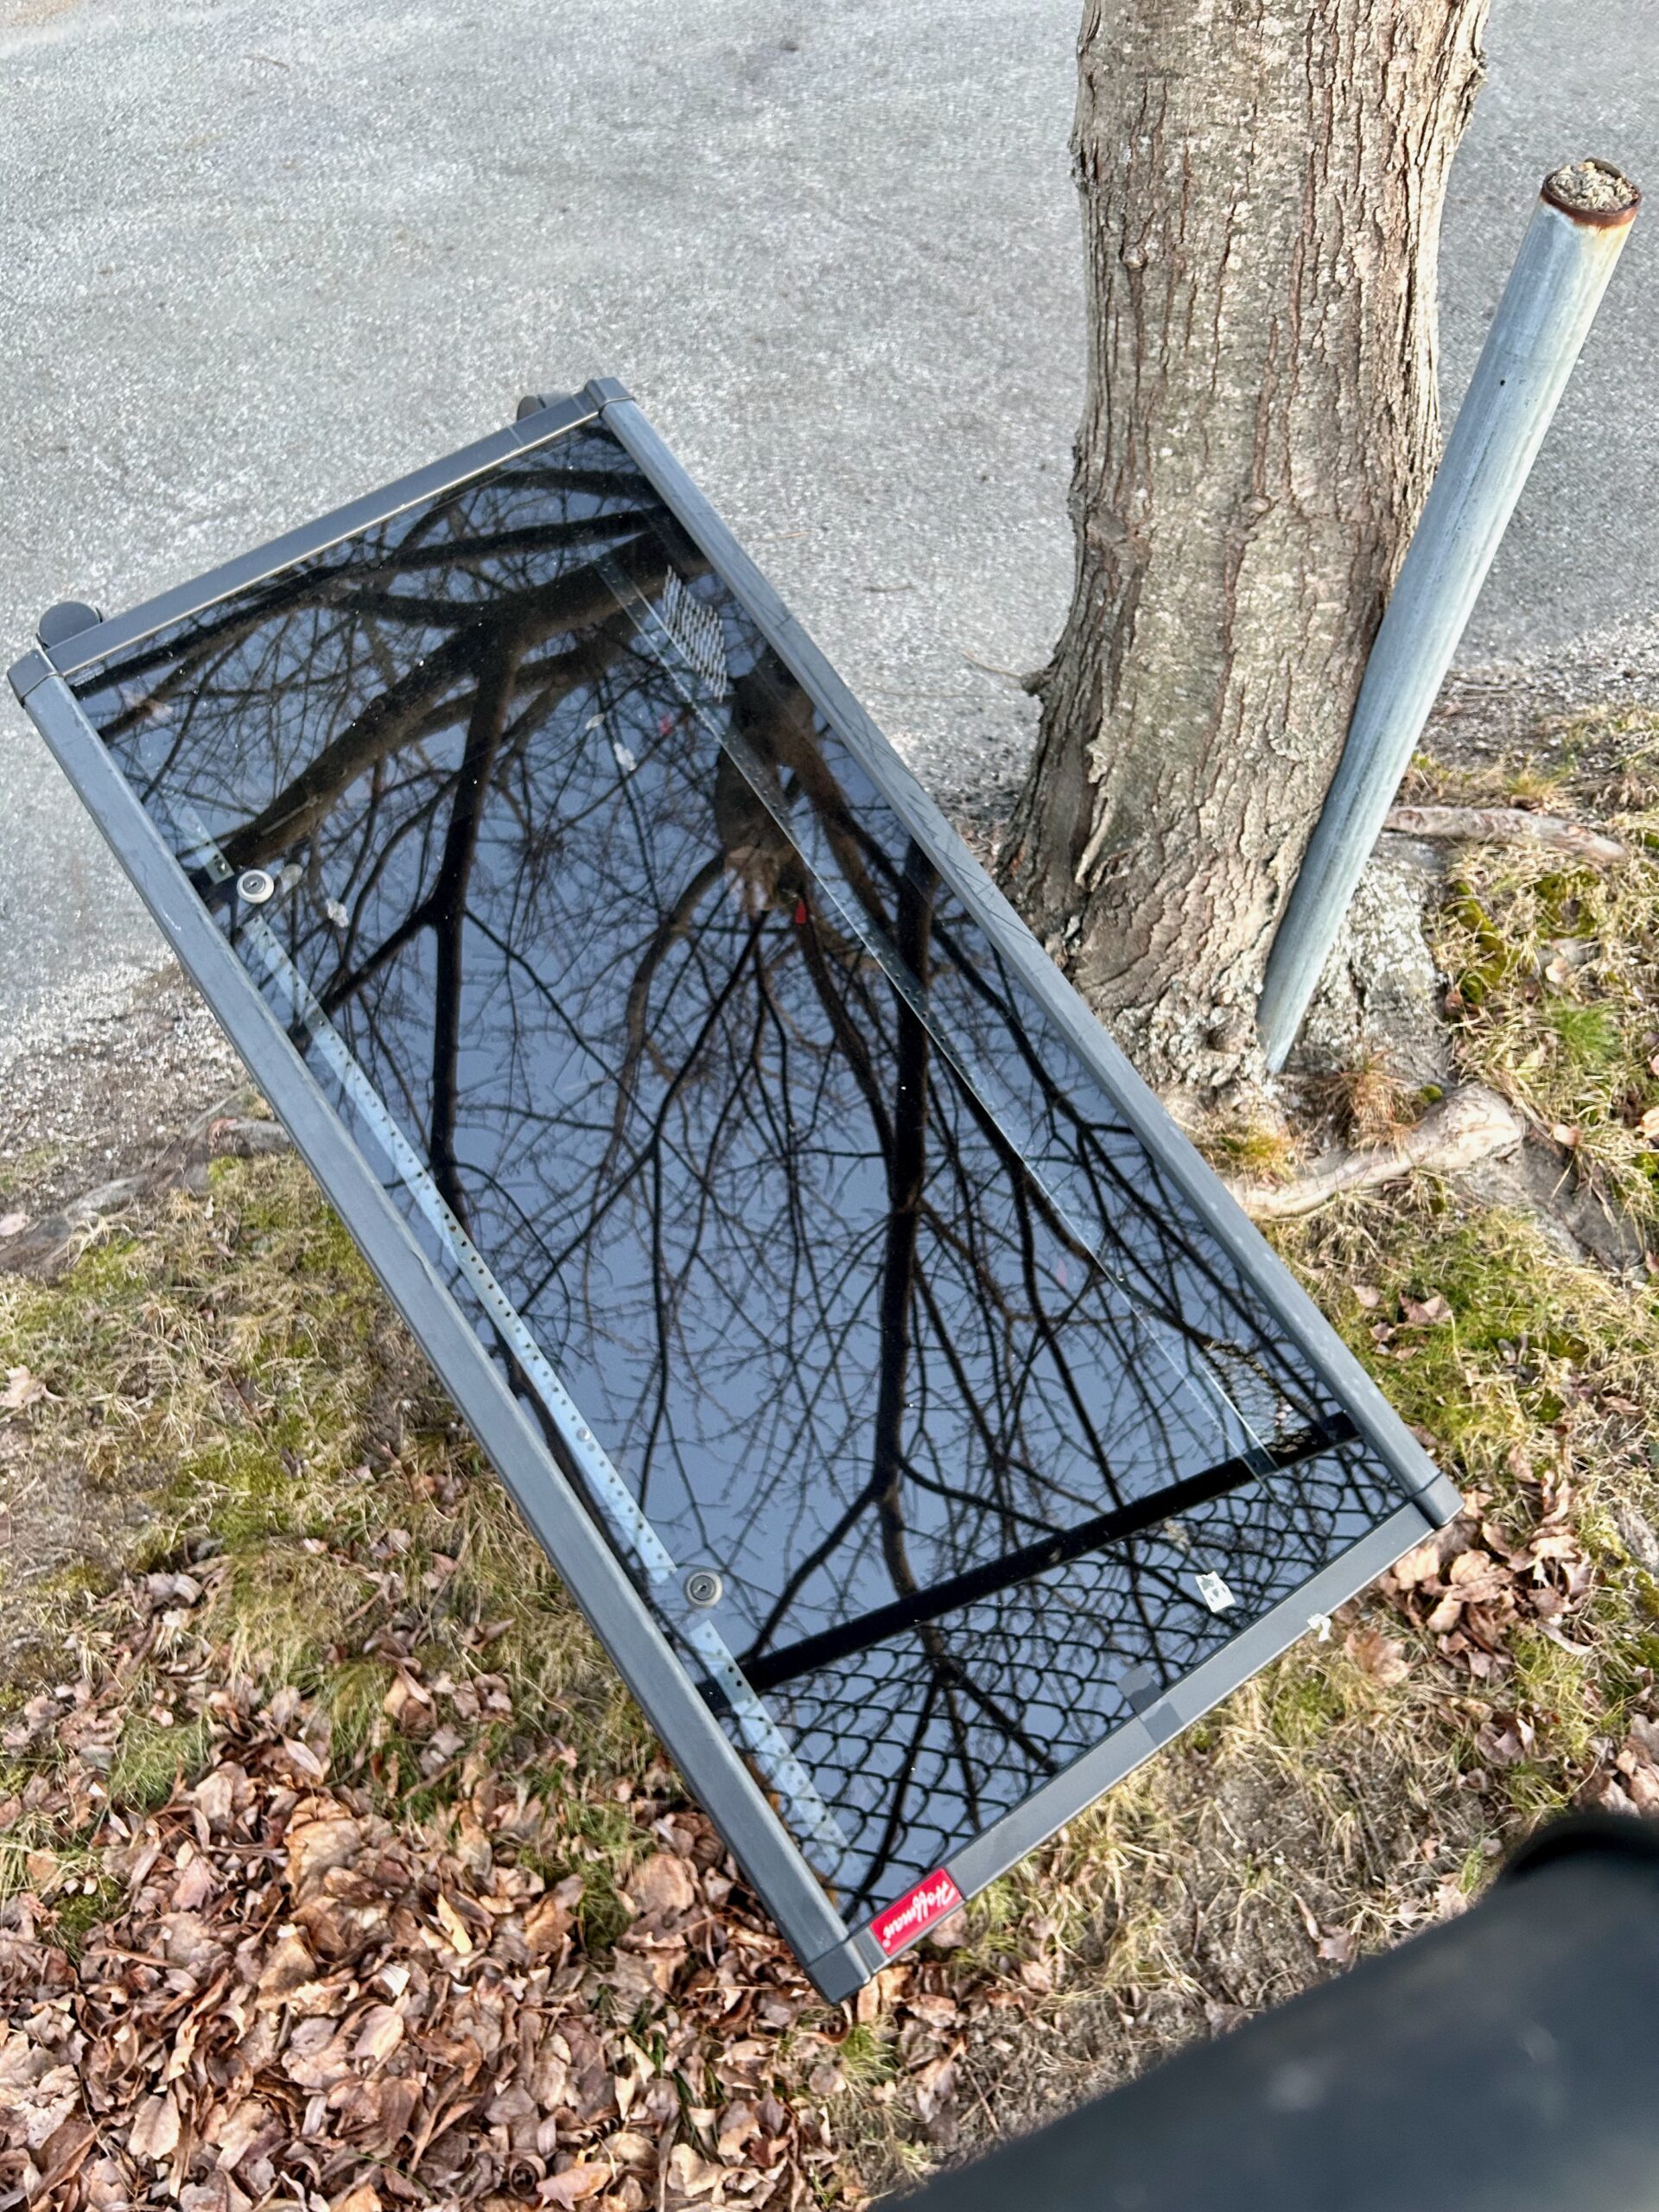
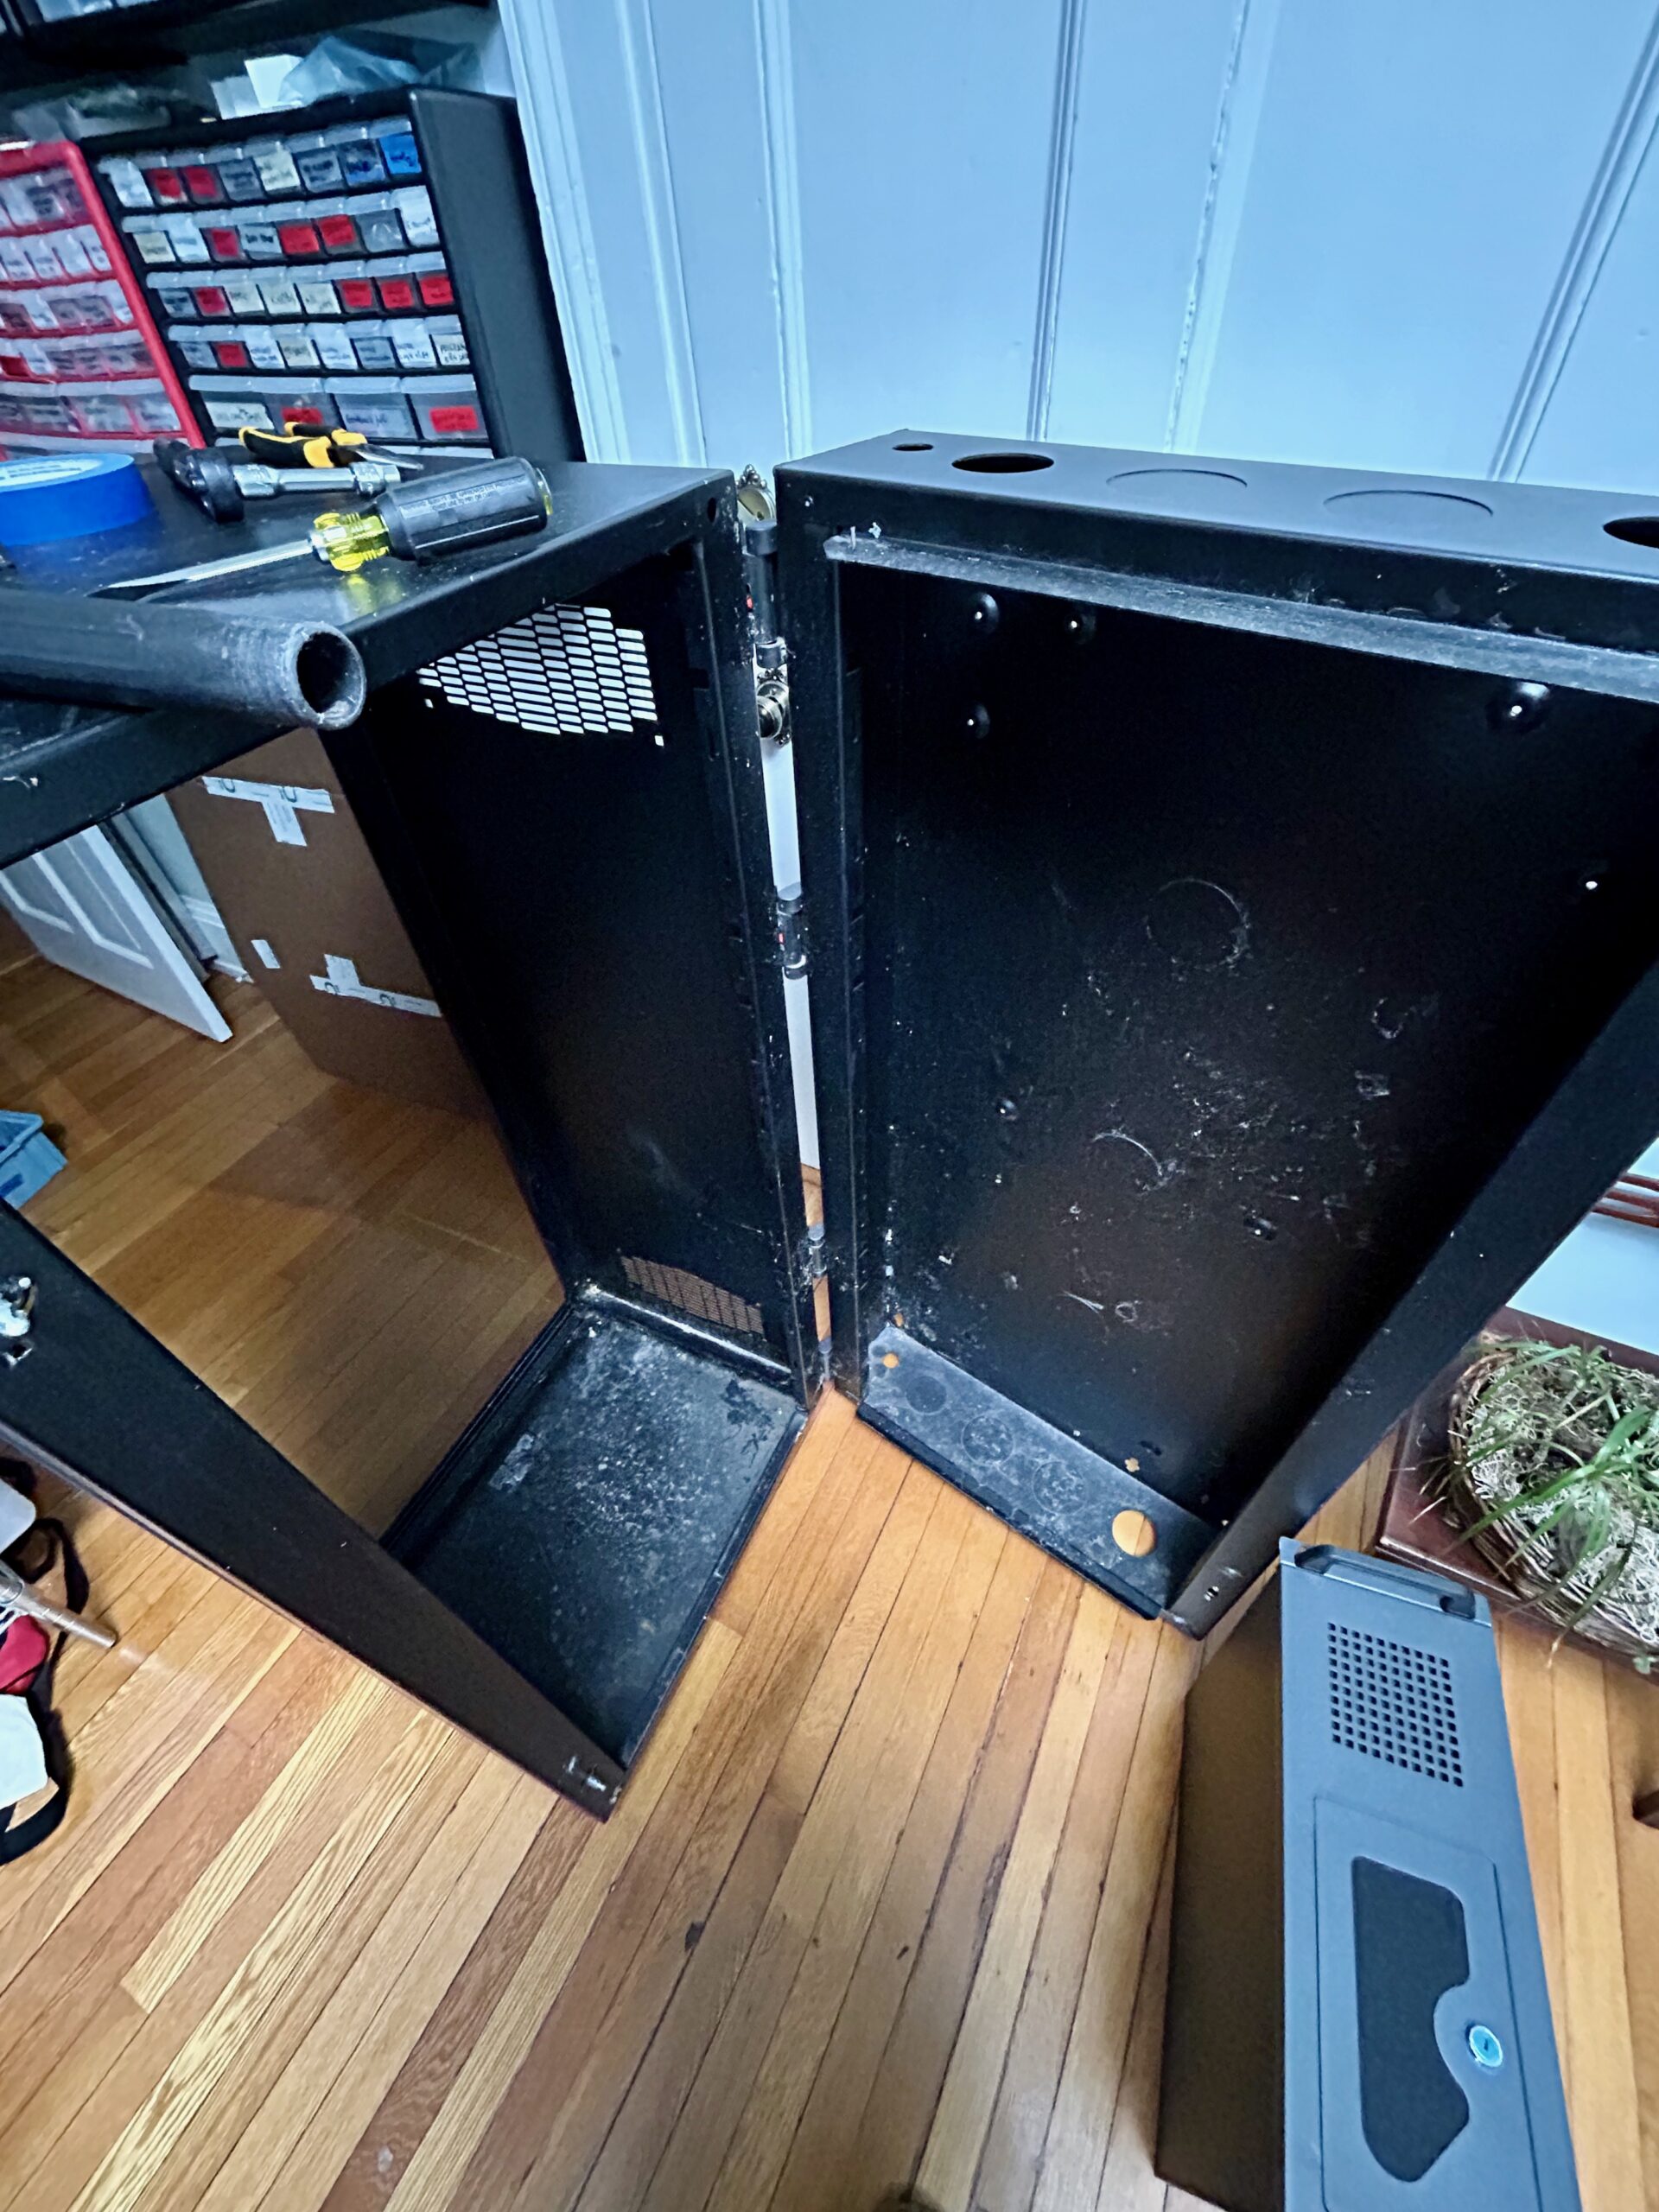
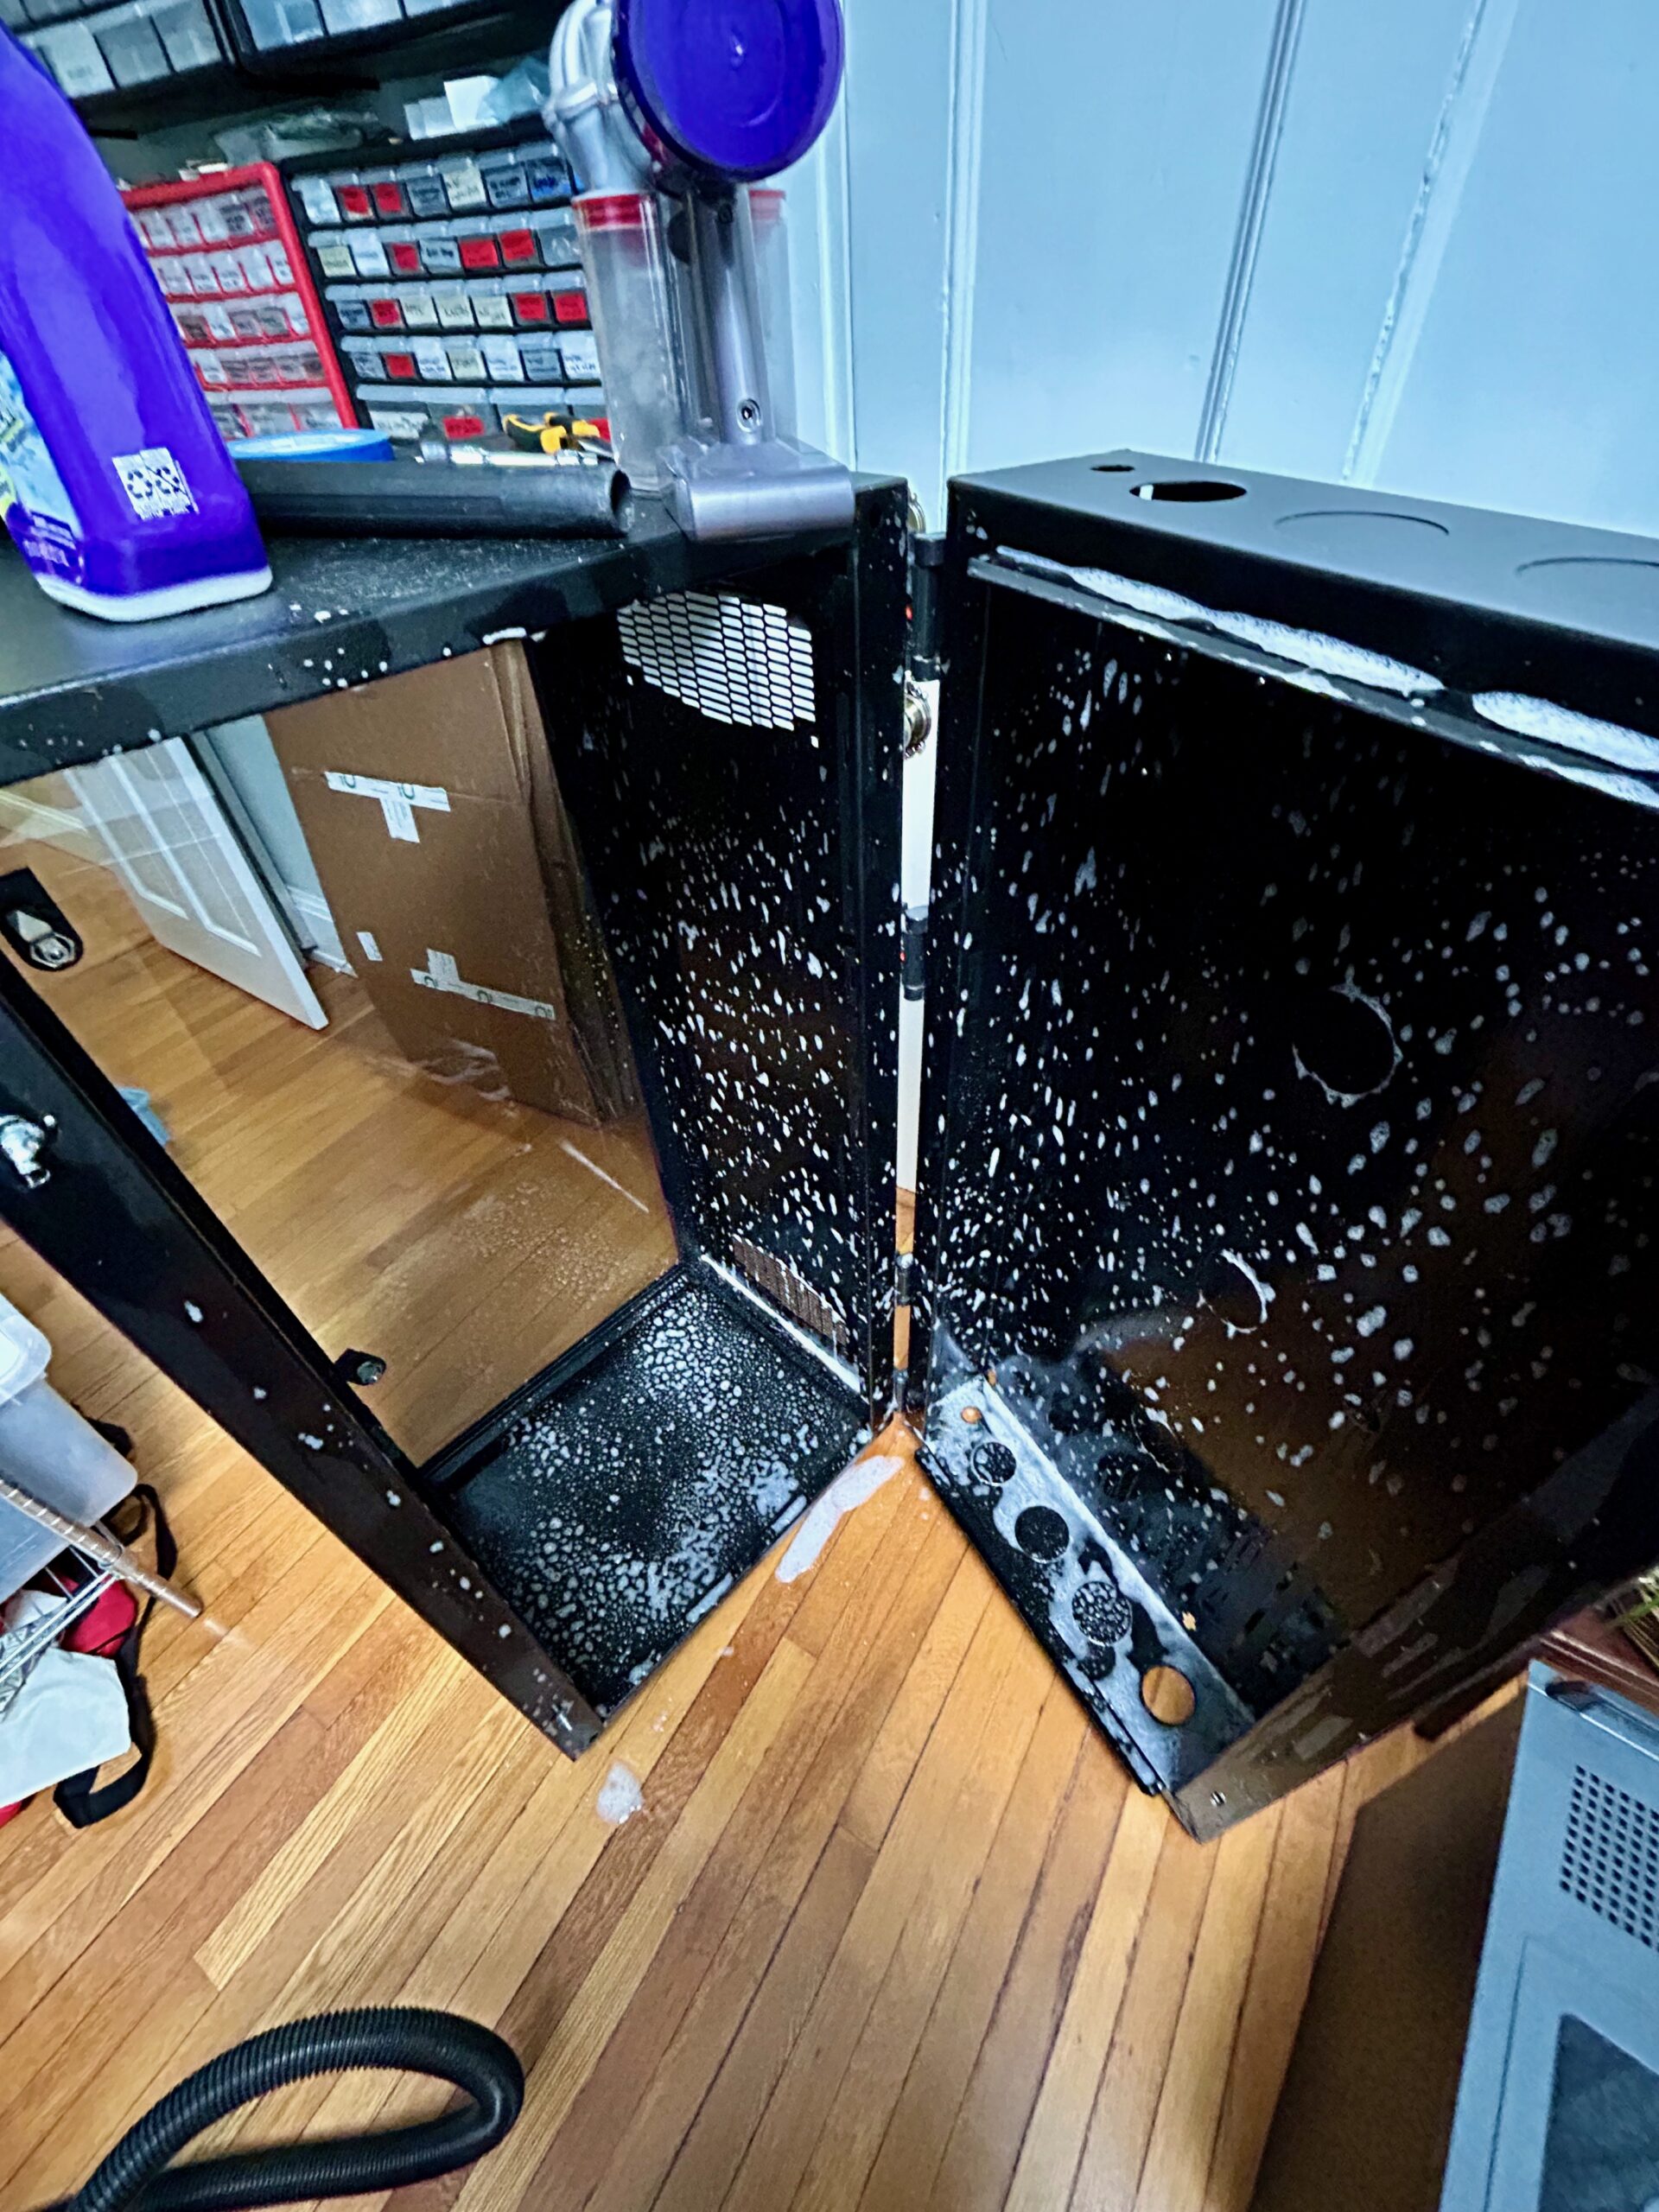
The main one is that, following some flooding in my city, someone discarded a Hoffman EWMW482425 26U short-depth rack with a flawless glass door and an MSRP over over $1000:

Server rack sitting near dumpster.
Before…
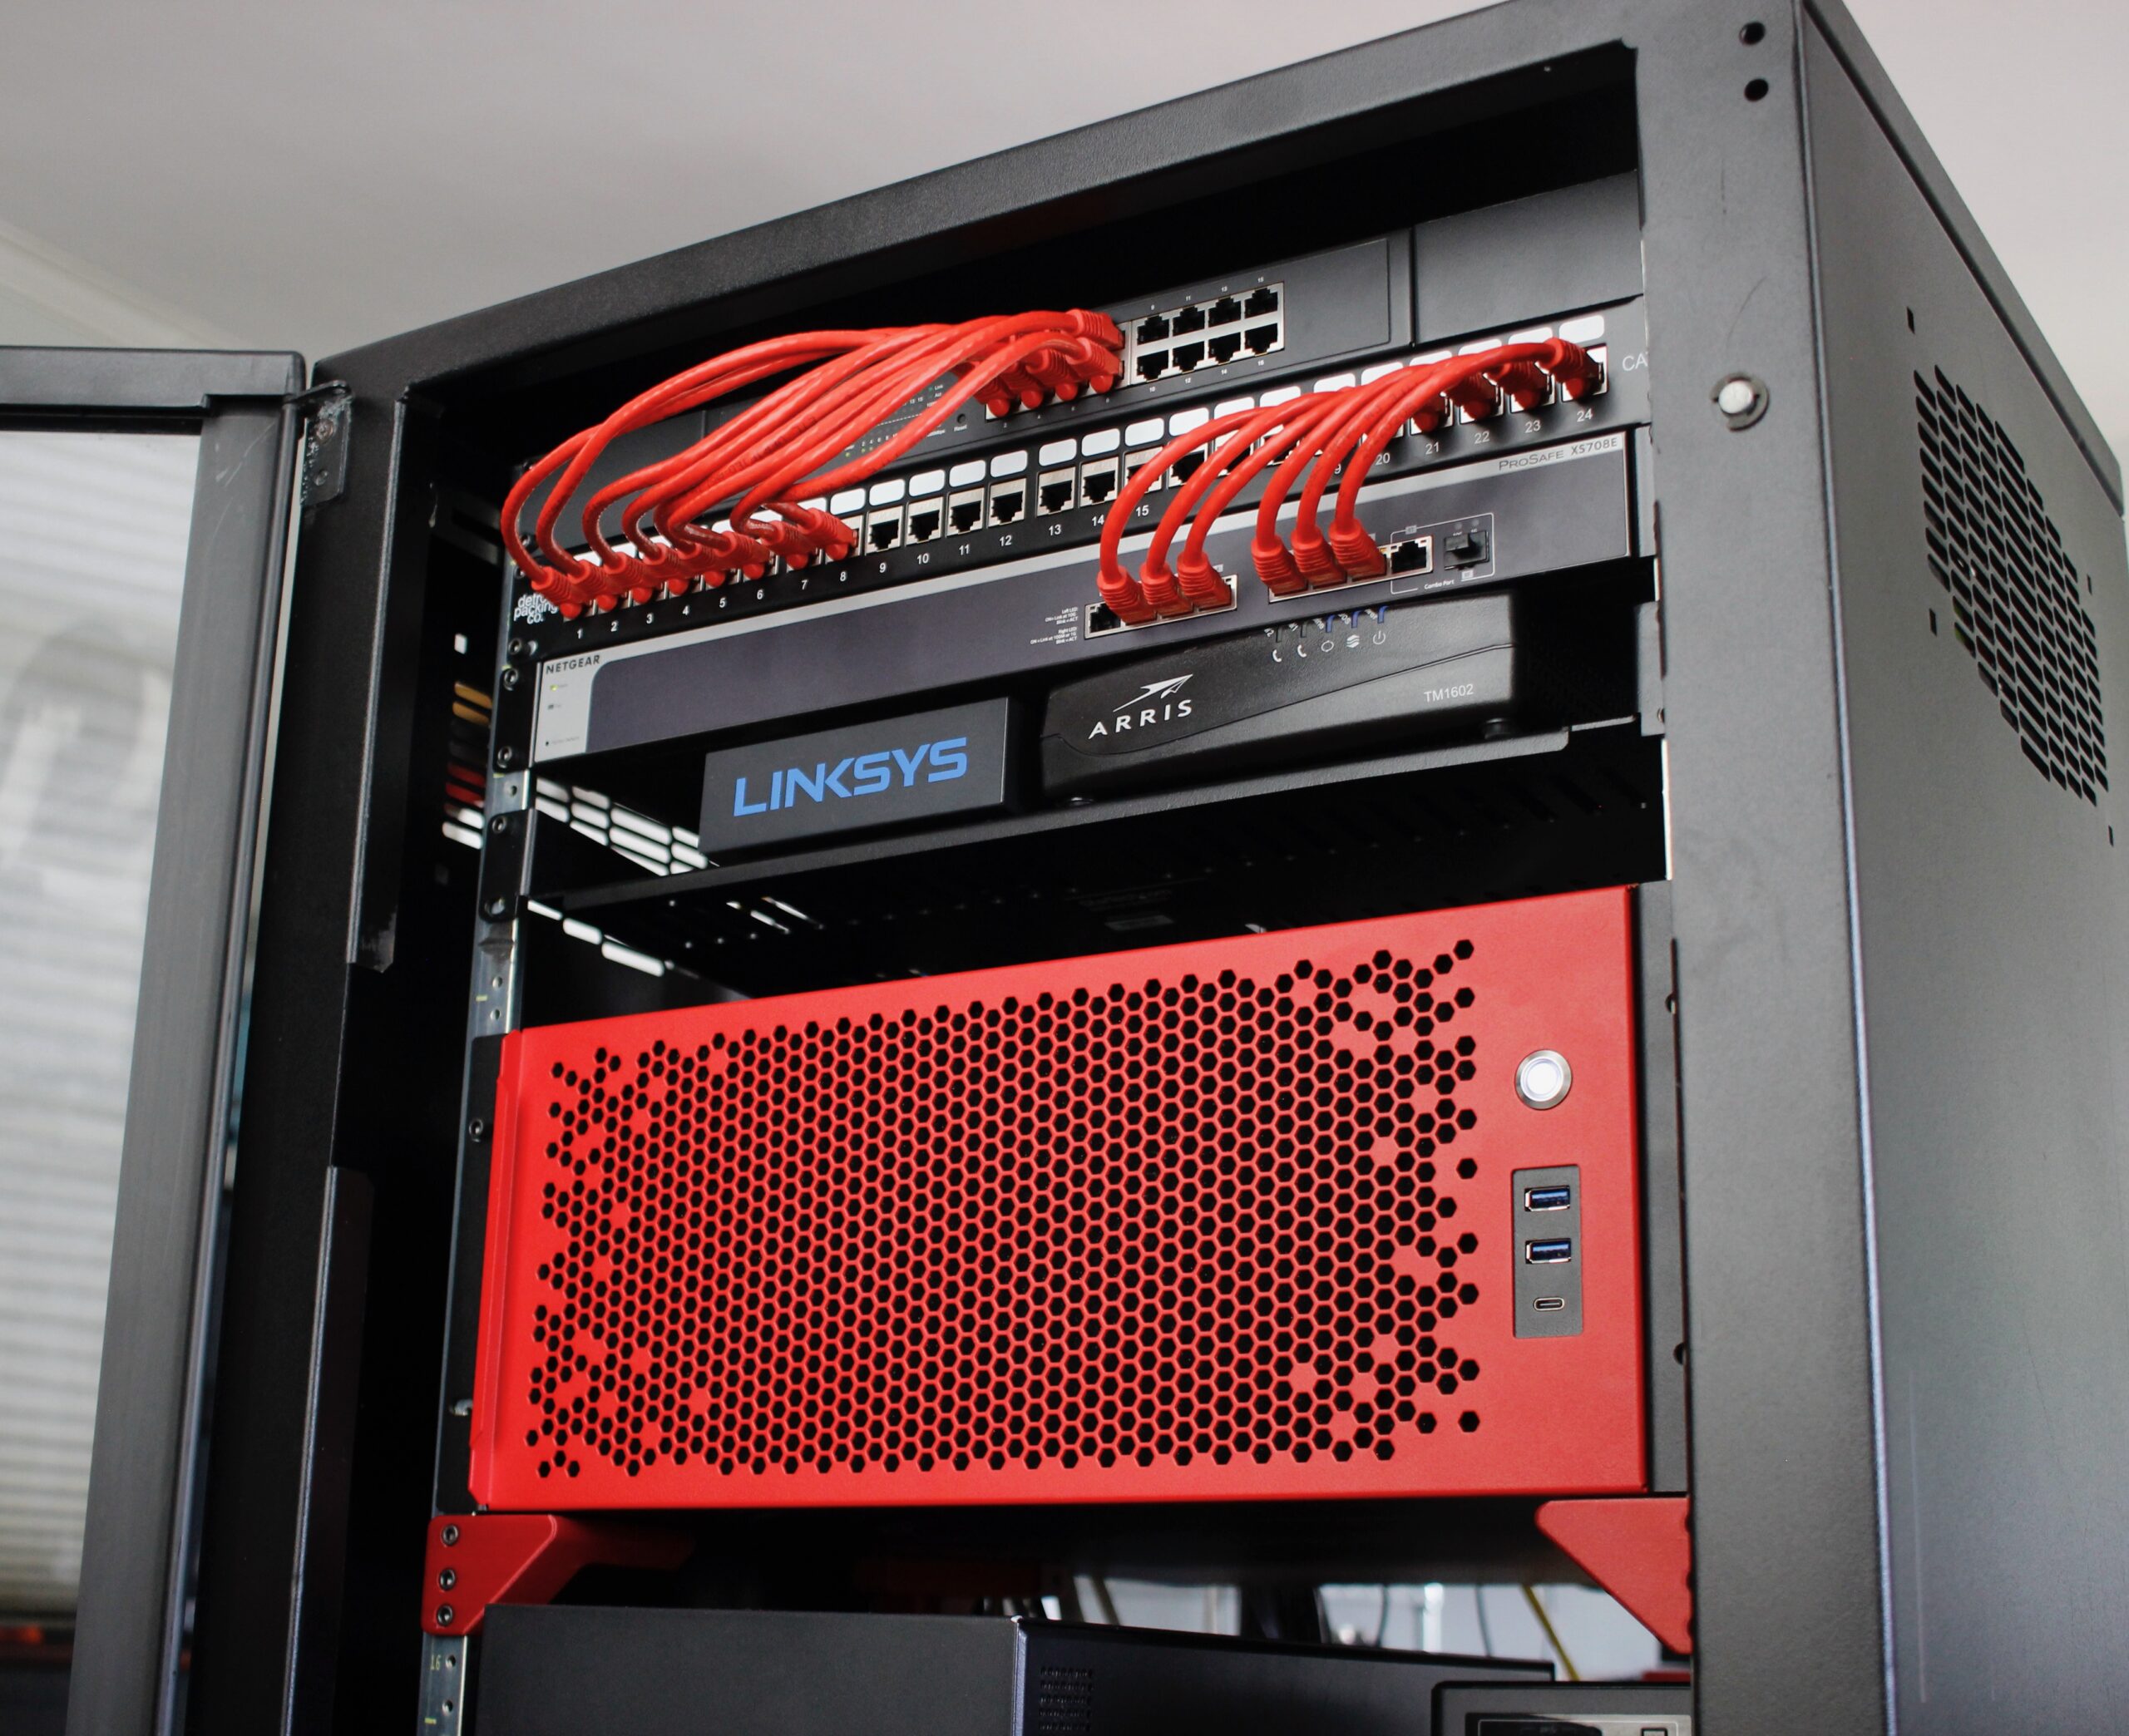
Sliger CX4200A in server rack.
After! CX4200A is the big red one.

Under the cover of darkness, a co-conspirator and I were able to heist the rack from its resting place back to mine.

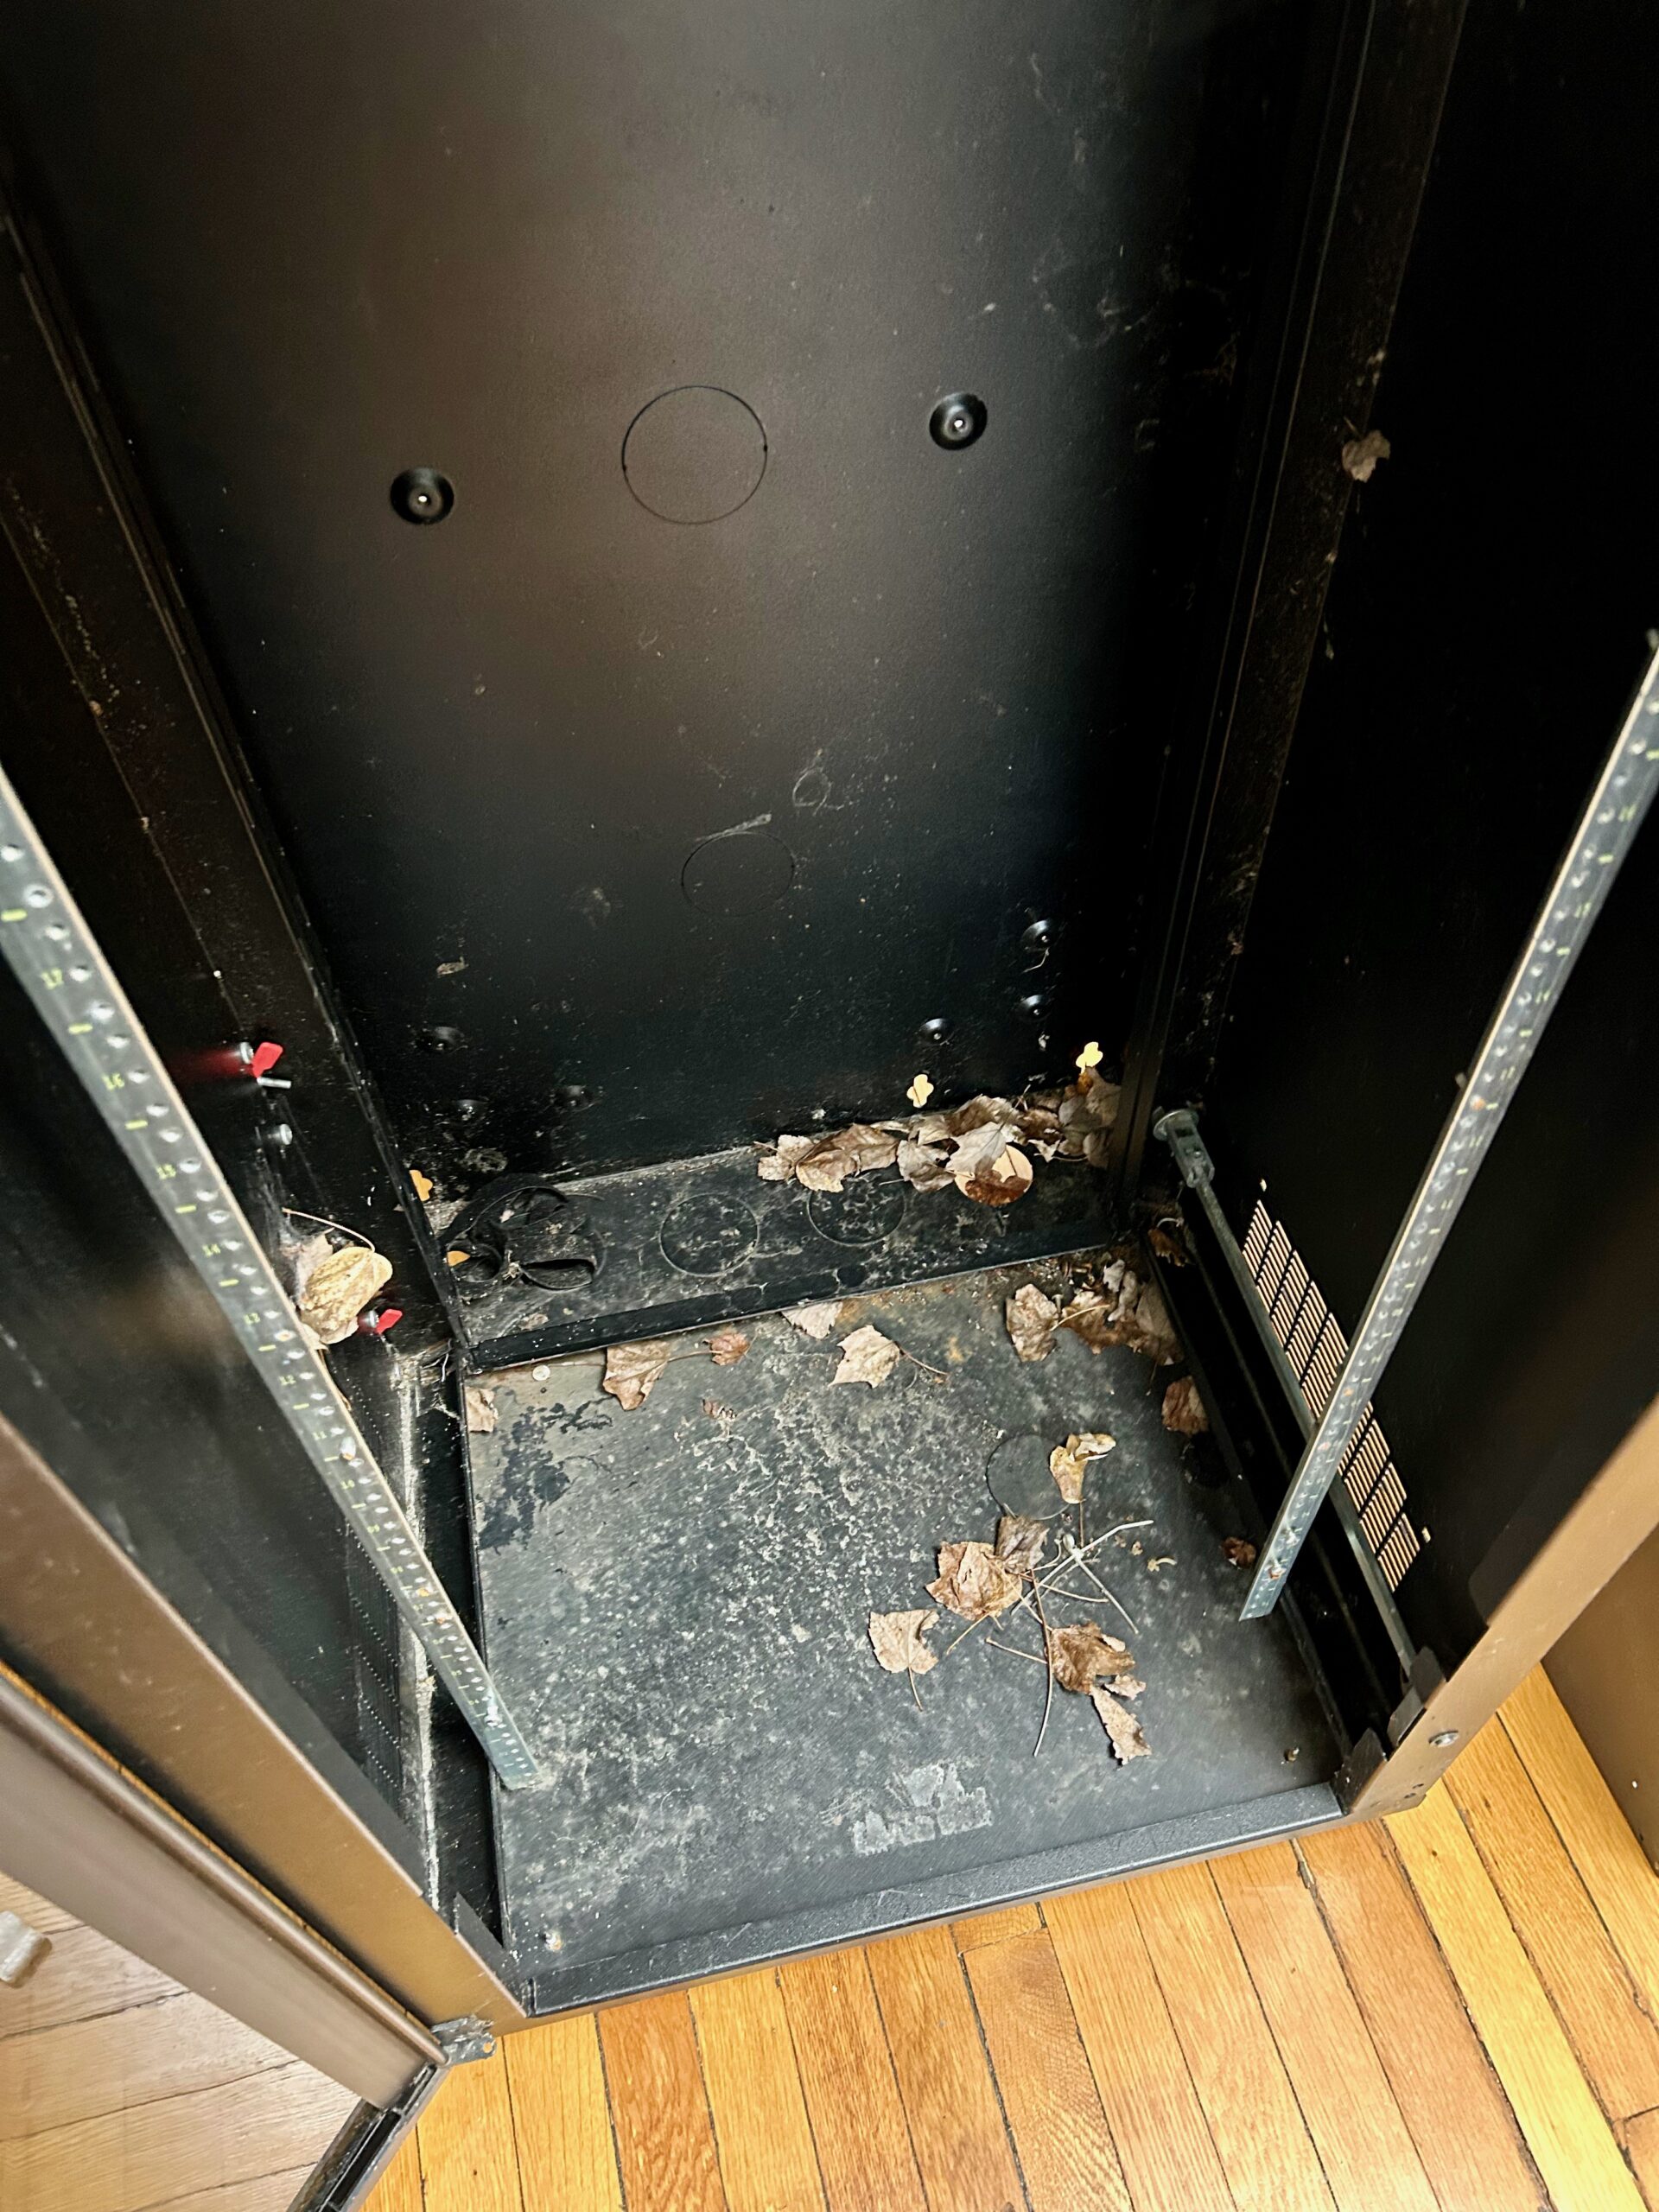
Judging by the bits left in inside, it looks to have served as a housing for telecom gear. Much of the rackable gear I’ve come into over the years is similarly short-depth with one exception, the Rosewill.

The 25″ of depth is way too much for the rack. It was great for being able to work on tesla cooler, plenty of room for weird coolers and hard drives. The weight, the physical mass of the thing is also just too much. I’ve moved apartments twice since acquiring the Rosewill and have dreaded moving it both times. These aren’t RSV-L4000U’s fault, these are features for the majority of users. Just not for me right now.

Enter the Sliger CX4200A and a few modifications to make it perfect for my needs:

Continue reading →

Blink out IP address for Raspberry Pi using Python

So in the final chapter of the long saga that has been connecting my Raspberry Pi to my Campus’s WiFi network, I needed a way to obtain the IP address of the Pi without using a display or a serial cable.

I’m actually pretty proud of this and I think it’s an elegant solution to a fairly annoying problem. Here’s a video of the system in action:

The program starts with three blinks. After that, the pattern goes as follows:

Blink Blink Blink Pause = 3
Blink Blink Pause = 2

So

Blink Blink Blink Pause Blink Blink Blink Blink Pause Blink = 341

Etc. Four short blinks indicate a 0 and six short blinks indicate a “.”

Once the address is fully read out, three long blinks will occur.

Here’s the code:

import RPi.GPIO as GPIO ## Import GPIO library

import time
GPIO.setmode(GPIO.BCM) ## Use board pin numbering

led = 20
button = 21

GPIO.setup(led, GPIO.OUT) ## Setup GPIO Pin 7 to OUT
GPIO.setup(button, GPIO.IN)

from subprocess import *

while 1:
	if (GPIO.input(button)):
	
		ip = Popen("ip addr show wlan0 | grep inet | awk '{print $2}' | cut -d/ -f1", shell=True, stdout=PIPE).communicate()[0]
			
		for x in range(3): #three rapid blinks to indicate procedure is starting
			
			GPIO.output(led,True)
			time.sleep(.2)
			GPIO.output(led,False)
			time.sleep(.2)
		
		time.sleep(3) # followed by a delay
		
		for x in list(ip):
		
			time.sleep(4) #a long delay between characters
			
			if x.isdigit():
				if (int(x) == 0):
					for x in range(4): #four rapid blinks indicate a 0
						
						GPIO.output(led,True)
						time.sleep(.2)
						GPIO.output(led,False)
						time.sleep(.2)
					
									
				elif (int(x) != 0):
					for y in range(int(x)):
						
						GPIO.output(led,True)
						time.sleep(.5)
						GPIO.output(led,False)
						time.sleep(.5)

			elif (x == '.'):
				for x in range(6): #six rapid blinks indicate a .
					
					GPIO.output(led,True)
					time.sleep(.1)
					GPIO.output(led,False)
					time.sleep(.1)
		
				time.sleep(5)
			
			elif (x == '\n'):
				for x in range(3): #six rapid blinks indicate a '.'
					
					GPIO.output(led,True)
					time.sleep(2)
					GPIO.output(led,False)
					time.sleep(2)
		

You can make it run every time the Pi boots with:

crontab -e

Add the following line:

@reboot screen -d -m sudo python /path/to/script/Blink_IP.py

And your good to go! You can now press the button any time the pi boots to get the IP address without connecting anything!

Getting a Raspberry Pi on Worcester Polytechnic Institute (WPI) WiFi (WPA-EAP)

The following is a very specific guide and like all guides of this nature written by me it is mostly for my benefit so I can come back to it later. It is a modification of this guide written by Campus IT.  If you have any suggestions to improve anything, PLEASE shoot me an email or leave me a comment below.


I will be connecting my Raspberry Pi Model B+ running the latest build of Raspbian using the Edimax EW-7811Un WiFi dongle to this kind of network (From Campus IT):

Specifically, WPI requires 802.1x EAP-TLS certificate based authentication. This is sometimes referred to as WPA Enterprise

Having an internet connection will make doing this much much easier. In fact, if all you need to do is share your laptops WiFi with the Pi over the Ethernet port on your laptop that is quite easy (For WPI people please note that this is a violation of the networks’ acceptable use policy). For windows 8.1:

First, we will have to enable sharing our Wi-Fi through the Ethernet ports of our computer.

Open the Network and Sharing center on your computer. It is found under Control Panel->Network and Internet->Network and Sharing Center.
Next, click on “change adapter settings.”
Right click on your Wi-Fi, and select “Properties.” You will most likely need to be an administrator for this step.
Click on the “Sharing” tab.
Check the “Allow other network users to connect through this computer’s Internet connection” checkbox.
Hit OK to close this window.
Next, we will connect to the raspberry Pi over our Ethernet cable.

Open up cmd. Type “ping raspberrypi.mshome.net” into the command line. Do not use any quotes when you type in this command.
Take note of this IP address. You can connect to the Pi through Putty using that IP address.

If you’re using a fresh install, make sure you set the Pi’s internal time to the proper time using raspi-config. It’s under internationalization options.

sudo raspi-config

You will then need to register the MAC address

Next we need to acquire the proper certificates.

Campus IT has already created a good tutorial for doing this found here. You’ll want two get two certificates seen here:

Move those two documents onto the Pi as well. I’m using

/home/pi/certs/

as the location for my certificates for the sake of this tutorial.

From there you’ll have to convert the ‘certificate.p12’ document to a .pem format with OpenSSL. OpenSSL is installed by default in Raspian. Do this with the following command:

openssl pkcs12 -in /home/pi/certs/certificate.p12 -out /home/pi/certs/certificate.pem -nodes

Enter the password for the NETWORK when prompted. We now have 3 certificate files. The CA-.pem, certificate.p12 and certificate.pem all located in the /home/pi/certs directory on the pi.

Next we have to disable all the default wifi settings that come with Raspian. Do this by changing your /etc/network/interfaces file to the following:

auto lo

iface lo inet loopback
iface eth0 inet dhcp

#allow-hotplug wlan0
#iface wlan0 inet manual
#wpa-conf /etc/wpa_supplicant/wpa_supplicant.conf
#iface default inet dhcp

Doing this stops the Pi from trying to use the wlan0 device at boot and will allow us to use it directly.

Now we must configure wpa_supplicants. It doesn’t really matter where you put the configuration file, but the raspberry pi places it by default here:

/etc/wpa_supplicant/wpa_supplicant.conf

Edit the file to look like the following. Note that things you WILL have to change are marked with []’s. Also note that this config places all 3 certs in that directory I’ve mentioned a few times.

#ctrl_interface=DIR=/var/run/wpa_supplicant GROUP=netdev
#update_config=1

network={
 ssid="WPI-Wireless"
 key_mgmt=WPA-EAP
 proto=WPA2
 pairwise=CCMP
 group=CCMP
 eap=TLS

 identity="[YOUR_WPI_EMAIL]@wpi.edu"

 ca_cert="/home/pi/certs/CA-[A_BUNCH_OF_NUMBERS].pem"
 client_cert="/home/pi/certs/certificate.pem"
 private_key="/home/pi/certs/certificate.p12"
 private_key_passwd="[YOUR_WPI_EMAIL_PASSWORD]"

 priority=1
}

I found that in an example configuration of wpa_supplicant.conf specifically notes the need of a .pem file for the client cert, thus the conversion.

We’re pretty much done, all we need to do is add a few steps to the boot process to start the whole process each time the device boots. We can use crontab or /etc/rc.local (thanks Greg Tighe) to accomplish this.

With Crontab:

crontab -e

Add the two lines to the file:

@reboot sudo wpa_supplicant -c /etc/wpa_supplicant/wpa_supplicant.conf -i wlan0
@reboot sudo /sbin/dhclient wlan0

or edit /etc/rc.local to contain:

@reboot sudo wpa_supplicant -c /etc/wpa_supplicant/wpa_supplicant.conf -i wlan0

And reboot your pi! Everything should connect and work.

My Raspberry Pi Networked Media/NAS Server Setup

I have come to a very good place with my media server setup using my Raspberry Pi. The whole thing is accessible using the network, over a wide range of devices which is ideal for me and the other people living in my house.

If you don’t need to see any of the installation, the following software is running on the server: SambaMinidlna, Deluge & Deluge-Web and NTFS-3G.

The combination of all of this software allows me to access my media and files on pretty much any device I would want to. This is a great combination of software to run on your Pi if you’re not doing anything with it.

So let’s begin with the install!


I’m using the latest build of Raspian, the download and install of that is pretty simple, instructions here.

Unless you can hold your media on the SD card your Pi’s OS is installed on, you’ll need some kind of external storage. In my case, I’m using a 3TB external HDD.

We’ll need to mount this drive, I’ve already written a post on how to do this, check that out here.


Now we should involve Samba. Again, it’s a pretty simple install.

sudo apt-get install samba samba-common-bin

Once it installs you should already see signs of it working. If you’re on windows, make sure network sharing is on, and browse to the “network” folder. It should show up as “RASPBERRYPI” as seen in this image:

The only real tricky part is configuring it. Here is an untouched version of the samba config file. On your pi, it is found at:

/etc/samba/smb.conf

You can edit it like you would any config file. This is the configuration following is the configuration I am running on my Pi, if you want a configuration that will work with no problems without any modifications, replace the existing /etc/samba/smb.conf with this version.

There are only a few differences between the standard version and the version I’m using. The biggest one being the actual “Share” being used seen here:

[HDD_Share]
   comment = External HDD Share
   path = /media/USBHDD
   browseable = yes
   read only = no
   valid users = YOURUSER #IF ON A BASIC RASPBERRY PI, US THE USER "pi"
   only guest = no
   create mask = 0777
   directory mask = 0777
   public = no

Basically, this shares the external HDD you just mounted to the network. You can insert this share anywhere in your document and it will work. Once you update your config file, you have to add your user to samba. If you haven’t done anything but install raspbian, your username on the pi should still be “pi” so the following should do the following:

sudo smbpasswd -a pi

Enter your new samba password twice and then you’re good to go after restarting samba.

sudo /etc/init.d/samba restart

In windows you can go to “network” option in My Computer and see your share.

If you’re like me though, you’re going to want multiple users for multiple shares. Samba only can only have users that are members of the system, so in order to add a new user to samba, you have to add a user to the Raspberry Pi. For example, let’s add the user ‘testuser’:

sudo mkdir /home/testuser/
sudo useradd -d /home/testuser -s /bin/false -r testuser
sudo passwd testuser
sudo chown testuser /home/testuser
sudo chgrp users /home/testuser
sudo smbpasswd -a testuser
sudo /etc/init.d/samba restart

I have written a bash script to do this automatically.

On the share level, the line of valid users = should be set to whichever user you want to be able to use the share.

That’s pretty much it for Samba. I’m probably going to do a guide on accessing your shares via SSH tunneling when the need for me to do so arises. I’ll link that here if it ever happens. Now on to minidlna.


MiniDLNA is a very lightweight DLNA server. DLNA is a protocal specifically for streaming media to a huge array of devices from computers to iOS devices or gaming consoles or smart TV’s. I have spent quite a bit of time using minidlna, and have reached a configuration that works extremely well with the raspberry pi. The install is very easy, much like samba, it’s the configuration that is tricky.

sudo apt-get install minidlna

The config file i’m using is found here. There Pi actually handles the streaming really really well, and there only a few things you need to change in the config file, and they are mostly aesthetic. The following lines are examples of media locations for each type of file.

# If you want to restrict a media_dir to a specific content type, you can
# prepend the directory name with a letter representing the type (A, P or V),
# followed by a comma, as so:
#   * "A" for audio    (eg. media_dir=A,/var/lib/minidlna/music)
#   * "P" for pictures (eg. media_dir=P,/var/lib/minidlna/pictures)
#   * "V" for video    (eg. media_dir=V,/var/lib/minidlna/videos)
#
# WARNING: After changing this option, you need to rebuild the database. Either
#          run minidlna with the '-R' option, or delete the 'files.db' file
#          from the db_dir directory (see below).
#          On Debian, you can run, as root, 'service minidlna force-reload' instead.

media_dir=A,/media/USBHDD/Documents/Media/Audio
media_dir=P,/media/USBHDD/Documents/Media/Images/Photos
media_dir=V,/media/USBHDD/Documents/Media/Video
media_dir=/media/USBHDD/Documents/Media/

And changing this line will change the name of the DLNA server on the network:

# Name that the DLNA server presents to clients.
friendly_name=Raspberry Pi DLNA

That’s pretty much all there is to it.

You can stream the files all over the place, the following images show it being used on my kindle and another computer. I stream files to my xbox 360 all the time.

The last major component of this media server is Deluge, let’s proceed with that install.


Deluge is a torrent client for linux servers. The coolest part is it has a very good web based GUI for control. The install isn’t too straightforward, but there is no real specific configuration. The following commands will get things up and running.

sudo apt-get install python-software-properties
sudo add-apt-repository 'deb http://ppa.launchpad.net/deluge-team/ppa/ubuntu precise main'
sudo apt-get update
sudo apt-get install -t precise deluge-common deluged deluge-web deluge-console
sudo apt-get install -t precise libtorrent-rasterbar6 python-libtorrent
sudo apt-get install screen
deluged
screen -d -m deluge-web

And there you go! You can now torrent files directly into your Samba shares which is hugely useful and more secure, the following is me doing just that:


The last thing that needs to be done is run a few commands at boot, particularly mount the HDD and start deluge-web. The easiest way to do this crontab. First run:

sudo crontab -e

Then add the following two lines:

sudo mount -t ntfs-3g /dev/sda1/ /media/USBHDD/
screen -d -m deluge-web

So it looks like this:

And everything will start working upon boot!


Thank you very much for reading. If you have any questions, please leave a comment.
Raspberry Pi Media Server | Mounting Hard Drive & Better Minidlna Config

Please note that this is more for my sake. To mount a hard drive in raspbian do the following: Make sure you have ntfs-3g installed by running:

sudo apt-get install ntfs-3g

Then mount the drive read/write with the following command:

sudo mkdir /media/USBHDD
sudo mount -t ntfs-3g /dev/sda1/ /media/USBHDD/

And it shout be mounted. /dev/sda1 is the location of your hard drive. Now to configuring minidlna. Location of minidlna.conf file and access command:

sudo vi /etc/minidlna.conf

This is the file I’m running right now. As I type this i’m successfully streaming to my Kindle Fire HD (the reason why I’ve decided to really make this thing work) but I’m not sure if it’s stable. It’s also able to stream to VLC as of now.

Raspberry Pi Media Server | Moving Backwards to go Forwards

It’s time to face facts, minidlna and XBMC won’t run at the same time in Raspbmc. The basic UPNP included in Raspbmc won’t work consistently and Raspmc and is not nearly as stable as minidlna. OpenELEC is fast enough, but does not have the expandability of a full linux OS. I need to restart this project.


First thing’s first I’m going to straight up speed this thing up as much as I can. At the base level, this begins with the SD card. I’m going to go from a junk 4gb standard speed SD card to a 8gb SanDisk Ultra 30mb/s SDHC. On this I’m going to install the latest version of Raspian and overclock it to the maximum 1GHz.


I’ll keep you posted on how I progress.

Raspberry Pi Media Server | Speeding Up Raspberry Pi [Documentation]

So although I haven’t written about it yet, right now I’ve gotten a Raspbmc Server up and running along with Minidlna. It works great for about an hour at a time and then it really bogs down. This seems to be caused by a combination of Raspbmc and the hard drive spinning down. My solution is to try OpenELEC, overclock the Raspberry Pi, and change out the SD card for one with a faster read/write speed.

Encoding A LOT of video in linux | [Documentation]

For my Raspberry Pi Media Server to be able to stream to mobile (a topic I haven’t yet covered here) I need to convert ALL of the video in my family’s 700+ file, 400+ gb, media collection to H.264/MPEG-4 AVC. I recently acquired a hard drive to consolidate and store all of this hard drive on. For the past week or so I’ve been making some progress in converting the video. On my windows tower I’ve been using the program Format Factory to convert the video. I’m running into a few problems with this. For one, my windows computer is my main machine, and multithread converting really bottlenecks it. It also takes a long time – having to watch it while it does it’s thing waiting for it to convert instead of just going to the next set of files is annoying. I could just convert

So I’ve decided to get back into python and write a program that will perfect the conversion process. Like in my PiScanner project, I’ll be using an existing program within python and my code will automate the process.

Goals are as follows:

1. Convert the video

2. Make sets of folders for the video

3. Have it all done on the external HDD

4. Have it be more “efficient” than the setup I’m running now. I.E be able to be on all the time – which shouldn’t be a problem as the server you’re viewing this website on is on all time time and I can just run the script here.

5. Make the end program useable for anyone.

Raspberry Pi Media Server | Streaming To Any Source Using miniDLNA [Documentation]

I’ve made some progress on the RPi Streaming Server.

To replicate this you’ll need to do the following:

1. Install miniDLNA

sudo apt-get install minidlna

2. Edit the config file to how you want it. Edit it using vim

sudo vi /etc/minidlna.conf

3. Here’s what I’m working with, and it works.

# This is the configuration file for the MiniDLNA daemon, a DLNA/UPnP-AV media
# server.
#
# Unless otherwise noted, the commented out options show their default value.
#
# On Debian, you can also refer to the minidlna.conf(5) man page for
# documentation about this file.

# Path to the directory you want scanned for media files.
#
# This option can be specified more than once if you want multiple directories
# scanned.
#
# If you want to restrict a media_dir to a specific content type, you can
# prepend the directory name with a letter representing the type (A, P or V),
# followed by a comma, as so:
#   * "A" for audio    (eg. media_dir=A,/var/lib/minidlna/music)
#   * "P" for pictures (eg. media_dir=P,/var/lib/minidlna/pictures)
#   * "V" for video    (eg. media_dir=V,/var/lib/minidlna/videos)
#
# WARNING: After changing this option, you need to rebuild the database. Either
#          run minidlna with the '-R' option, or delete the 'files.db' file
#          from the db_dir directory (see below).
#          On Debian, you can run, as root, 'service minidlna force-reload' instead.
media_dir=A,/home/pi/stream_files/media/audio
media_dir=P,/home/pi/stream_files/media/pictures
media_dir=V,/home/pi/stream_files/media/video
media_dir=/home/pi/stream_files/media

# Path to the directory that should hold the database and album art cache.
db_dir=/var/lib/minidlna

# Path to the directory that should hold the log file.
#log_dir=/var/log

# Minimum level of importance of messages to be logged.
# Must be one of "off", "fatal", "error", "warn", "info" or "debug".
# "off" turns of logging entirely, "fatal" is the highest level of importance
# and "debug" the lowest.
#log_level=warn

# Use a different container as the root of the directory tree presented to
# clients. The possible values are:
#   * "." - standard container
#   * "B" - "Browse Directory"
#   * "M" - "Music"
#   * "P" - "Pictures"
#   * "V" - "Video"
# if you specify "B" and client device is audio-only then "Music/Folders" will be used as root
#root_container=.

# Network interface(s) to bind to (e.g. eth0), comma delimited.
#network_interface=

# IPv4 address to listen on (e.g. 192.0.2.1).
#listening_ip=

# Port number for HTTP traffic (descriptions, SOAP, media transfer).
port=8200

# URL presented to clients.
# The default is the IP address of the server on port 80.
#presentation_url=http://example.com:80

# Name that the DLNA server presents to clients.
#friendly_name=

# Serial number the server reports to clients.
serial=12345678

# Model name the server reports to clients.
#model_name=Windows Media Connect compatible (MiniDLNA)

# Model number the server reports to clients.
model_number=1

# Automatic discovery of new files in the media_dir directory.
#inotify=yes

# List of file names to look for when searching for album art. Names should be
# delimited with a forward slash ("/").
album_art_names=Cover.jpg/cover.jpg/AlbumArtSmall.jpg/albumartsmall.jpg/AlbumArt.jpg/albumart.jpg/Album.jpg/album.jpg/Folder.jpg/folder.jpg/Thumb.jpg/thumb.jpg

# Strictly adhere to DLNA standards.
# This allows server-side downscaling of very large JPEG images, which may
# decrease JPEG serving performance on (at least) Sony DLNA products.
#strict_dlna=no

# Support for streaming .jpg and .mp3 files to a TiVo supporting HMO.
#enable_tivo=no

# Notify interval, in seconds.
#notify_interval=895

# Path to the MiniSSDPd socket, for MiniSSDPd support.
#minissdpdsocket=/run/minissdpd.sock

You can grab the file itself here. The only thing that’s different is where I put the media directories. The rest of the instructions are still in the .conf, it’s much simpler than mediatomb for example.

Here’s a video of the whole thing working on 3 devices!