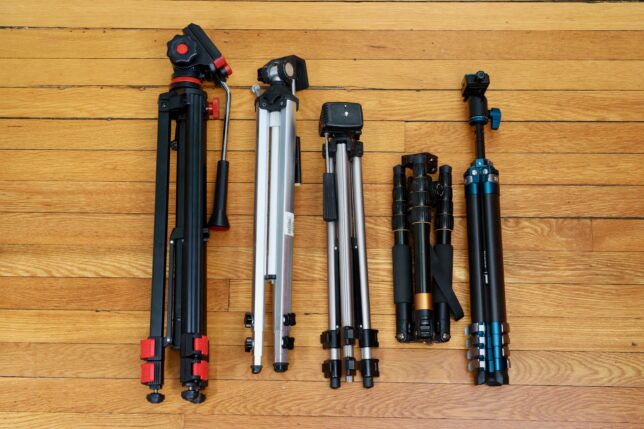
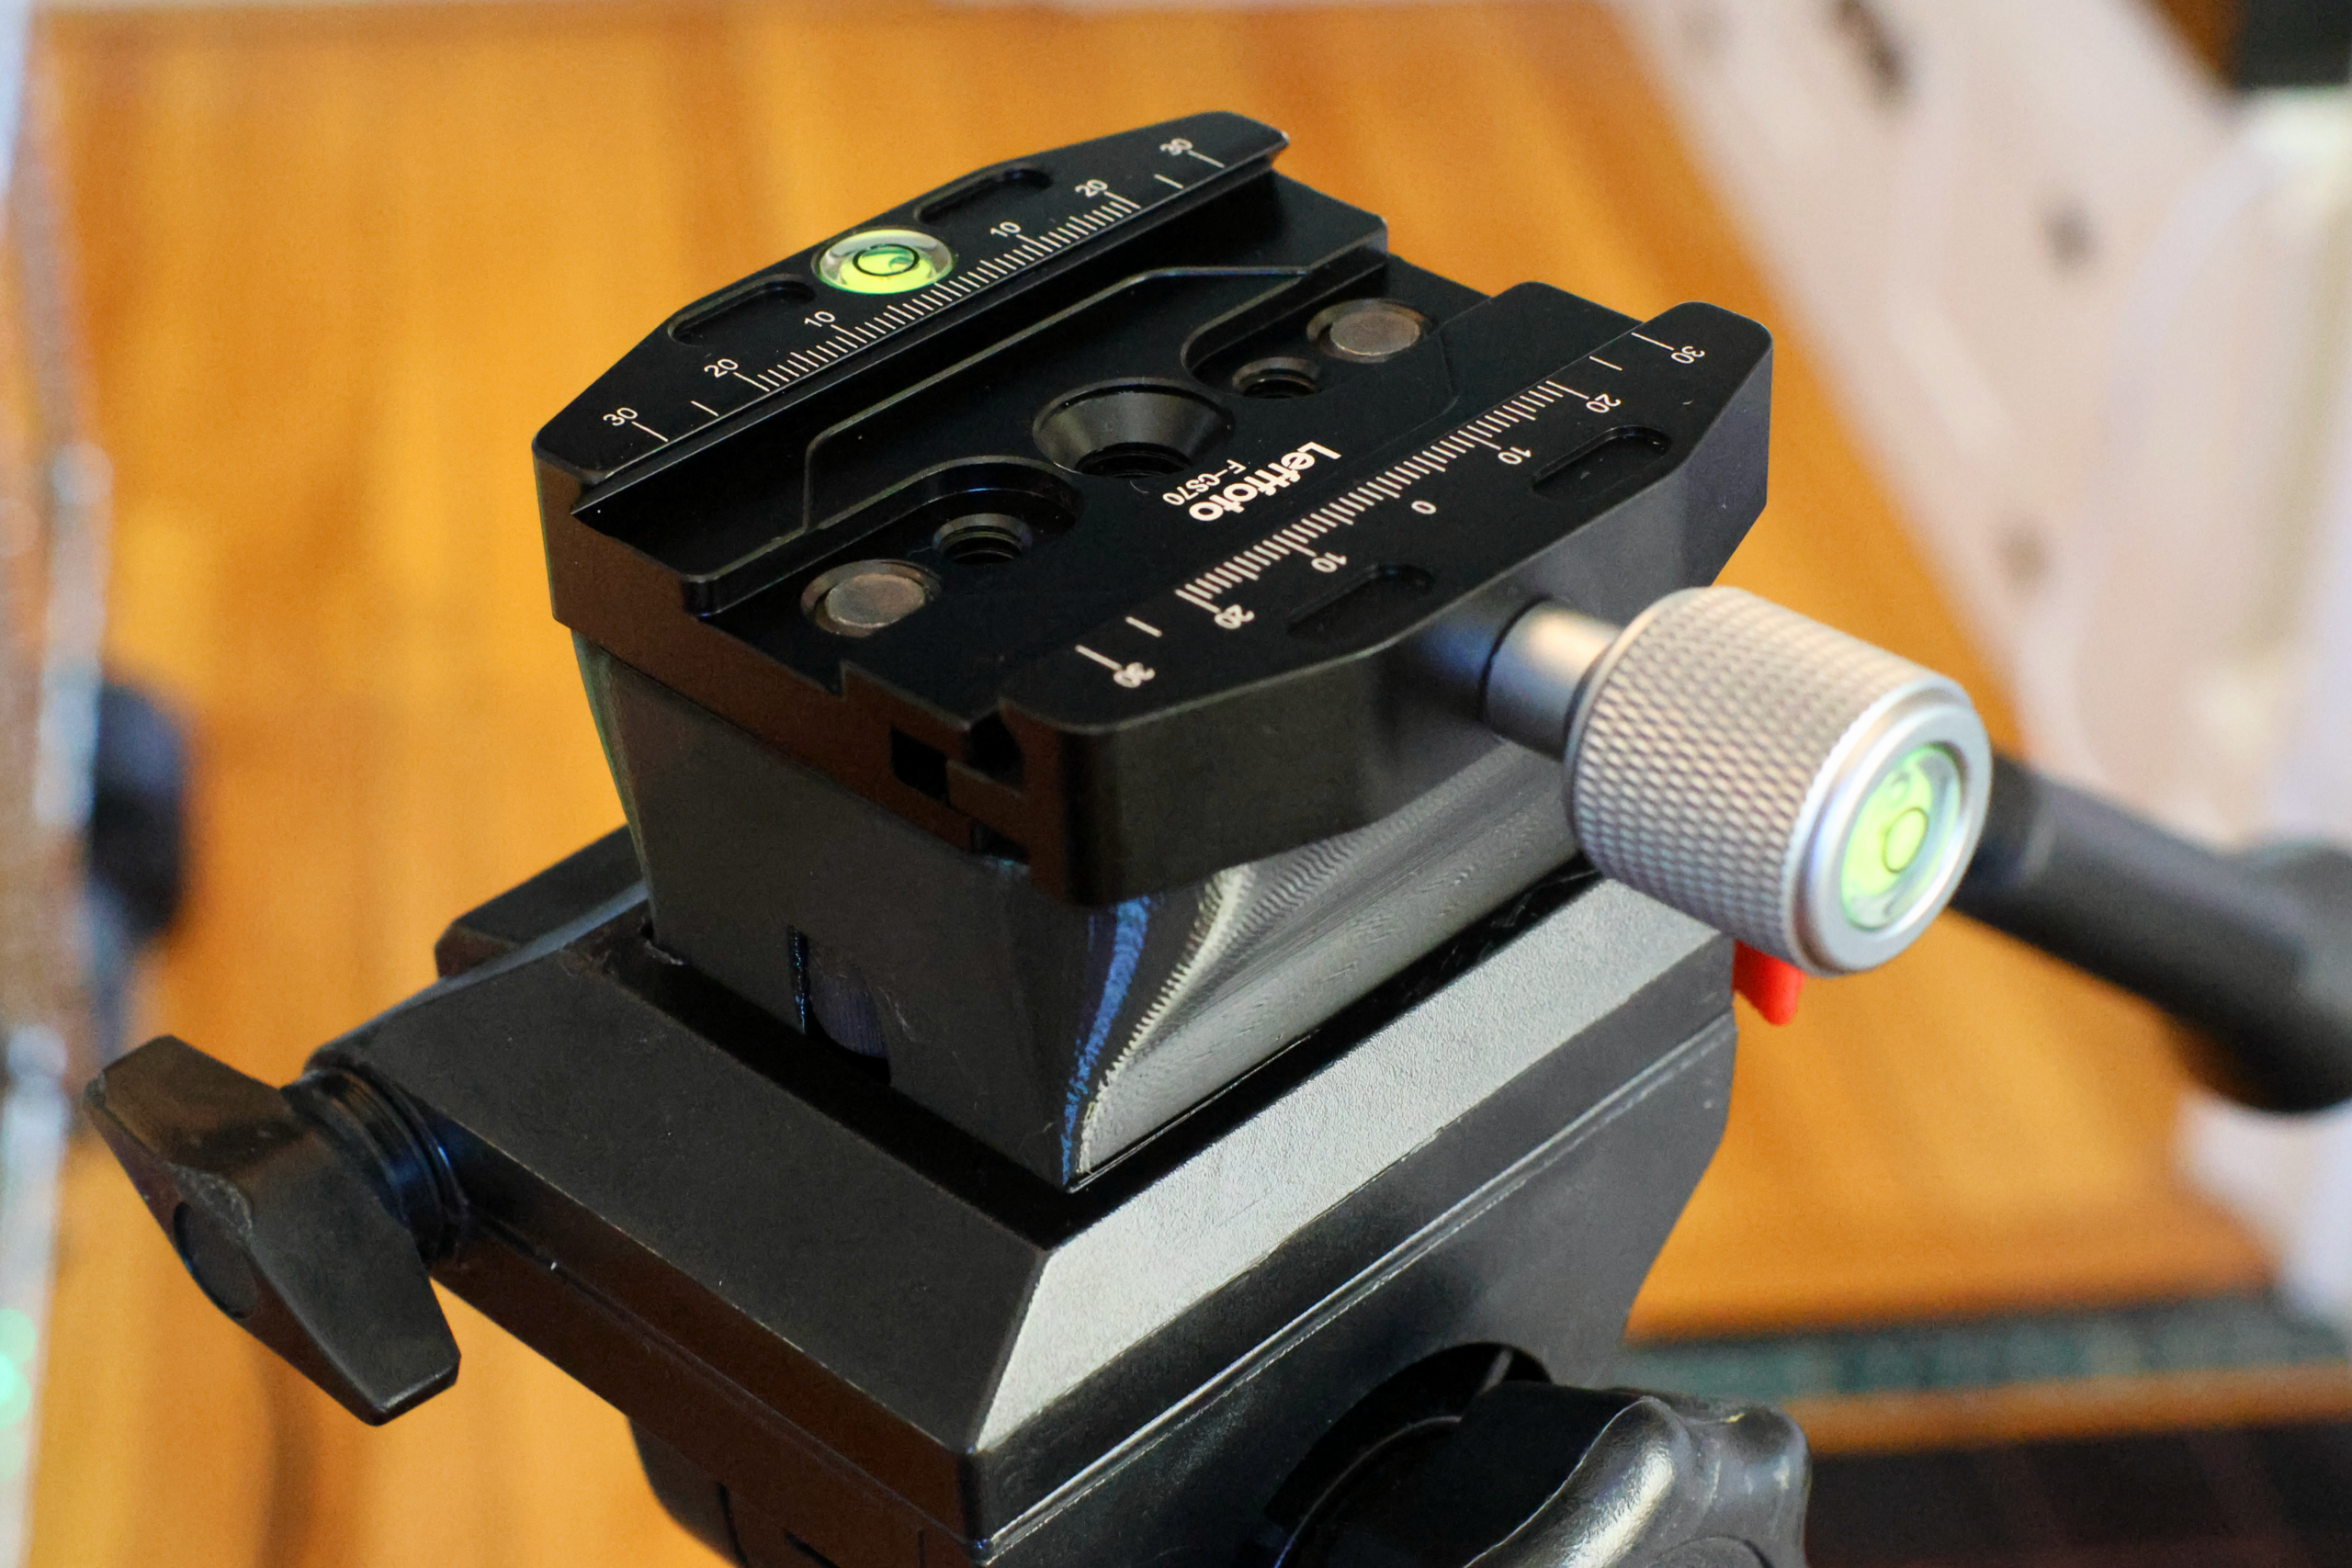
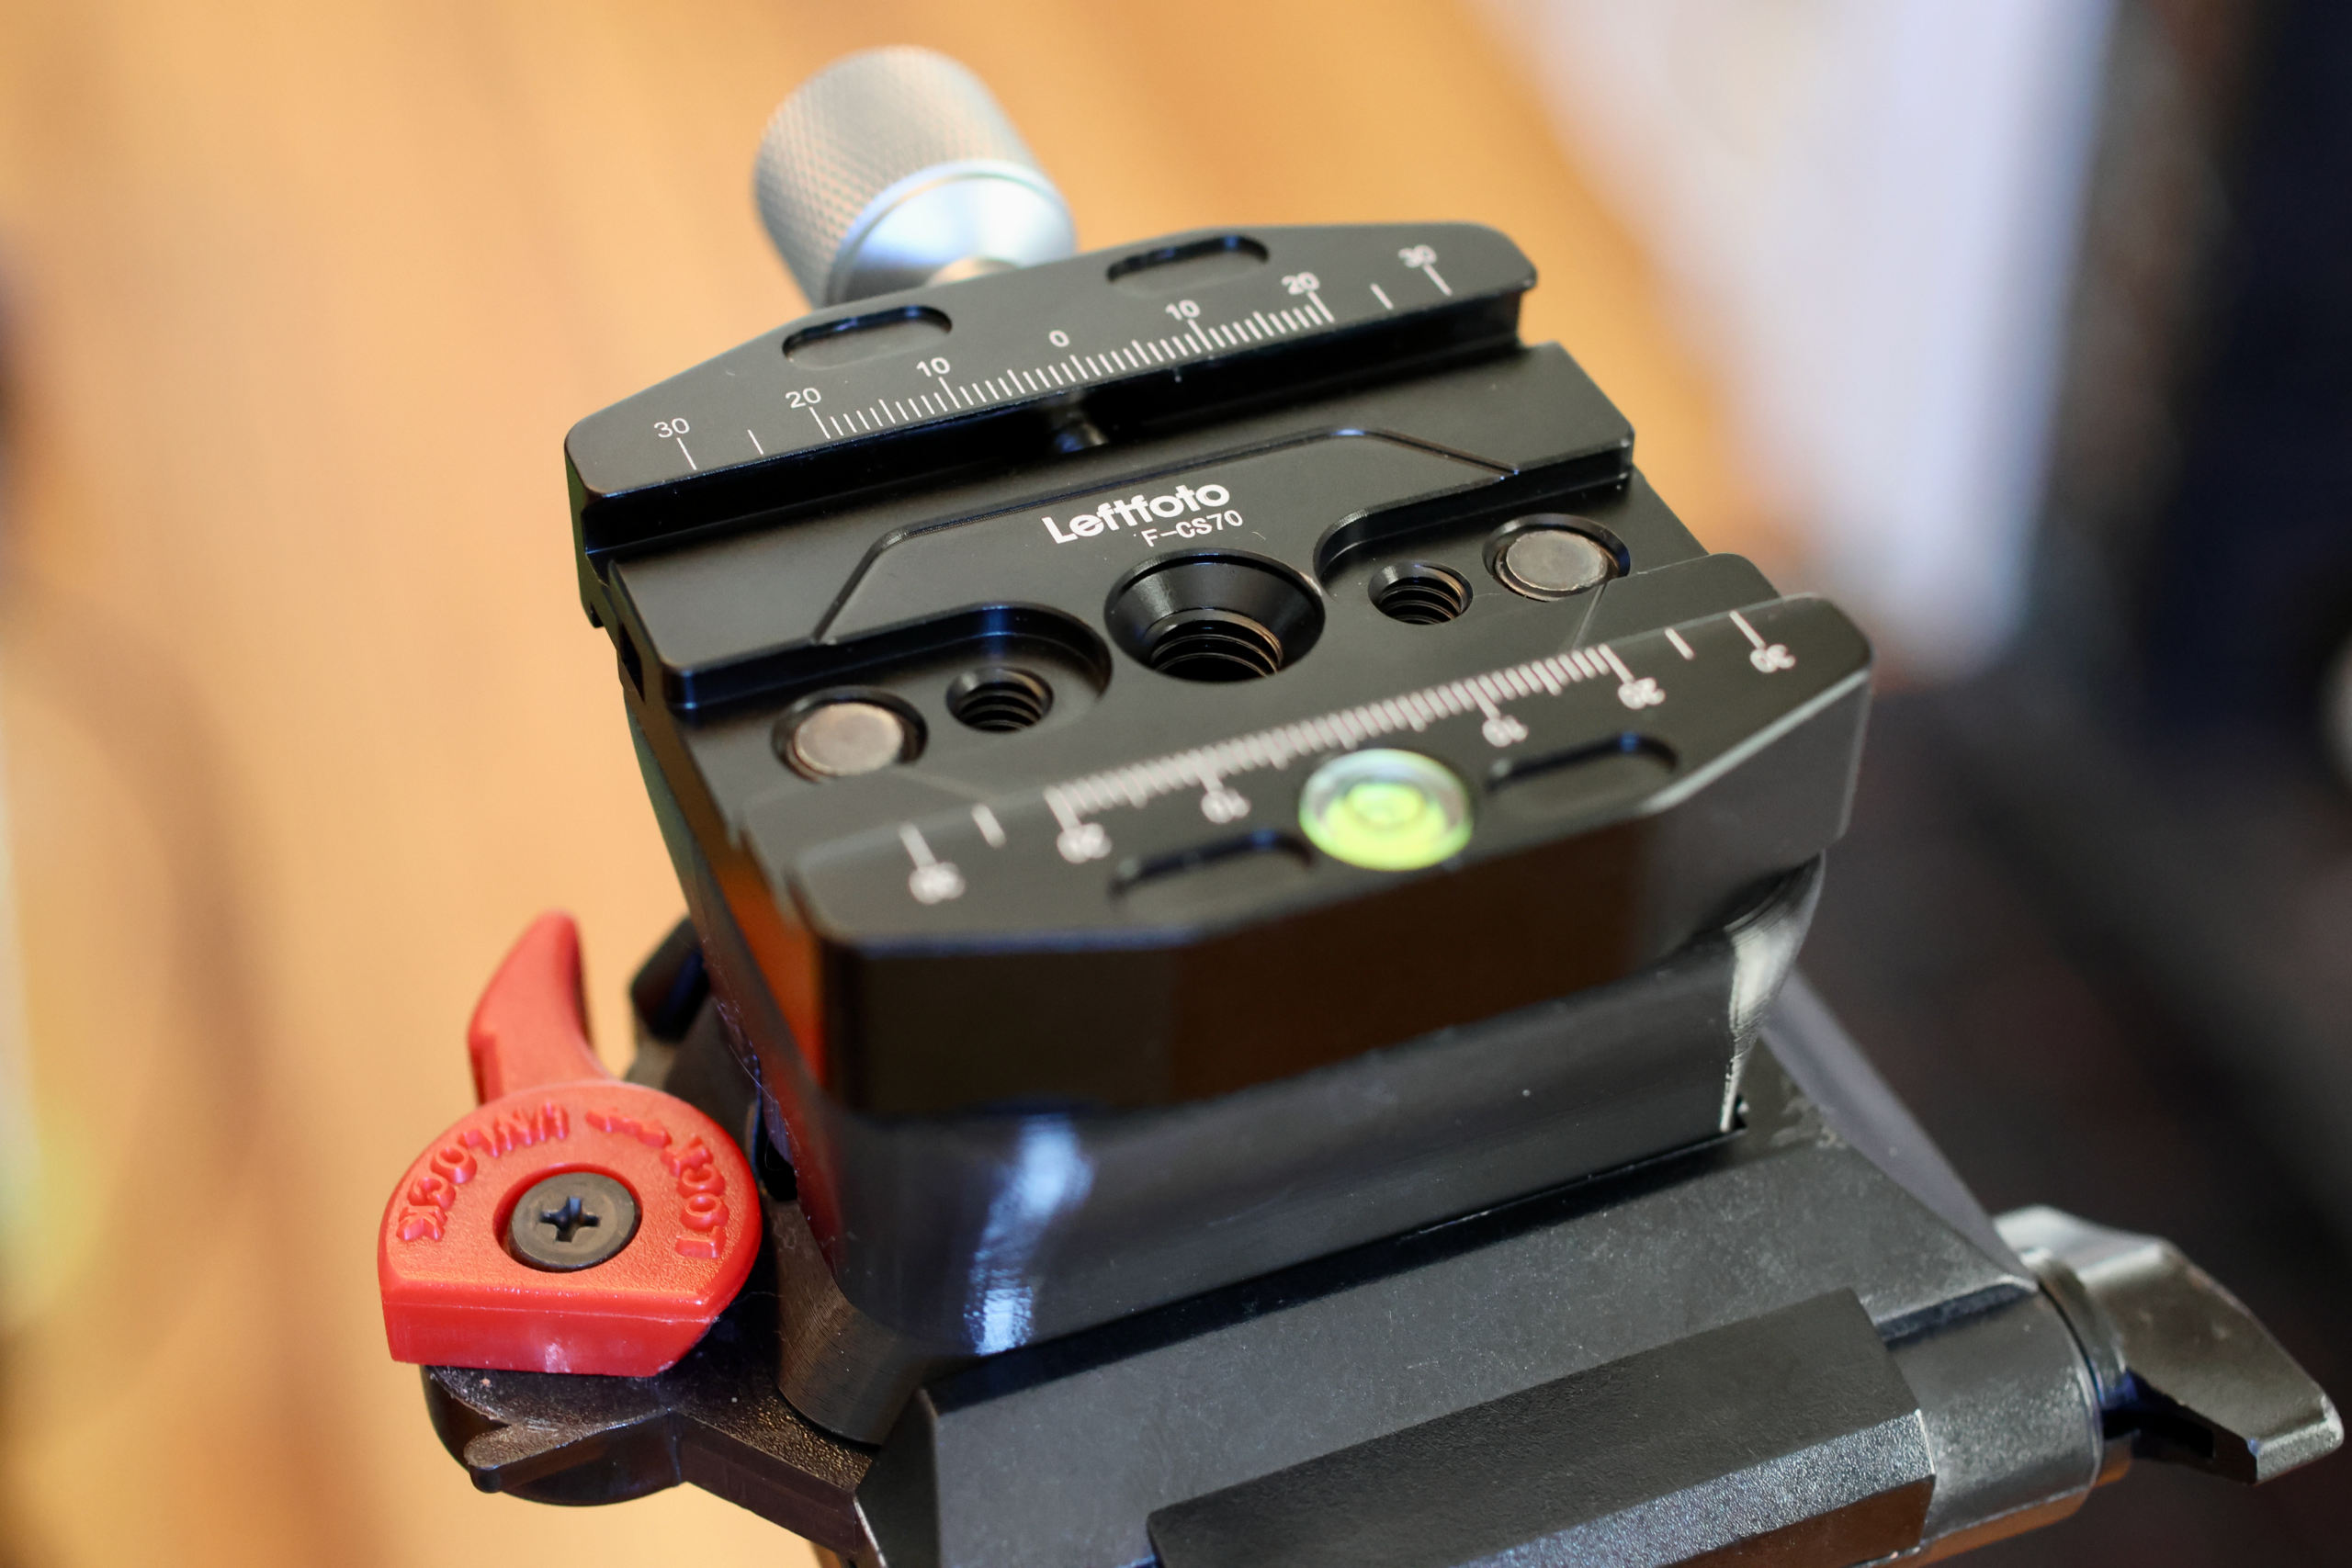
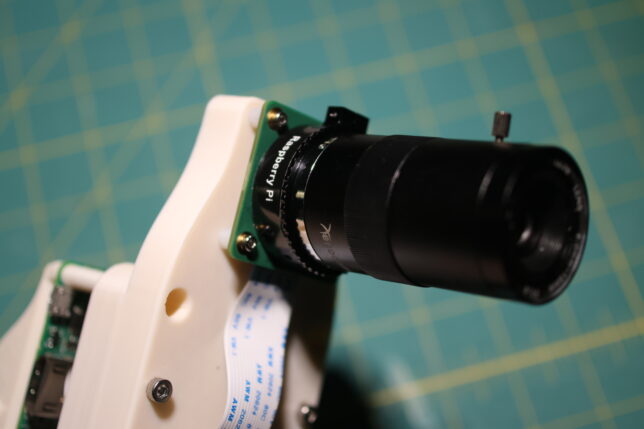
There are several semi-professional thrifters in my life that regularly rotate through the different Goodwill stores in our city prowling for deals. Their habit exposes me to a bit of second hand second hand shopping, and I always request camera equipment. Above is the current state of the tripod pile.
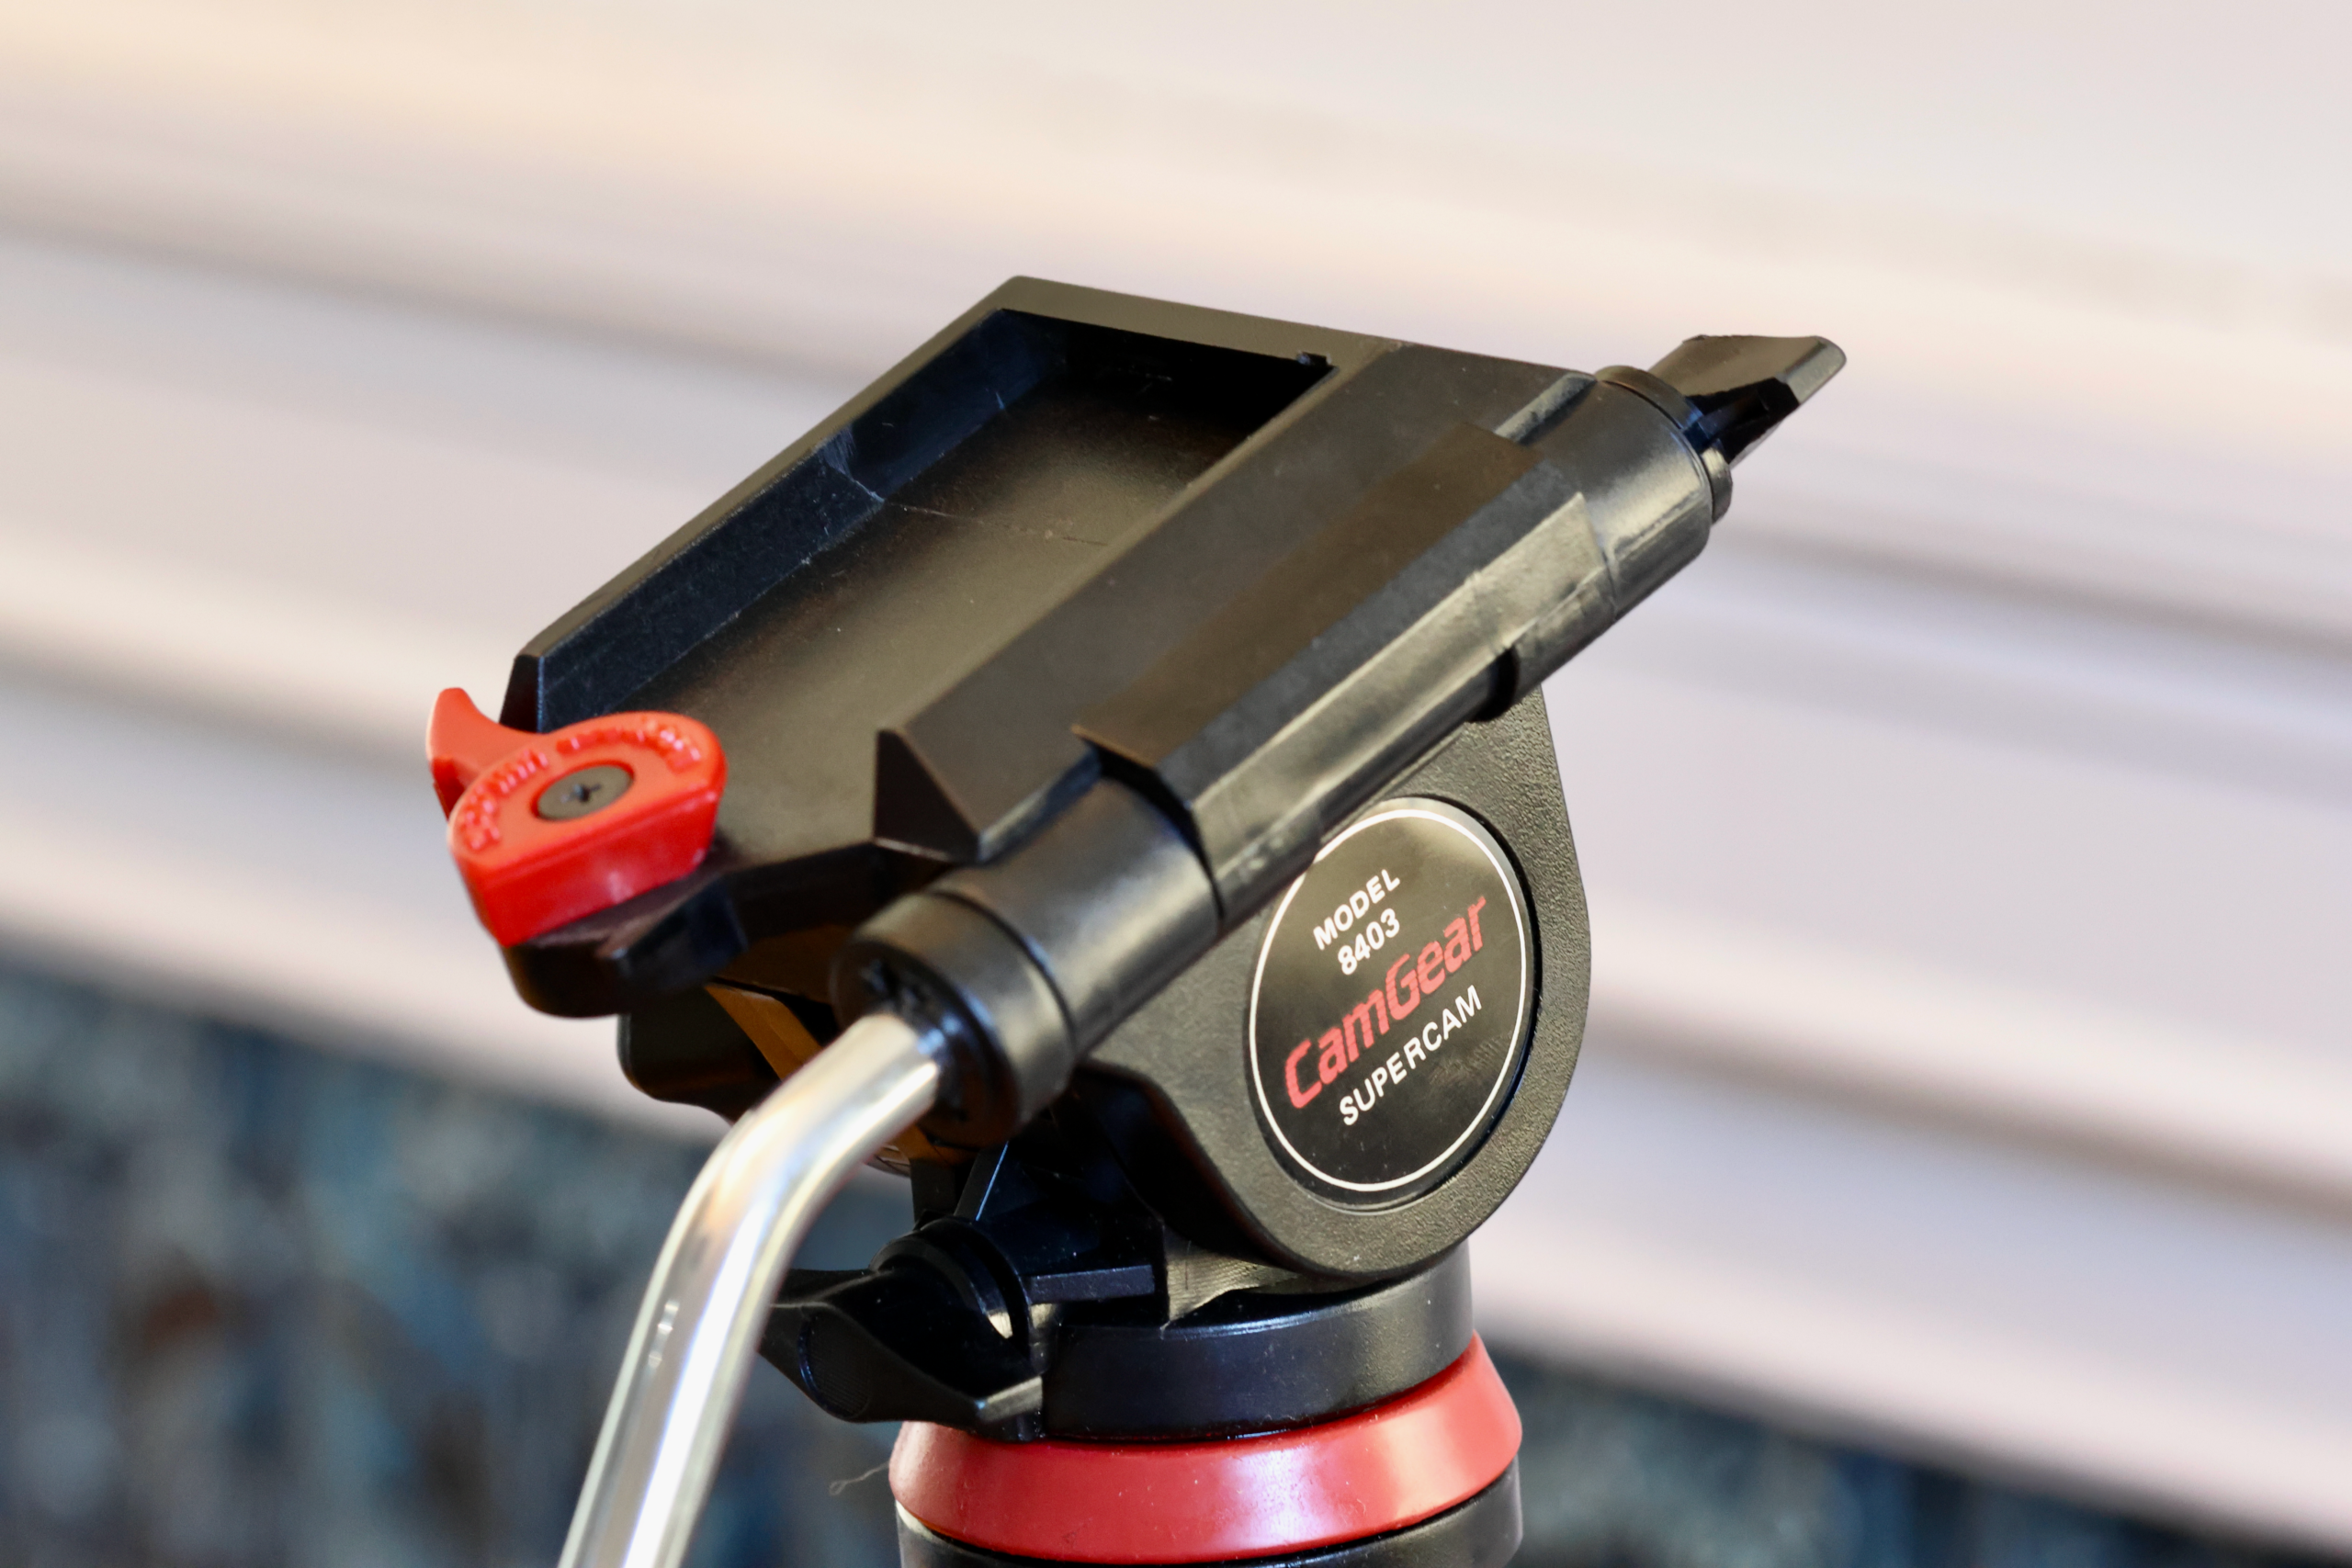
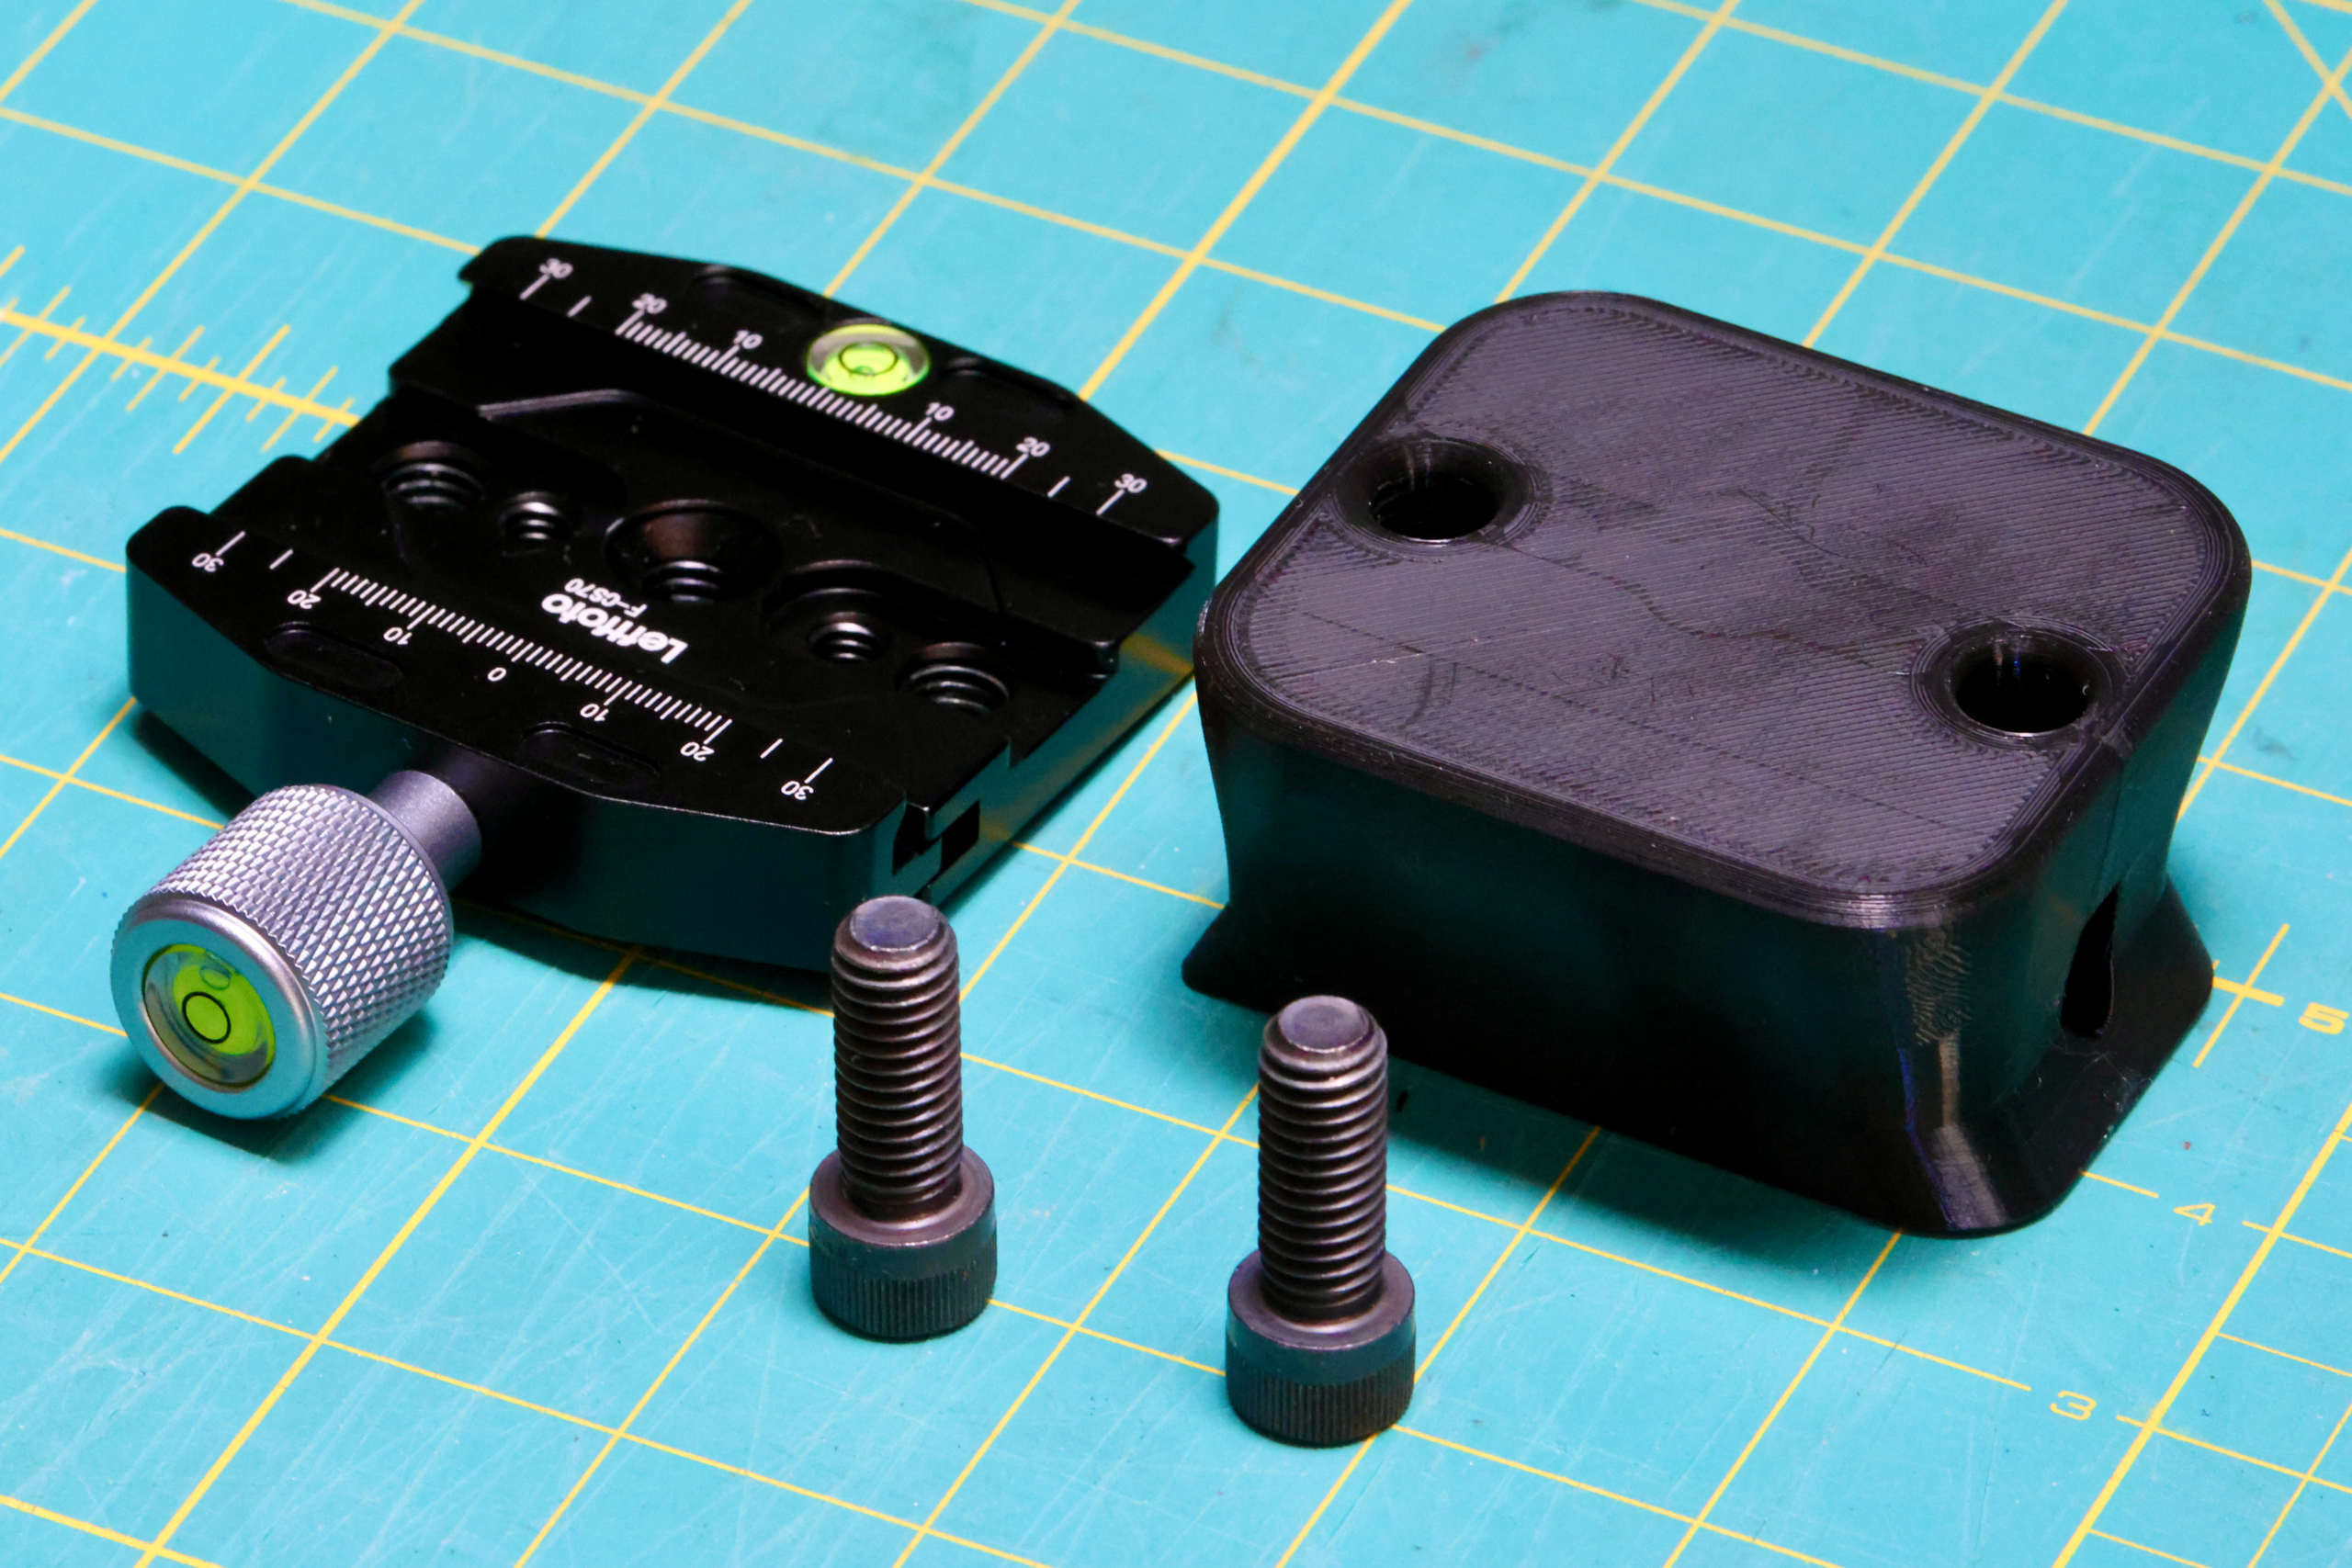
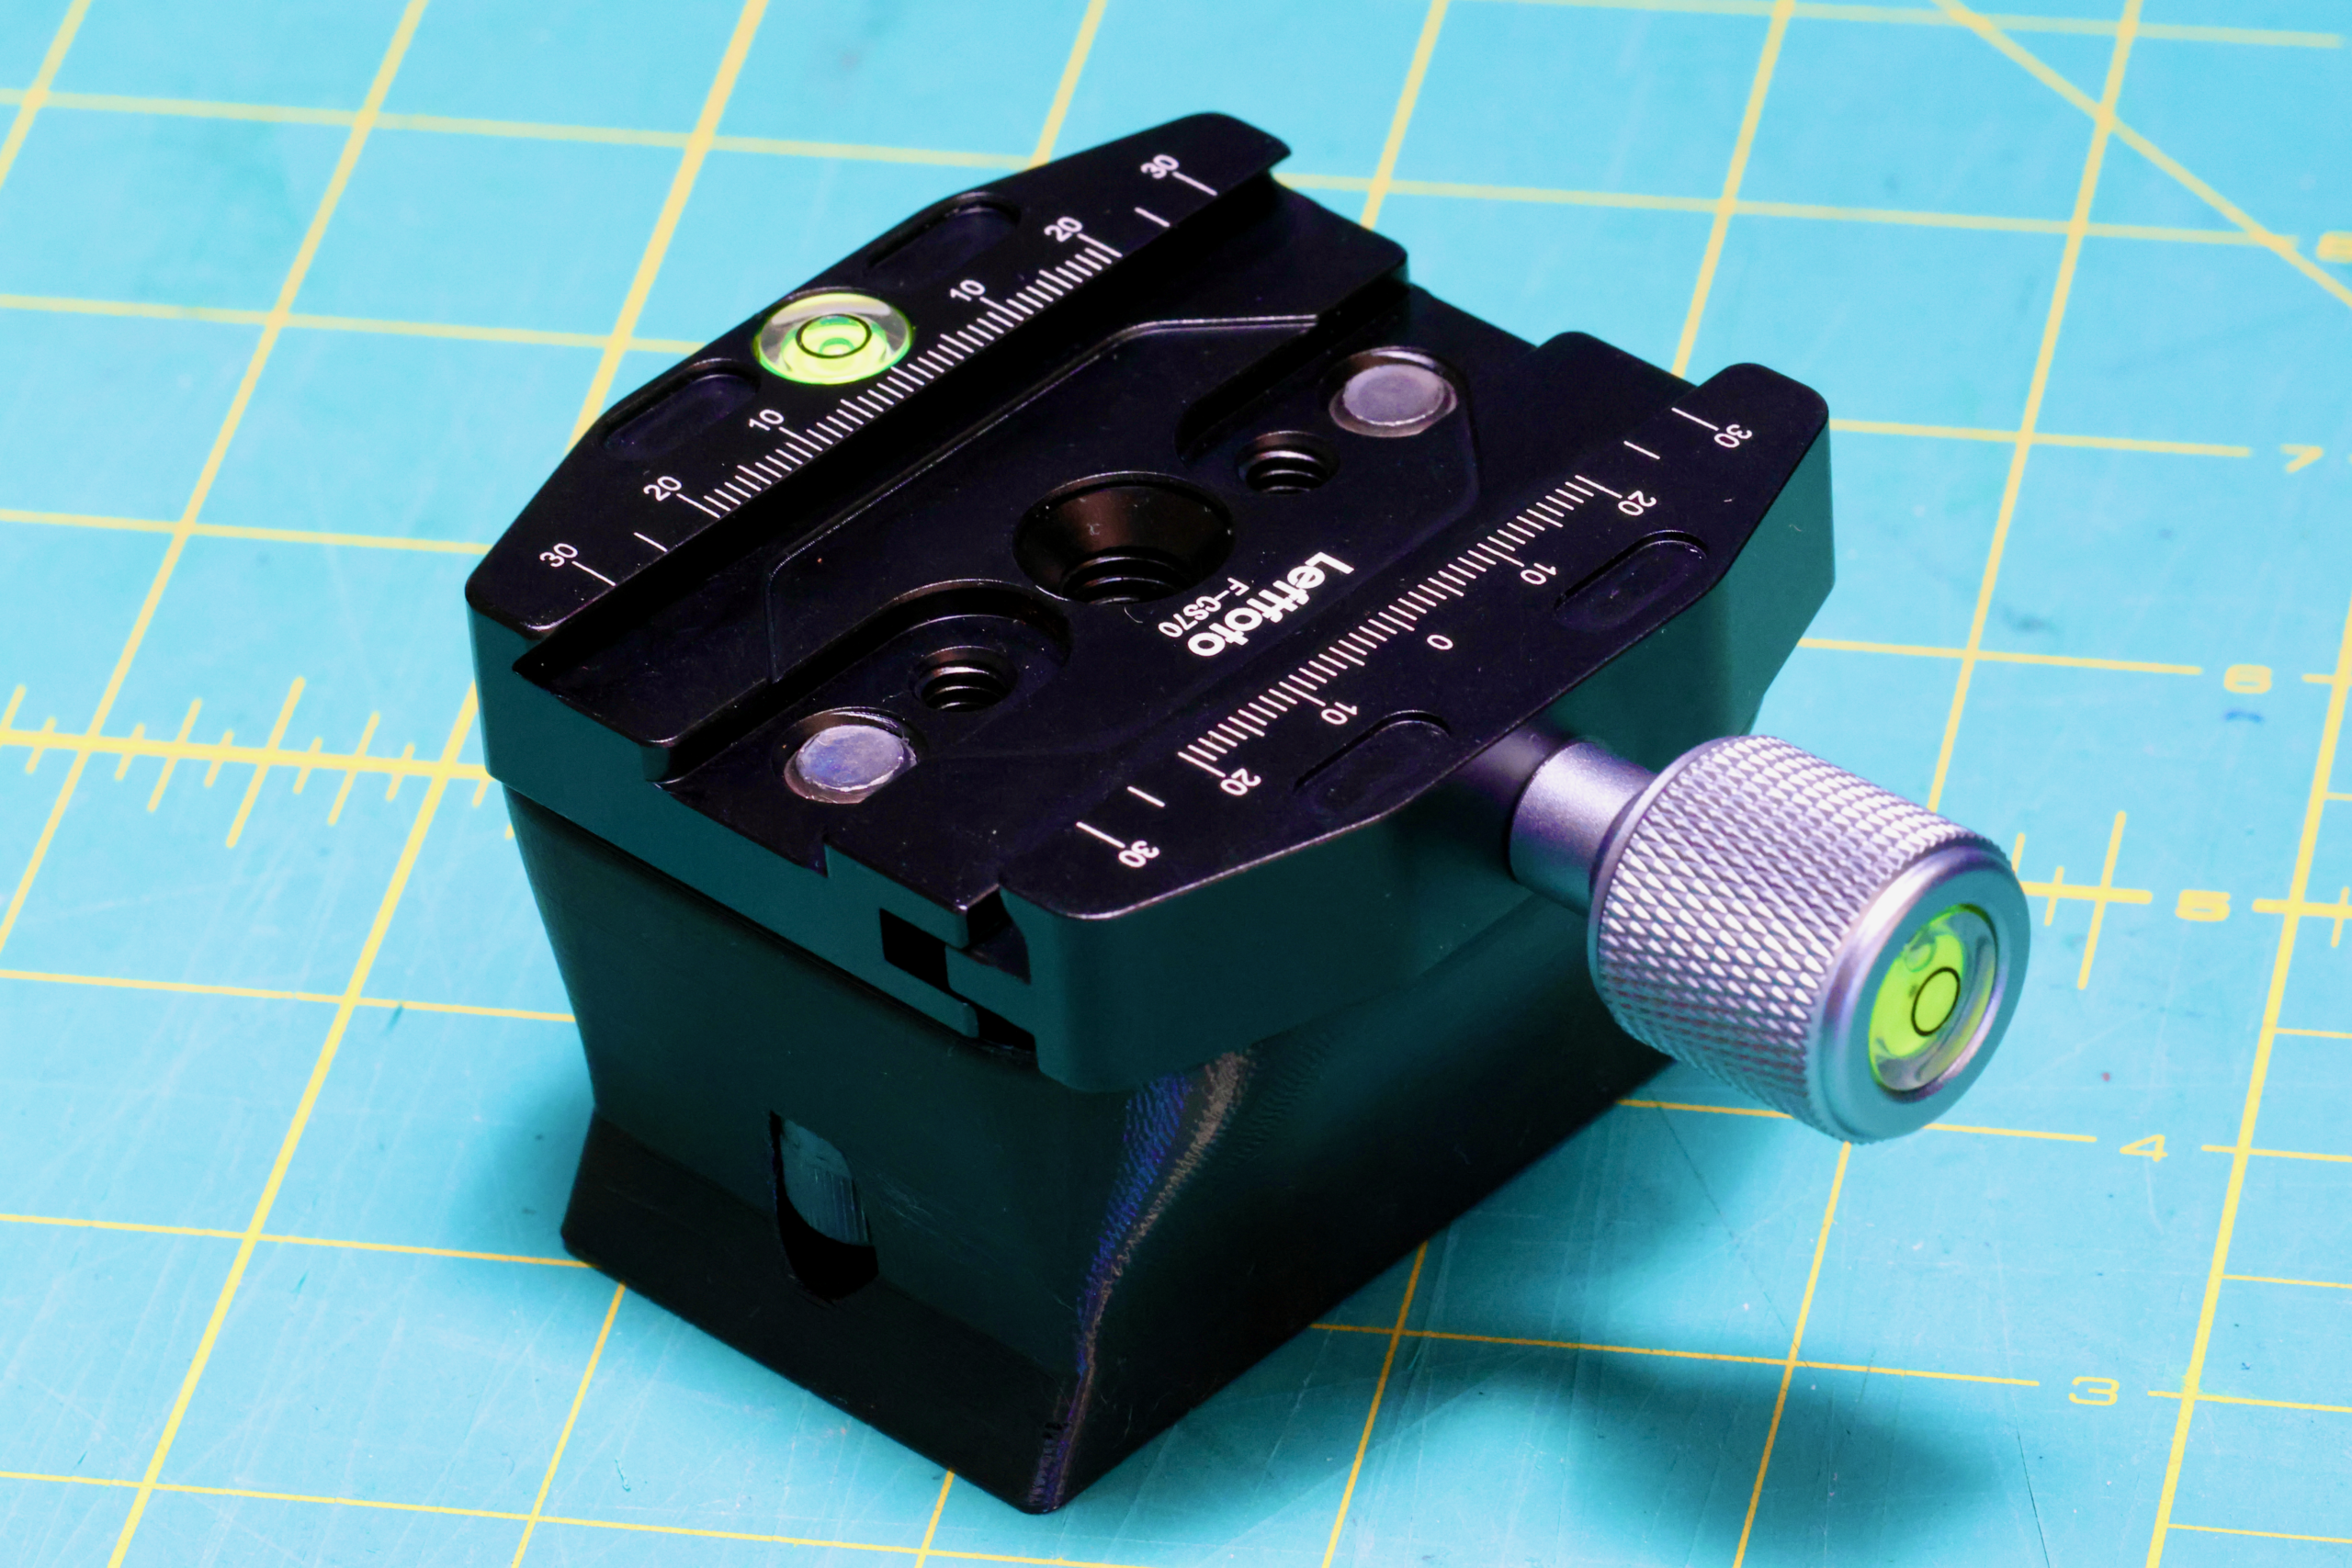
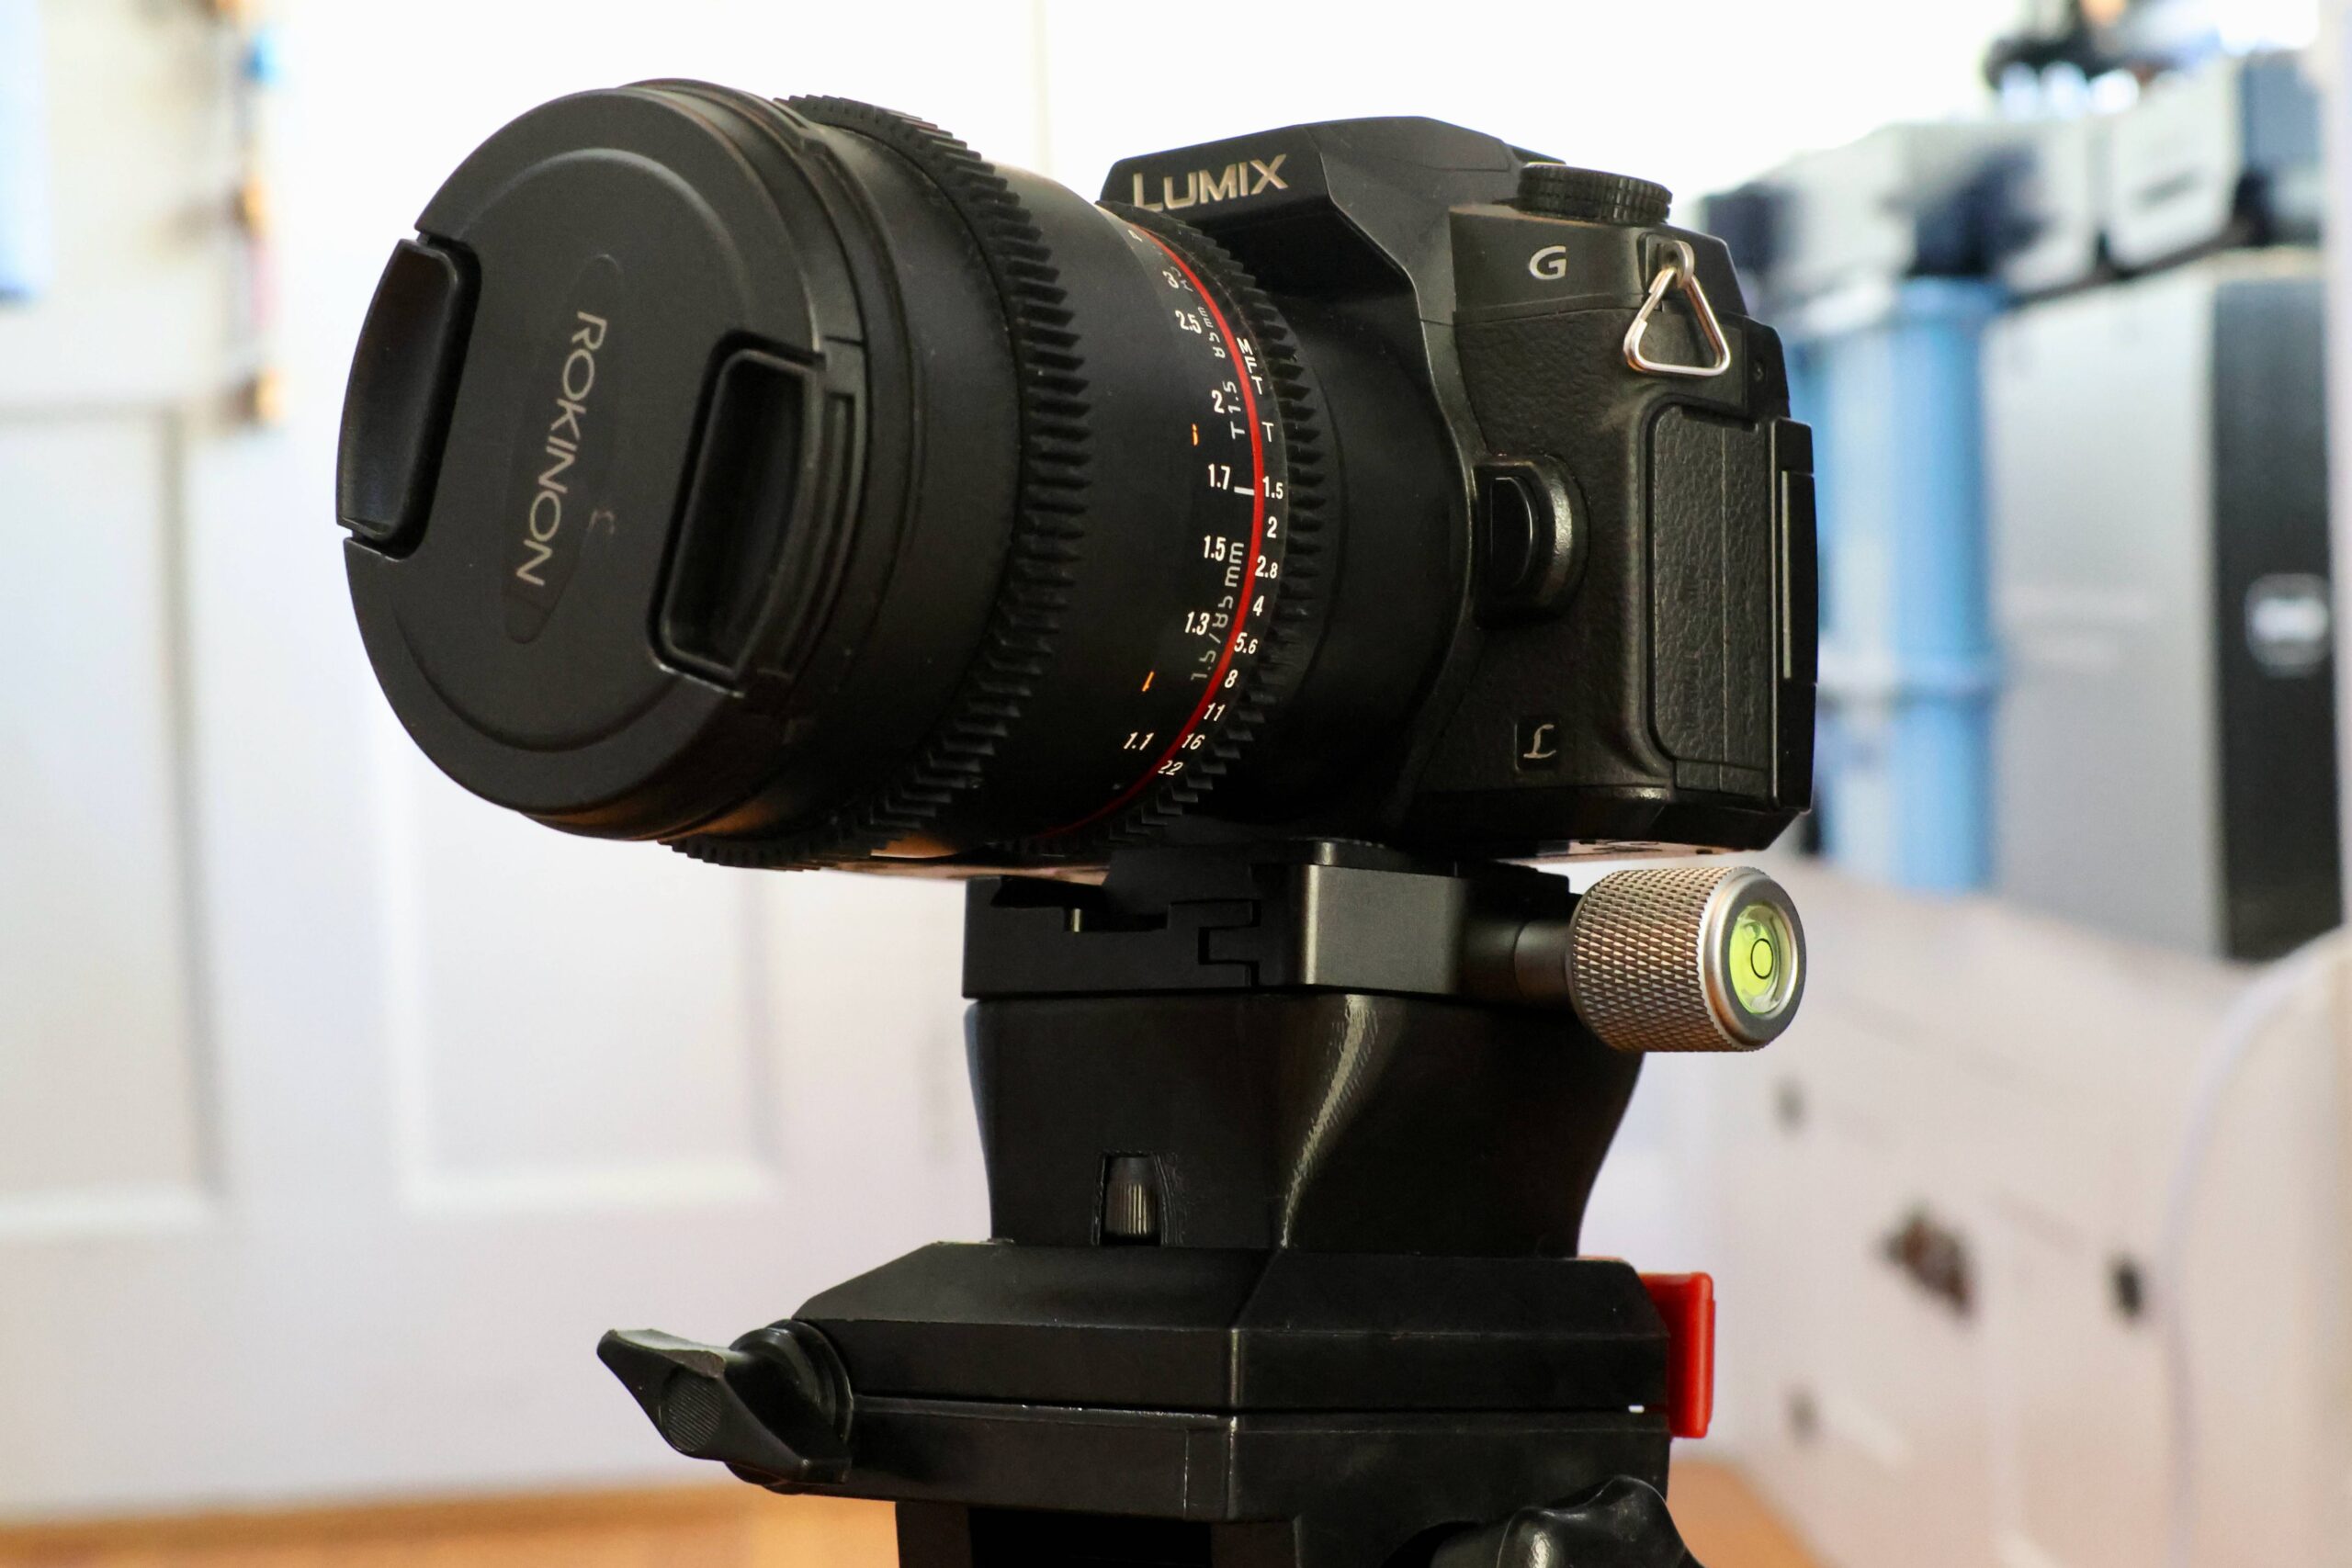
Often times these donated tripods don’t come fitted with their adapter plates for attaching to cameras. This nominally terminal condition is easily recoverable in the age of 3D printing.
Previously a plan was set in motion to benchmark my collection of mighty Tesla GPUs. The set of cooler manifolds are designed, a GPU server benchmark suite has been created, and the time has come to start working through the spreadsheet. I have long suspected that the older multi node cards could be fantastic for image processing. Finally we can quantify how much life is left in these older cards.
The rapid ascent of the LLM into the collective consciousness has sent the big players into a frenzy over datacenter GPUs. This is putting accelerating downward pressure on the price of all used compute GPUs, even the historically pricey stuff. P100s can be had for ~$100, V100 16GB are selling for ~$500, any day now the lower VRAM Ampere cards are going to drop below $1000…
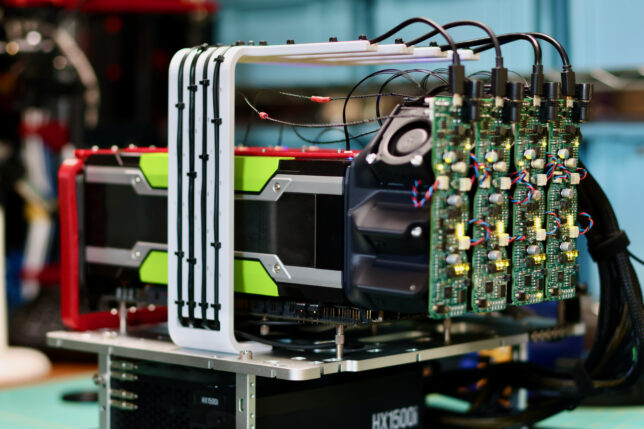
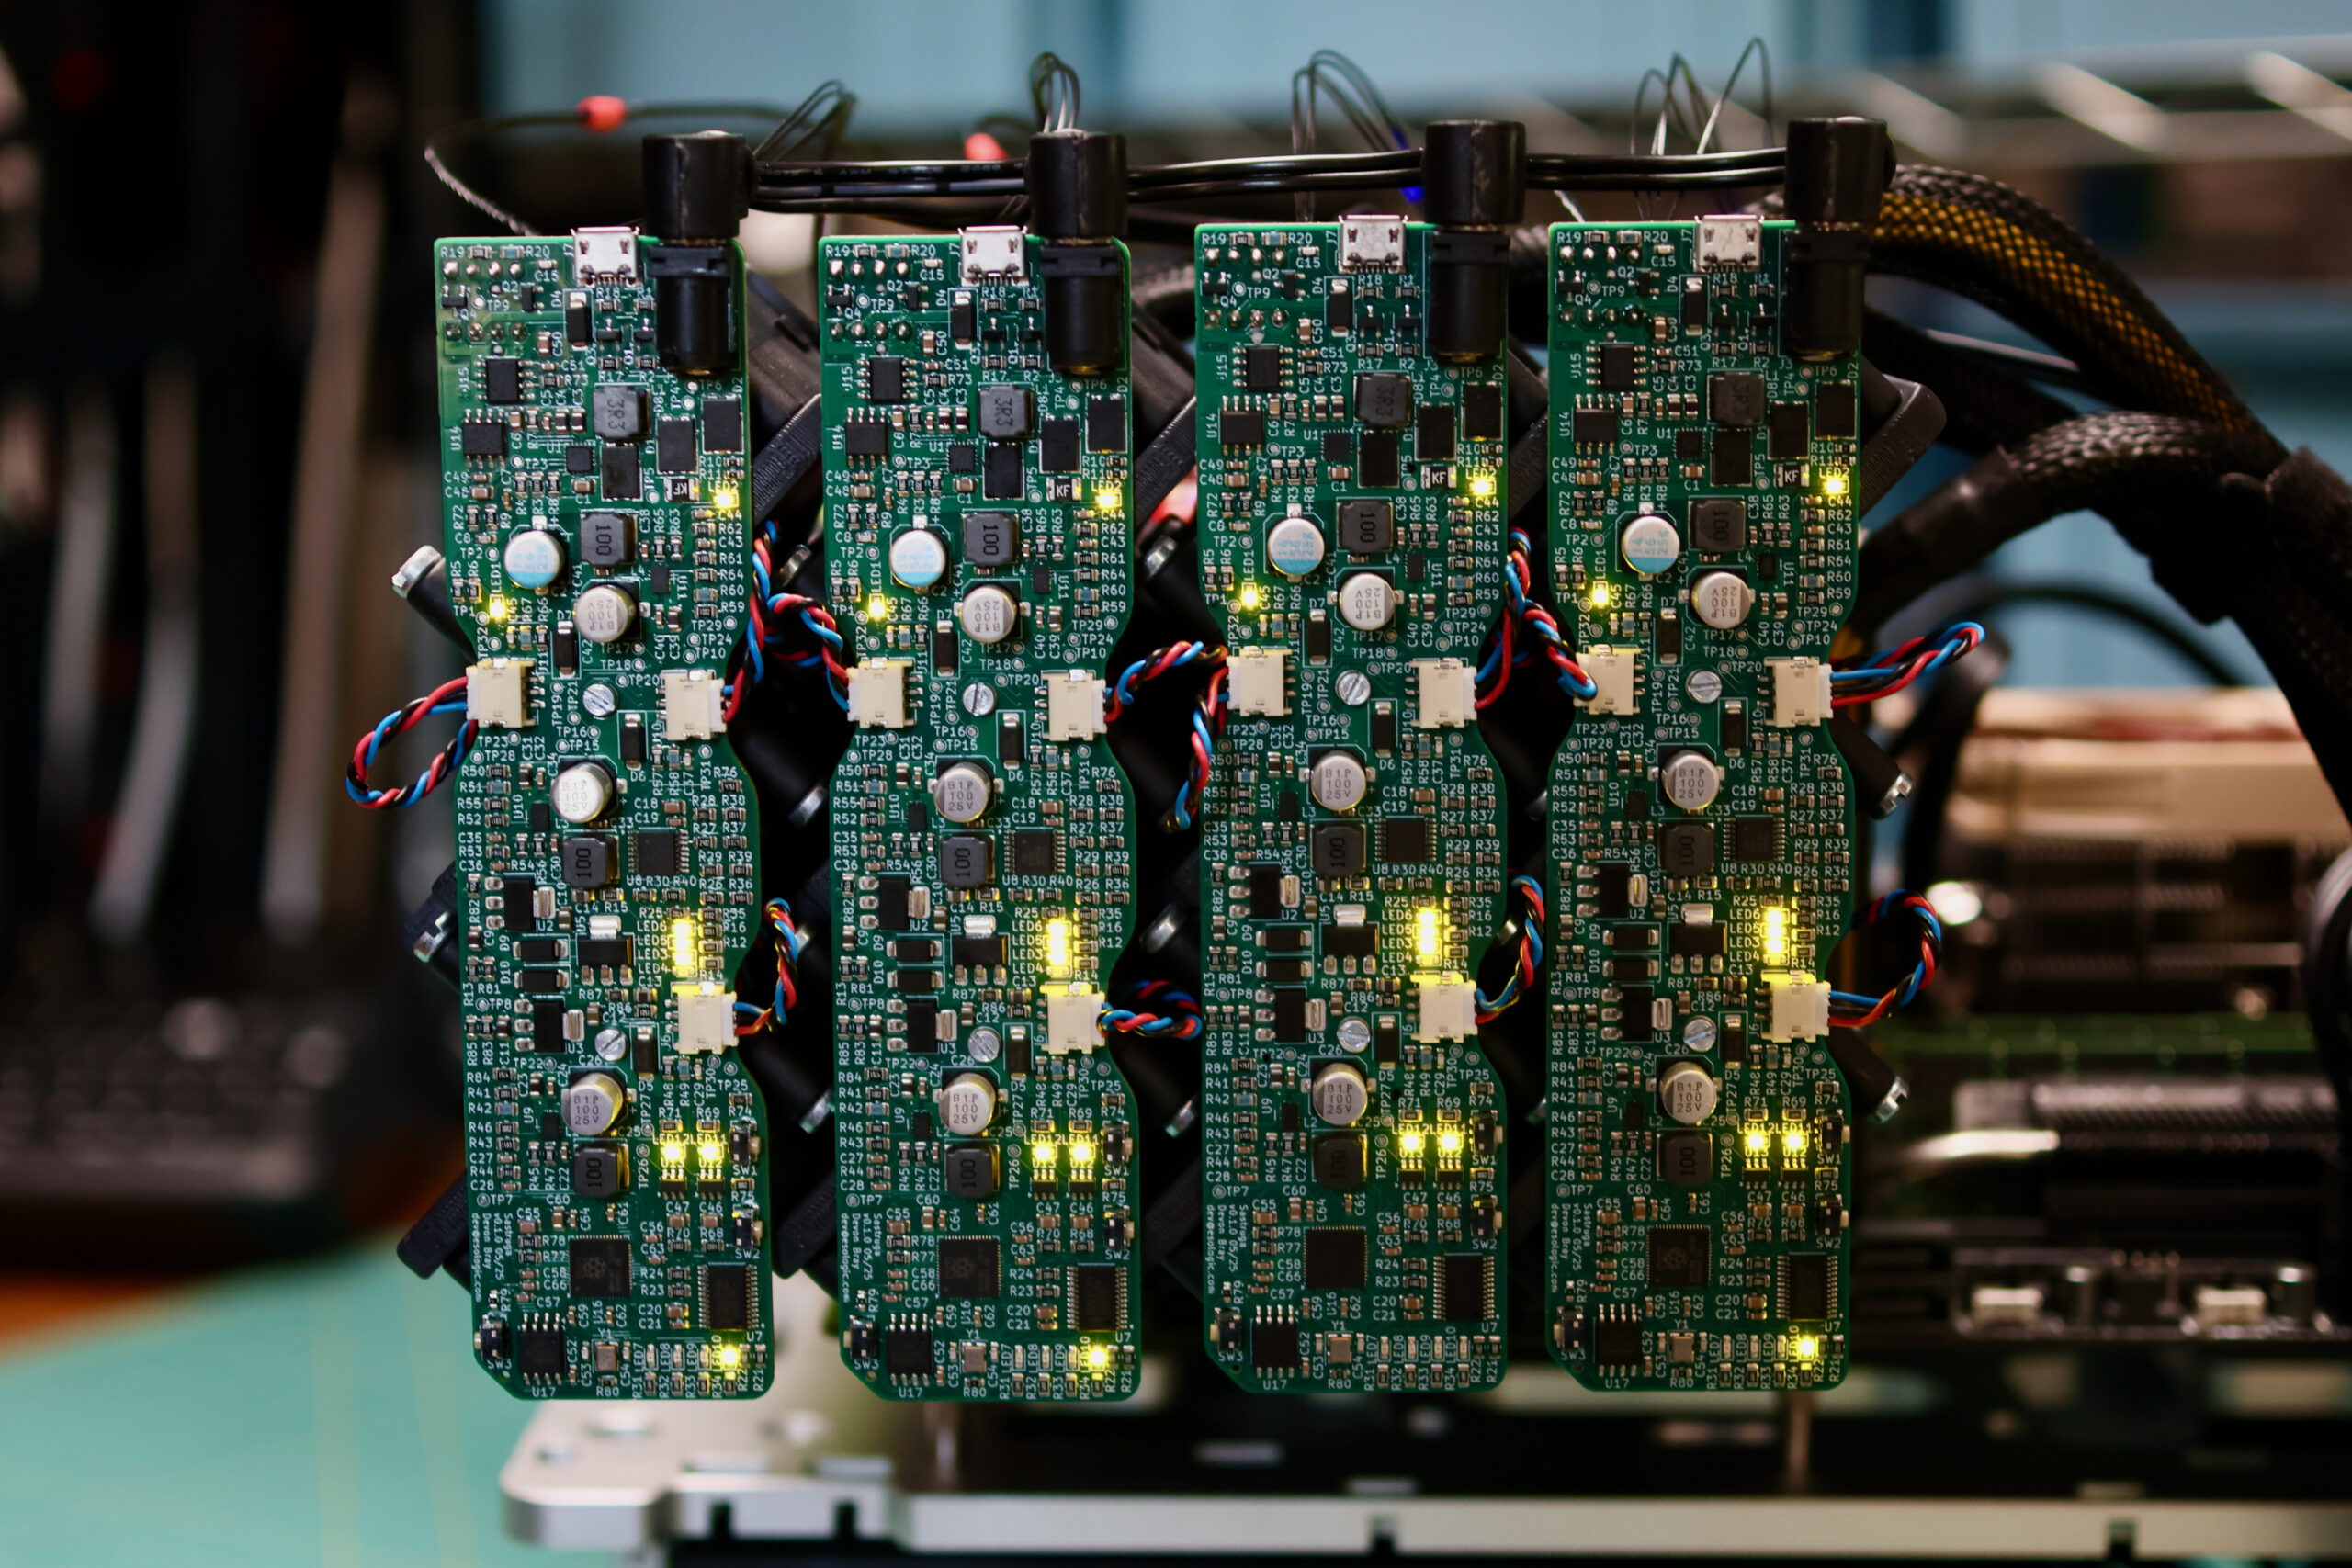
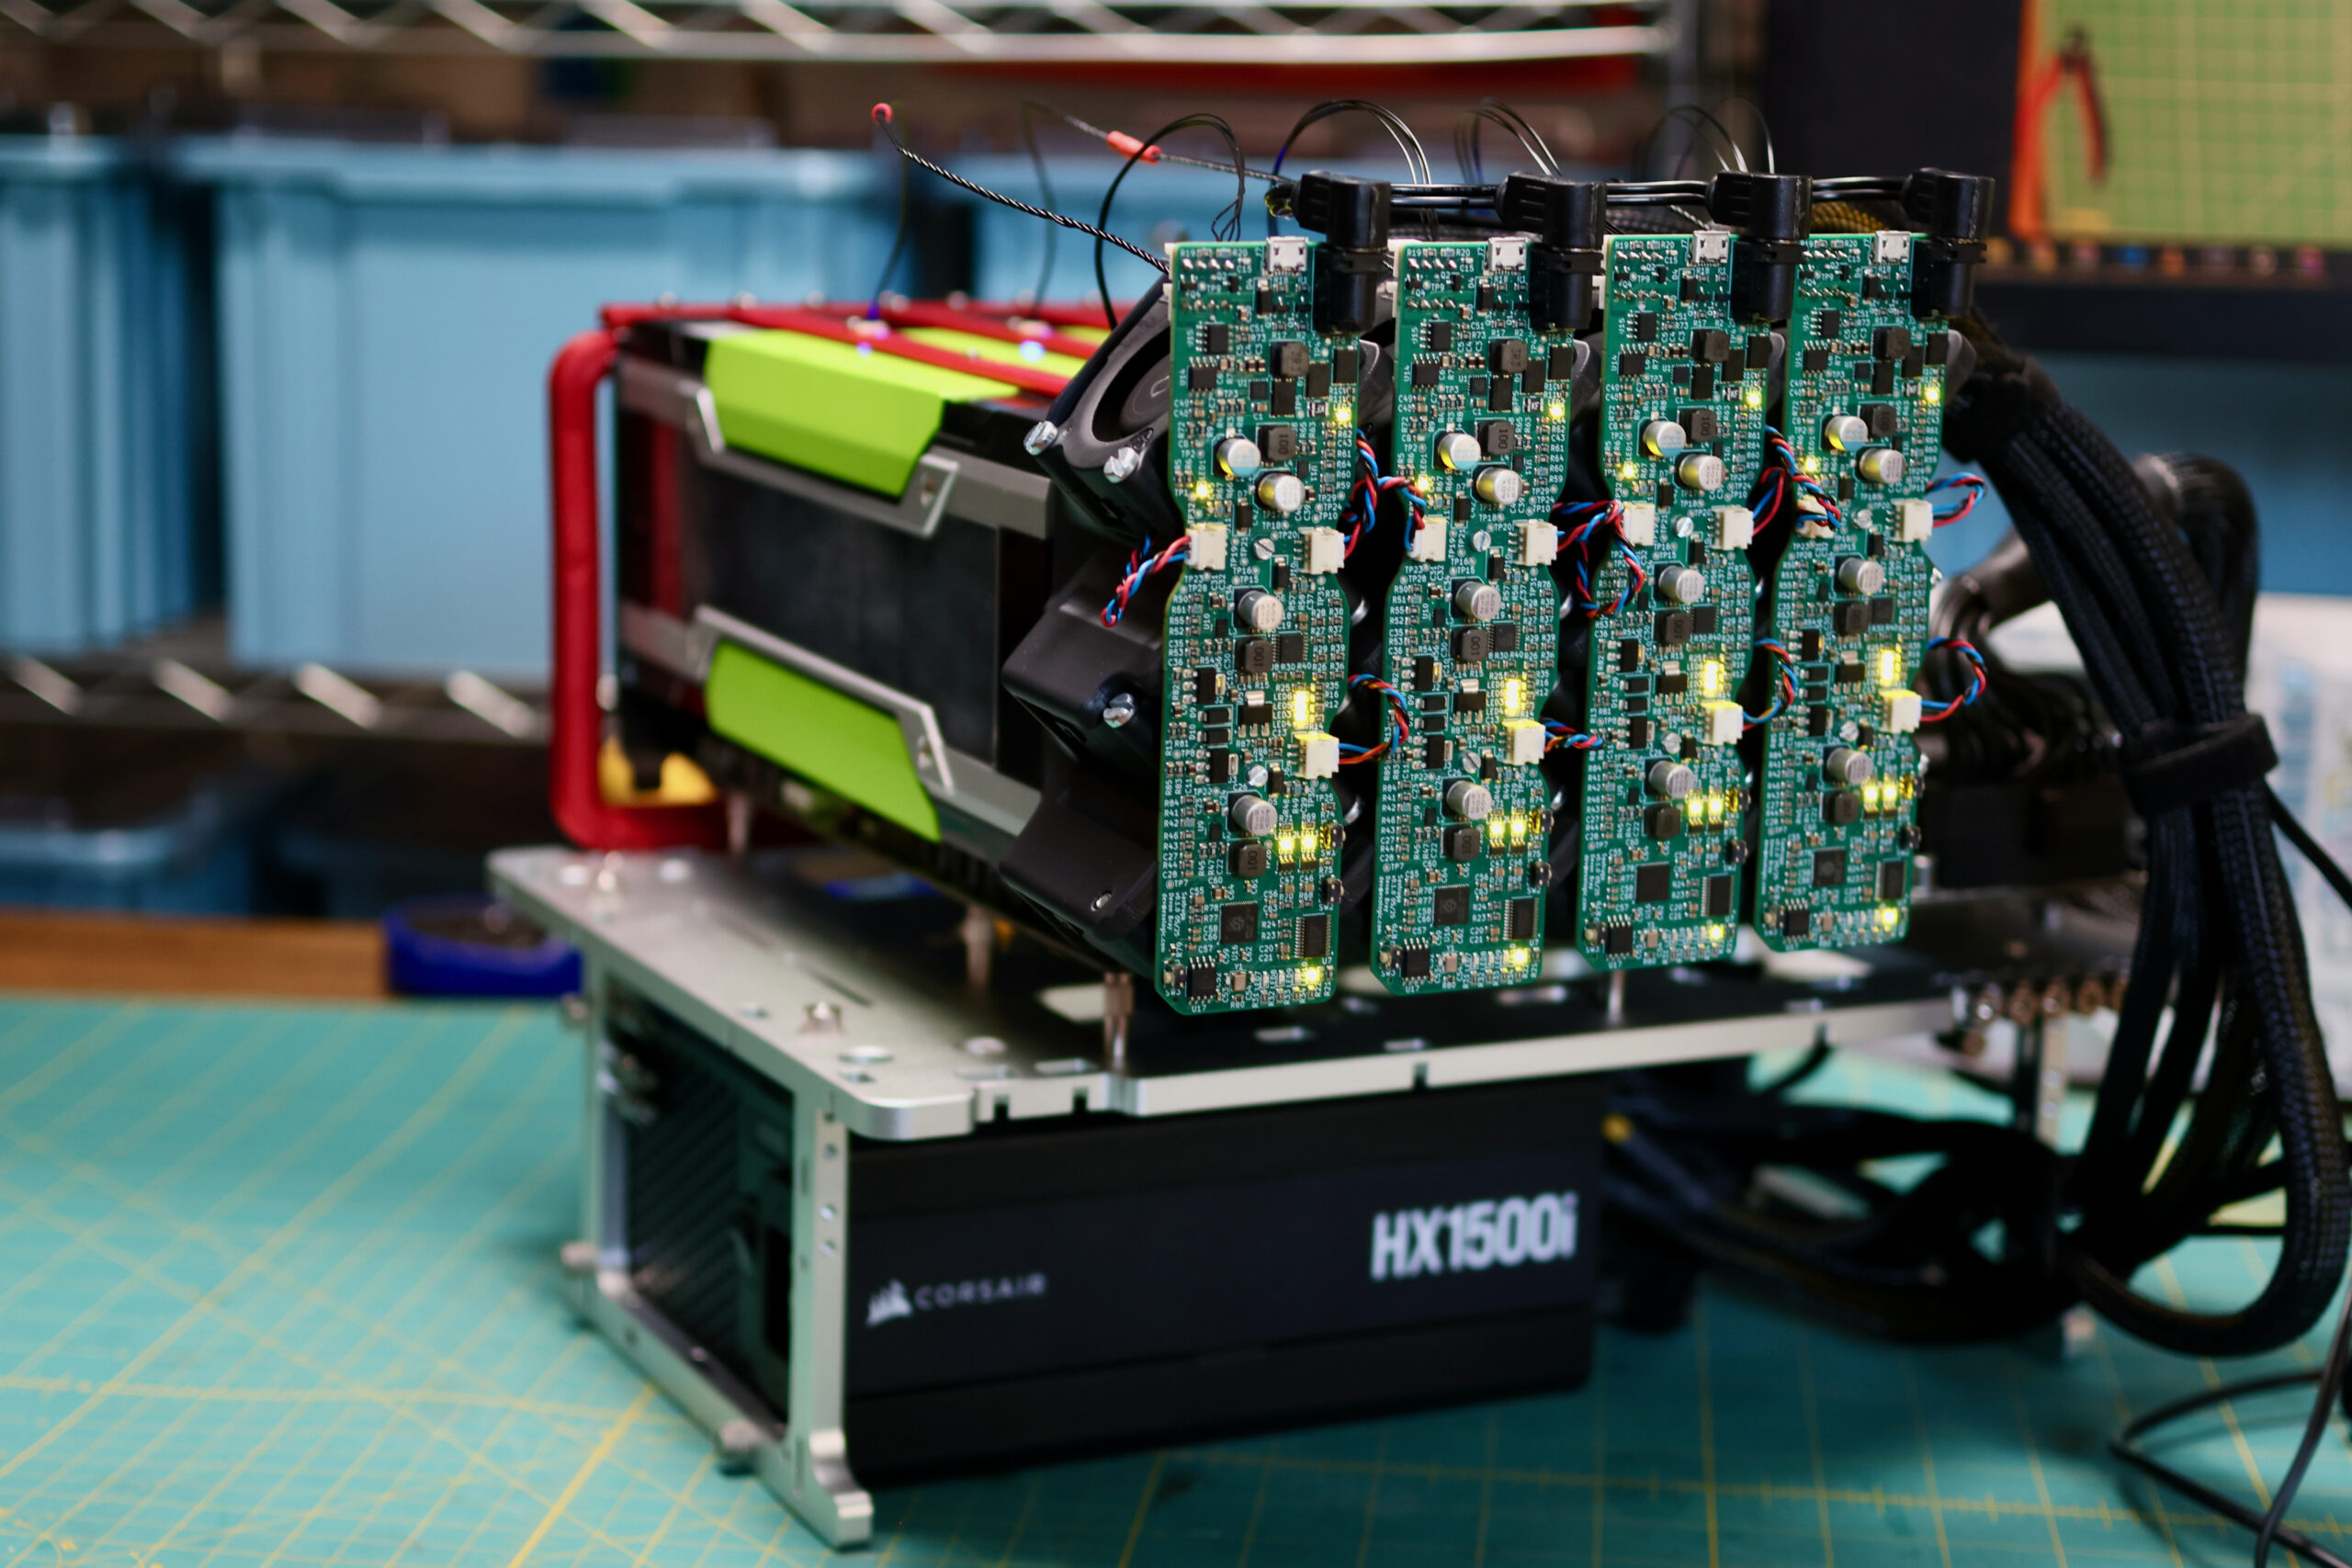
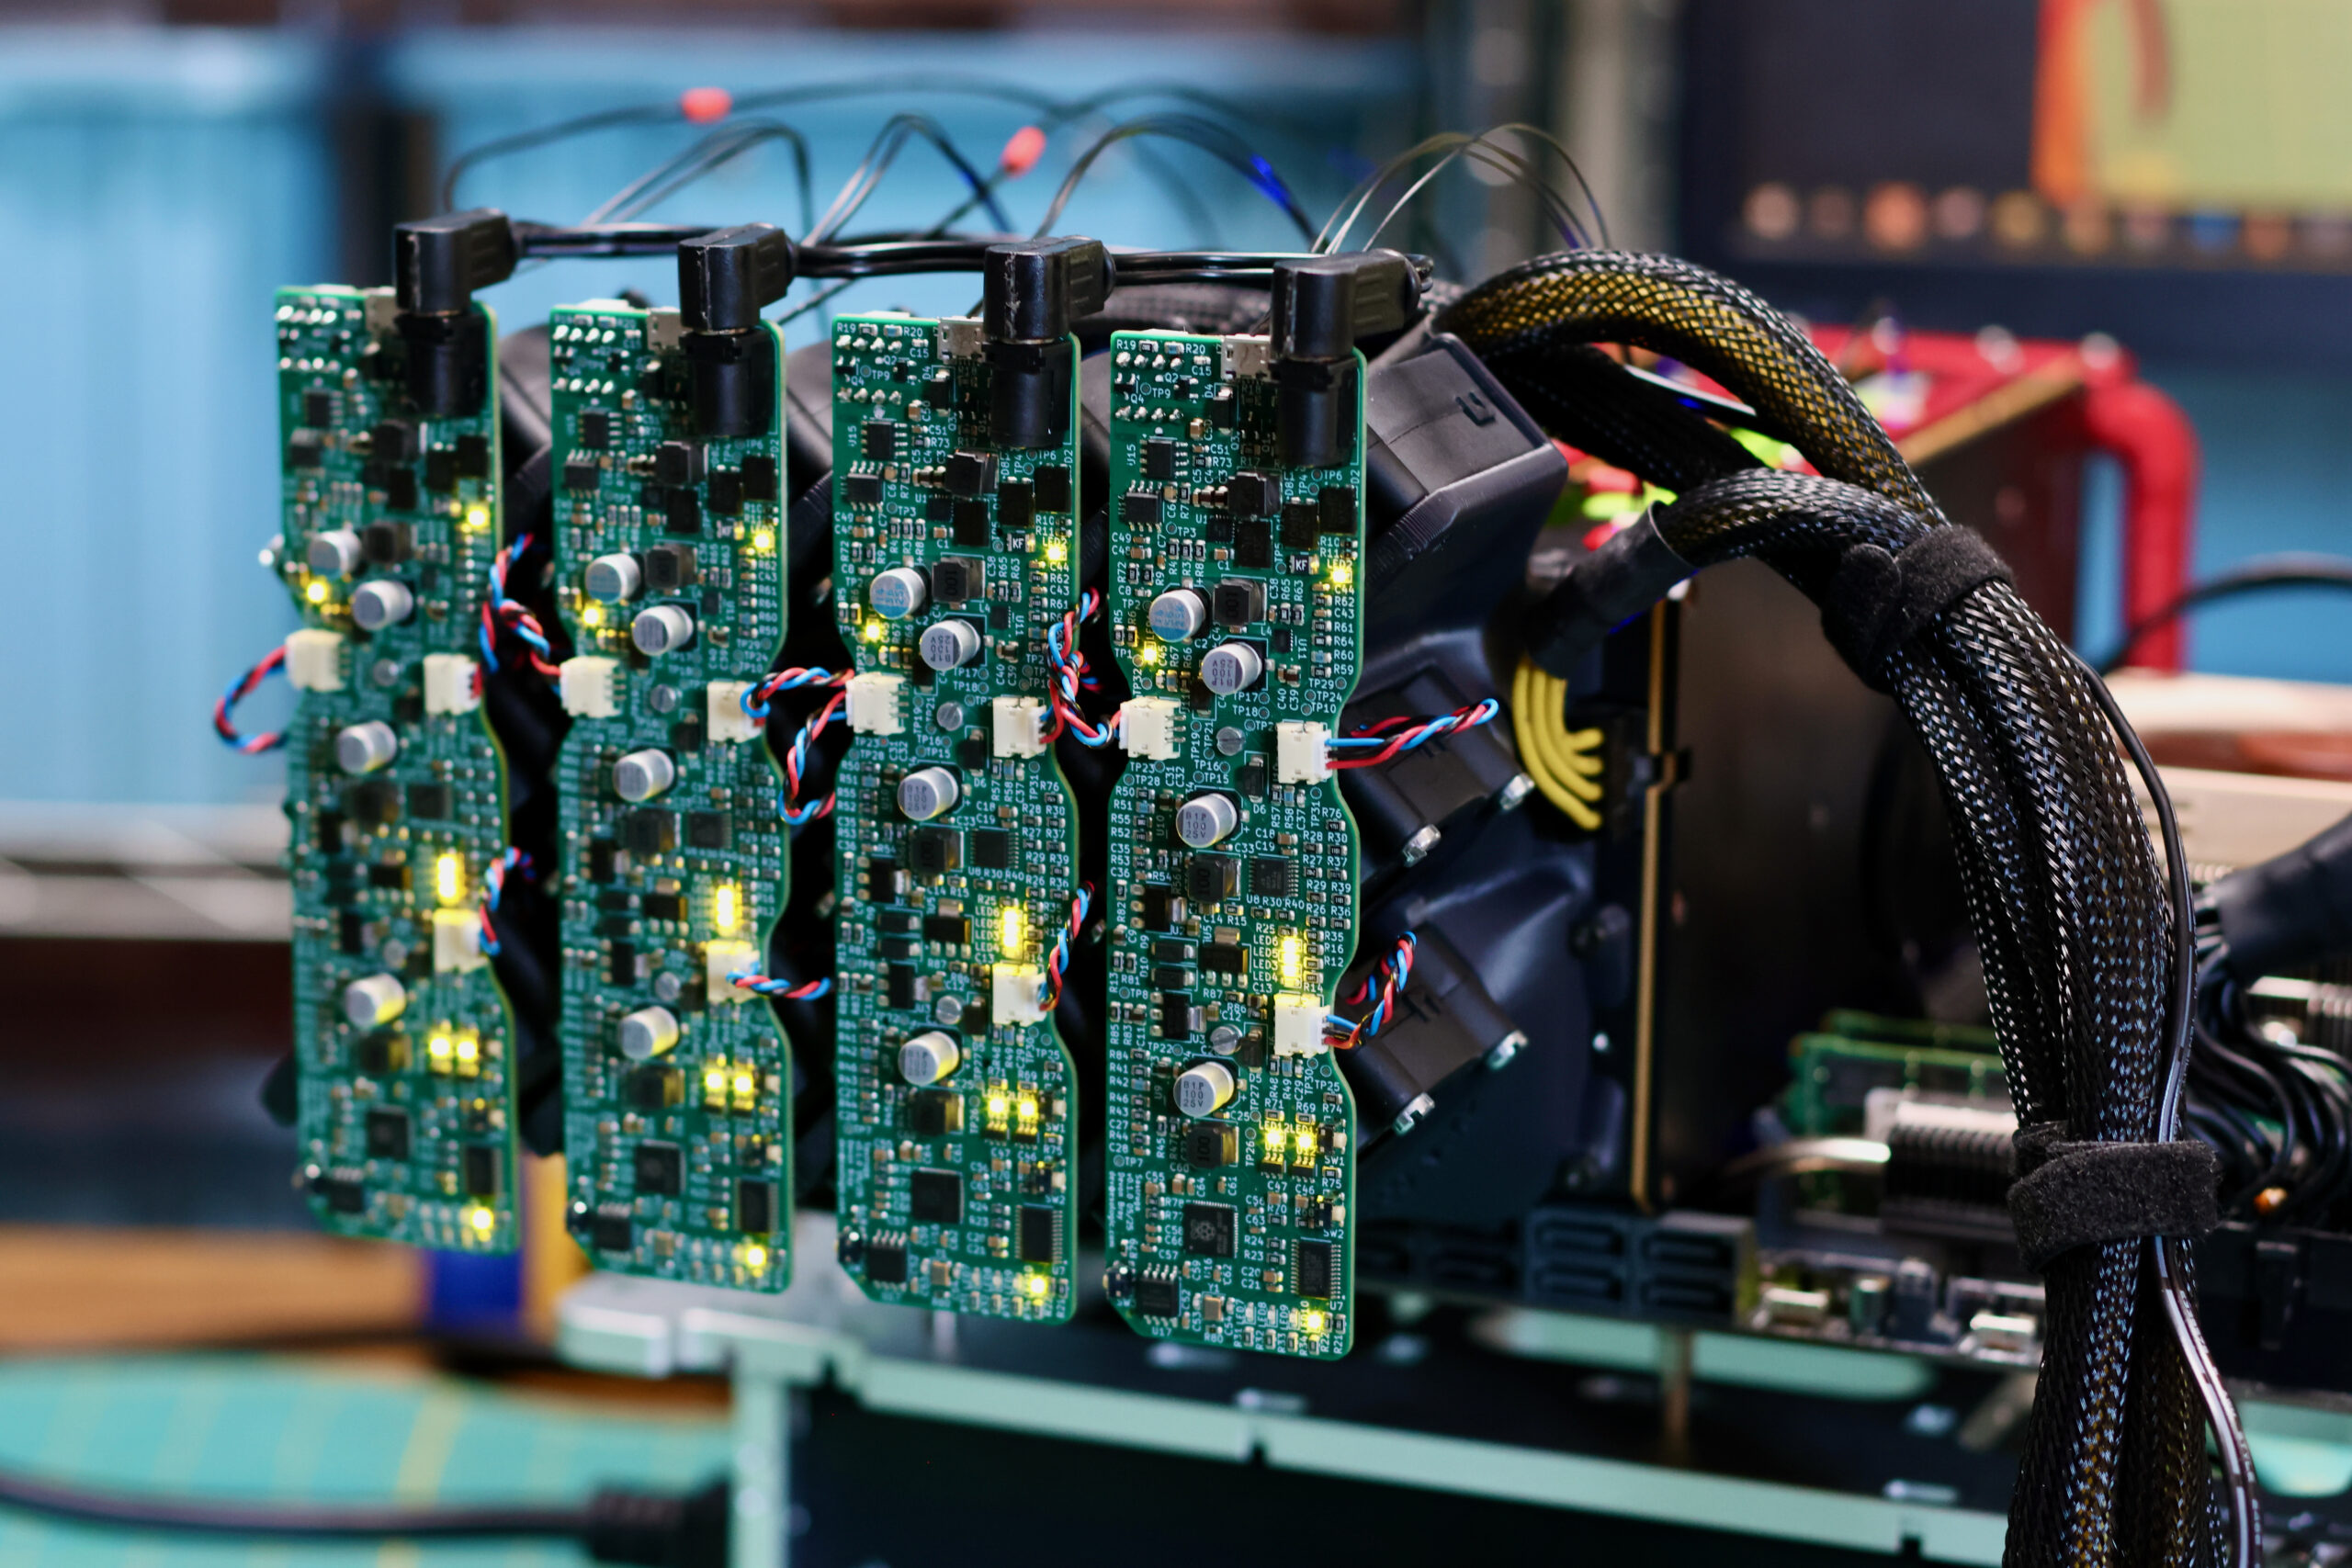
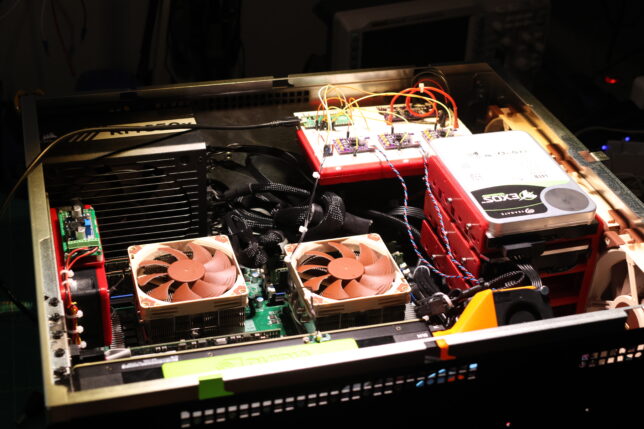
We need a new cooler that can support any of these 300W GPUs, can be installed as densely as the cards, and is easy on the ears for homelab use. Pictured below are four prototype coolers installed on Tesla P100s:
Four PCBs installed on Four P100s on the Open Bench Table build.
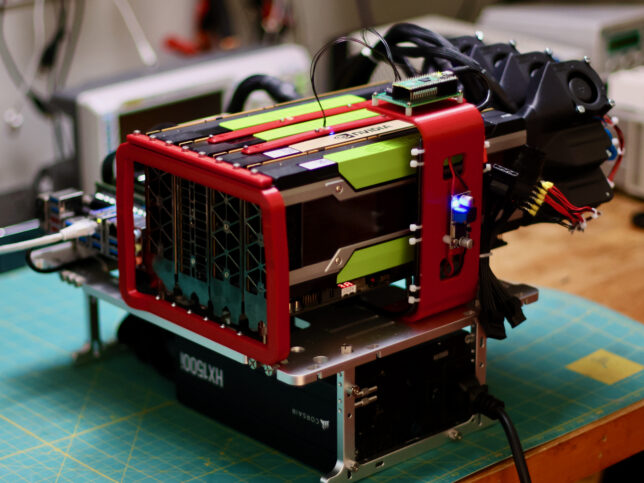
In the conclusion of my previous homelab post, I pled to the eBay gods begging for a 4xP100 system. My prayers were heard, possibly by a malevolent spirit as a V100 16GB for $400 surfaced. More money than I’d be willing to spend on a P100 but the cheapest I’d ever seen a V100, I fell to temptation. To use all four cards, I needed something bigger than the Rosewill RSV-R4100U. Enter the OpenBenchTable, and some 3d printed parts I designed to be able to securely mount four compute GPUs:
My beloved blog post still sits on the throne as the most effective format for engineering projects. To me, Inlining code, photographs, CAD models and schematics in an interactive way trumps other mediums. This level of interactivity closes the gap between reader and material, allowing an independent relationship with the subject outside of the story being told by the author.
Working on stream to an online audience has a similar effect, the unedited and interactive format yielding a real understanding of the creators process and technique.
For a while there, I’d settled into a nice habit of broadcasting project development live on twitch. Two moves later, things have settled down enough in my personal life that I feel it’s time to try to get back into this habit.
Before we get started again, I took some time to improve the ergonomics (both hardware and software) of my stream setup. The following documents a few smaller projects, all in service of these upcoming broadcasts.
There’s an unspoken tenant of the maker movement that demands: calls for bespoke engineering work from friends should always be answered. Maker projects for friends pay dividends in net-happiness injected into the world.
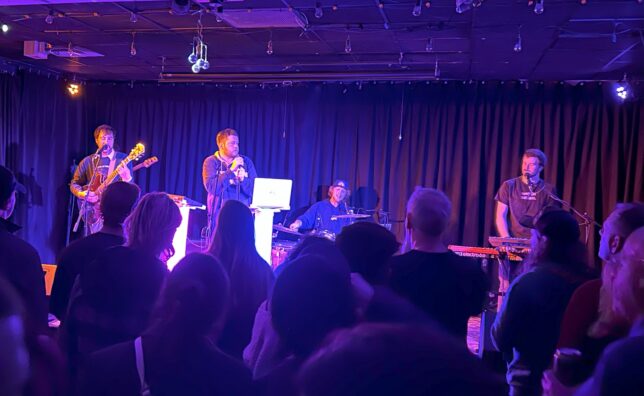
My ‘ol pal Ben (A.K.A Bensbeendead.) knows this kind of work is a favorite of mine. So when he asked, of course I jumped at the opportunity to design and manufacture some “elbows” that mount his laptop and controller atop RGB stage lighting.
In the years since the GANce days, Rosewill’s massive 4U chassis, RSV-L4000U has housed my daily-driver virtualization host. The guts of the build are almost identical to the original spec, but it has come time to move into a smaller case. CX4200A from Sliger won out because of a few factors.
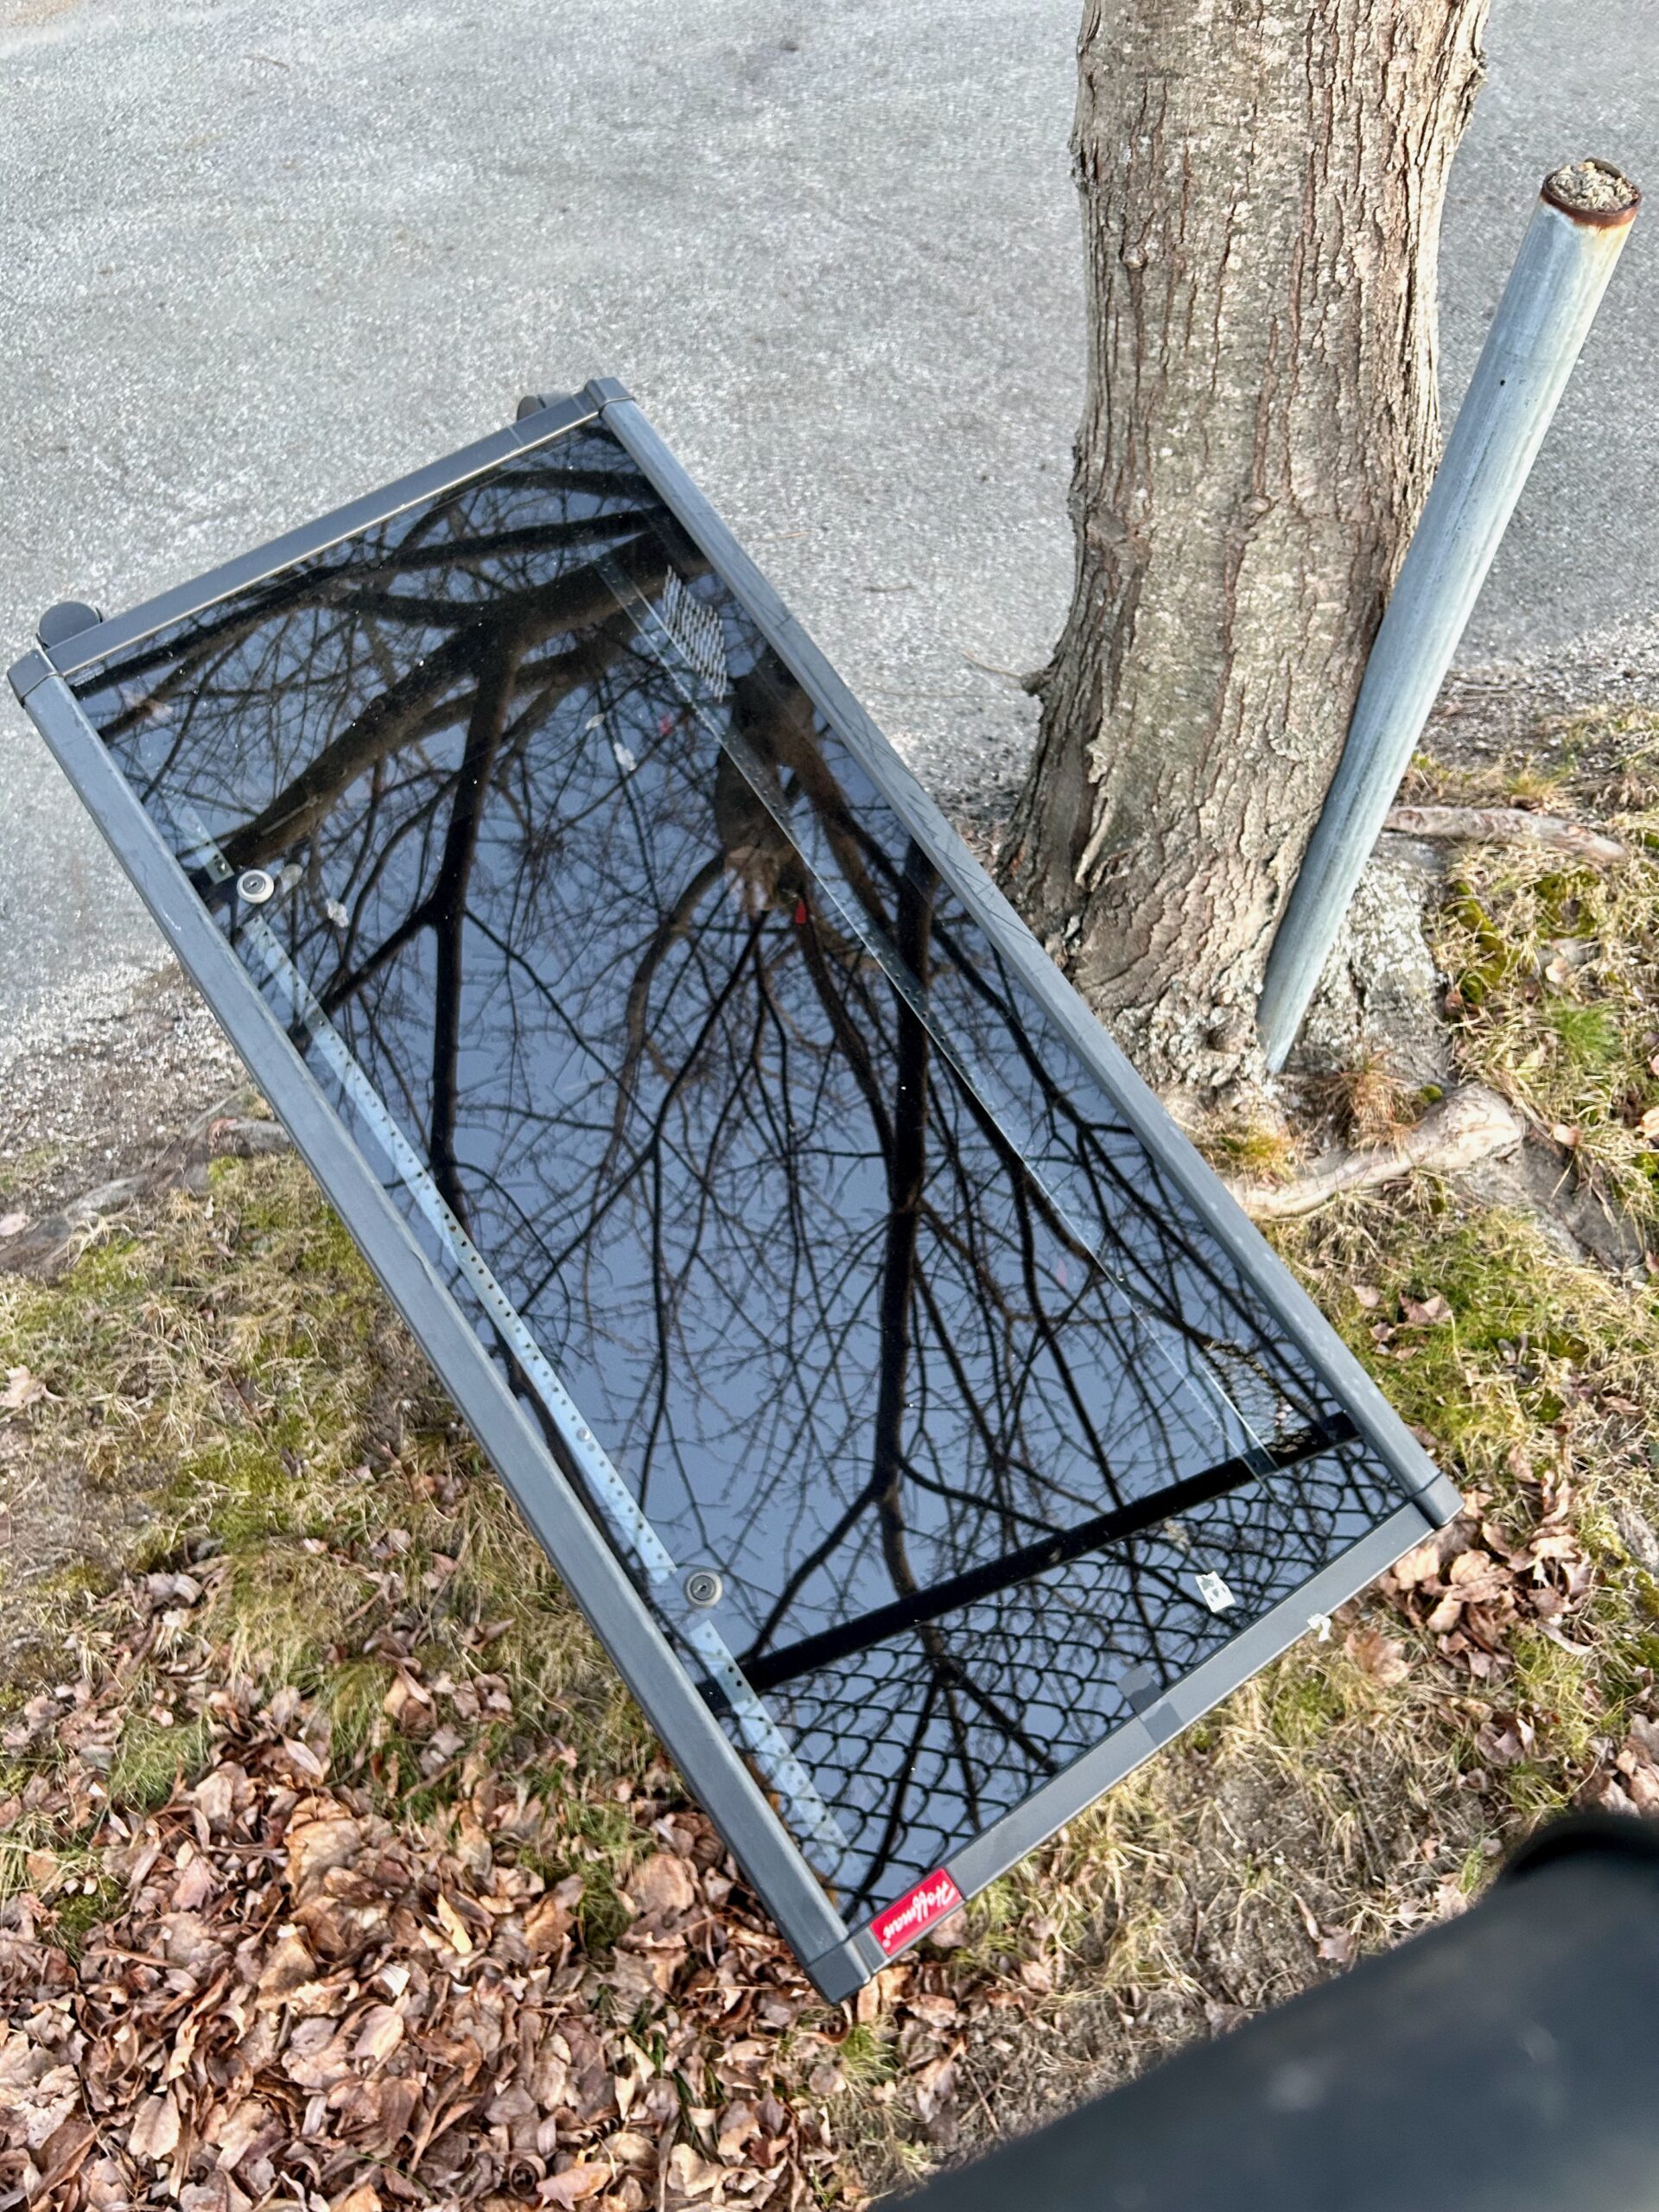
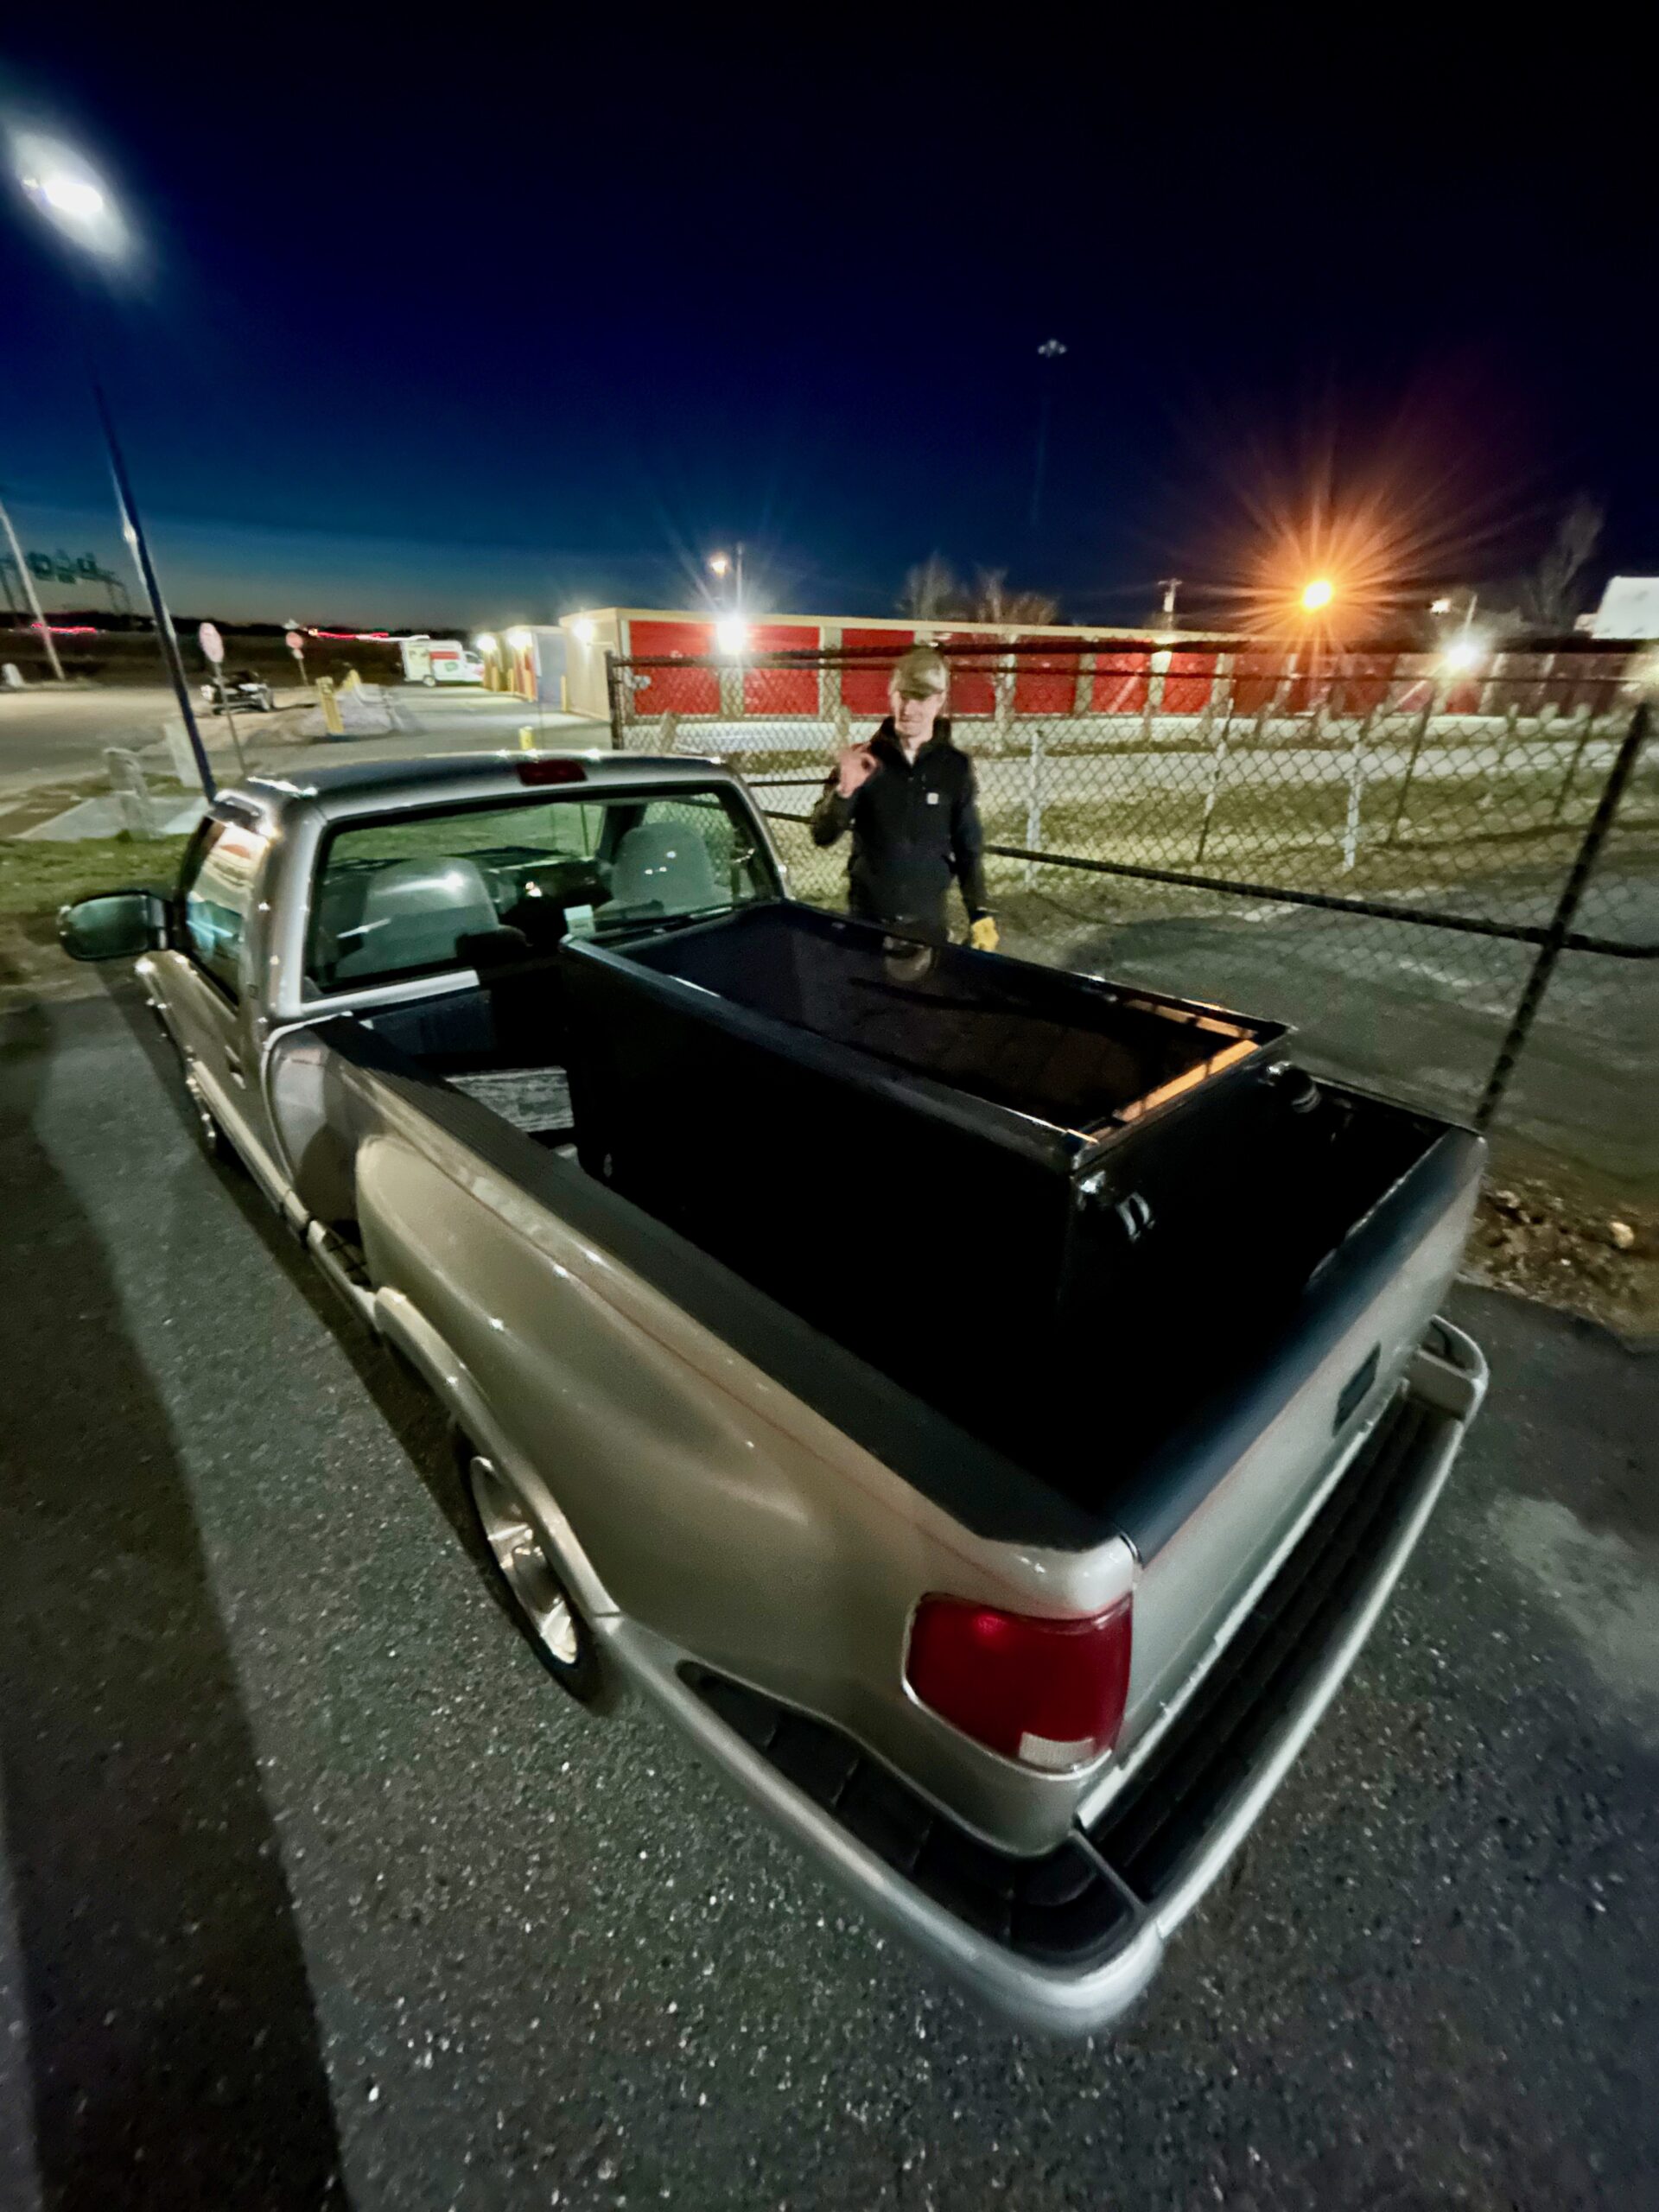
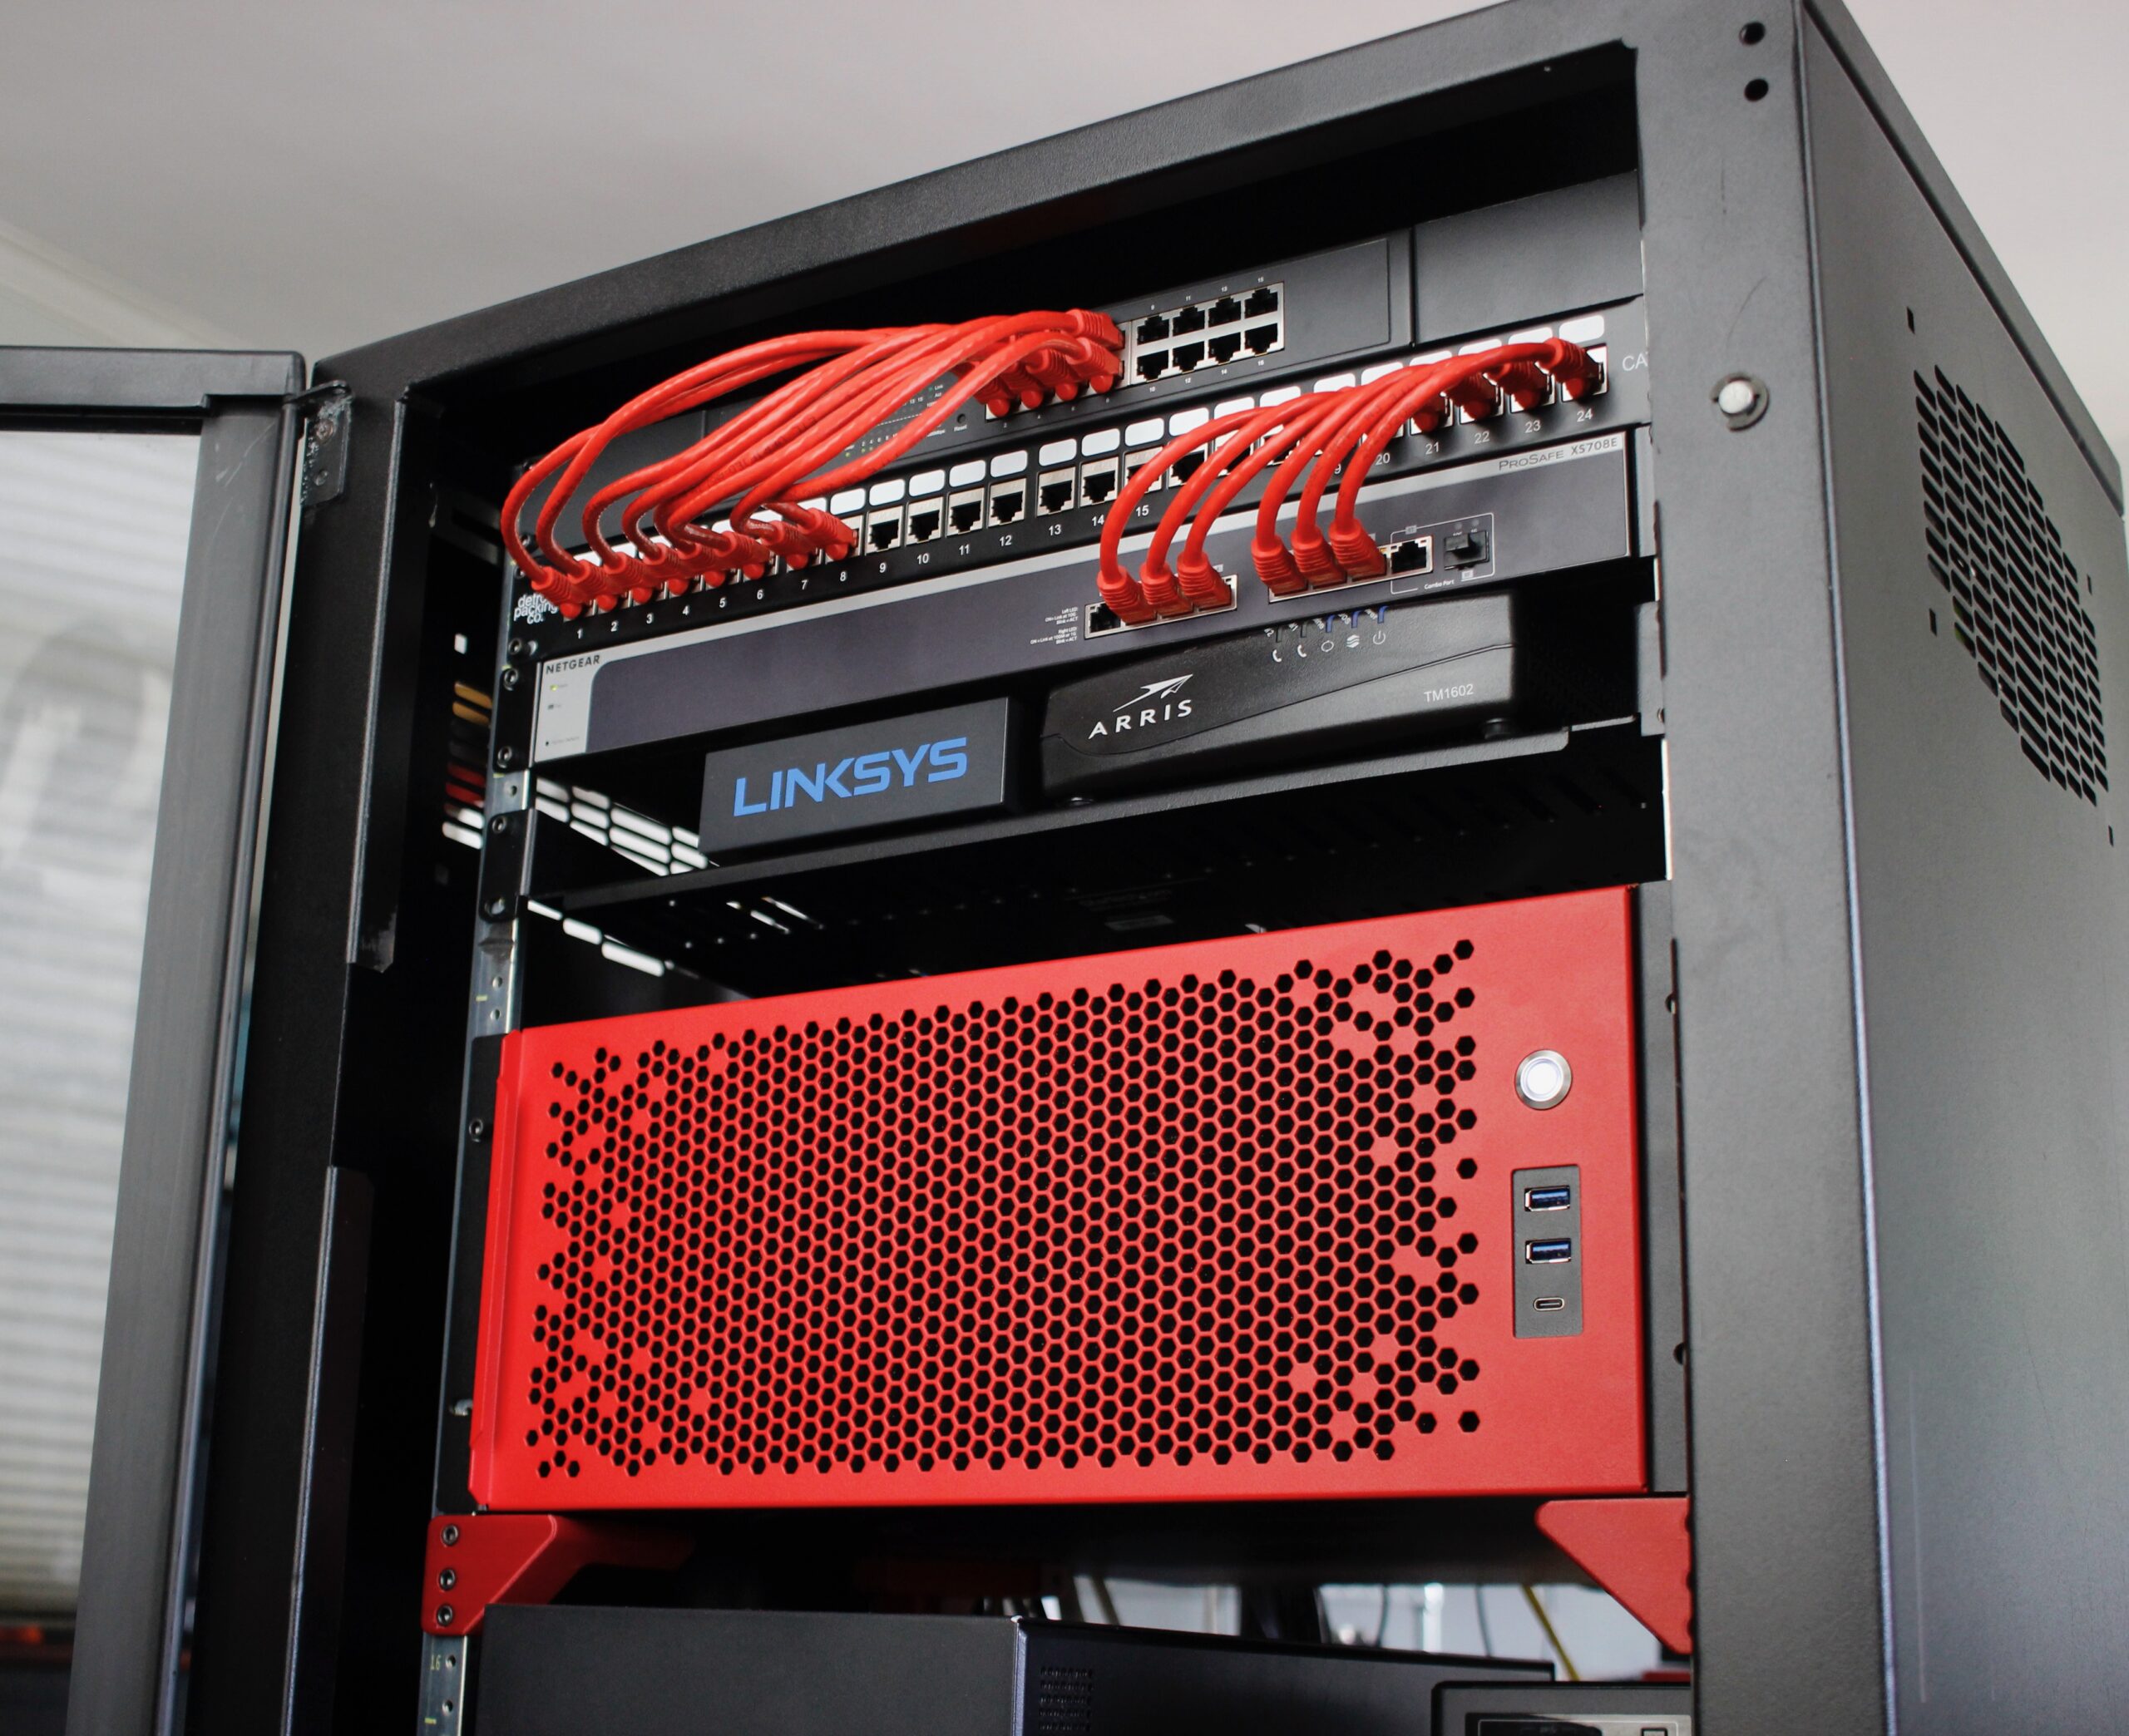
The main one is that, following some flooding in my city, someone discarded a Hoffman EWMW482425 26U short-depth rack with a flawless glass door and an MSRP over over $1000:
Before…
Original Discovery.
Fits in the S-10.
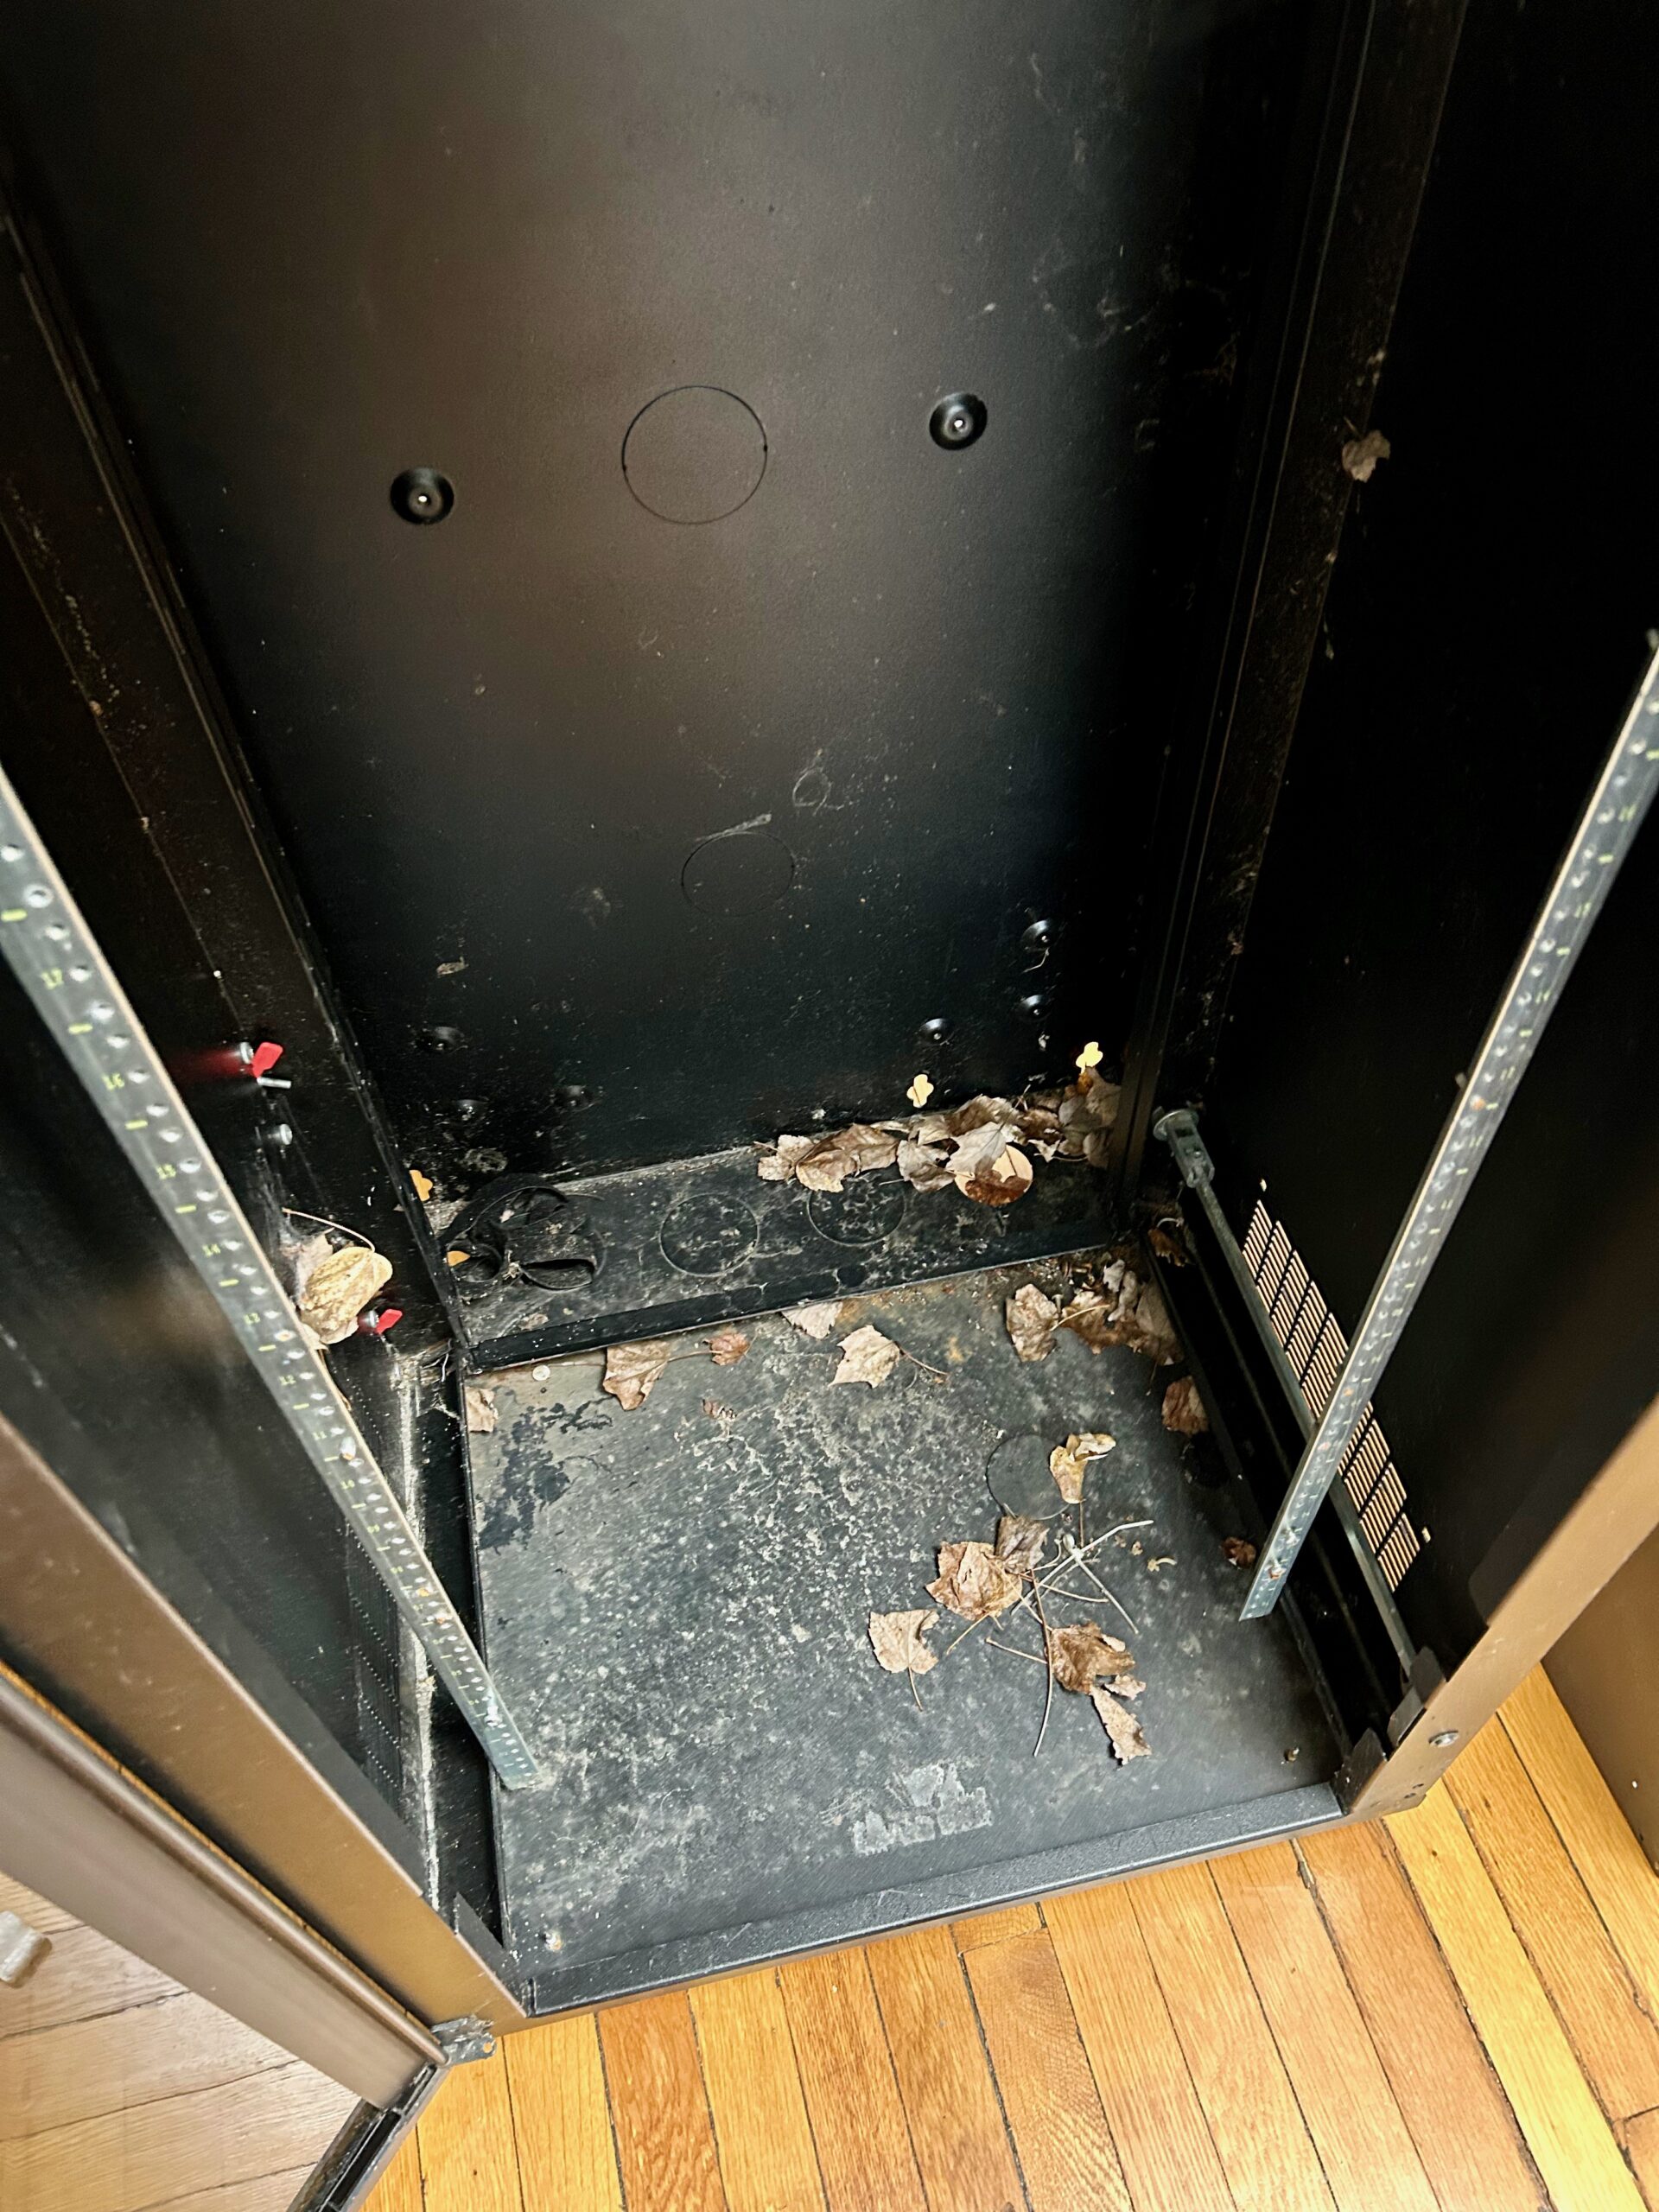
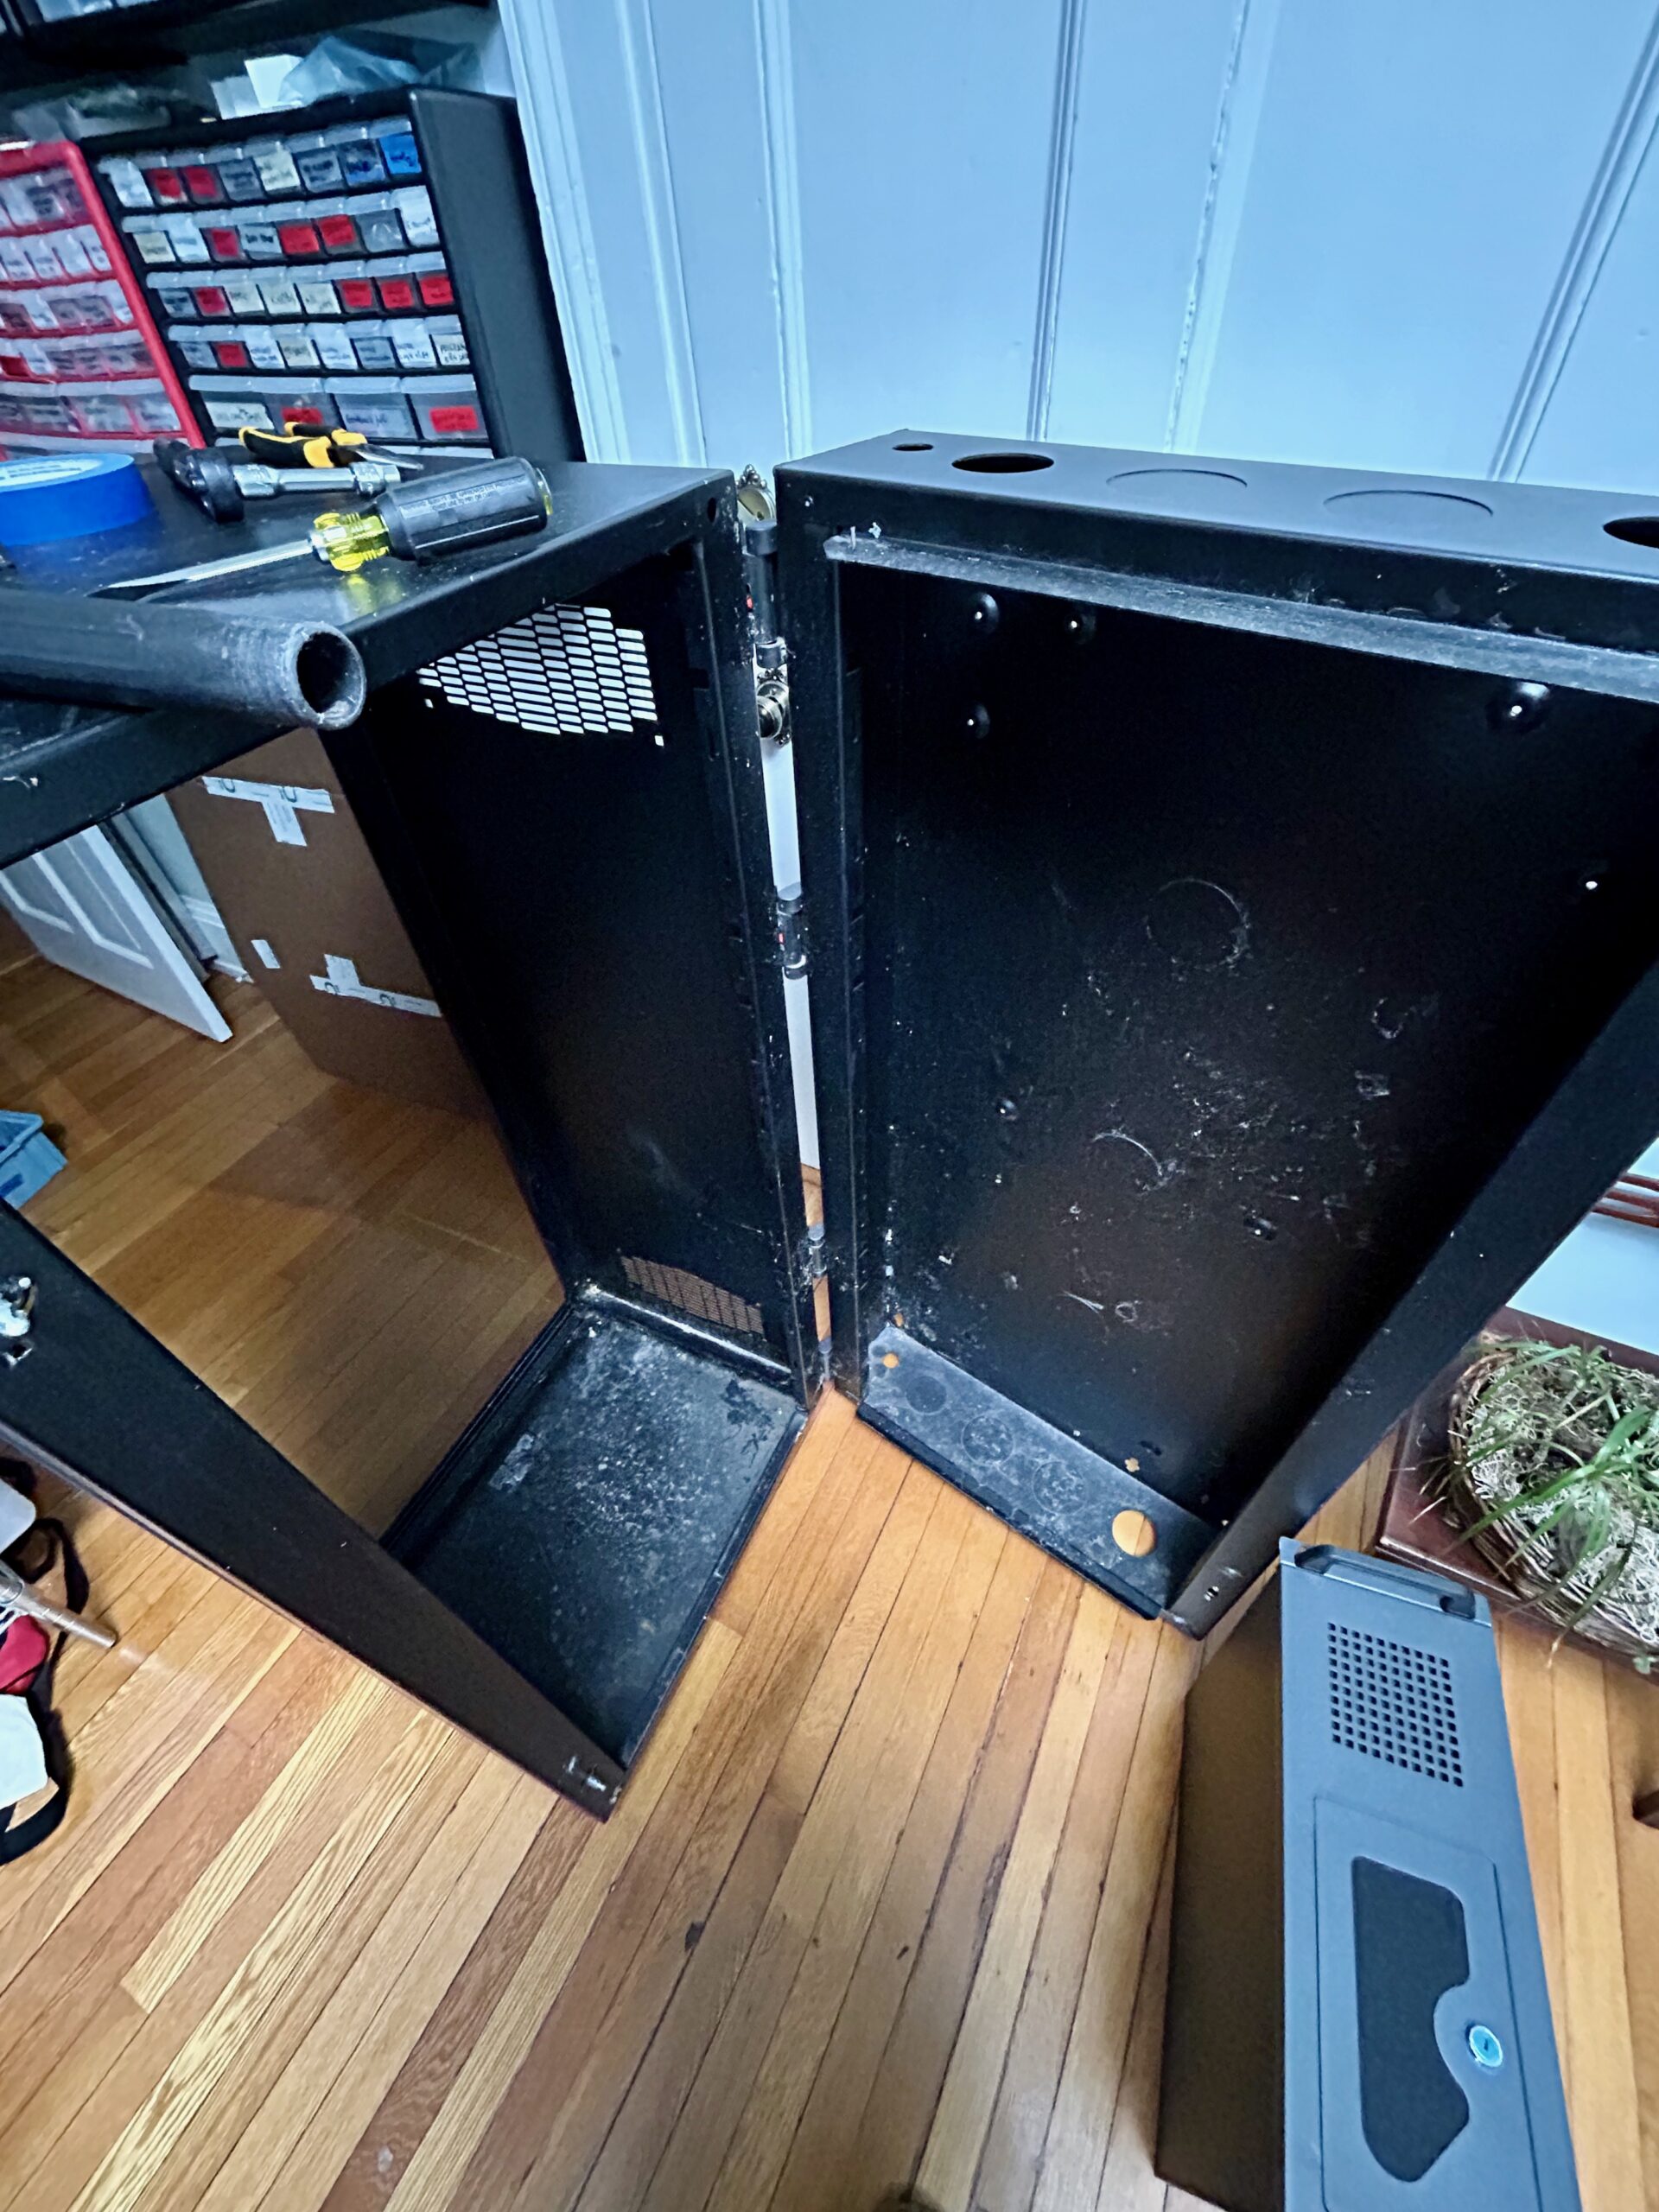
Dirt and grime.
Dirt and grime.
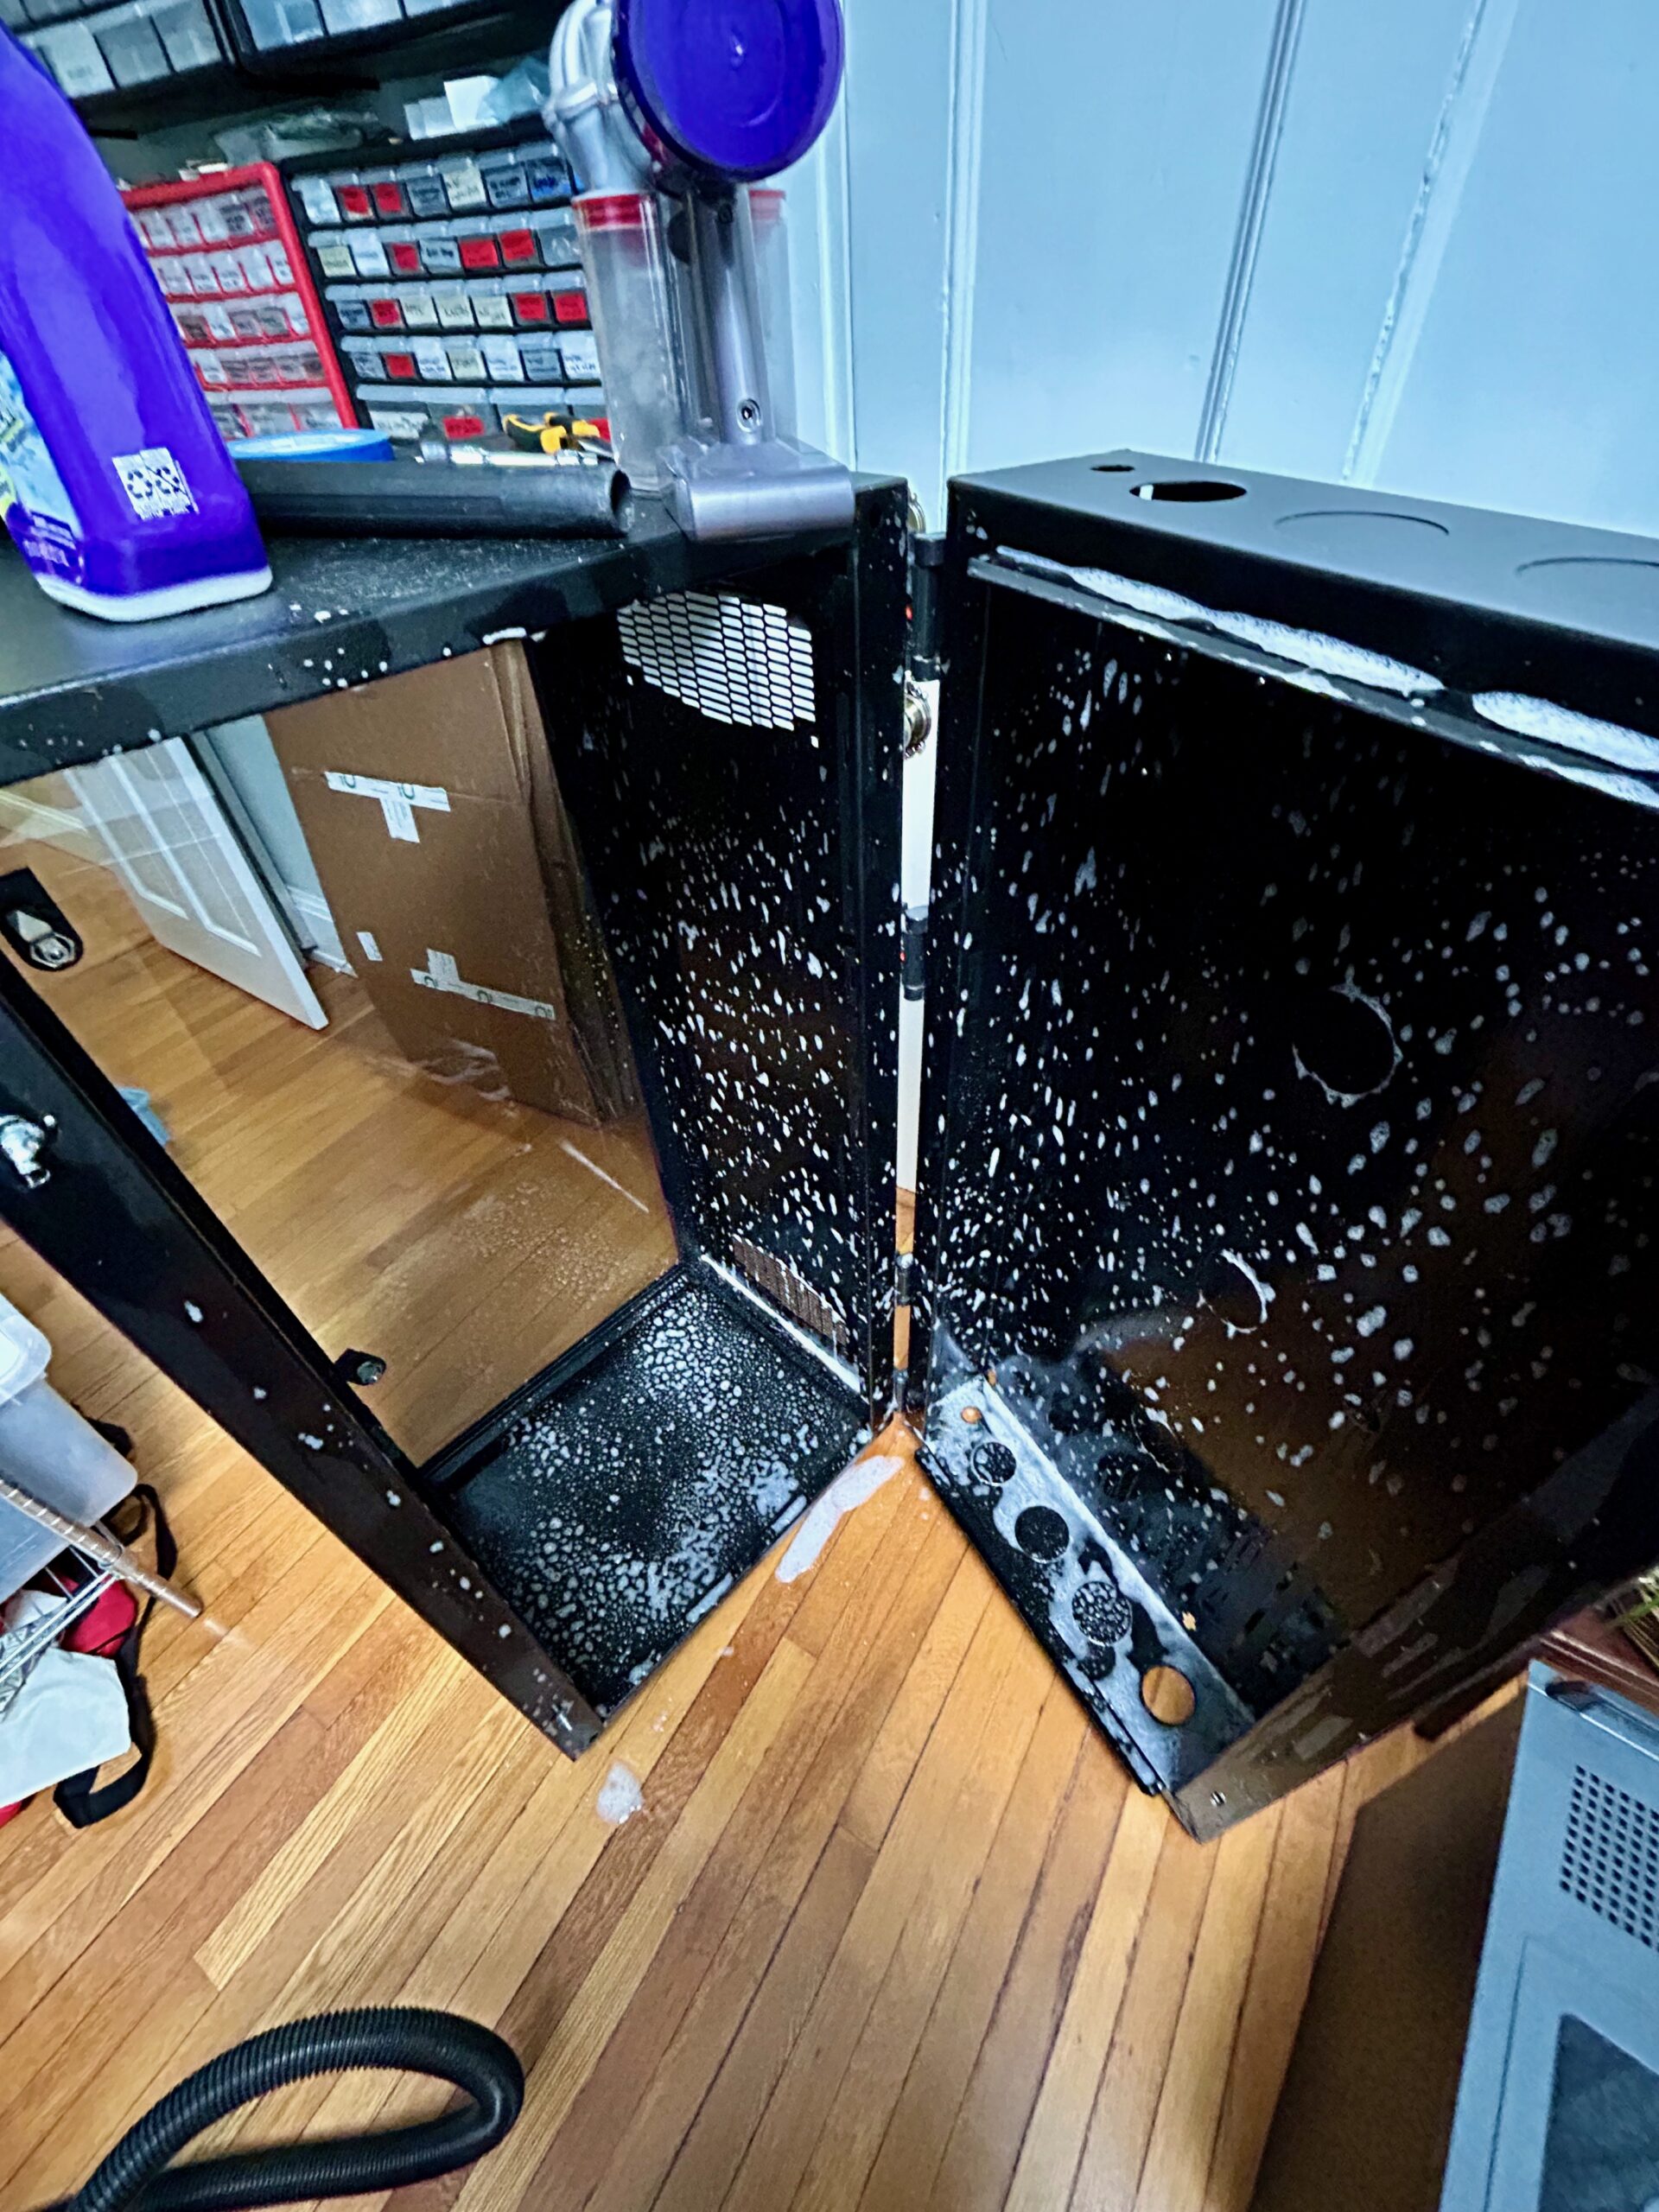
Cleaning.
After! CX4200A is the big red one.
Under the cover of darkness, a co-conspirator and I were able to heist the rack from its resting place back to mine.
Judging by the bits left in inside, it looks to have served as a housing for telecom gear. Much of the rackable gear I’ve come into over the years is similarly short-depth with one exception, the Rosewill.
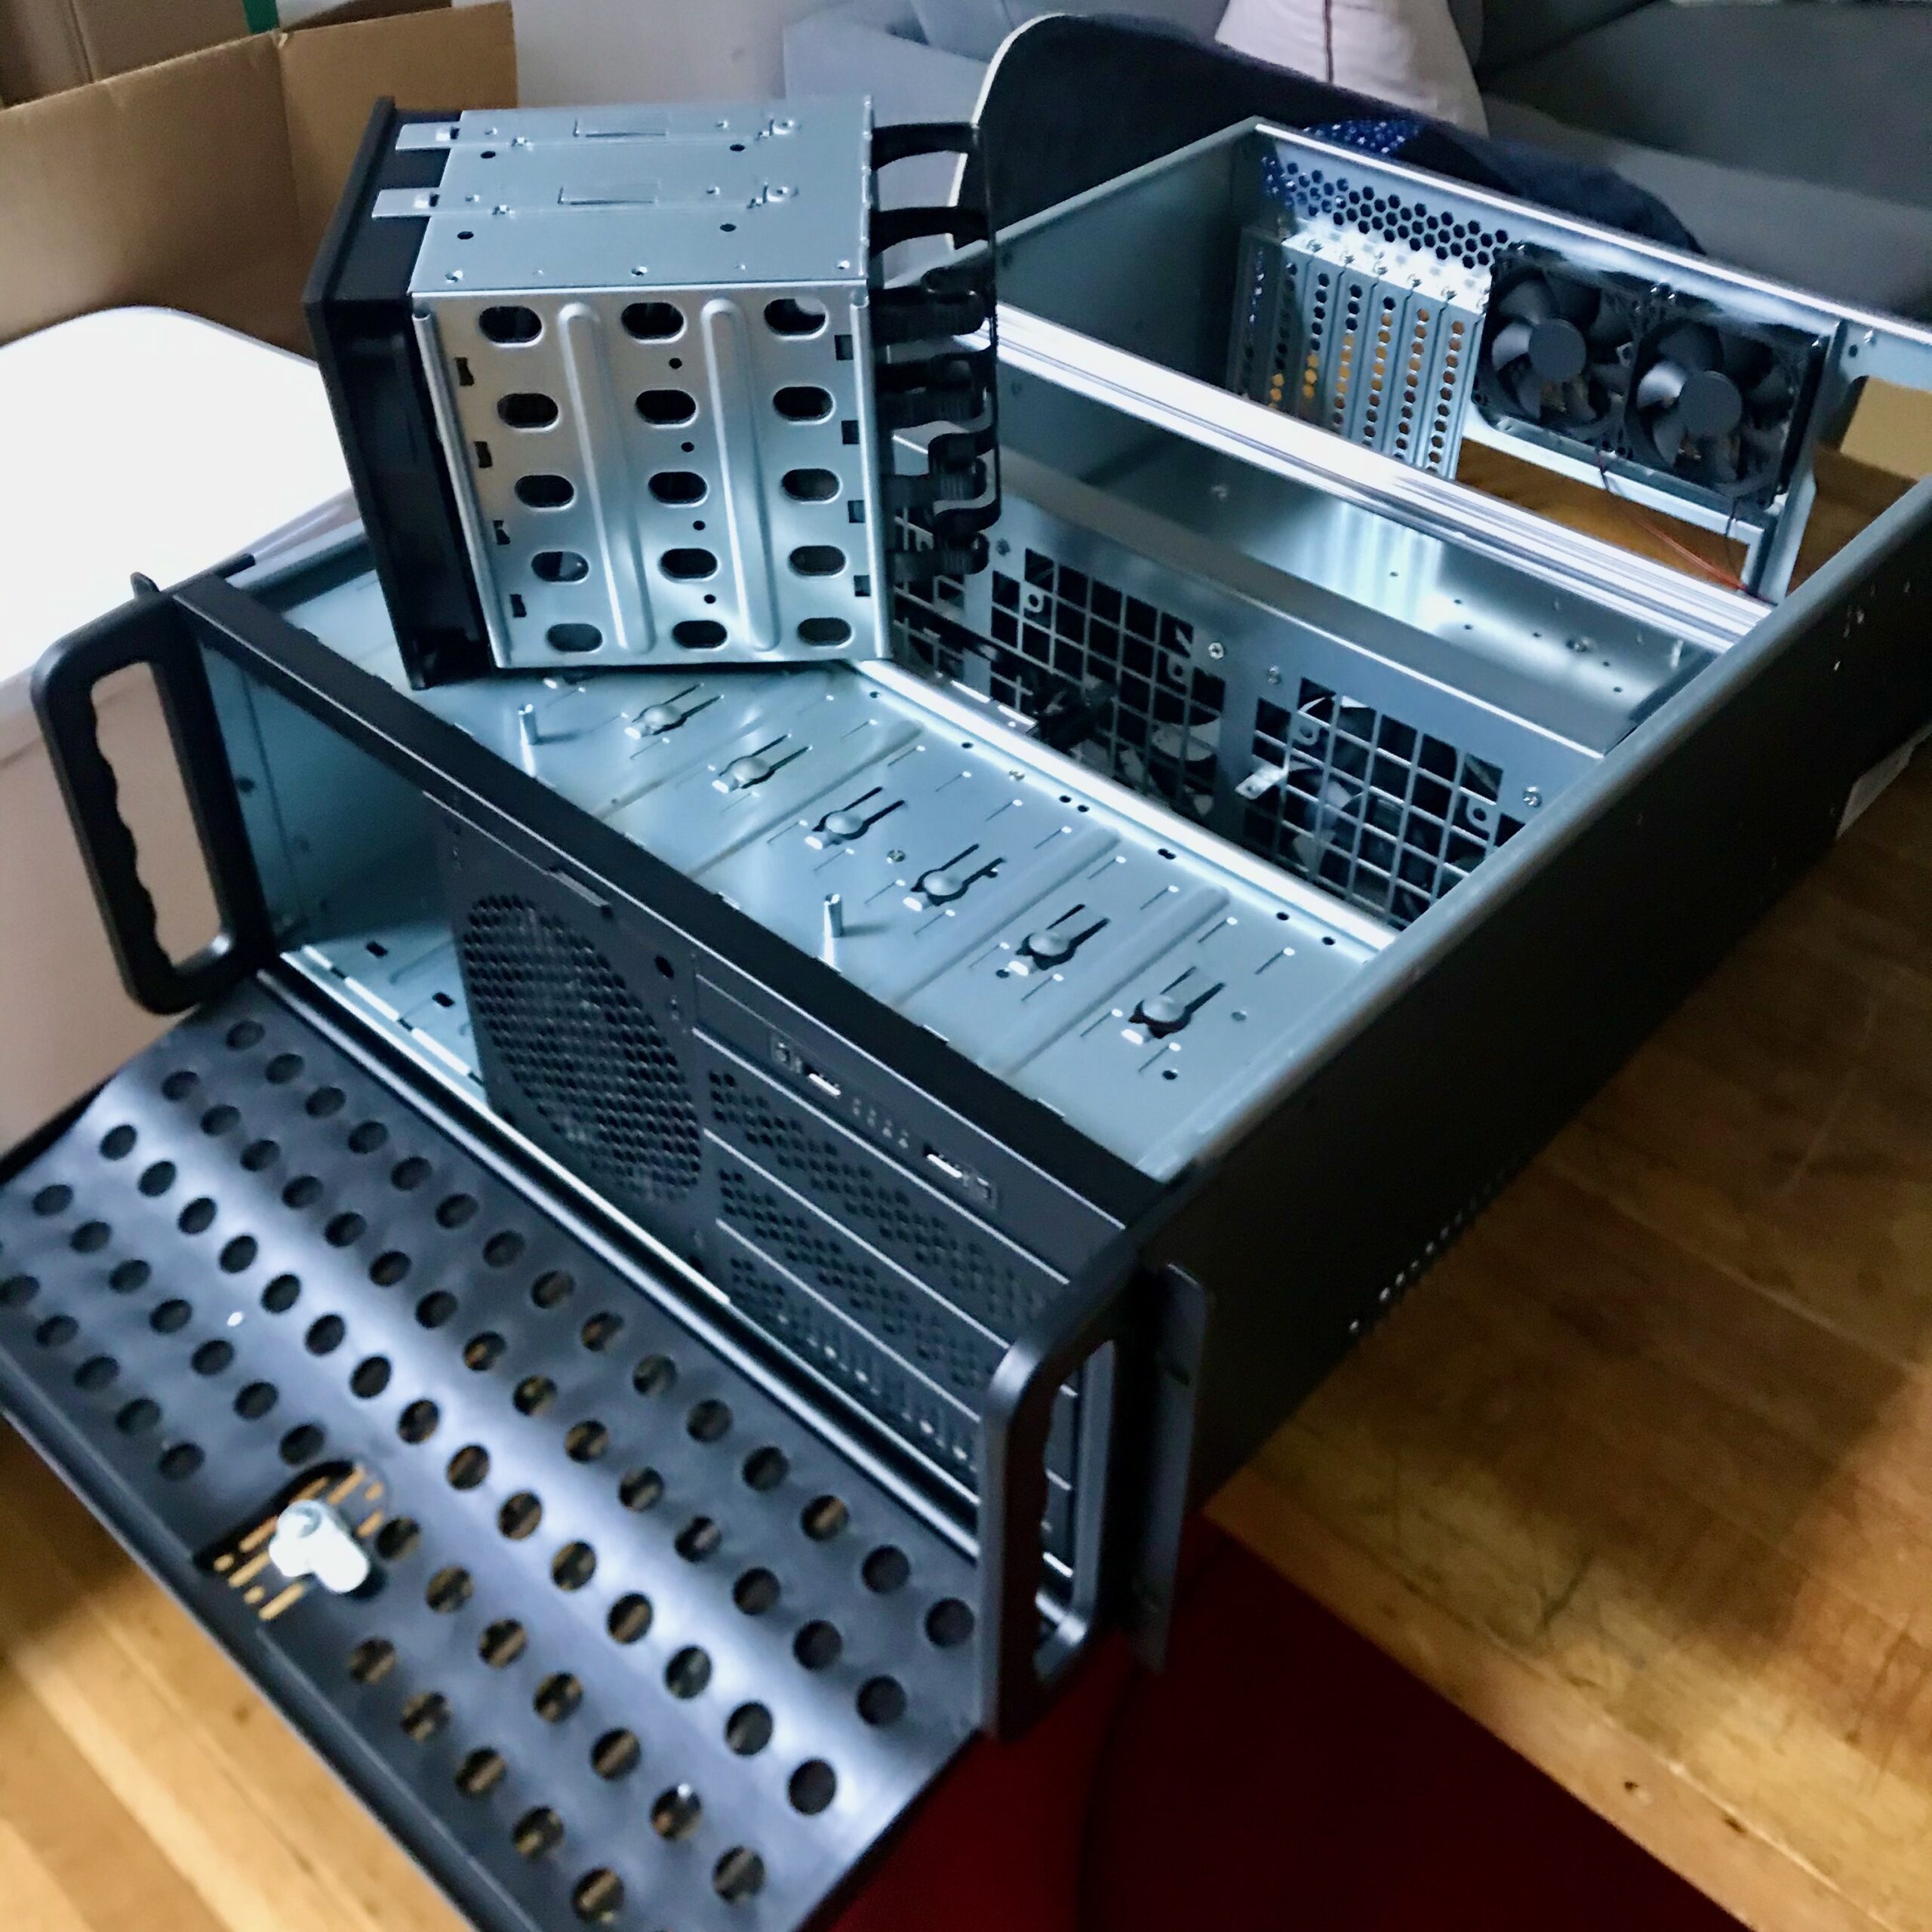
Freshly unboxed.
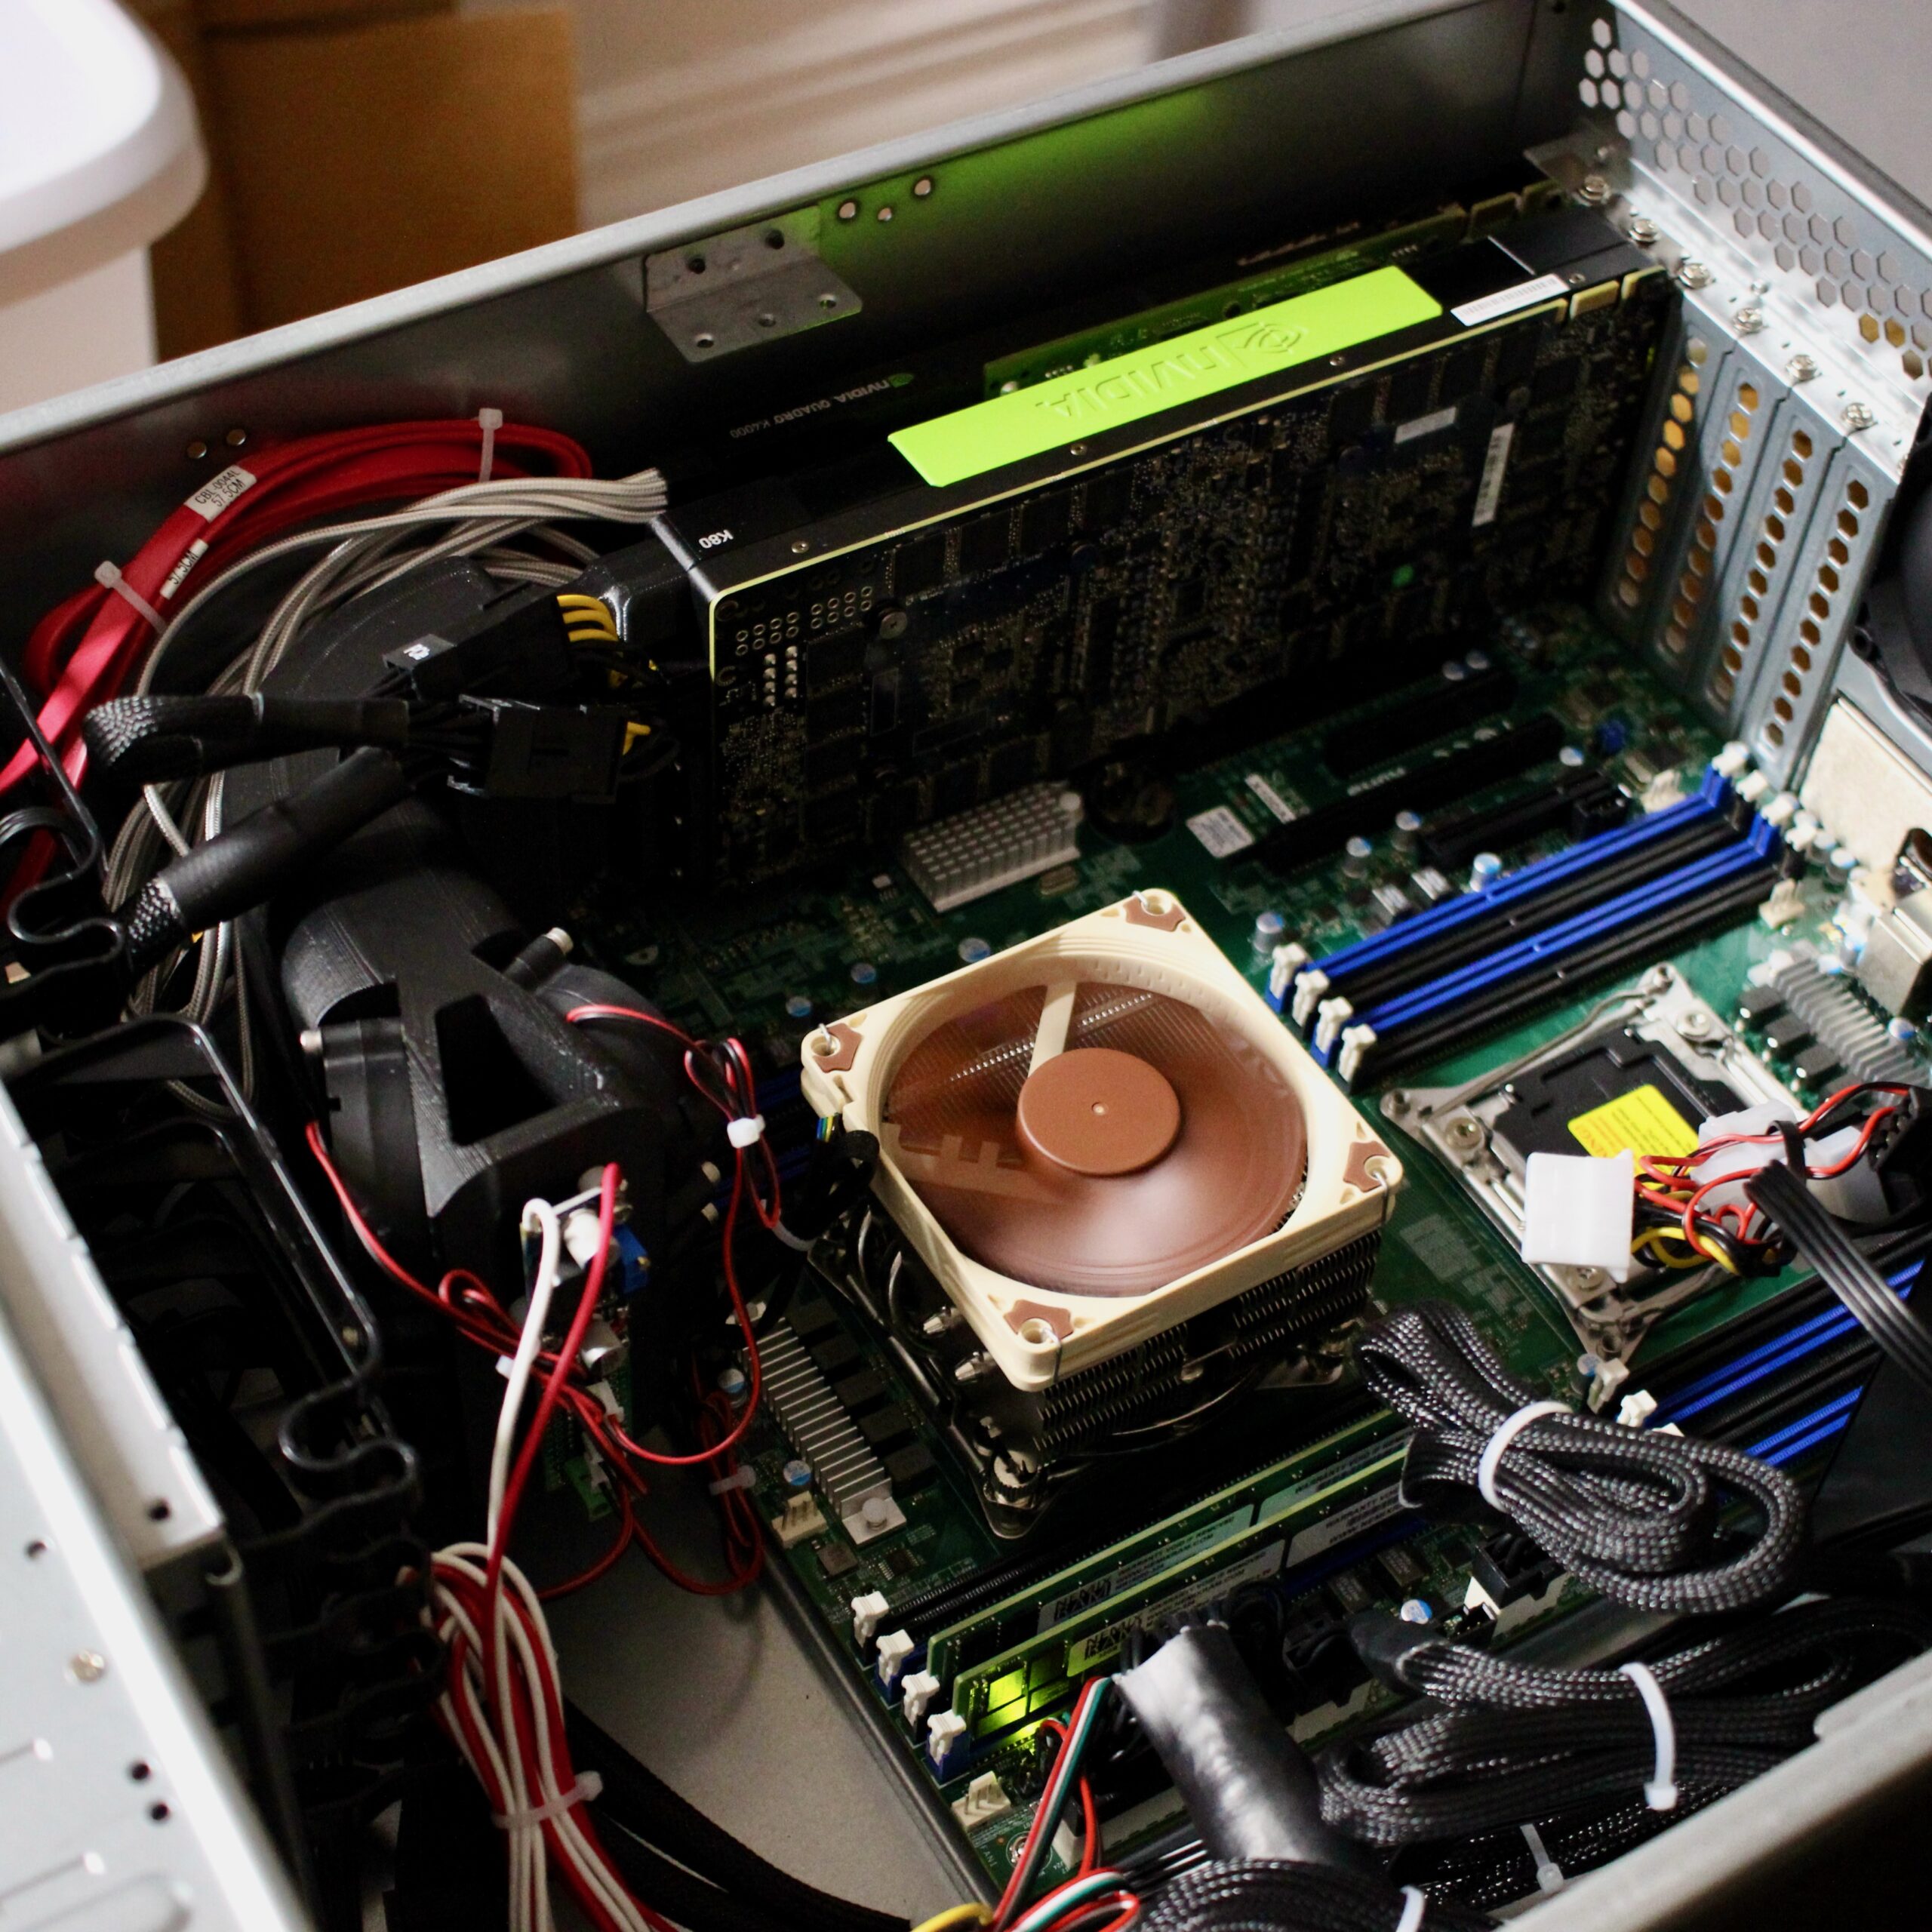
Big cooler fit no problem.
Recording For Tesla Cooler Livestreams
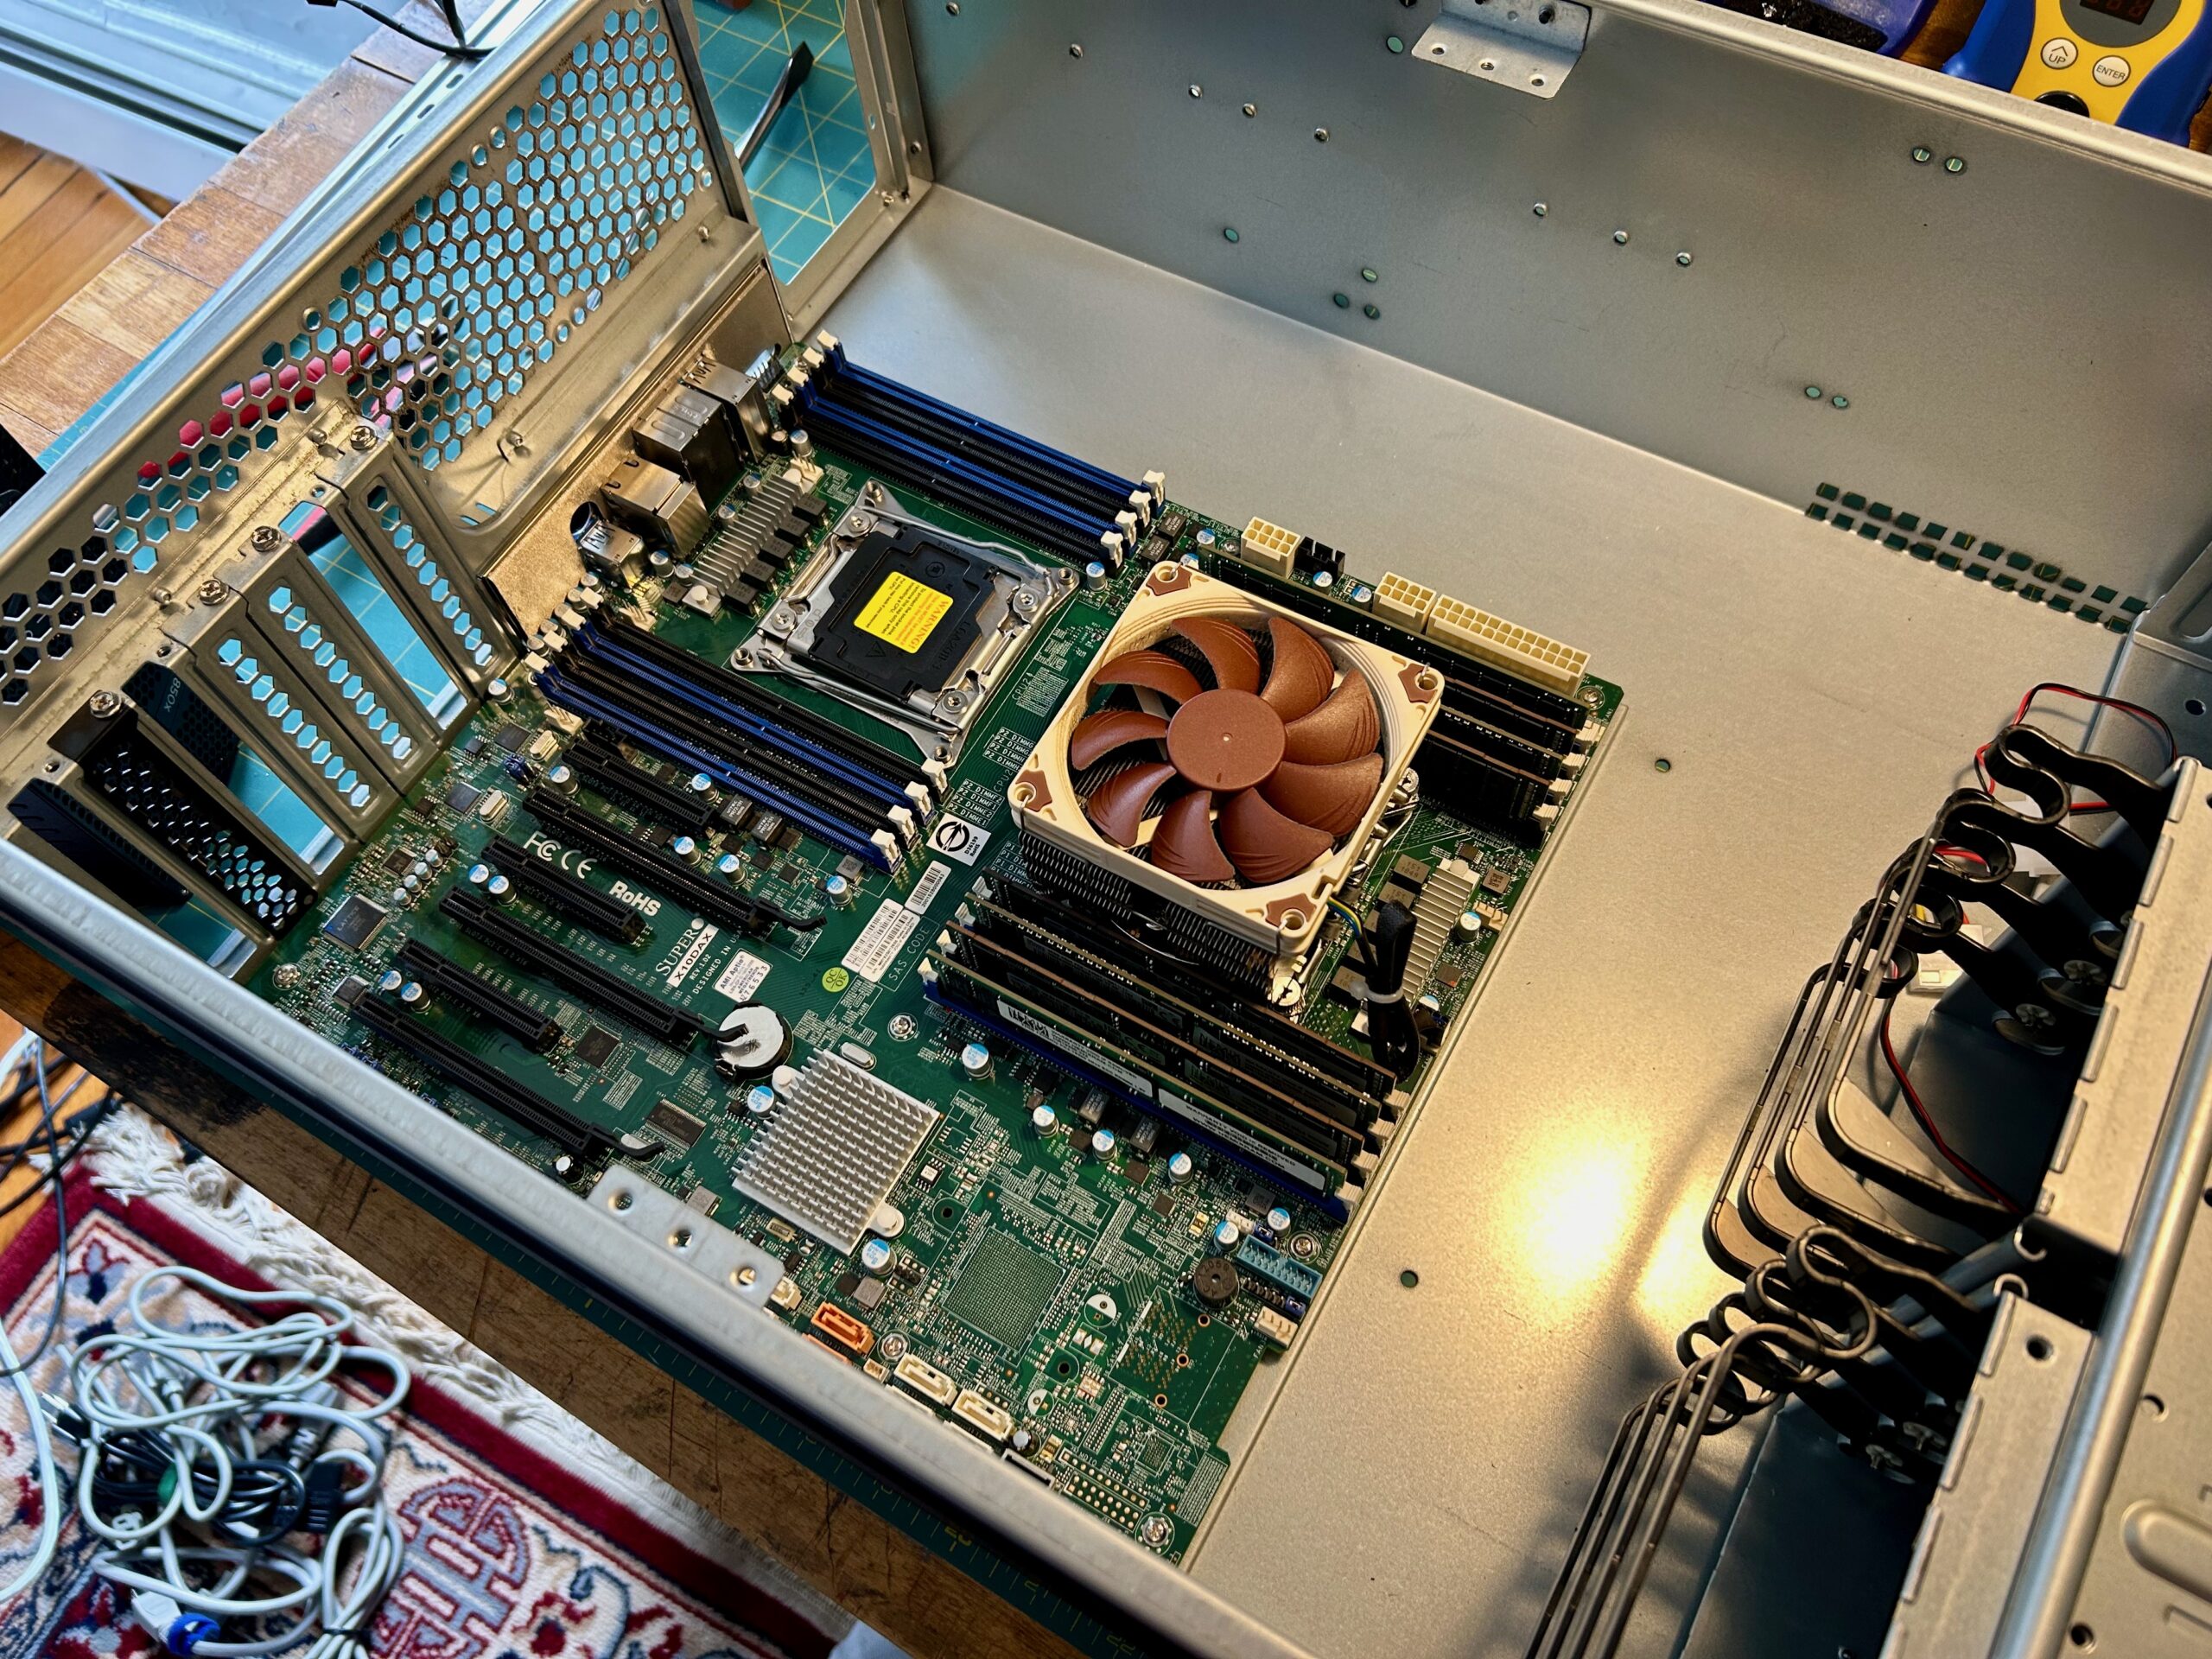
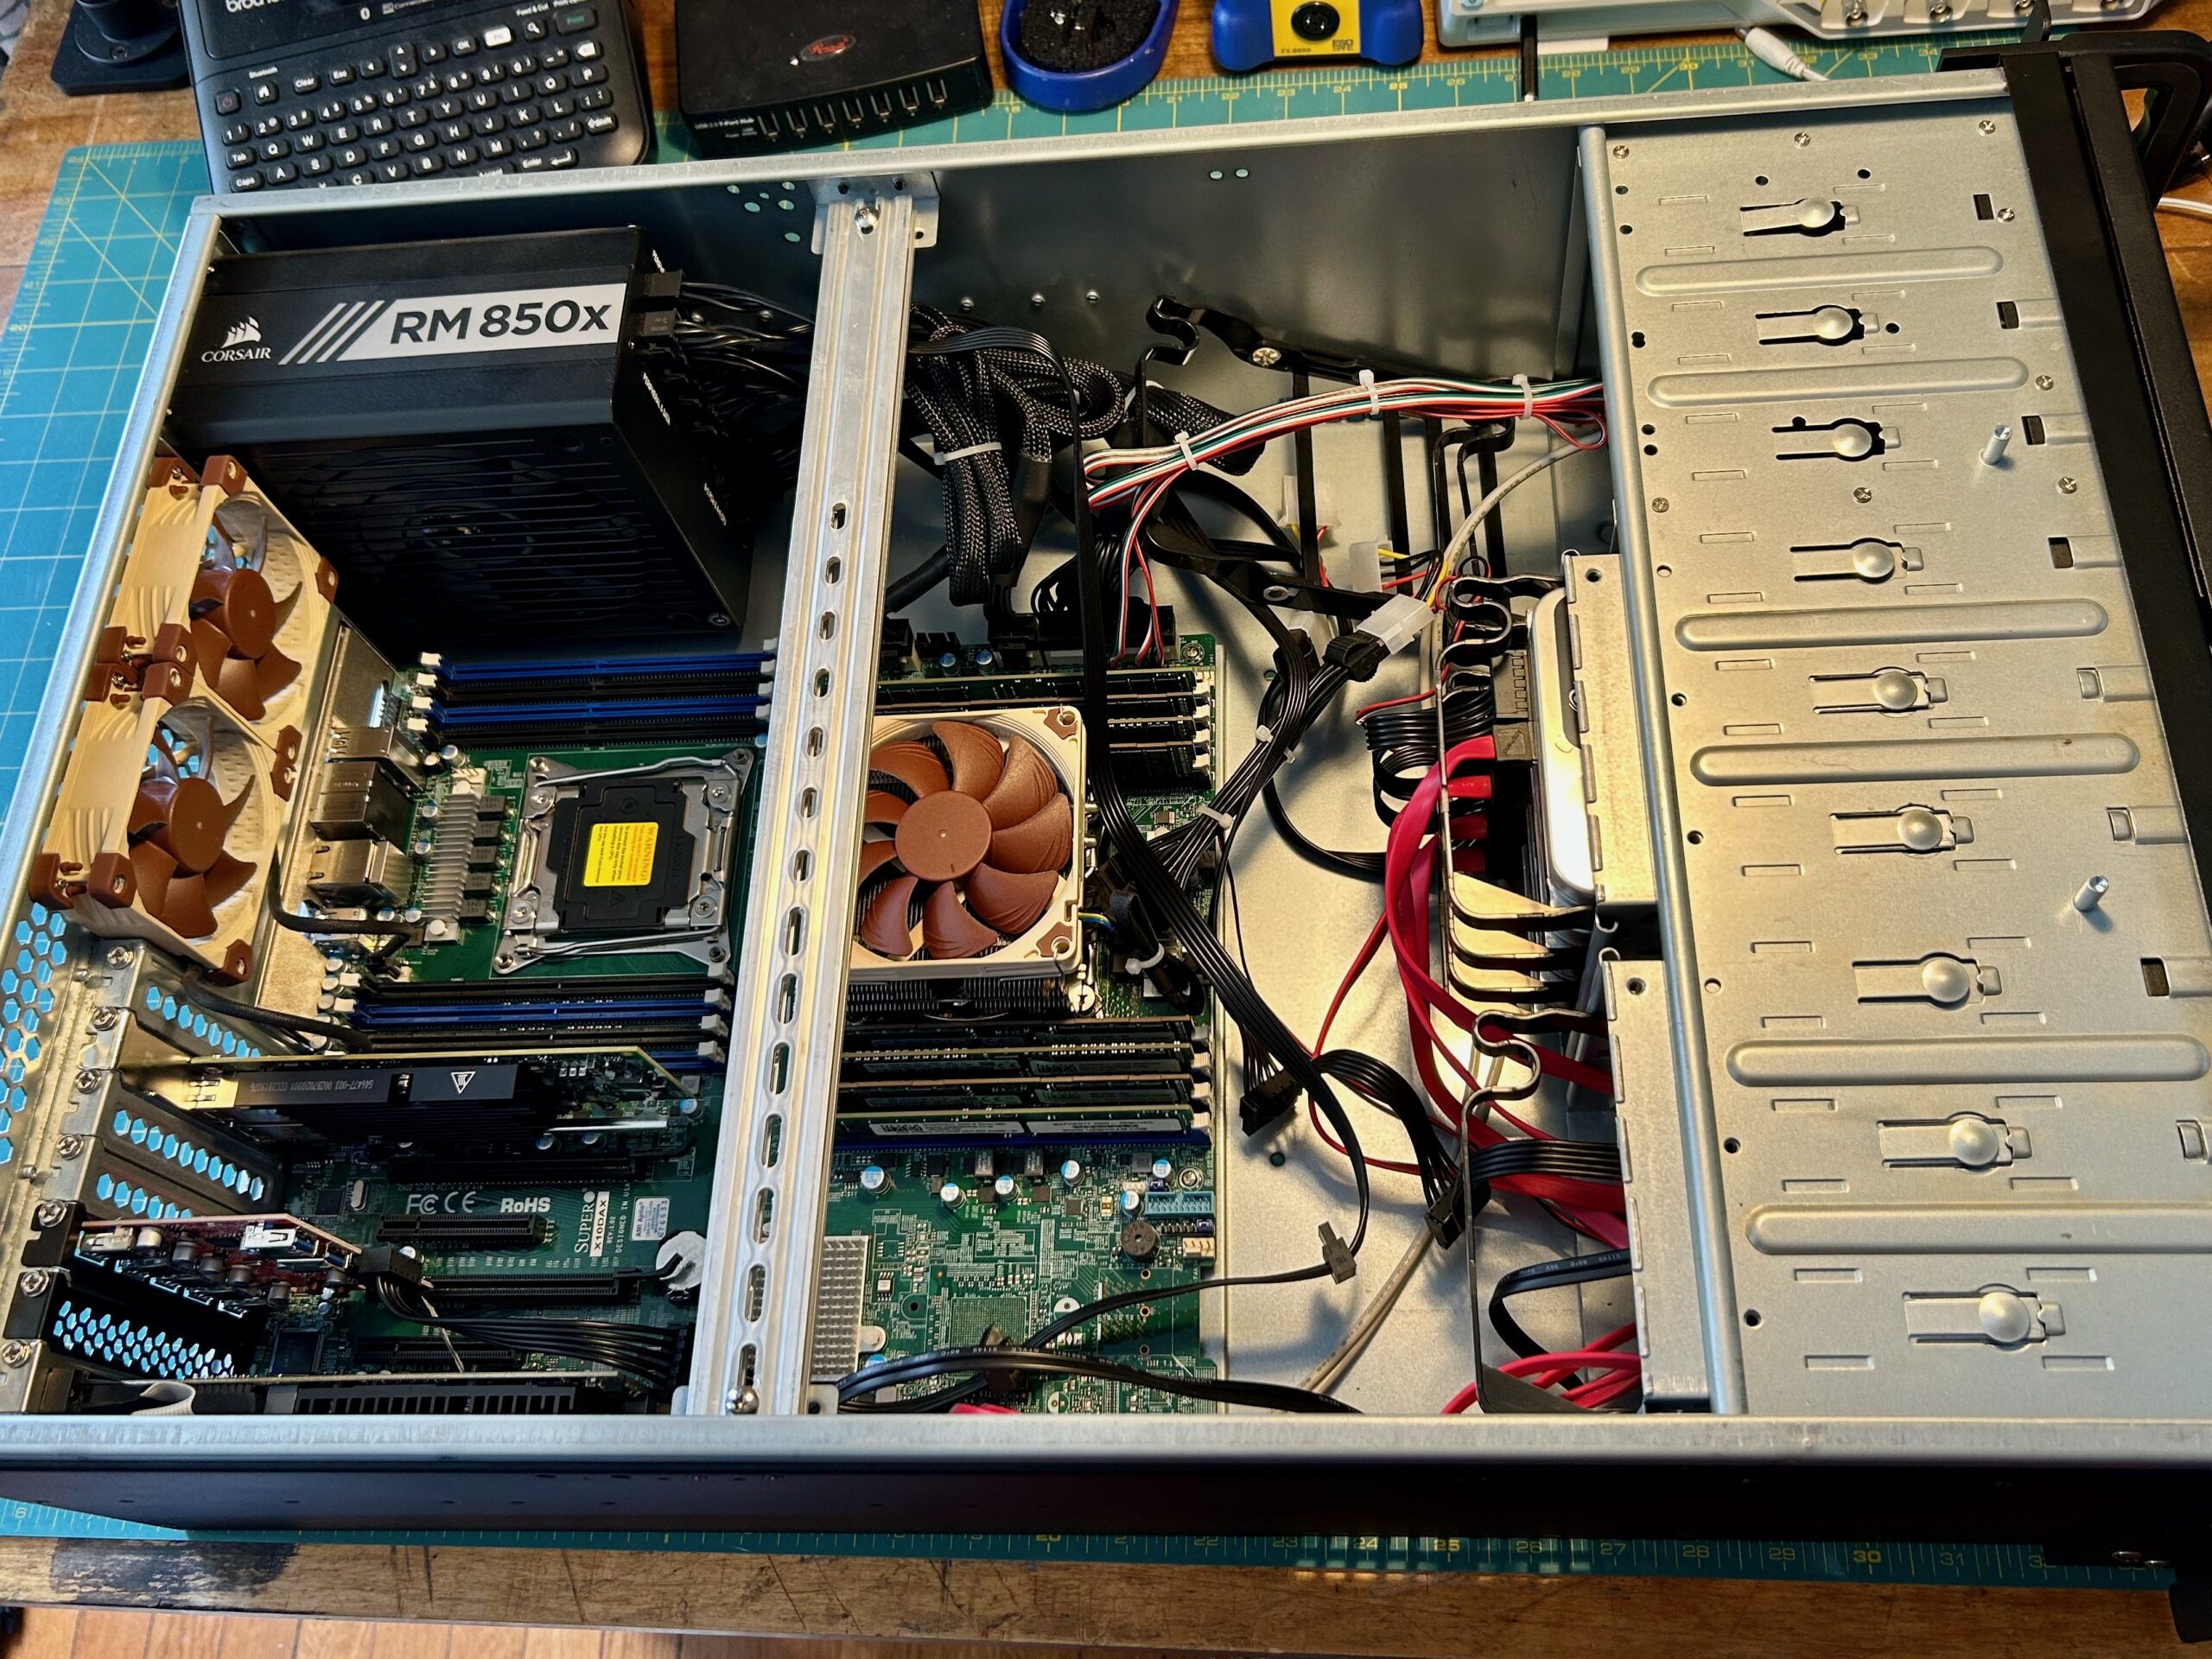
Motherboard only, so much space.
Final config before migrating the system to the sliger chassis.
The 25″ of depth is way too much for the rack. It was great for being able to work on tesla cooler, plenty of room for weird coolers and hard drives. The weight, the physical mass of the thing is also just too much. I’ve moved apartments twice since acquiring the Rosewill and have dreaded moving it both times. These aren’t RSV-L4000U’s fault, these are features for the majority of users. Just not for me right now.
Enter the Sliger CX4200A and a few modifications to make it perfect for my needs:
There’s a triple-point energy to working on something out at the edge of your abilities. Enumerated alongside the possibilities for failure are visions of the finished piece, installed and gloriously humming along, that make the long nights ahead less intimidating.
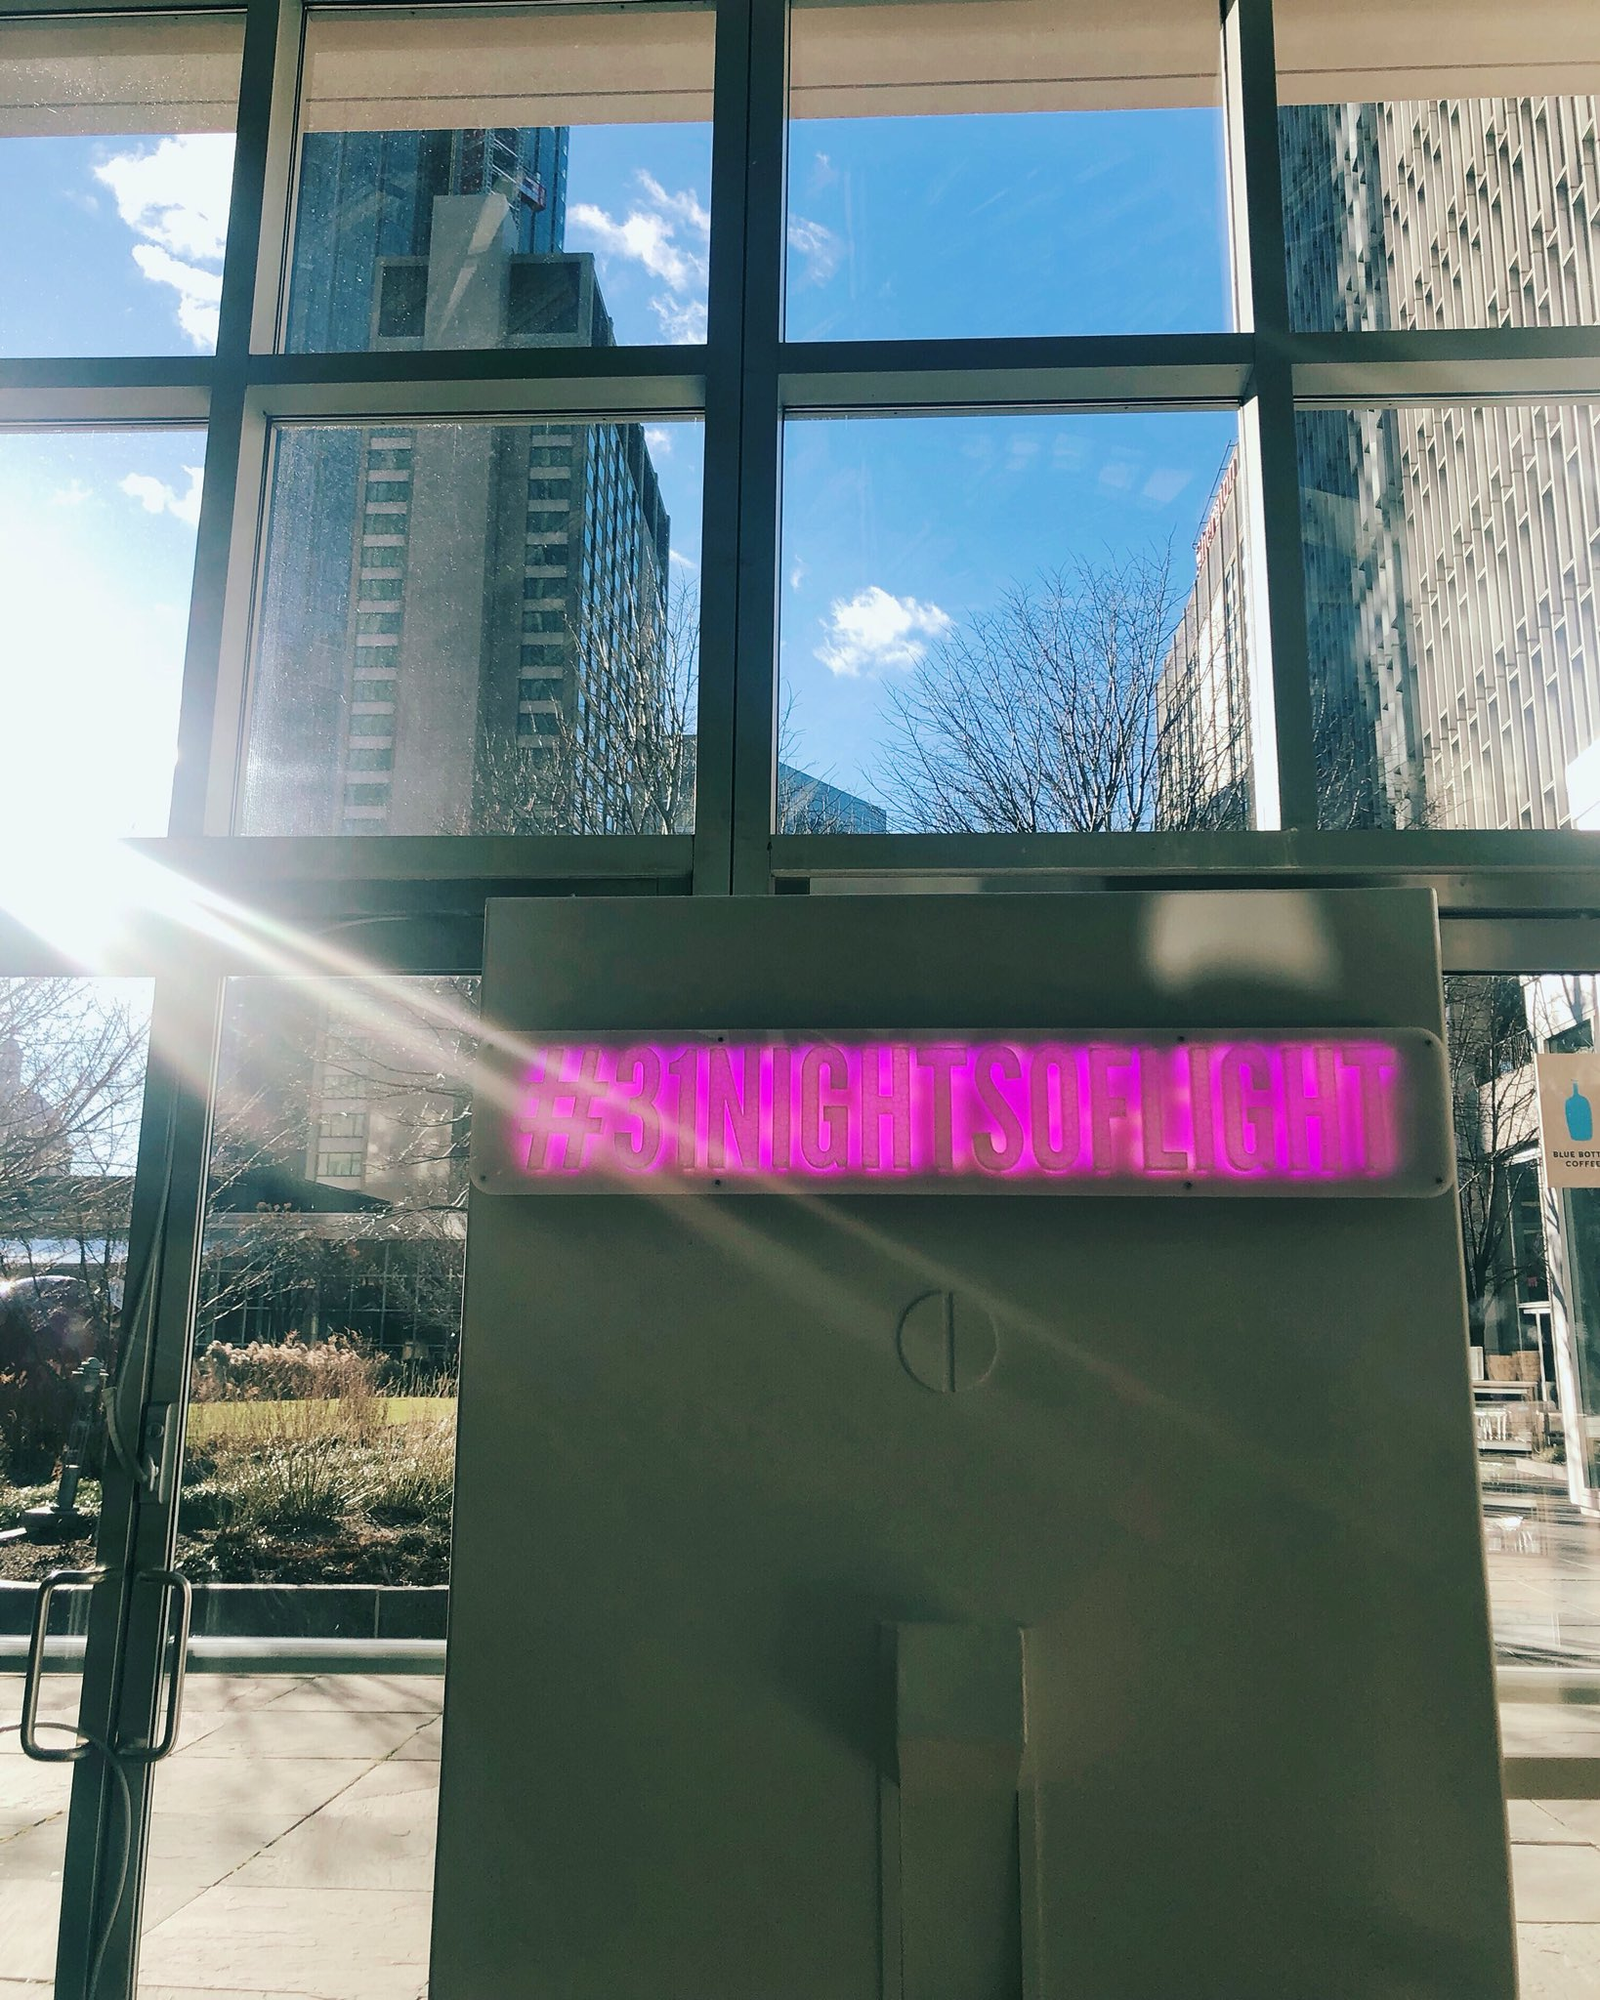
In late October of 2018, I began the CAD for such a project. Telapush had just closed our largest deal to date. We were to contracted to build a massive illuminated sign that would map social media interactions to custom animations to be displayed in real time. The piece was to run, un-attended for the entire month of December in the Center Court of the Prudential Center mall, inside of Boston’s most distinctive skyscraper.
Erin and I had been pouring effort into Telapush for some time, and this installation was to be the largest tangible result from that effort. Serious people spending real money and expecting actual results. Boston was my new home and I felt that this project was my chance to make a good first impression to this new and intimidating place. This heightened importance, paired with the reverence for the challenge, coaxed out some good engineering; the project was a rousing success. More details about this installation can be found in my portfolio entry on the project.
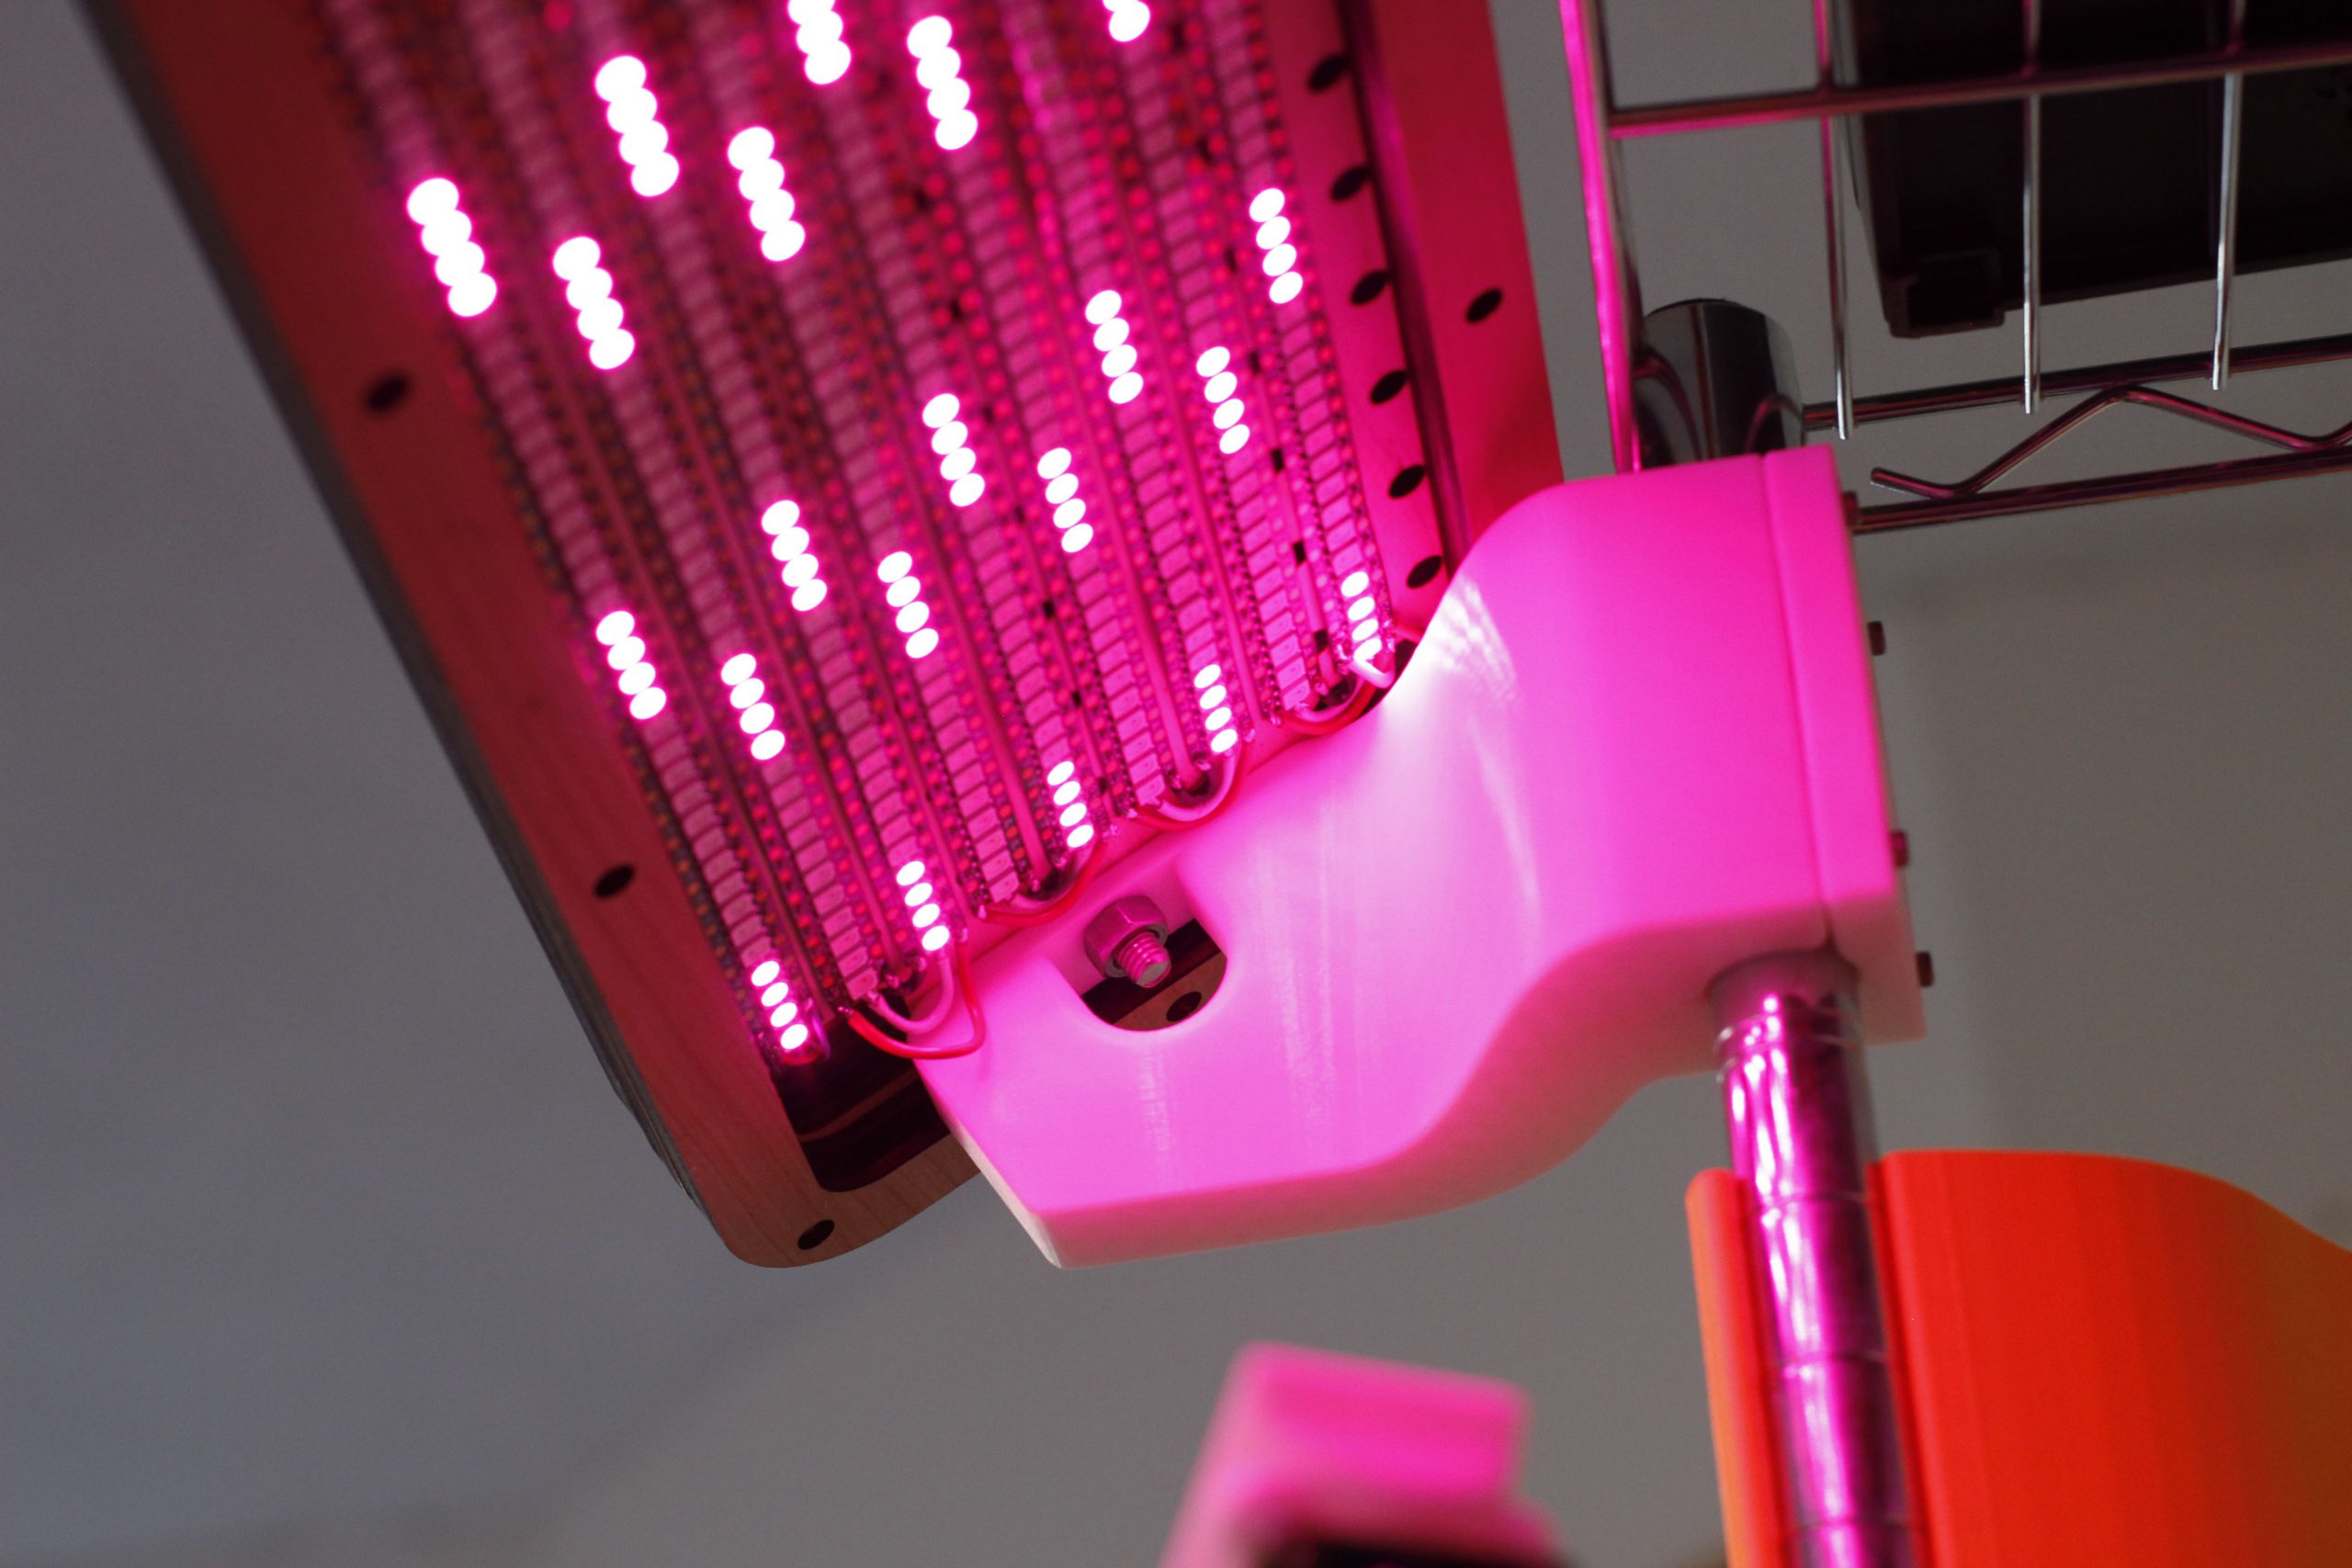
Luckily, one element of the installation that I was able to retain possession of after the installation concluded was the LED matrix. An overwhelming array of 1215 addressable LEDs, and a 100W power supply to drive them.
Still brimming with usefulness, and valuable as a totem commemorating the successful project, the light bar was filed into storage. Unfortunately, I lacked the bandwidth and inspiration to pick it back up. In the past few months however, on quiet nights, I could hear it calling out to me from the crawlspace, pleading to be reanimated. And after a few years of rest, this post describes how this favorite project is given a new lease on life to enhance my 3D printing workflow.
The first revision of this project was shipped in November of 2020, but the subsequent redesign was commissioned and completed the following summer in 2021. This post primarily a journey through that second revision, and it’s publication comes some time after the deliverable was shipped to the client.
Engineering requirements that arrive downstream from artistic intent are my favorite constraints to work inside of. It forces the engineer to assume the role of the artist, considering the feelings and ideas that will be communicated to the audience with the piece. The engineer also has to become an audience member to understand other factors about how viewing will take place, if the environment will change such that the piece needs to respond in kind. The space in between these to roles needs to be projected into the standard space of product requirements, weights, tolerances, latencies etc. that are common in the profession.
As a part of my freelance practice, interdisciplinary artist Sara Dittrich and I recently collaborated on a series of projects, adding to our shared body of work. The most technically challenging part of these most recent works was a component of her piece called The Tender Interval. I urge you to go read her documentation on this project, there is a great video overview as well.
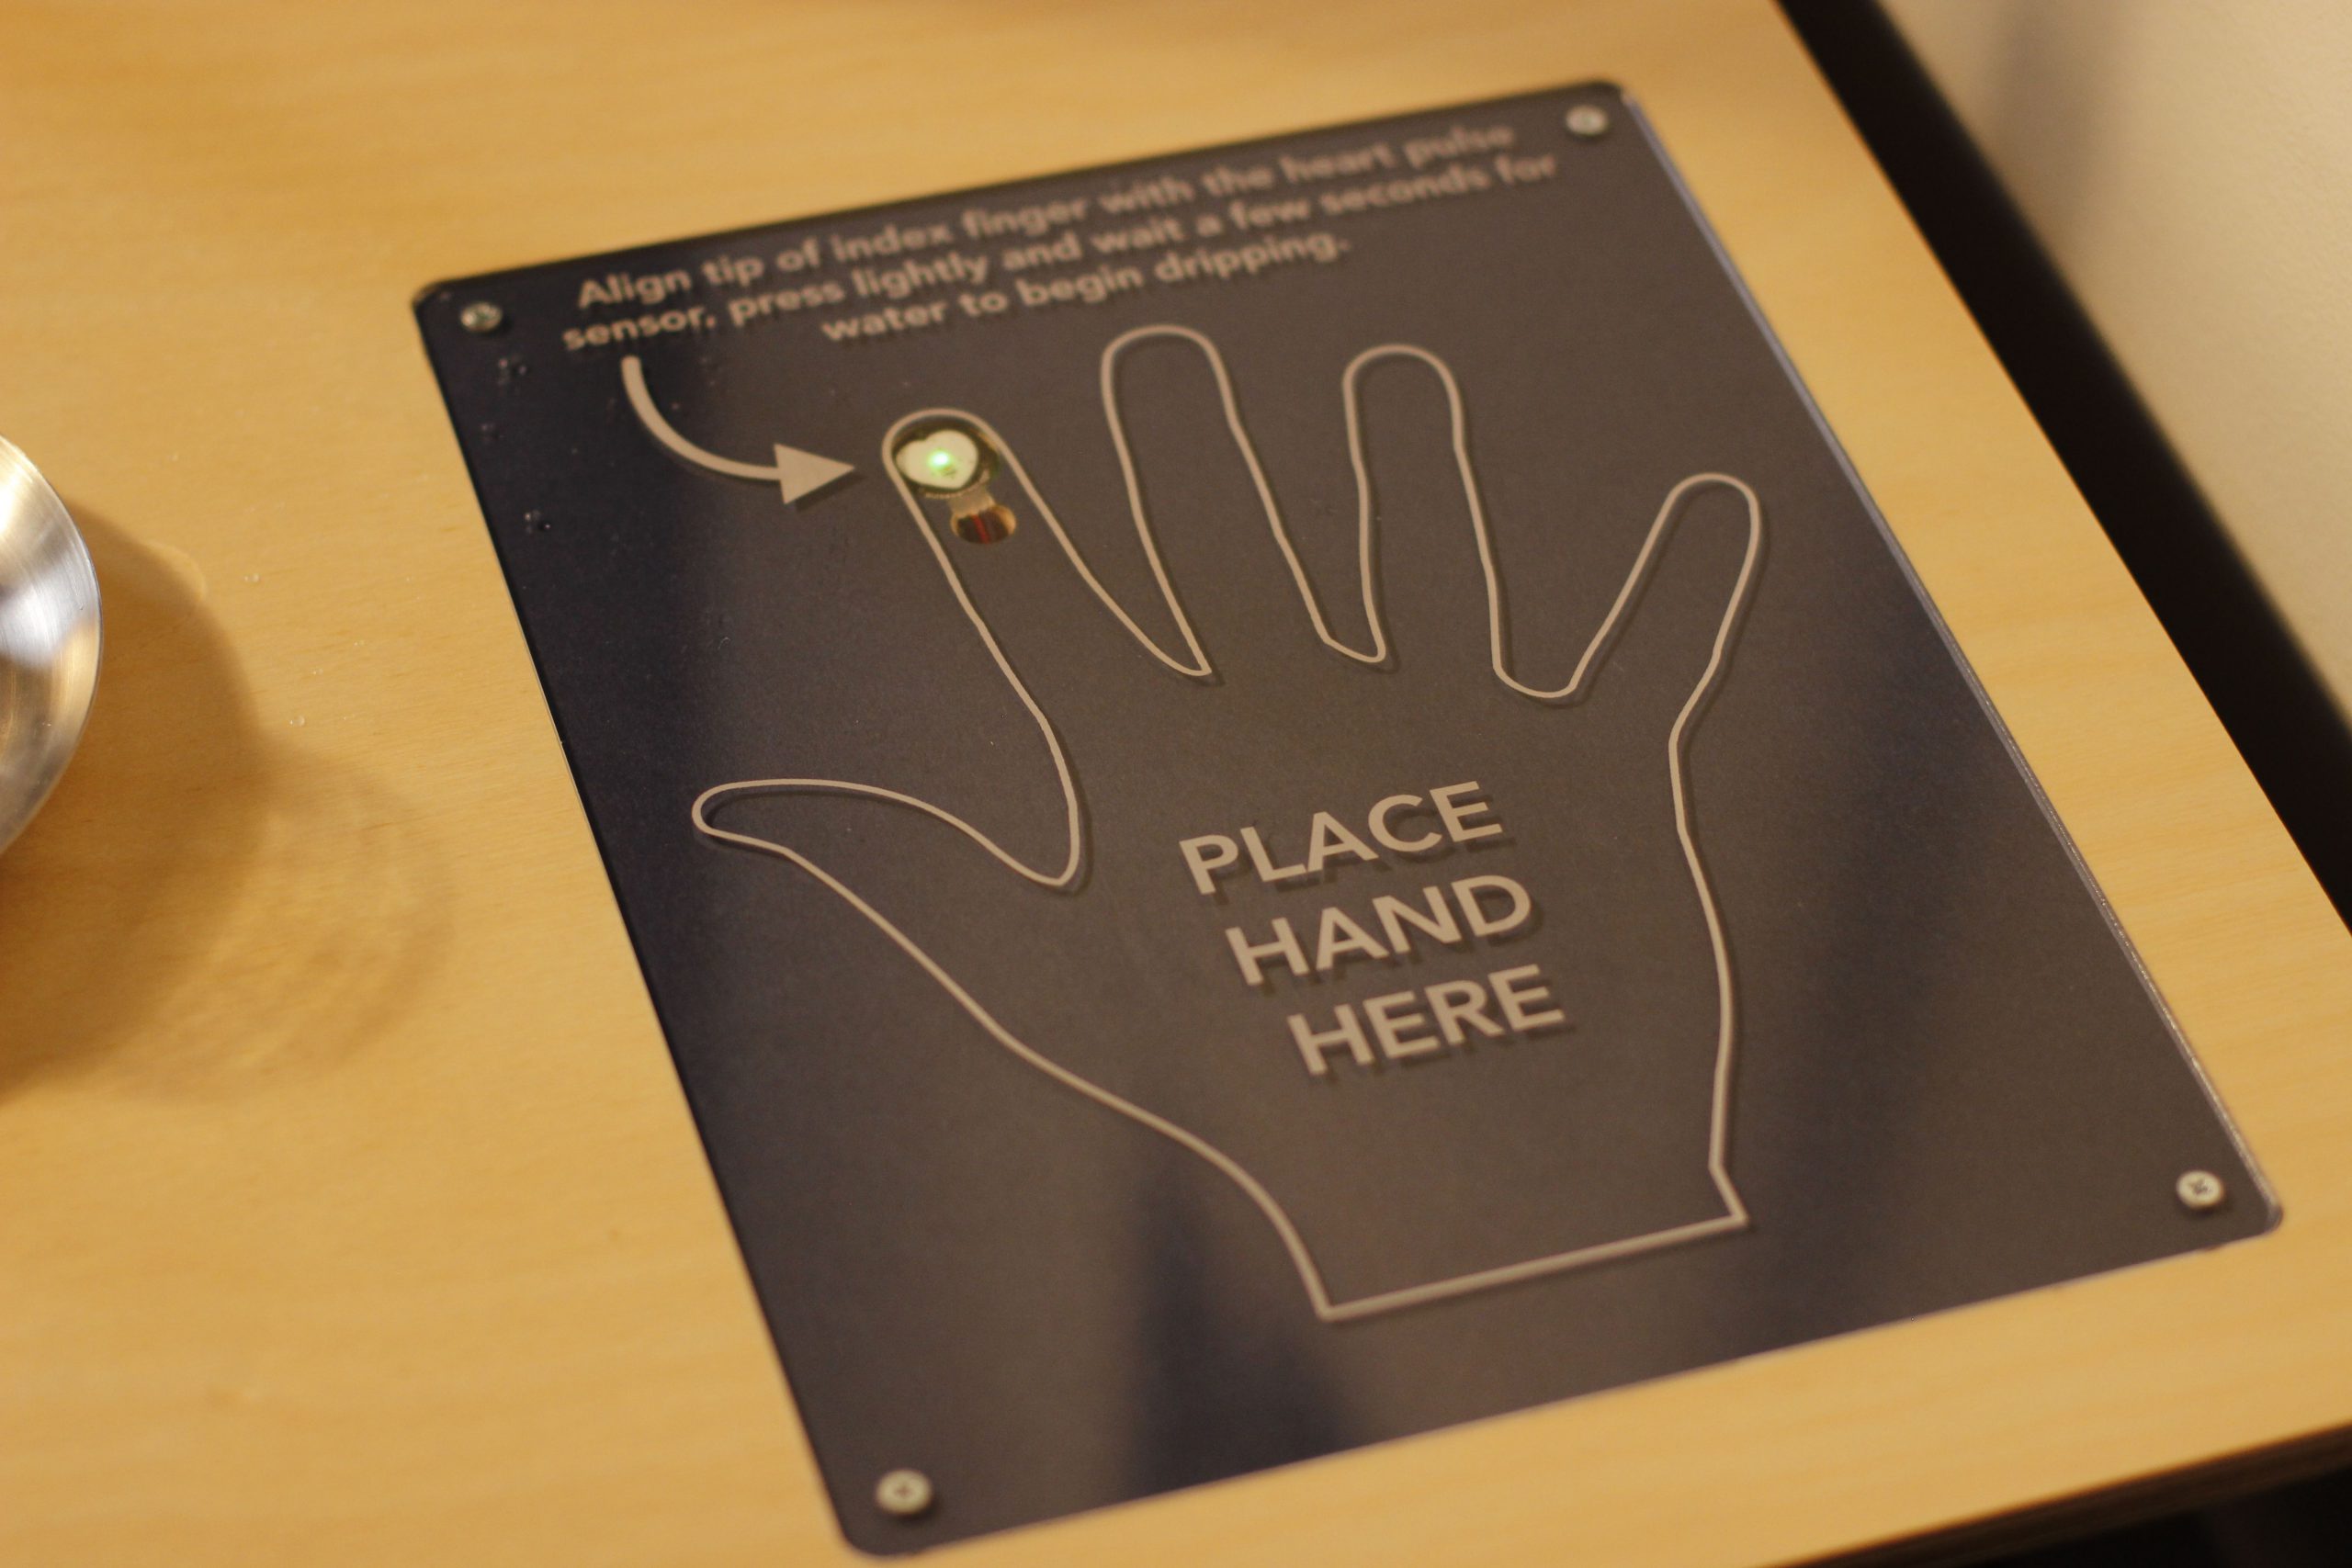
Two performers sit at a table across from each other, above them is an IV stand with two containers full of water. Embedded in the table are two fingerprint sensors, one for each of the people seated at the table. Performers place their hands on the table, with their index fingers covering the sensors. Each time their heart beats, their container emits a single drop of water, which falls from above them into a glass placed next to them on the table. Once their glass fills, they drink the water. Optionally, virtual viewers on twitch can take the place of the second performer by sending commands on twitch that deposit water droplets into the second glass.
Design and manufacture of table and this insert were completed by Sara Dittrich
The device responsible for creating the water droplets (the dripper) ended up being a very technically demanding object to create. The preeminent cause of this difficulty was the requirement that it operate in complete silence. Since the first showings of this piece were done virtually due to the pandemic, we were able to punt this problem and get the around noisy operating levels of V1 using strategic microphone placement. However, this piece would eventually be shown in a gallery setting, which would require totally silent operation.
The following is a feature overview and demonstration of the completed silent dripper:
If you’re interested in building one of these to add to your own projects, there is a github organization that contains the:
Per usual, please send along photos of rebuilds of this project. Submit PRs if you have improvements, or open issues if your run into problems along the way.
The rest of this post will be a deep dive into earlier iterations of this project, and an closer look at the design details and challenges of the final design. It’s easier to understand why a second iteration was needed after reviewing the shortcomings of version 1, so that’s where we’ll start.
Edit: This project was completed hackathon-style in a matter of days. I’ve been working to optimize the design and sell kits, follow along here.
Here’s a (long winded) video overview of this project:
Background
Rendered desperate for VRAM by a forthcomingnow released! stylegan-related project, I recently had to wade thermistor first into the concernedly hot and strange world of GPUs without video outputs to design a high performance cooler for the NVIDIA Tesla K80.
Too esoteric to game on, and too power hungry to mine cryptocurrencies with, the K80 (allegedly the ‘The World’s Most Popular GPU’) can be had for under $250 USD on ebay, a far cry from it’s imperial MSRP of $5000. By my math, the card is one of the most cost-efficient ways to avail one’s self of video ram by the dozen of gigabytes.
This sounds great on paper, but actually getting one of these configured to do useful work is a kind of a project in, and of itself. I’ll eventually get to this in the aforementioned upcoming post. Today’s topic however, is upstream of all that: the task of keeping these things cool.