My beloved blog post still sits on the throne as the most effective format for engineering projects. To me, Inlining code, photographs, CAD models and schematics in an interactive way trumps other mediums. This level of interactivity closes the gap between reader and material, allowing an independent relationship with the subject outside of the story being told by the author.
Working on stream to an online audience has a similar effect, the unedited and interactive format yielding a real understanding of the creators process and technique.
For a while there, I’d settled into a nice habit of broadcasting project development live on twitch. Two moves later, things have settled down enough in my personal life that I feel it’s time to try to get back into this habit.
Before we get started again, I took some time to improve the ergonomics (both hardware and software) of my stream setup. The following documents a few smaller projects, all in service of these upcoming broadcasts.
RasRig
Being able to capture the flow between the computer and the workbench is a critical requirement for engineering streams. This necessitates having a bunch of different cameras in a bunch of different places throughout the work space. In my case, I wanted a cost-effective way to have at least three different simultaneous shots of the bench. After some experimentation, I found that mjpg-streamer running on a Raspberry Pi using a camera connected via the CSI port can do a great job of getting video into OBS.
Because video is transmitted over the network, it makes it easy to add cameras via my existing ethernet infrastructure or via WiFi, no need to route HDMI or SDI cables everywhere. Additionally, the ecosystem of CSI cameras is much larger than you’d think, as the NVidia Jetson boards are also compatible with the port. You can even get HDMI capture cards that output into the CSI port, so HDMI cameras, or video inputs could be integrated.
In general, I’m fine with acquiring more pi-ish hardware because I know it’ll get integrated into other projects should streaming become less desirable.
Software
Things like changing the resolution/FPS and exposure settings are also very easy to do because the Pi’s are networked. They’re also, well, Raspberry Pi’s. They have a practically infinite amount of expansion. Things like subject tracking, automatic exposure changing, alerting; all on the table for future projects. Ansible makes provisioning new cameras really simple, I’ve published the software to do this on GitHub.
Mechanical Hardware
Ansible is cool, but the CAD is the interesting bit at this stage. There are currently three different camera plates that support:
- The standard Raspberry Pi camera module.
- The Raspberry Pi HQ camera.
- Those cheap OV5647 wide angle modules found on amazon.
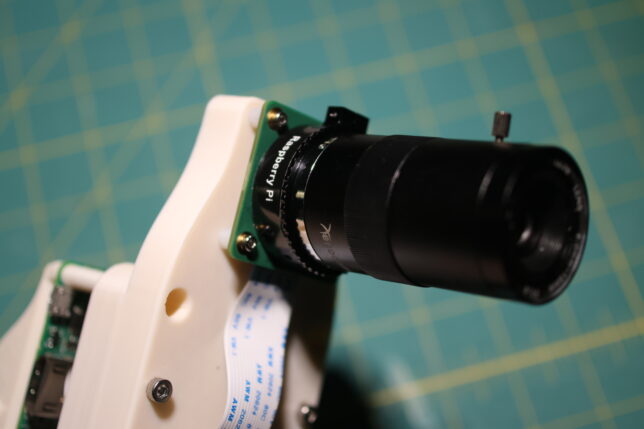
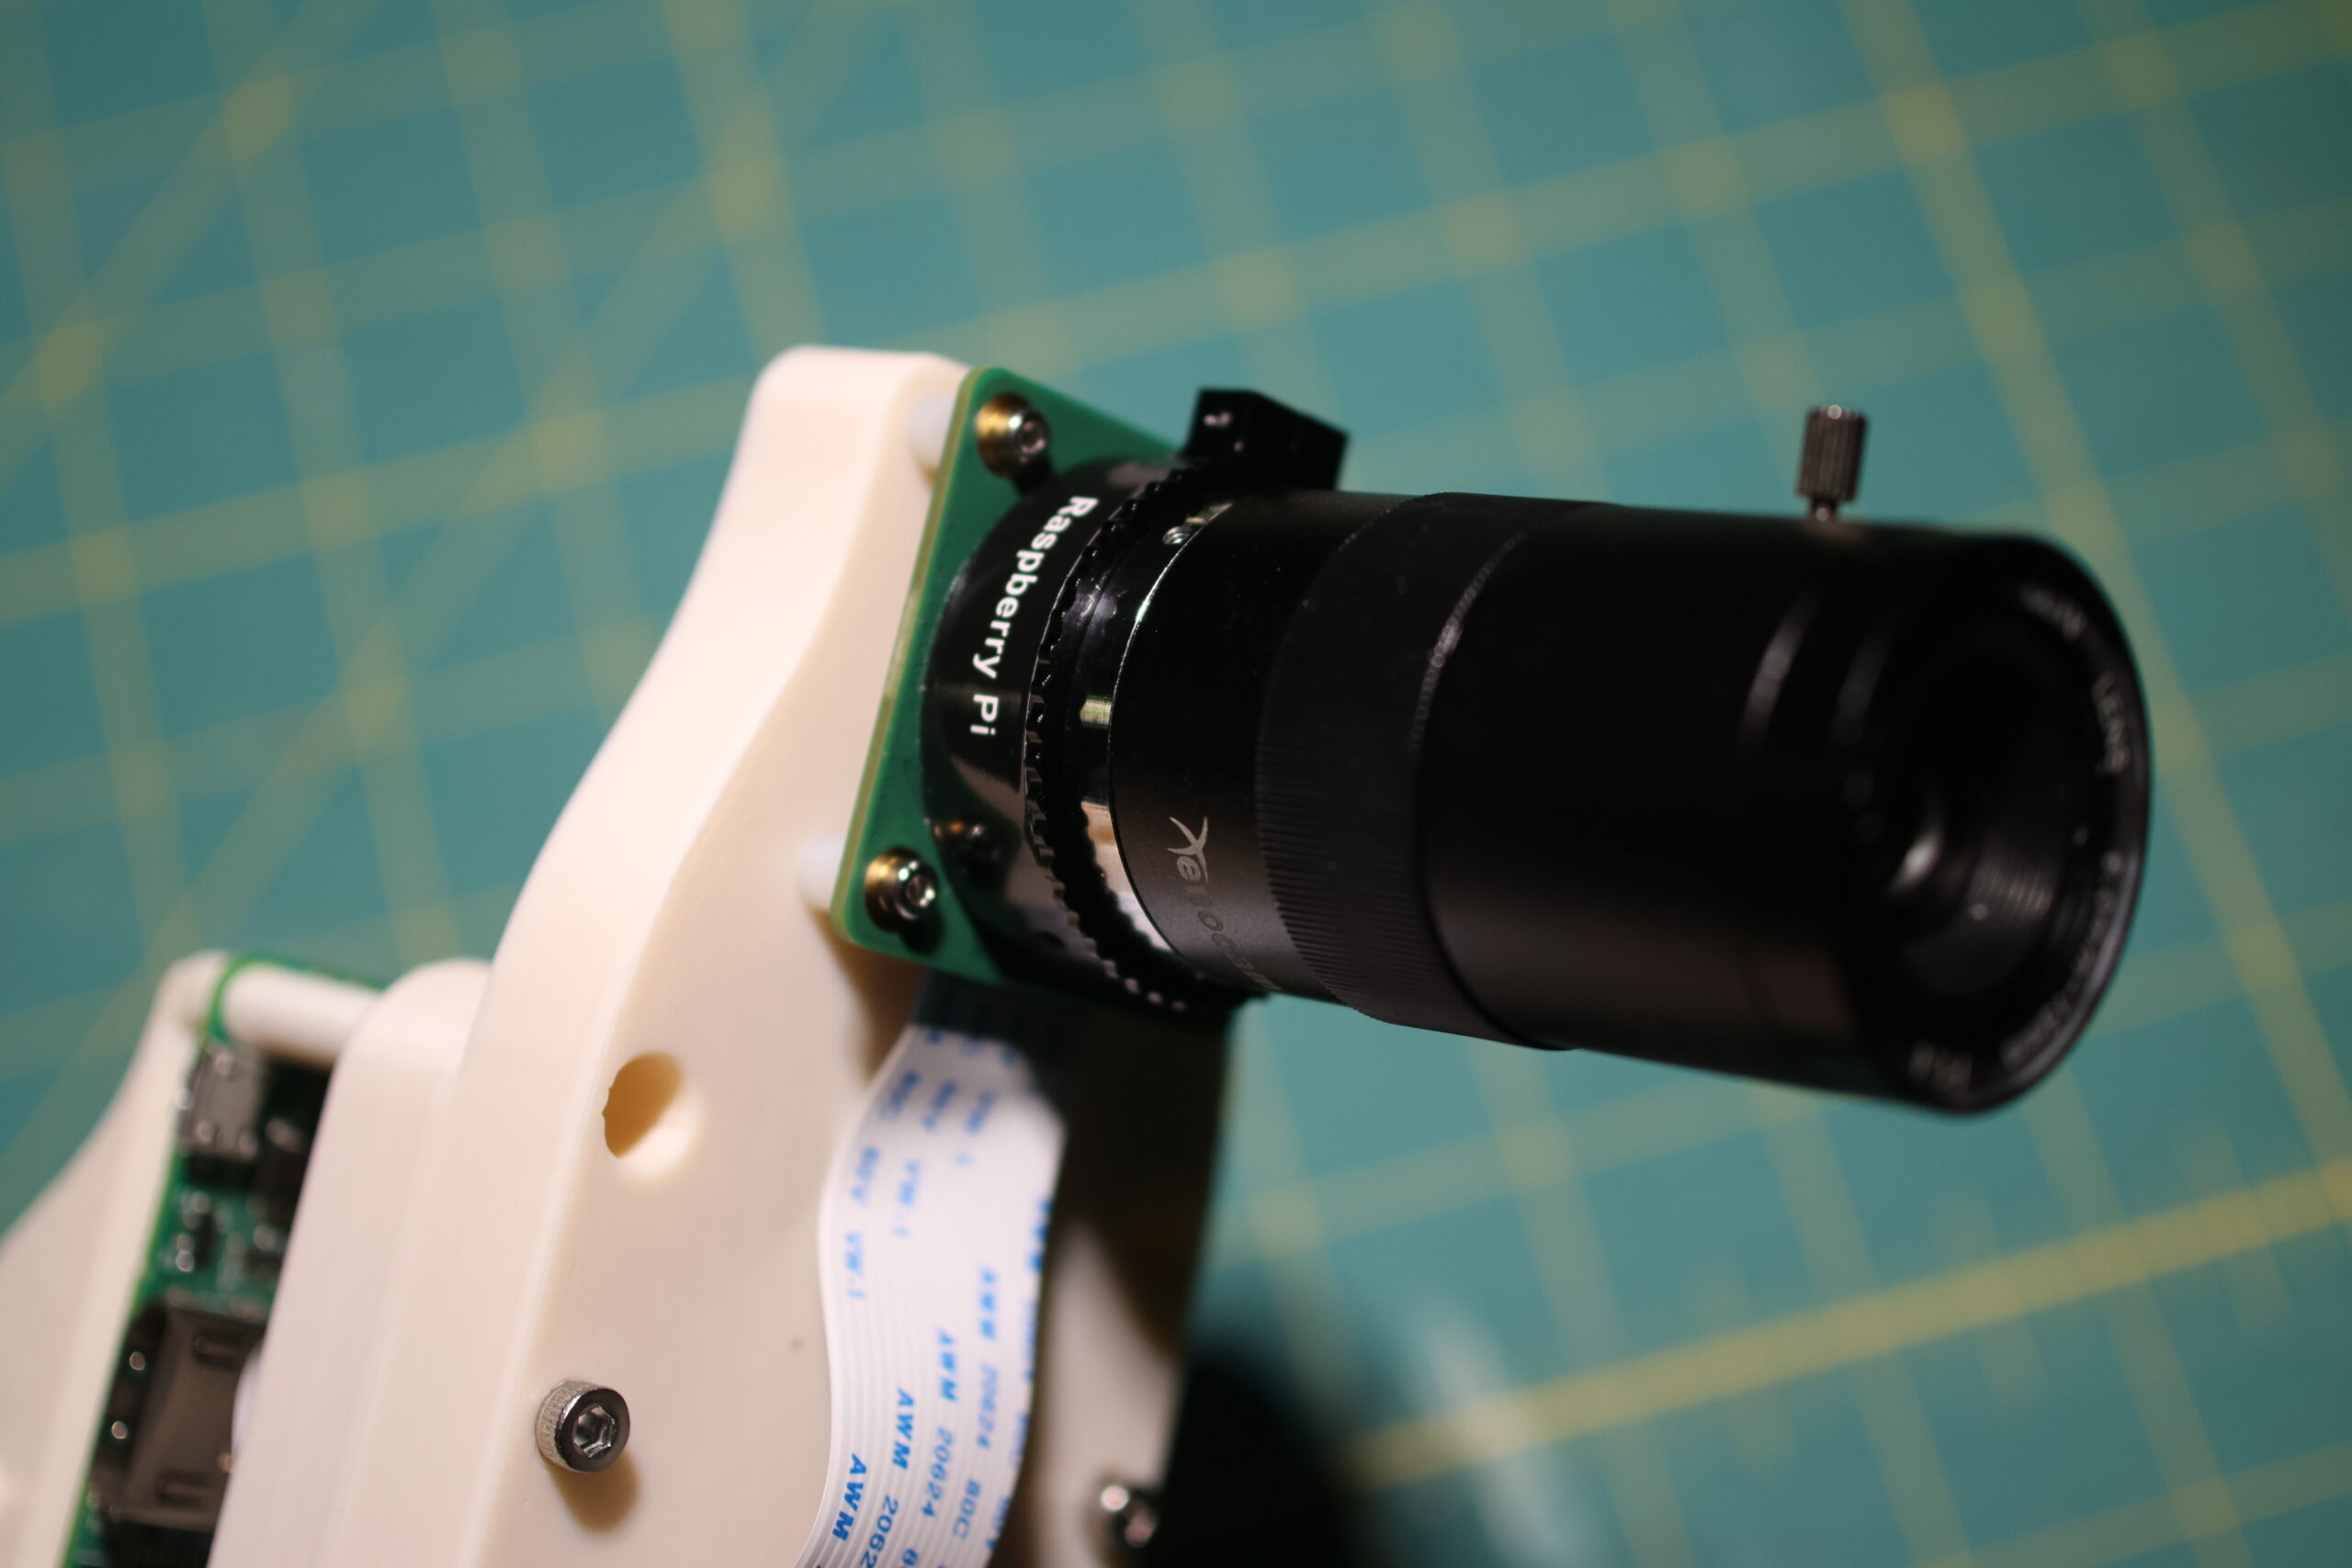
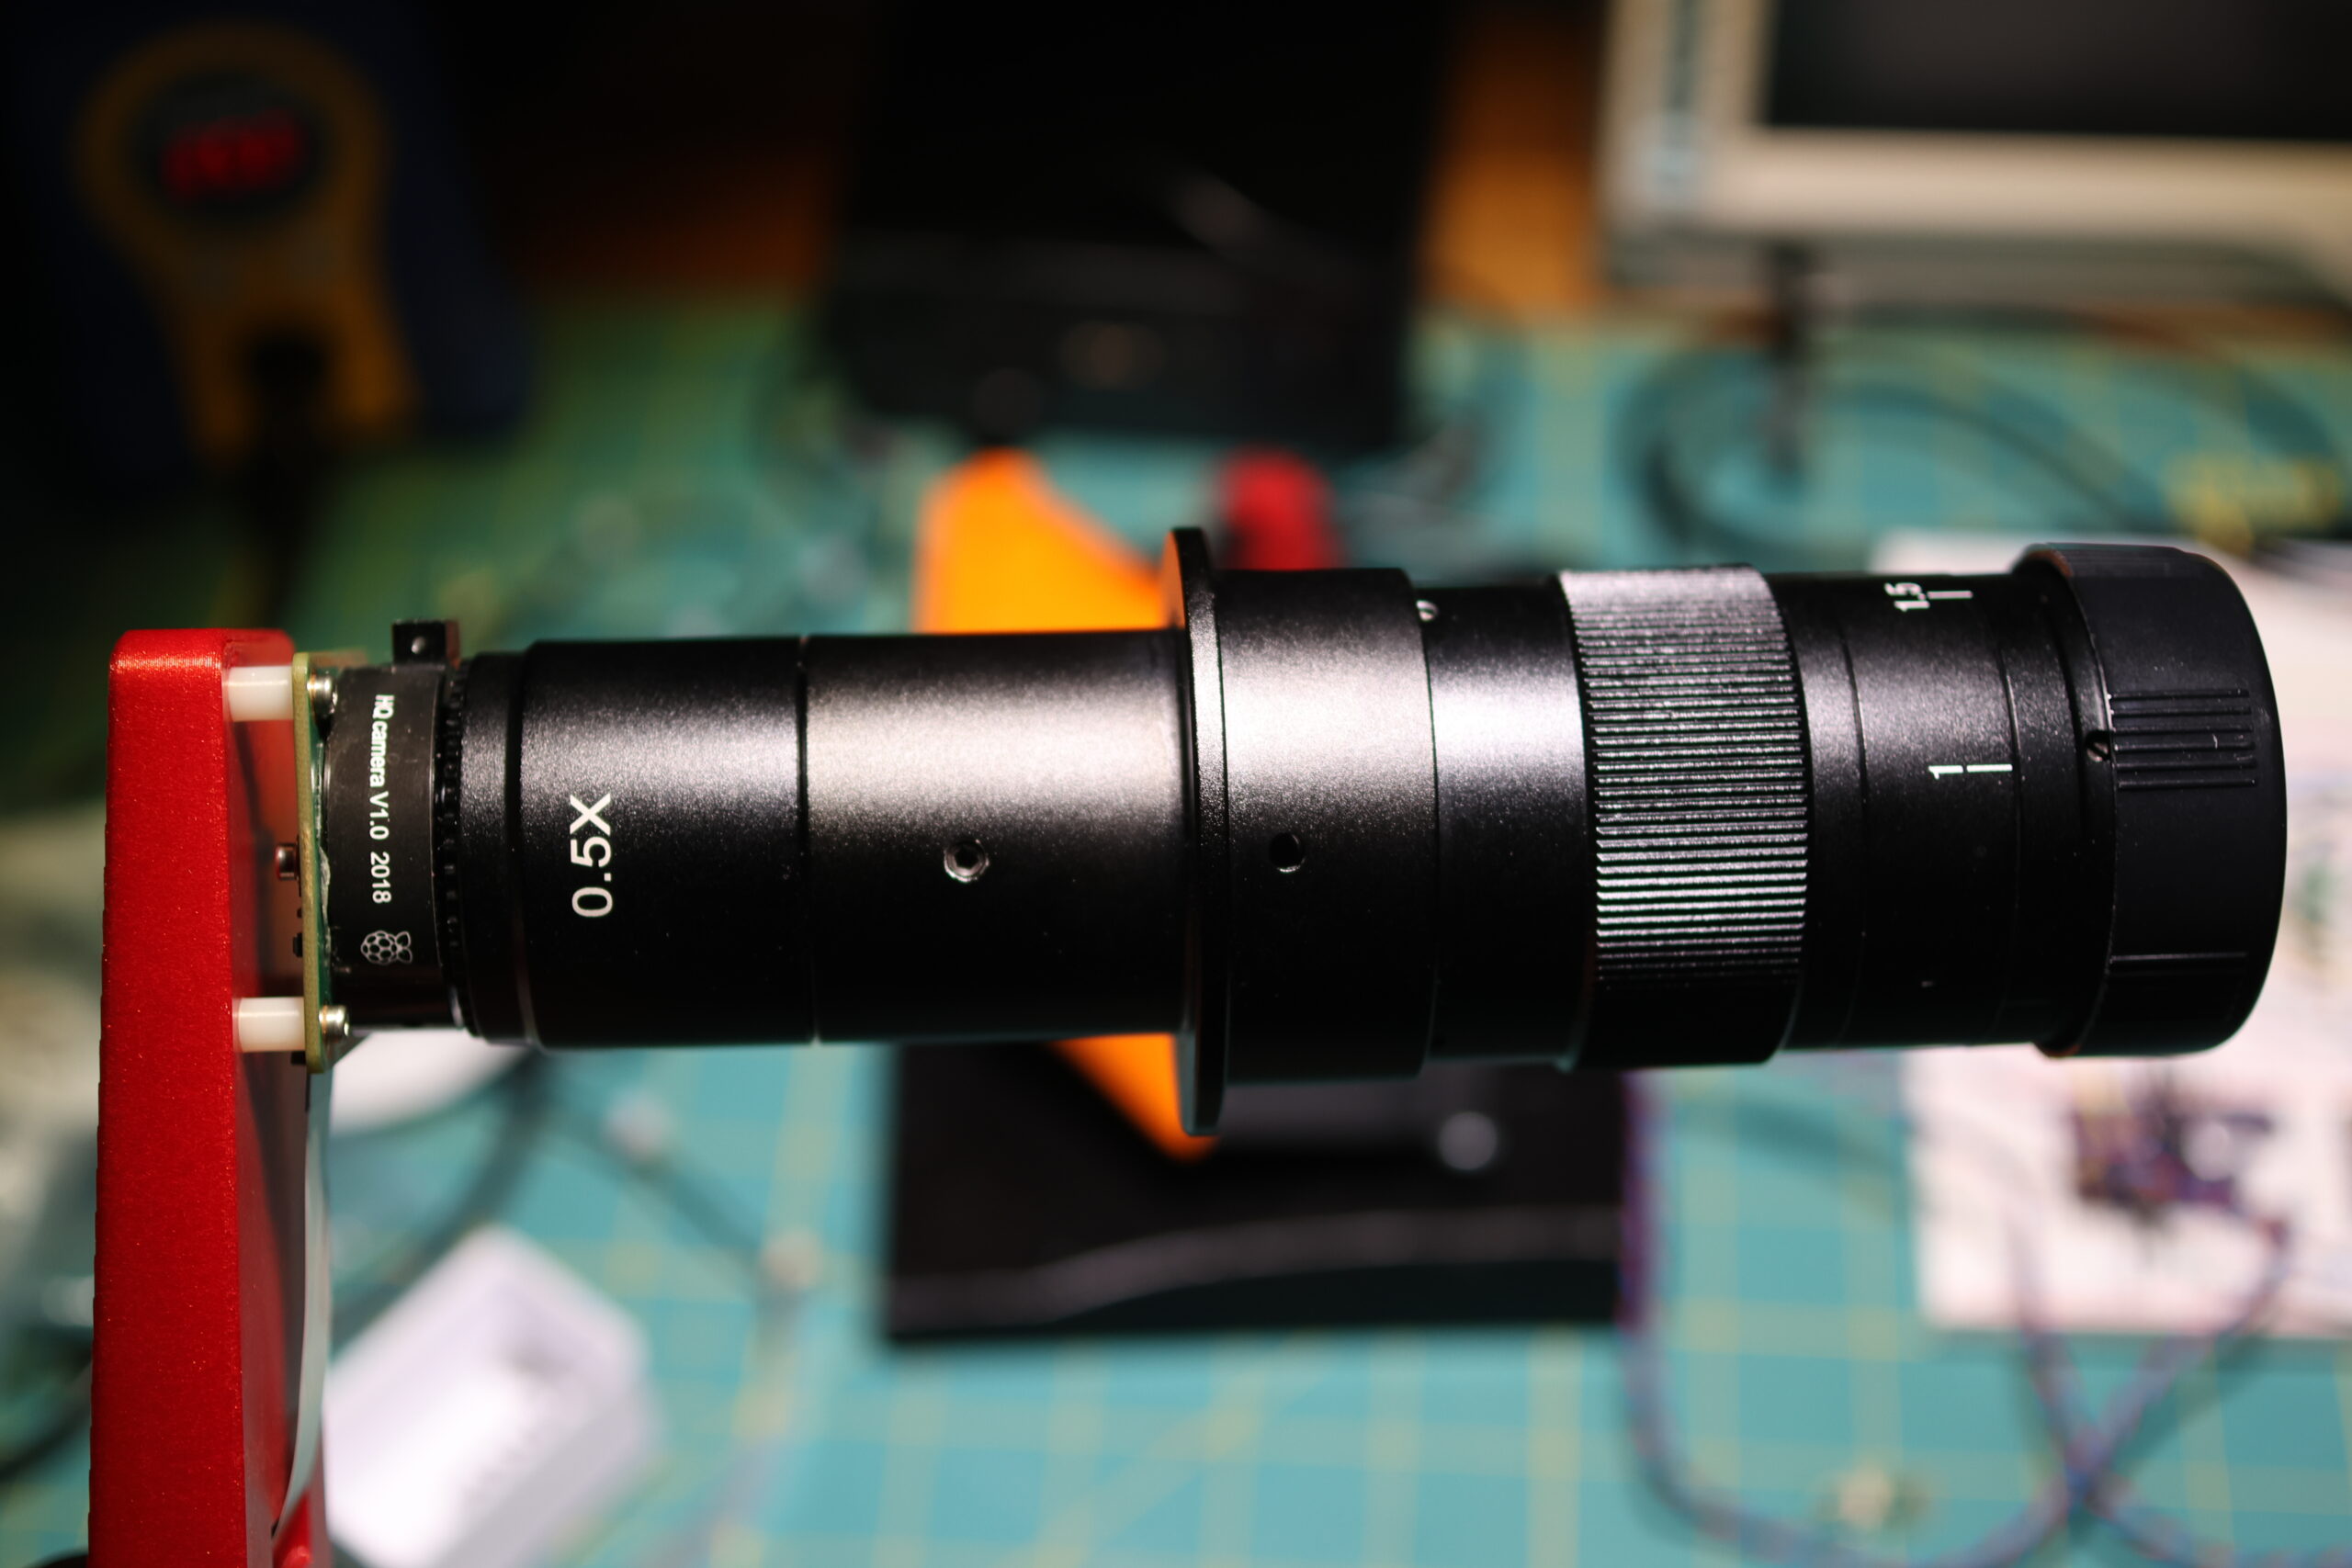
There’s also a “plate” for use with massive c-mount microscope lenses as well. It’s easier to see these as a 3D render:
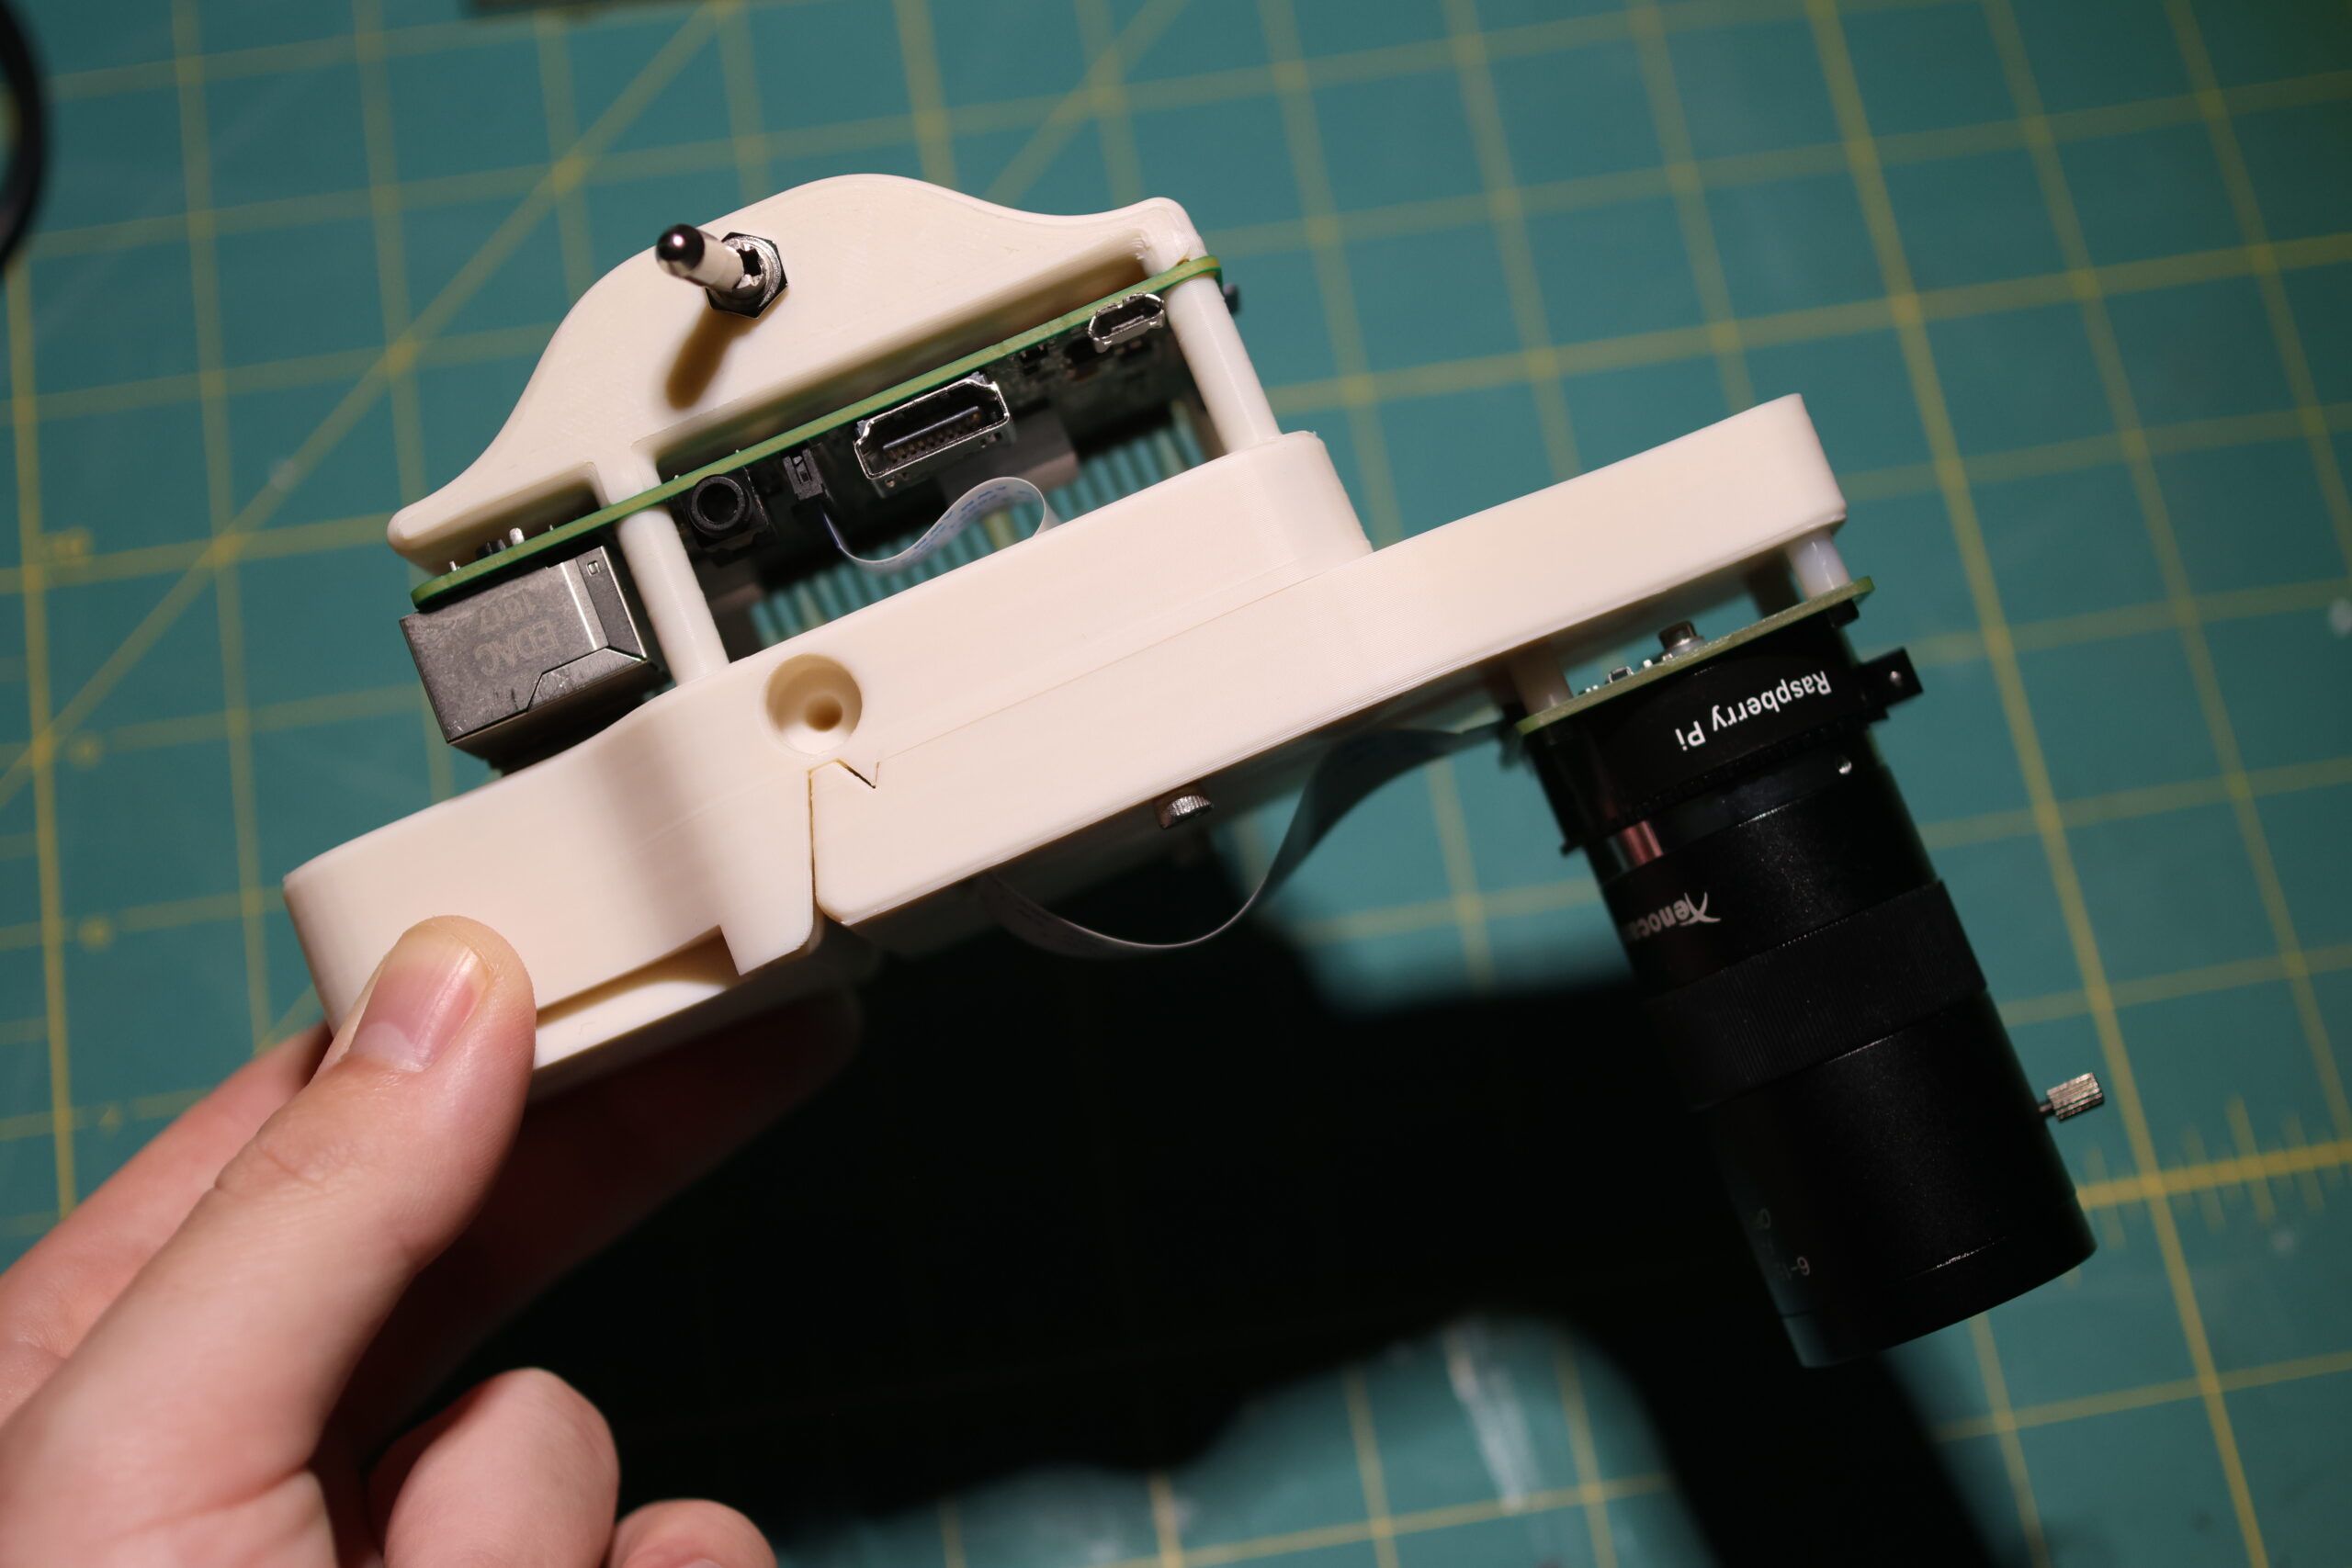
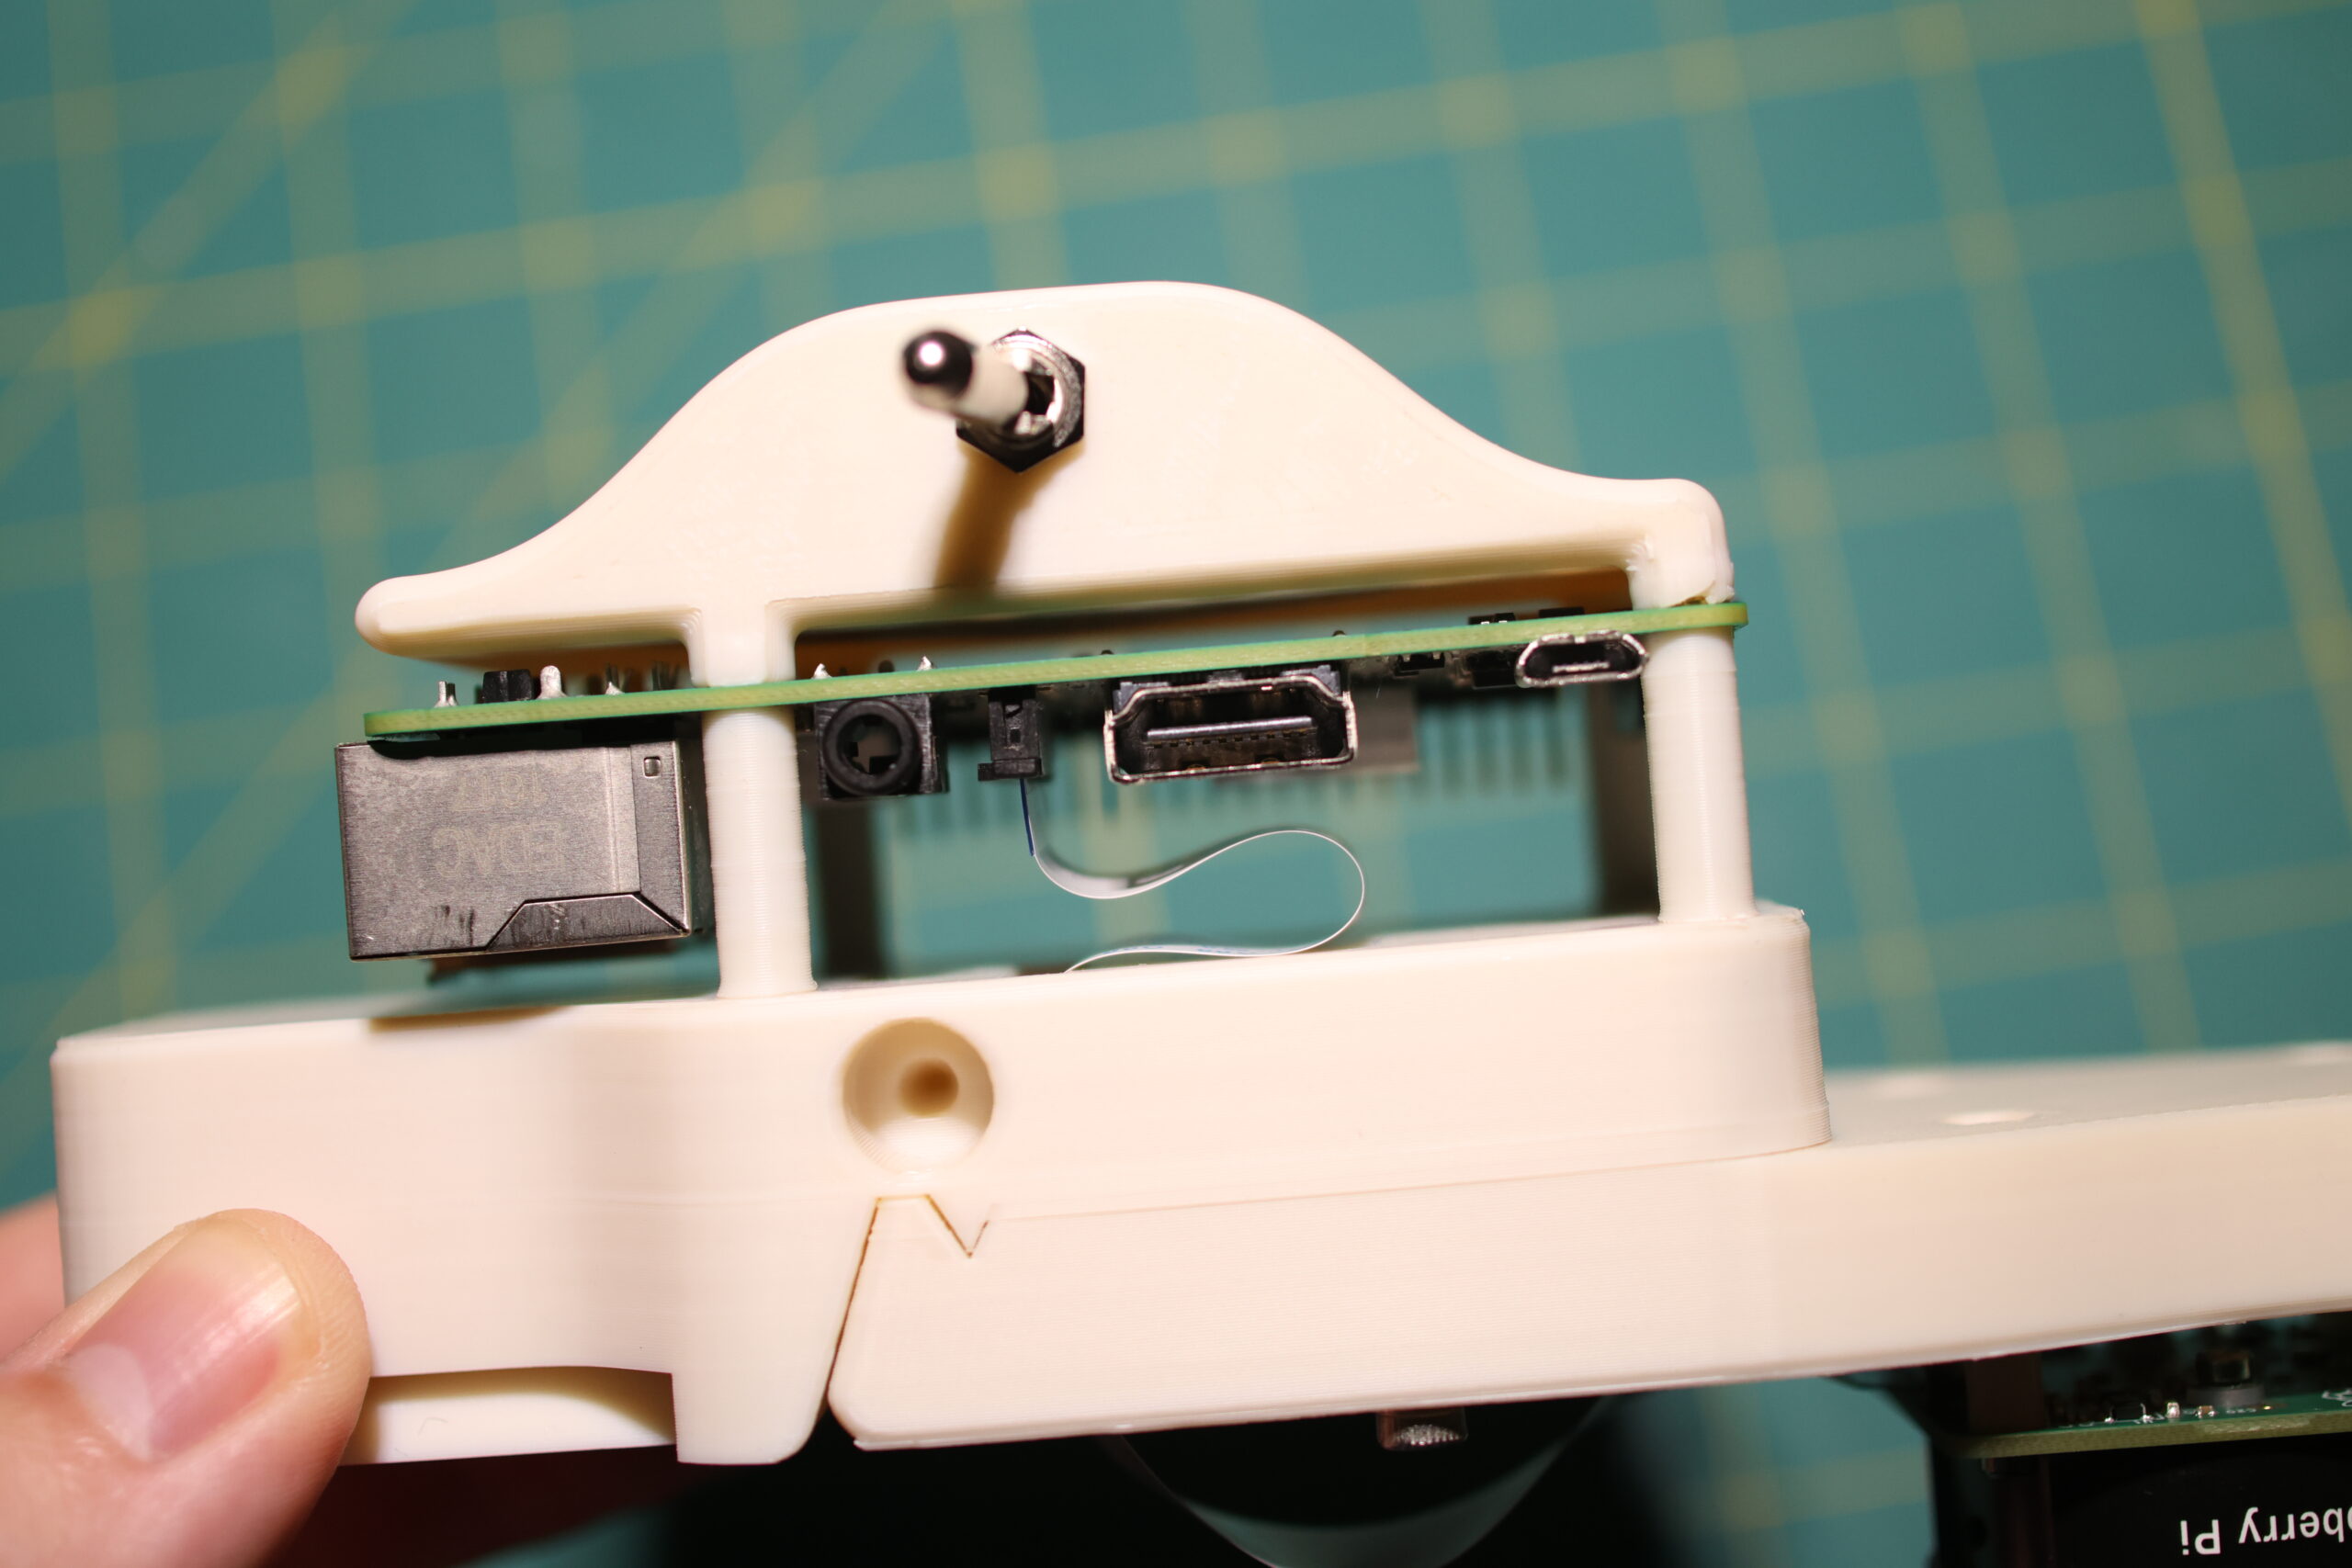
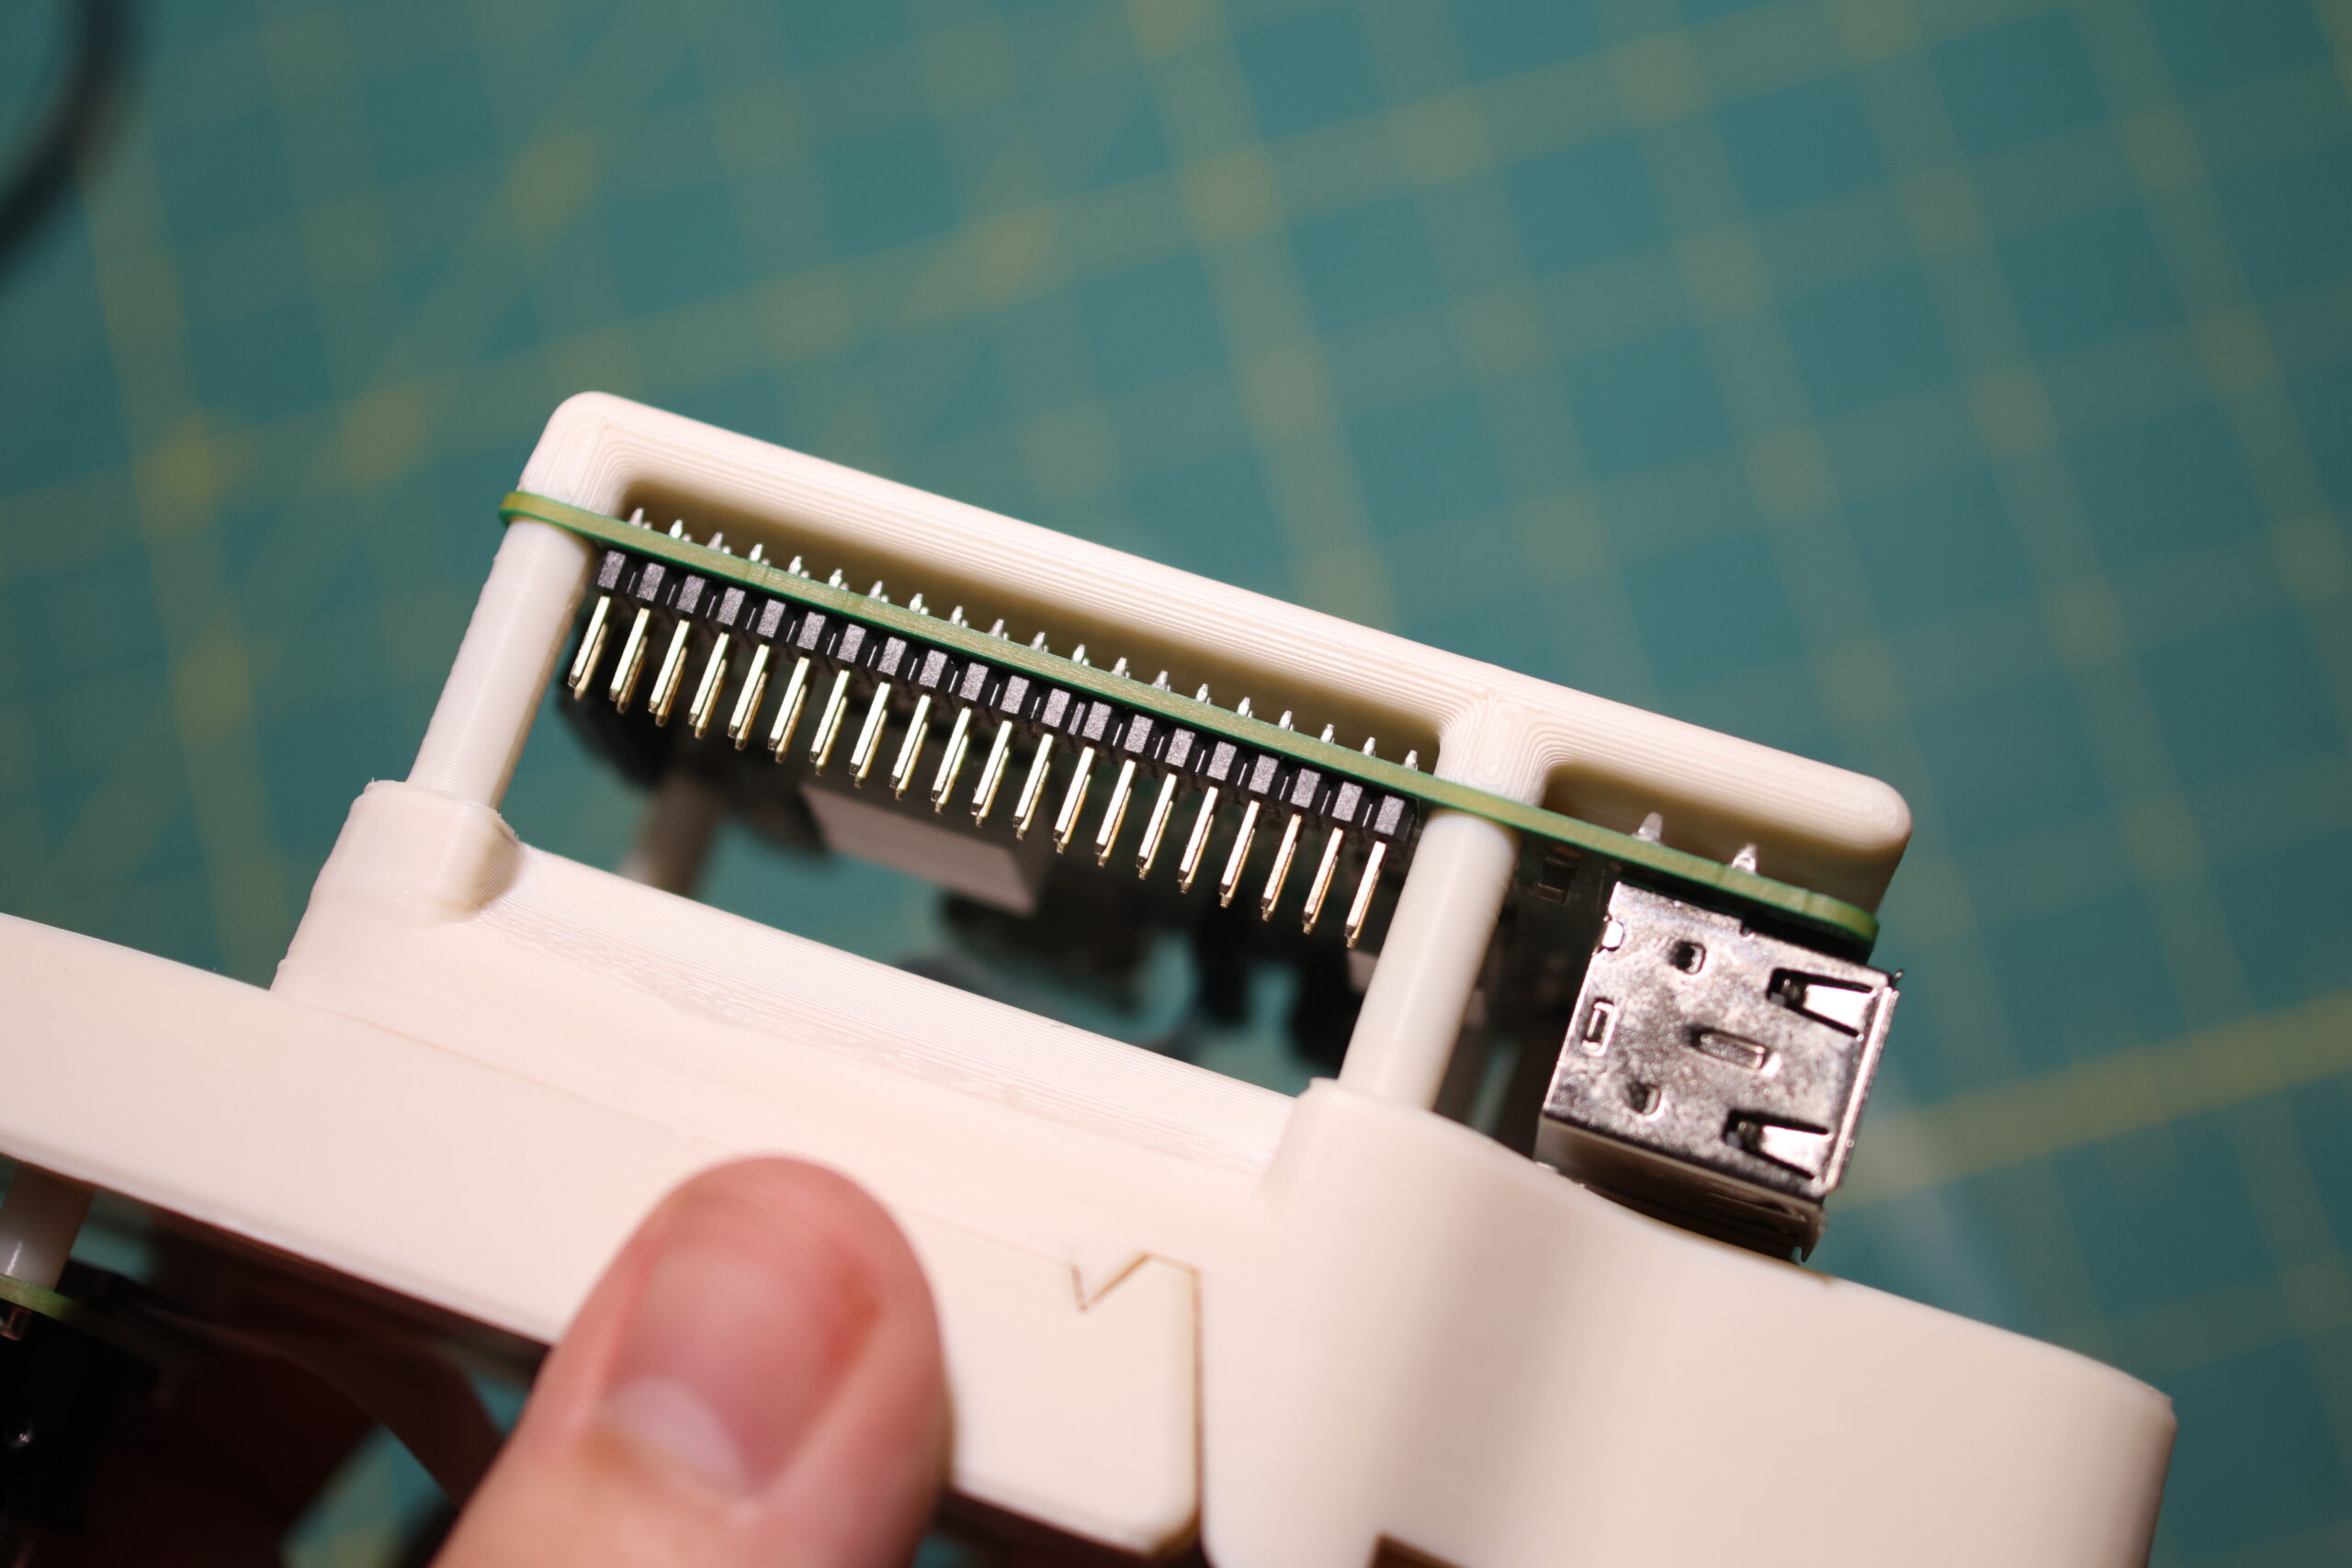
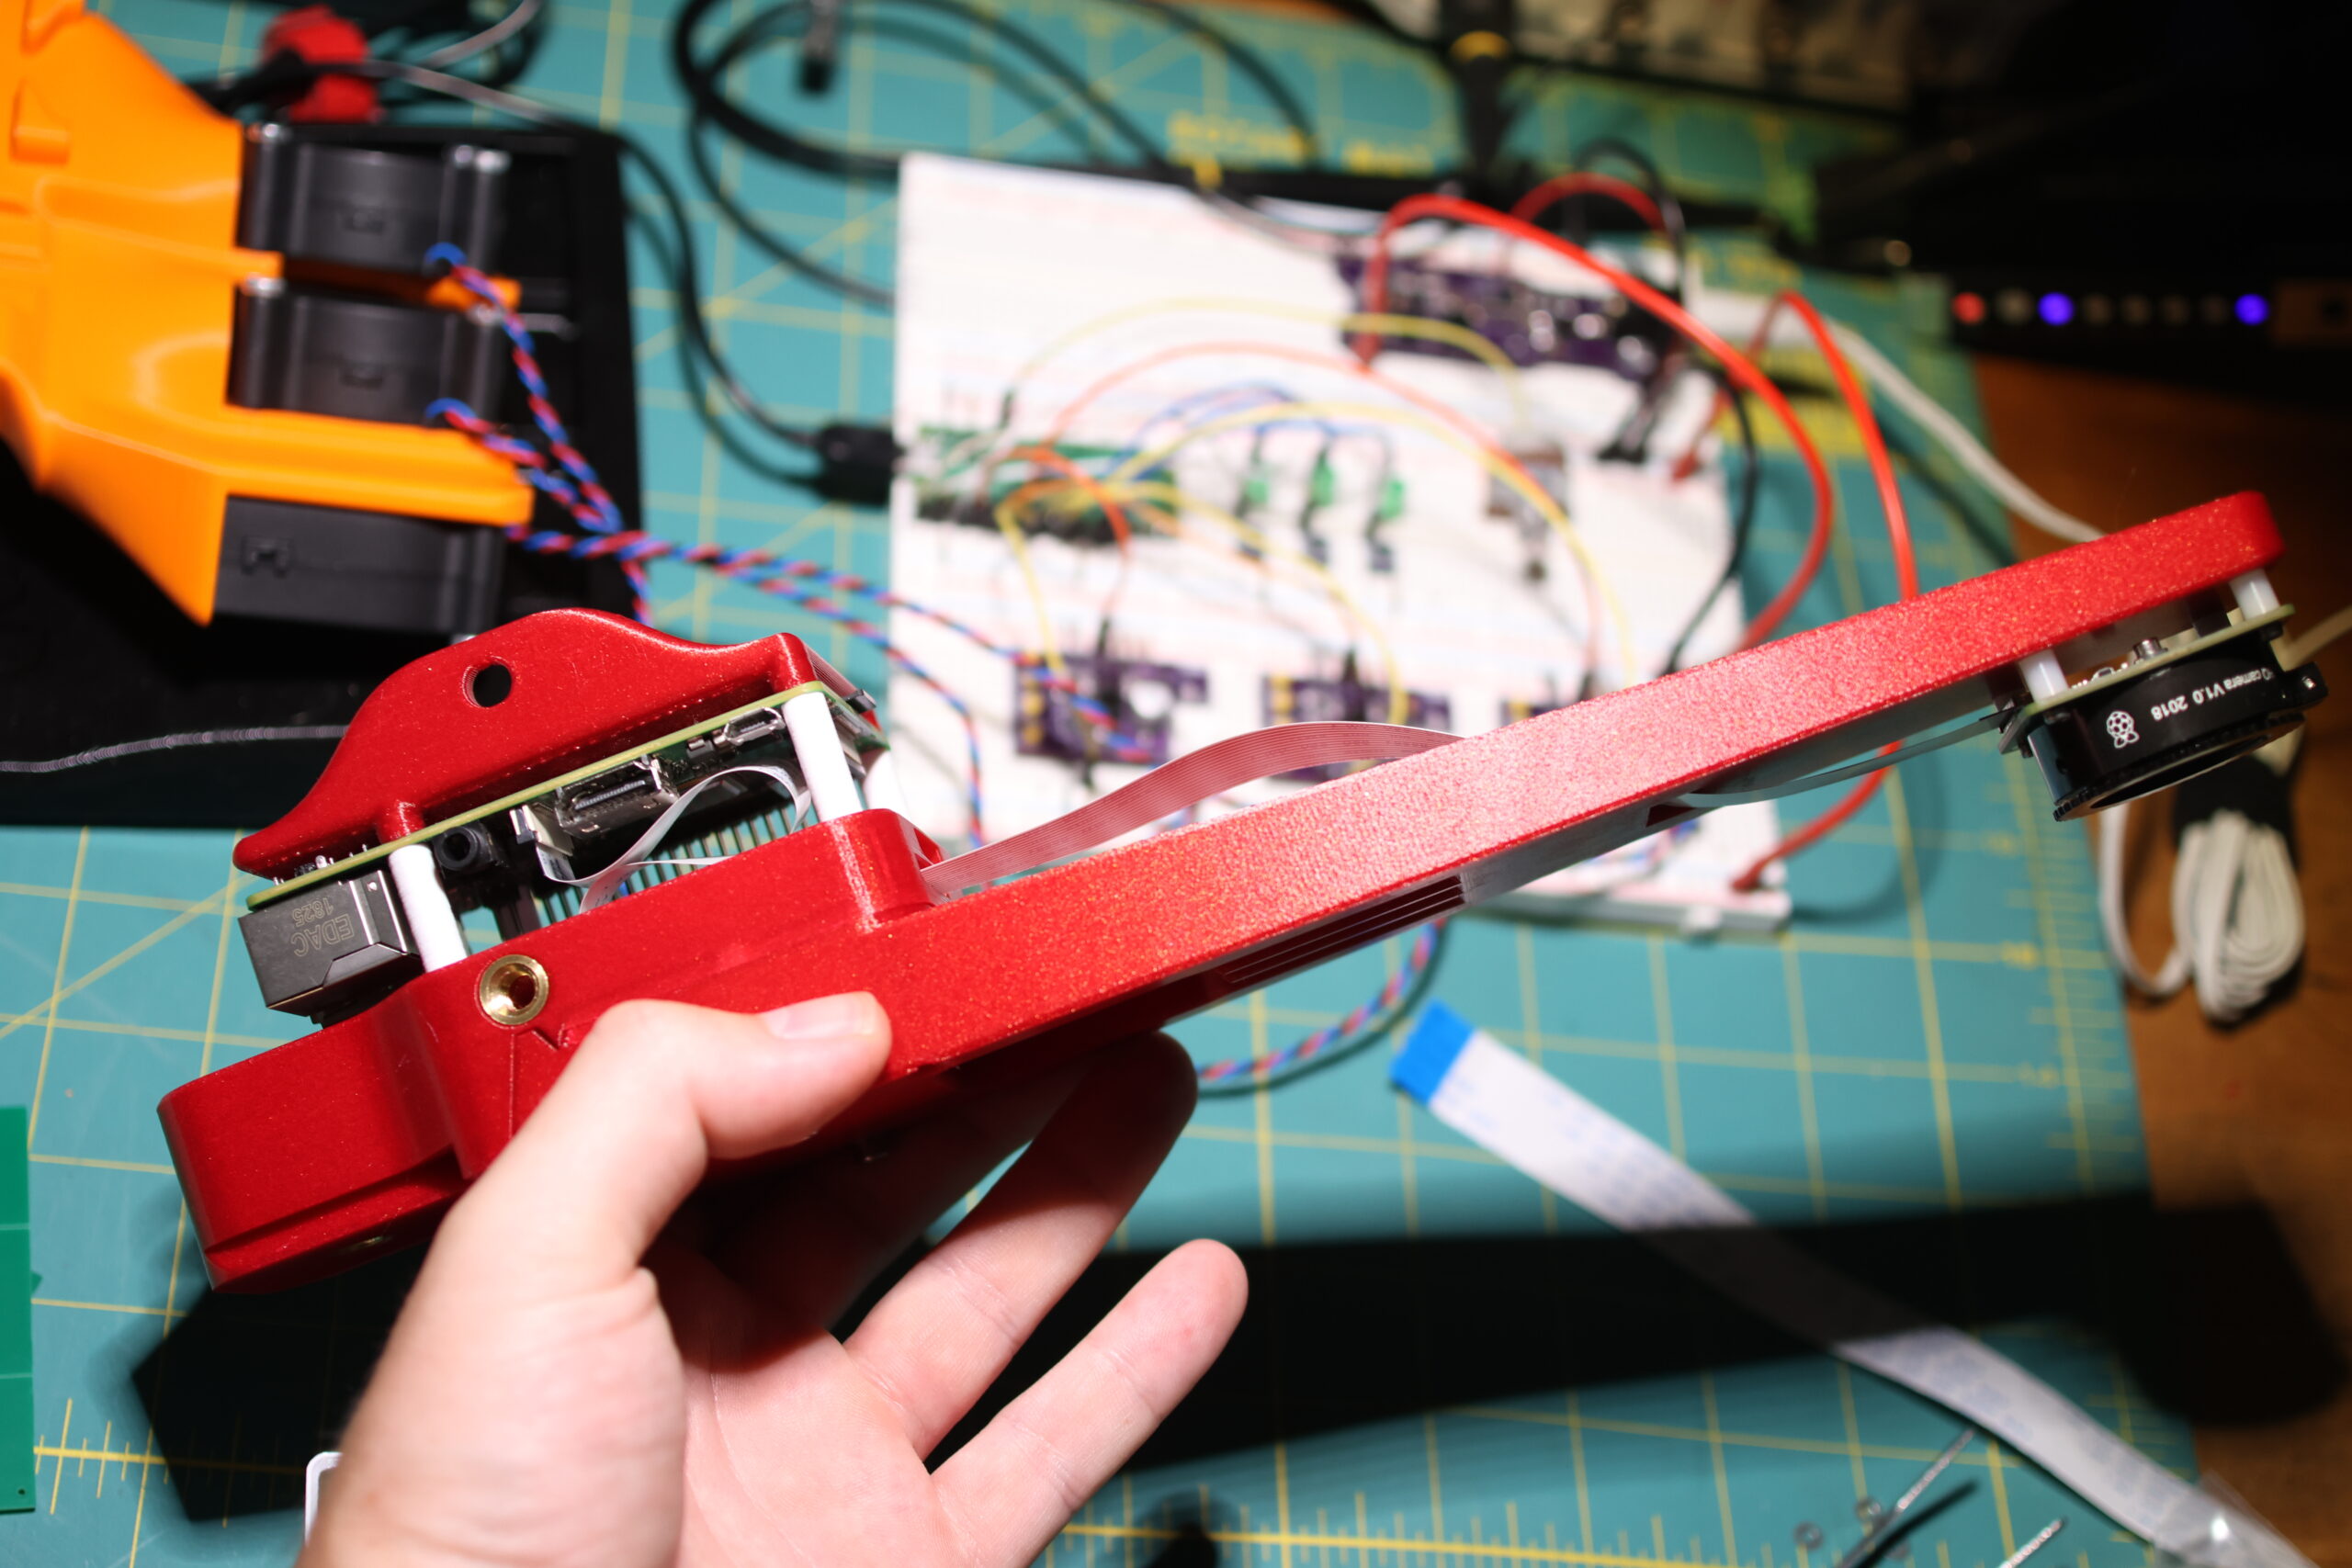
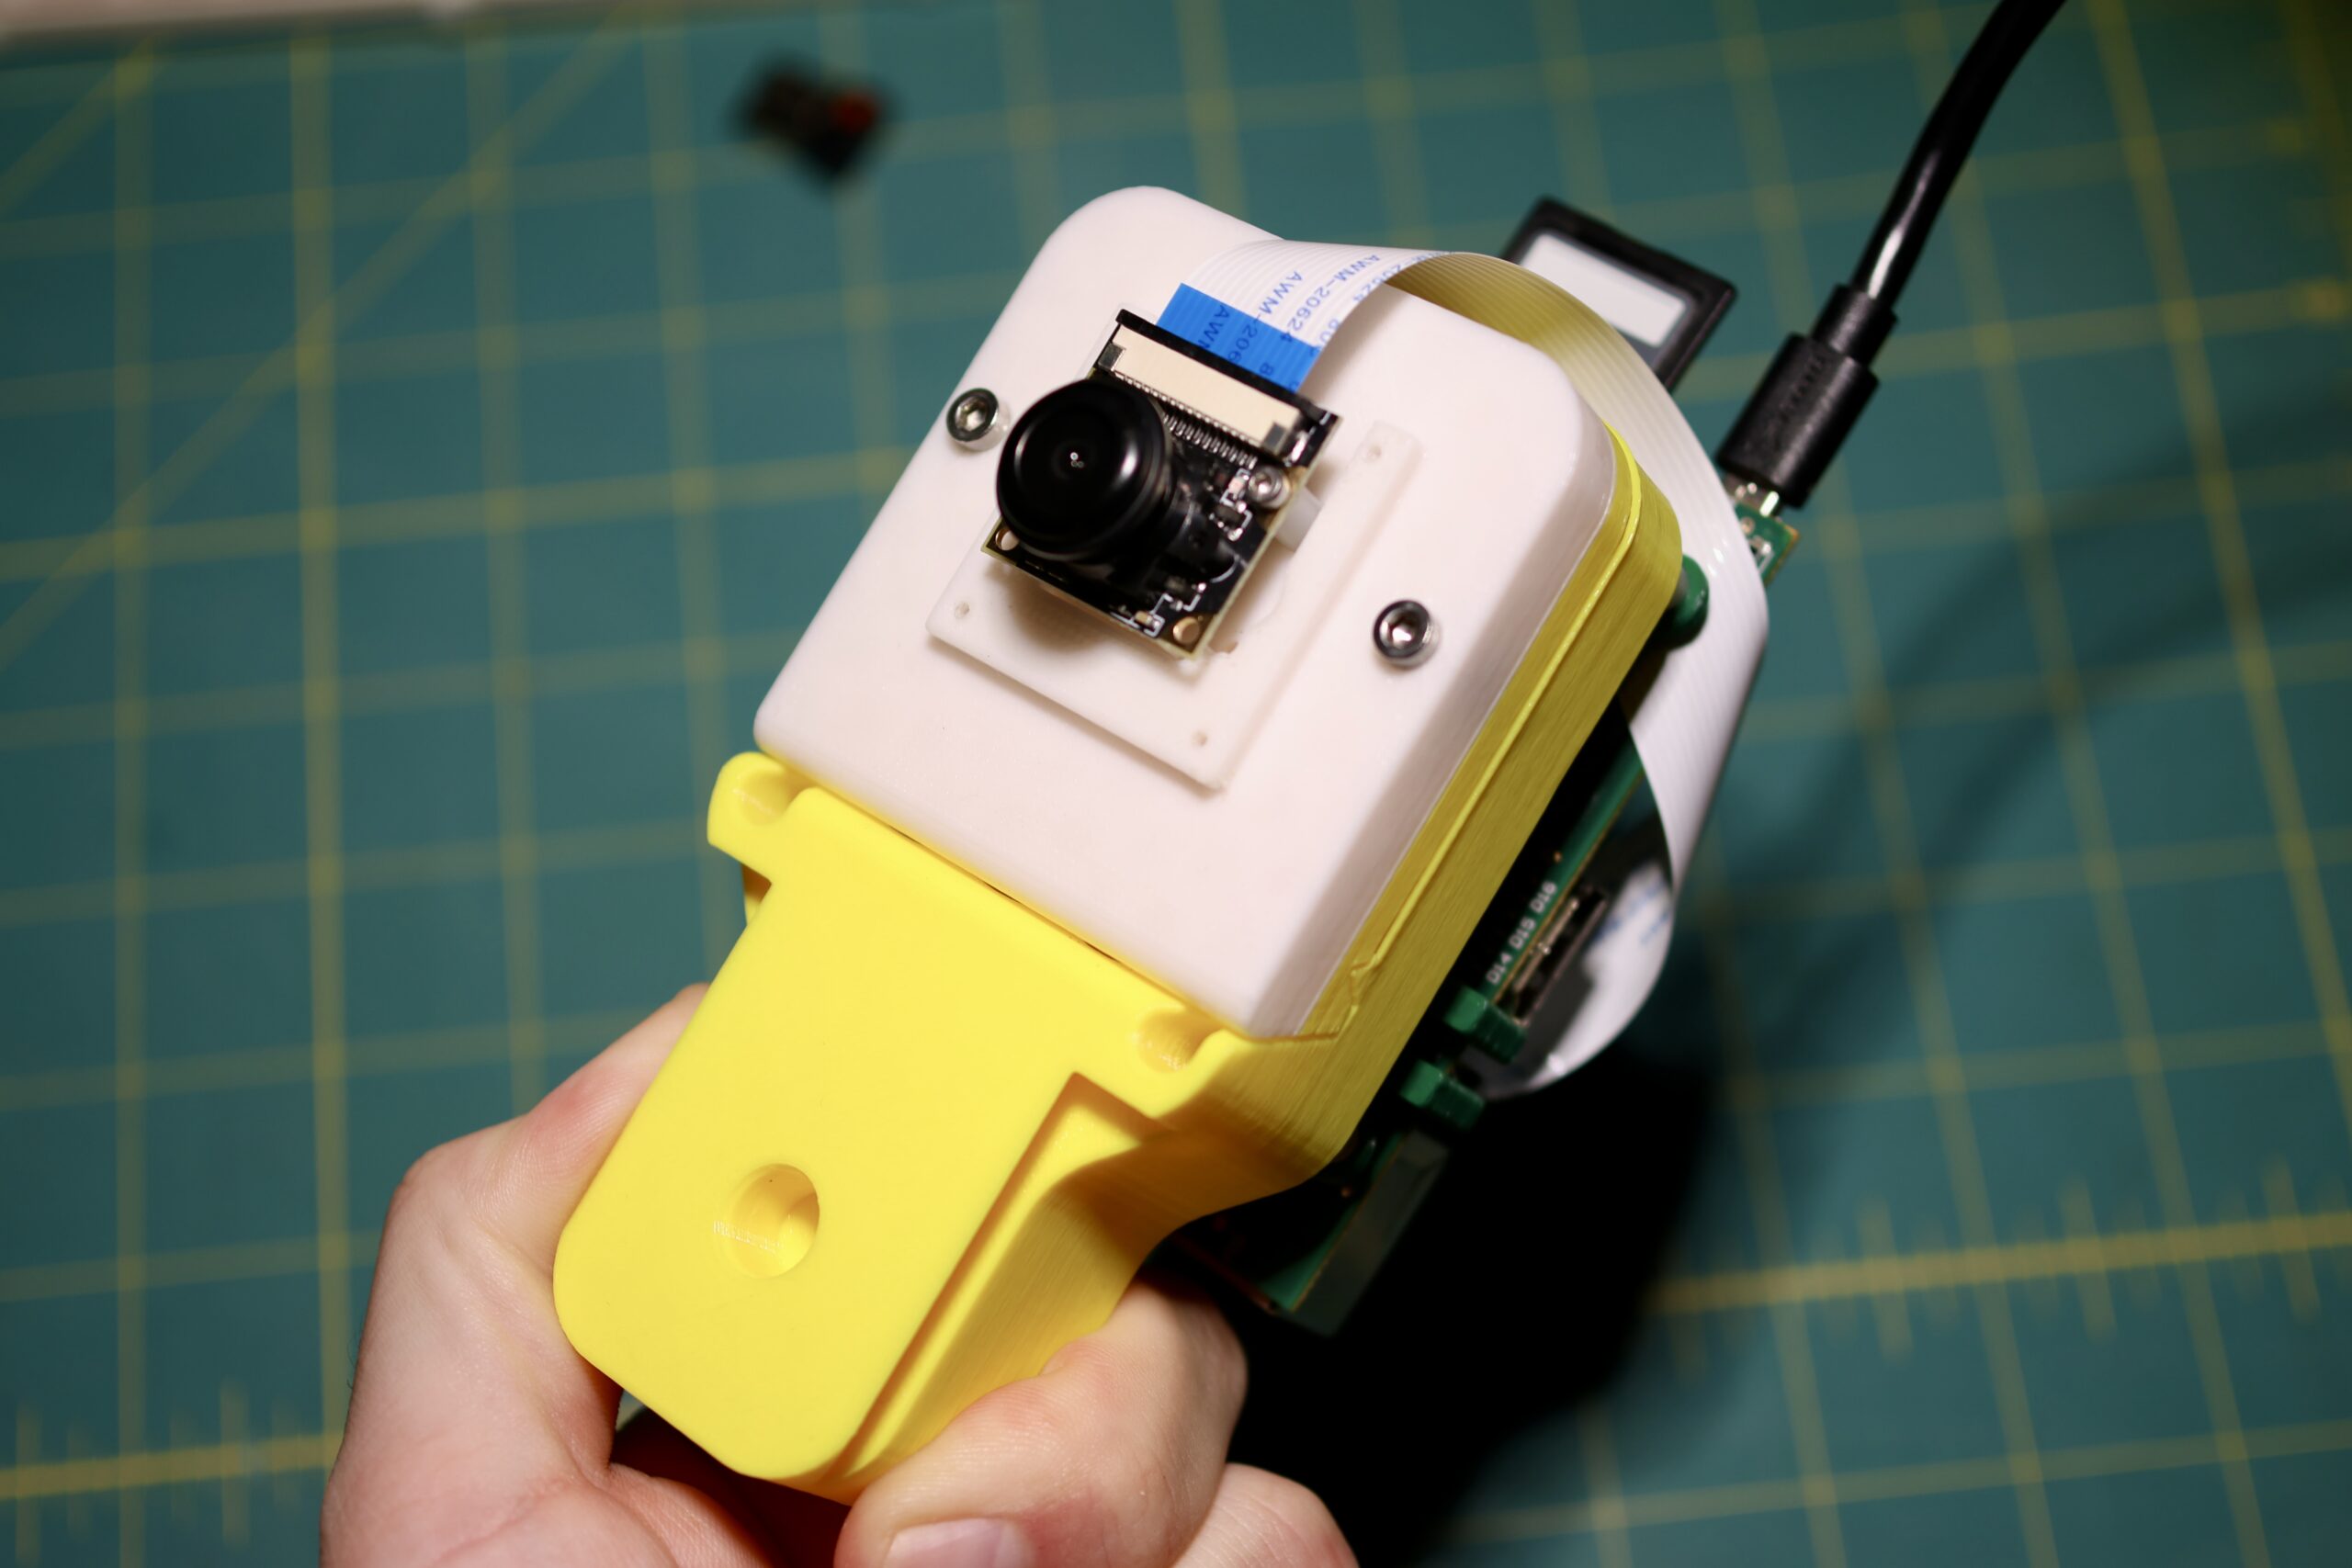
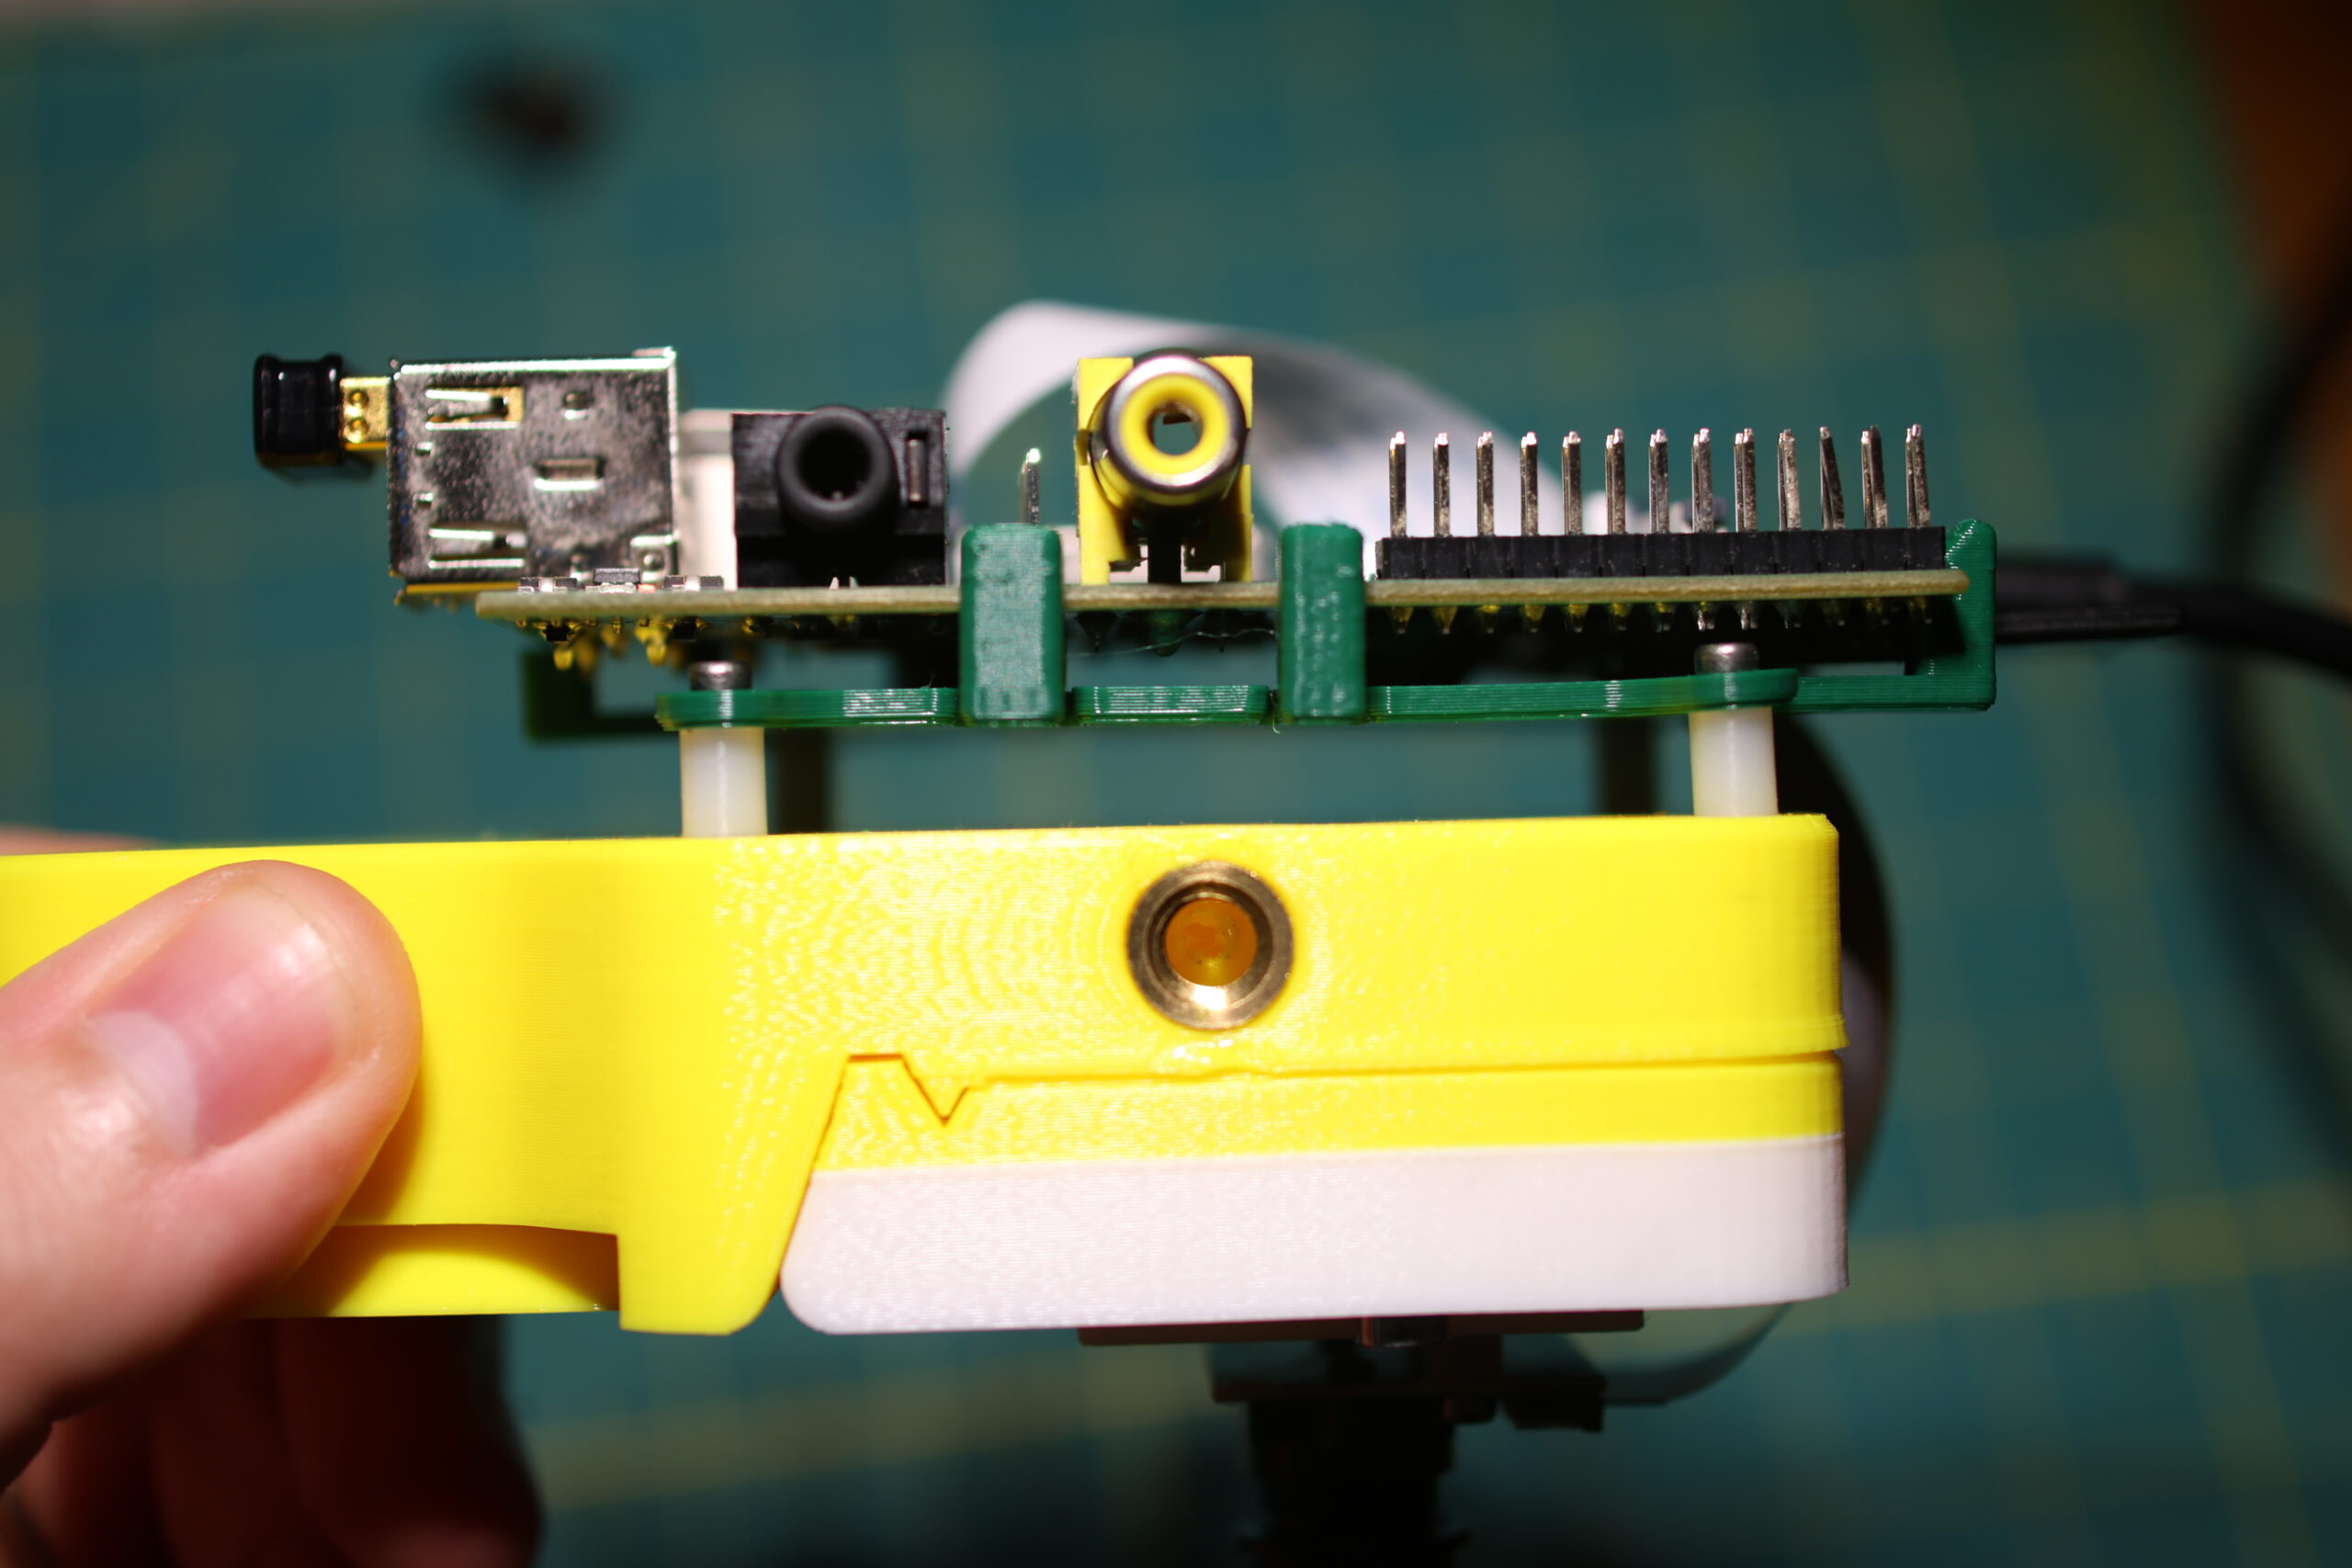
This is a single configuration using the Raspberry Pi 3B, and wide angle camera:
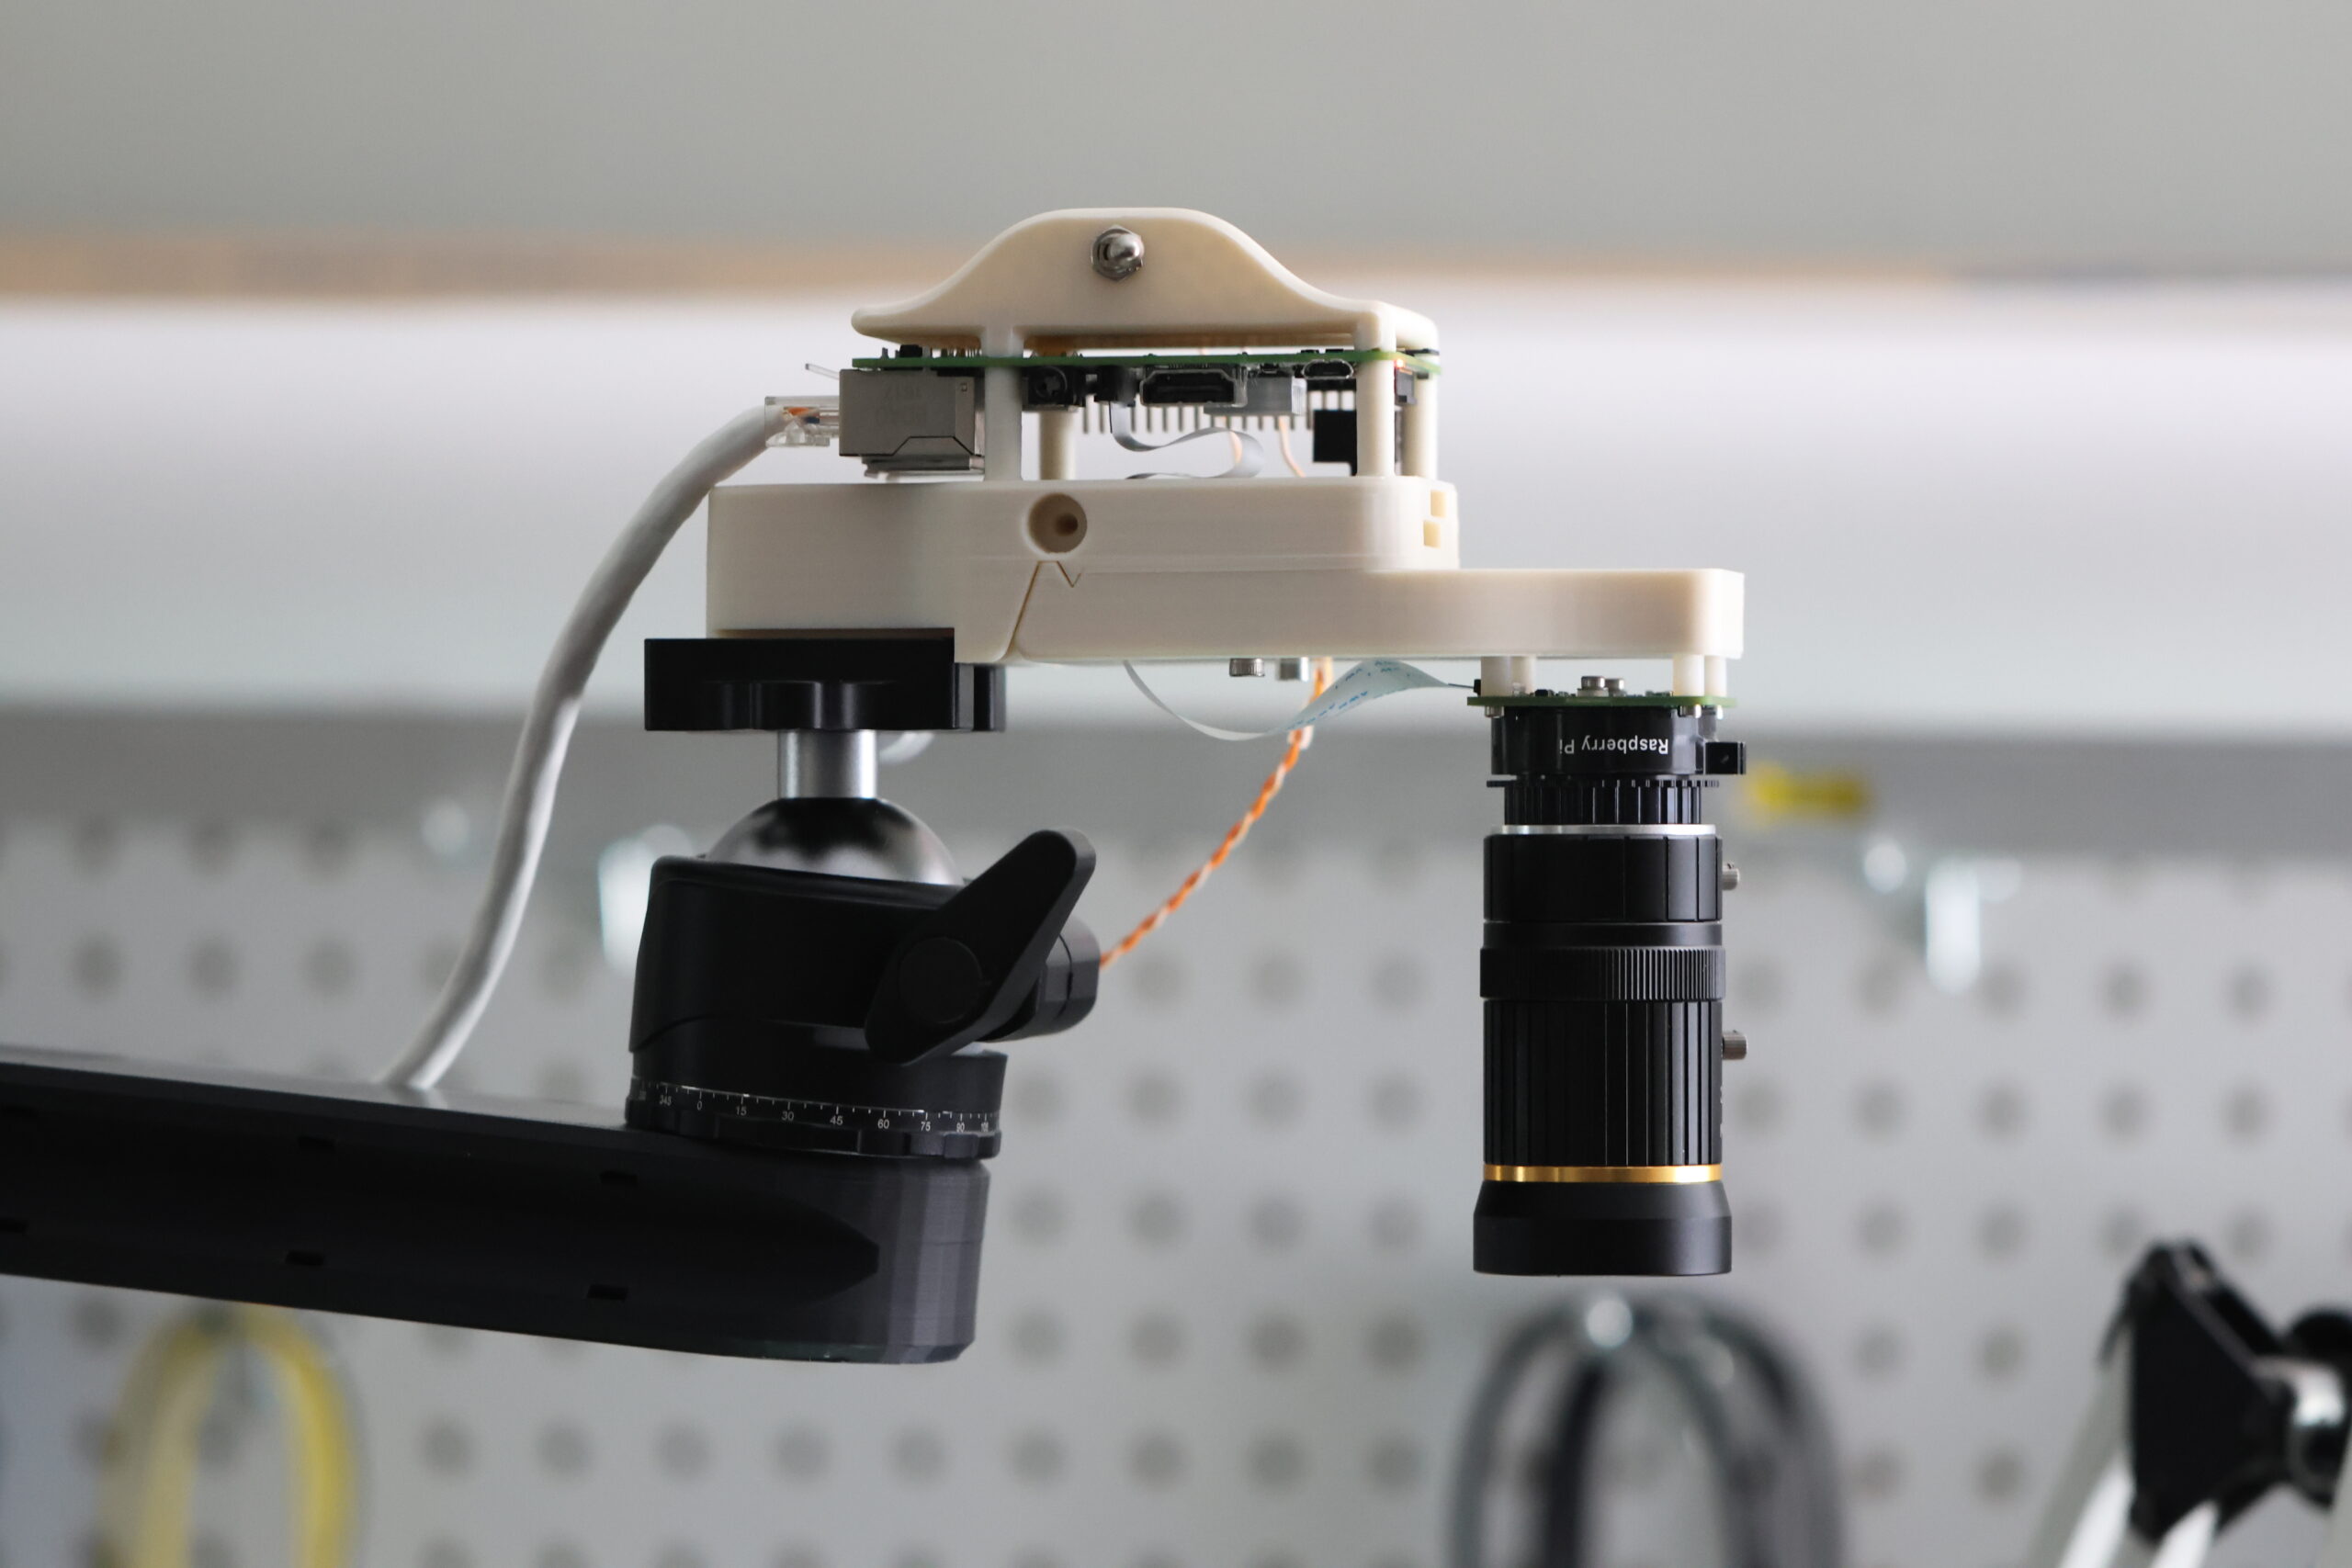
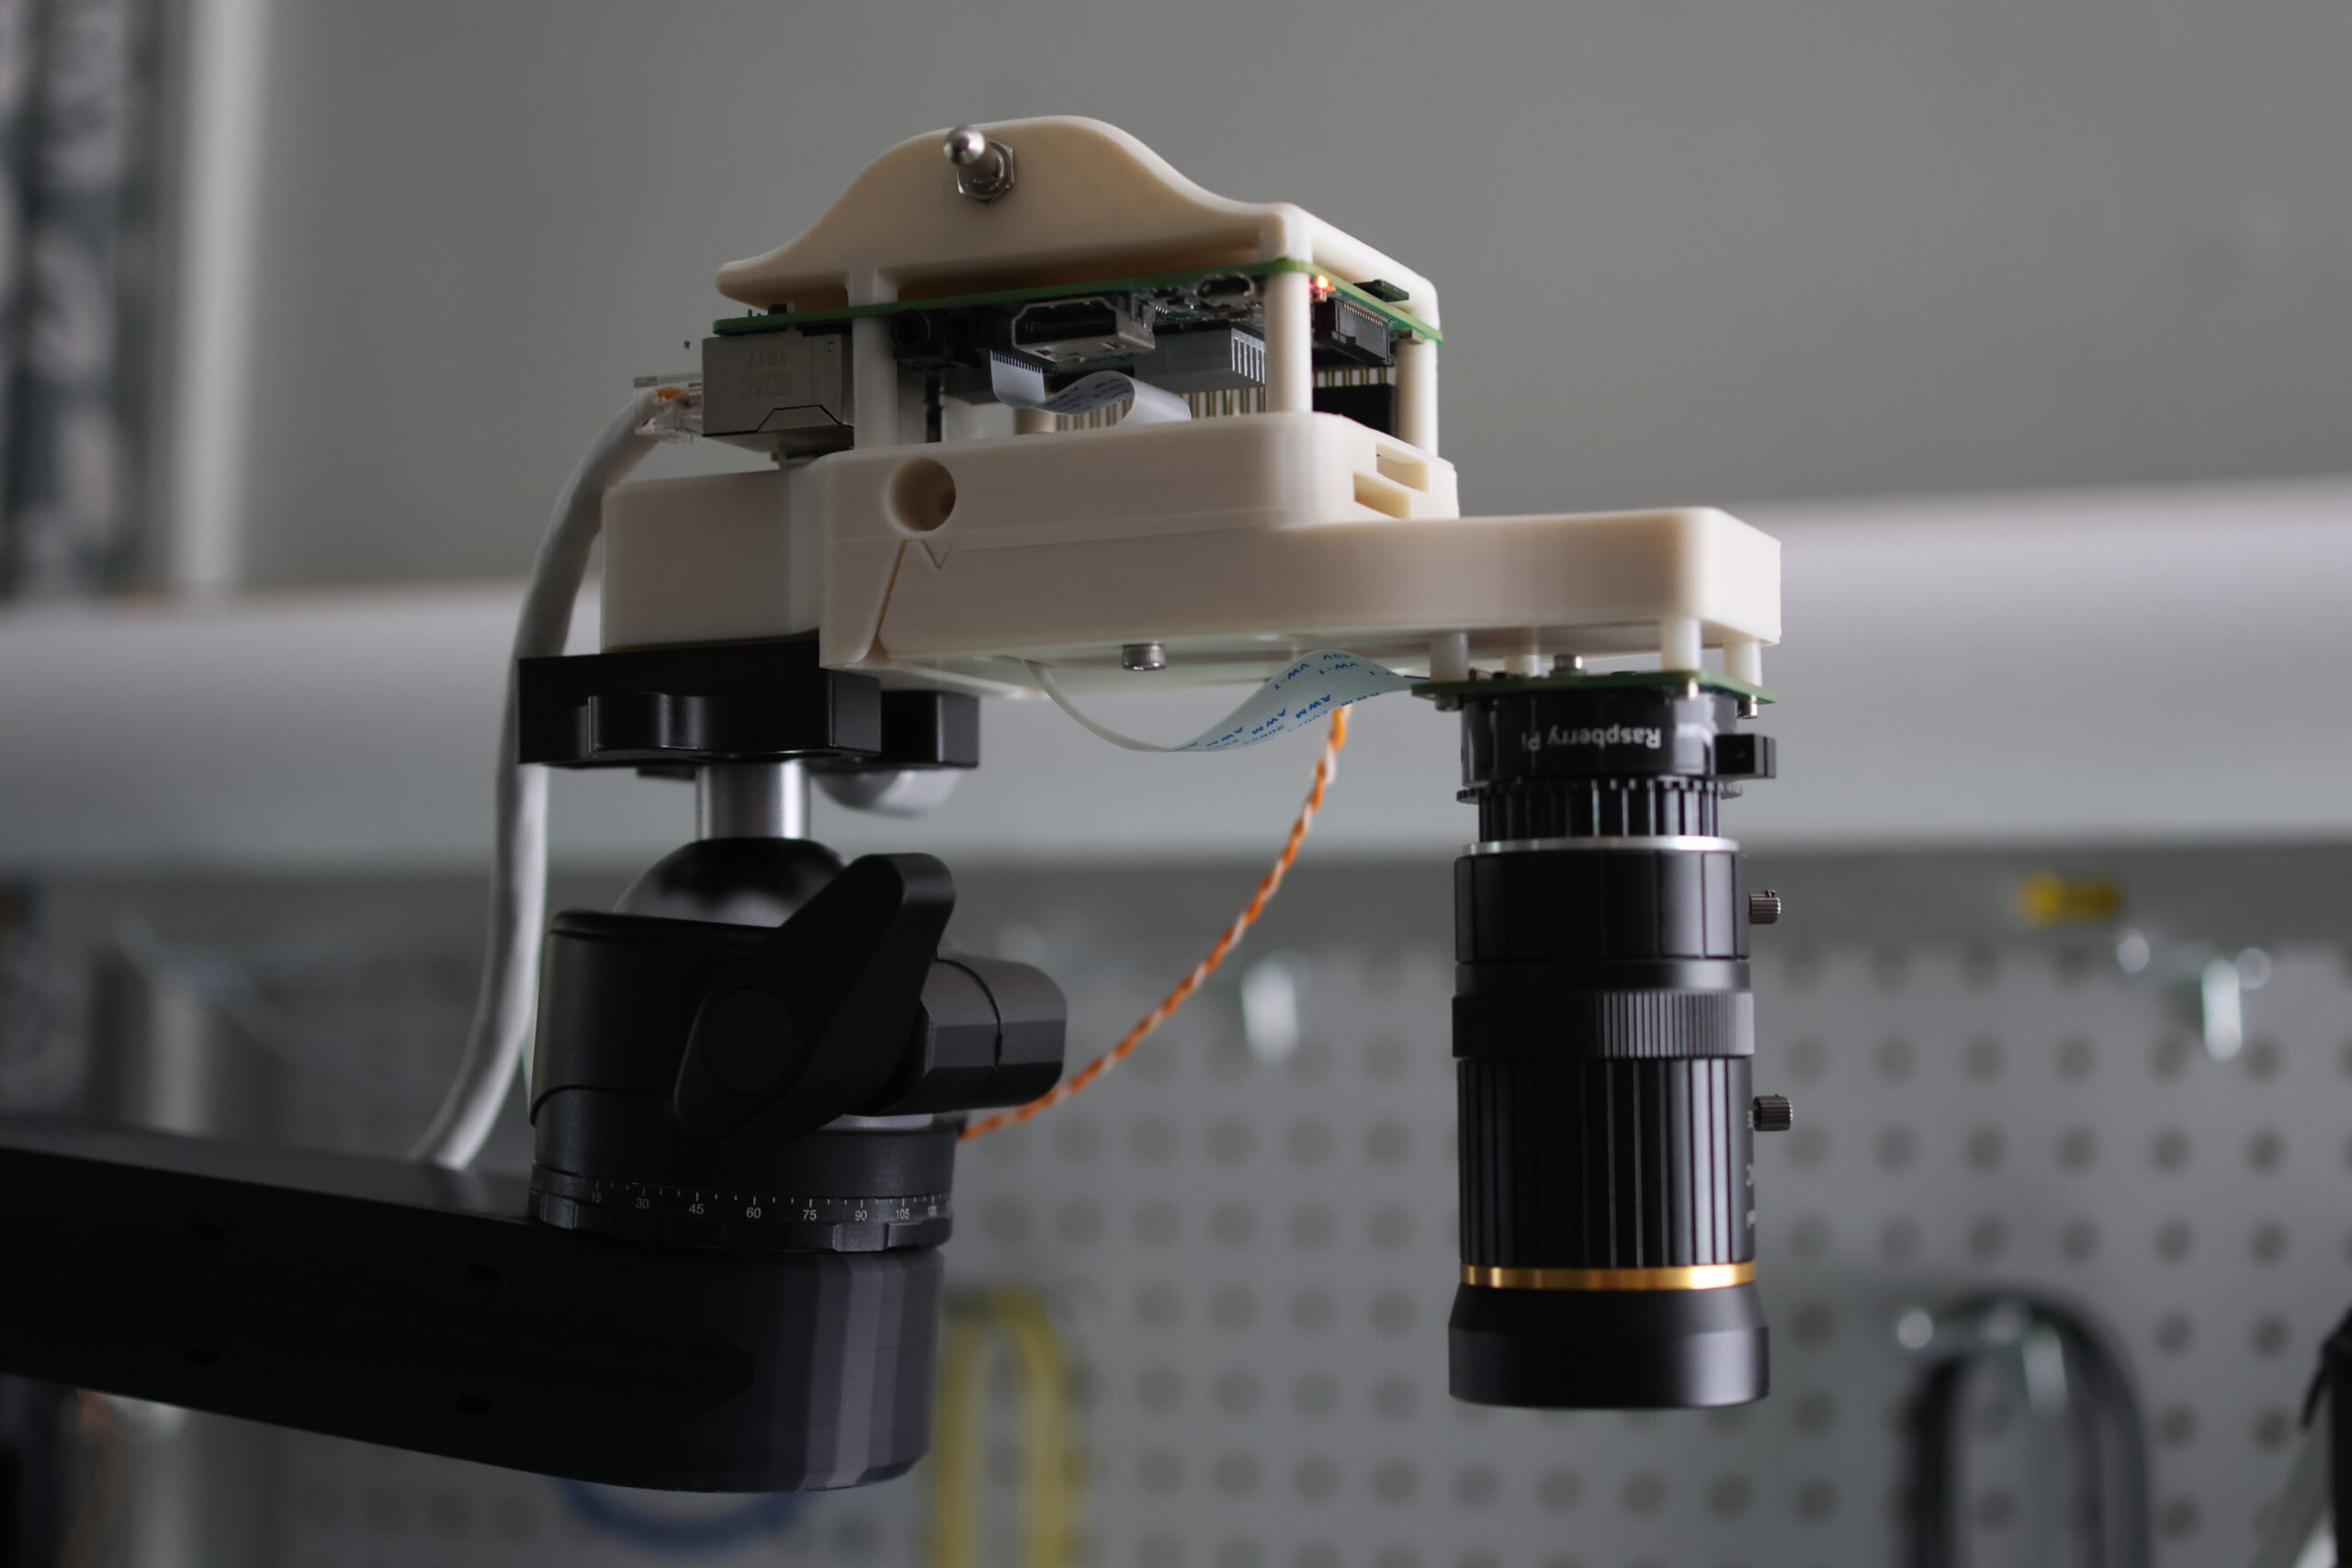
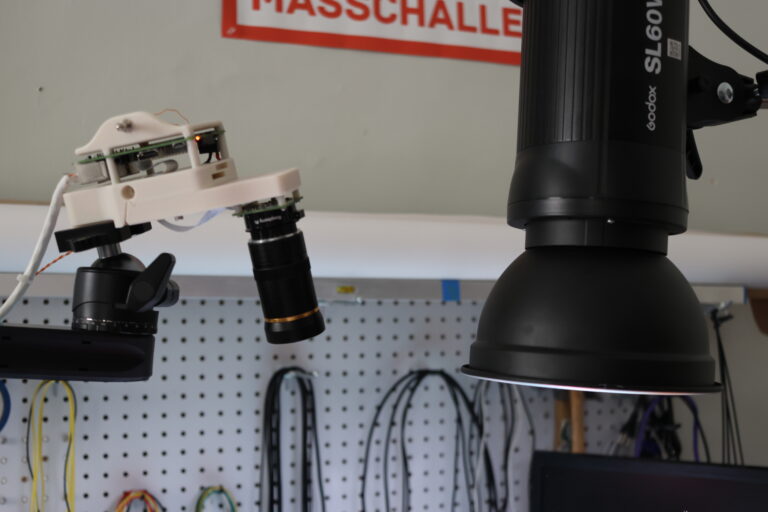
To start off my next series on stream, I’ve stood up three assemblies for three different camera angles.
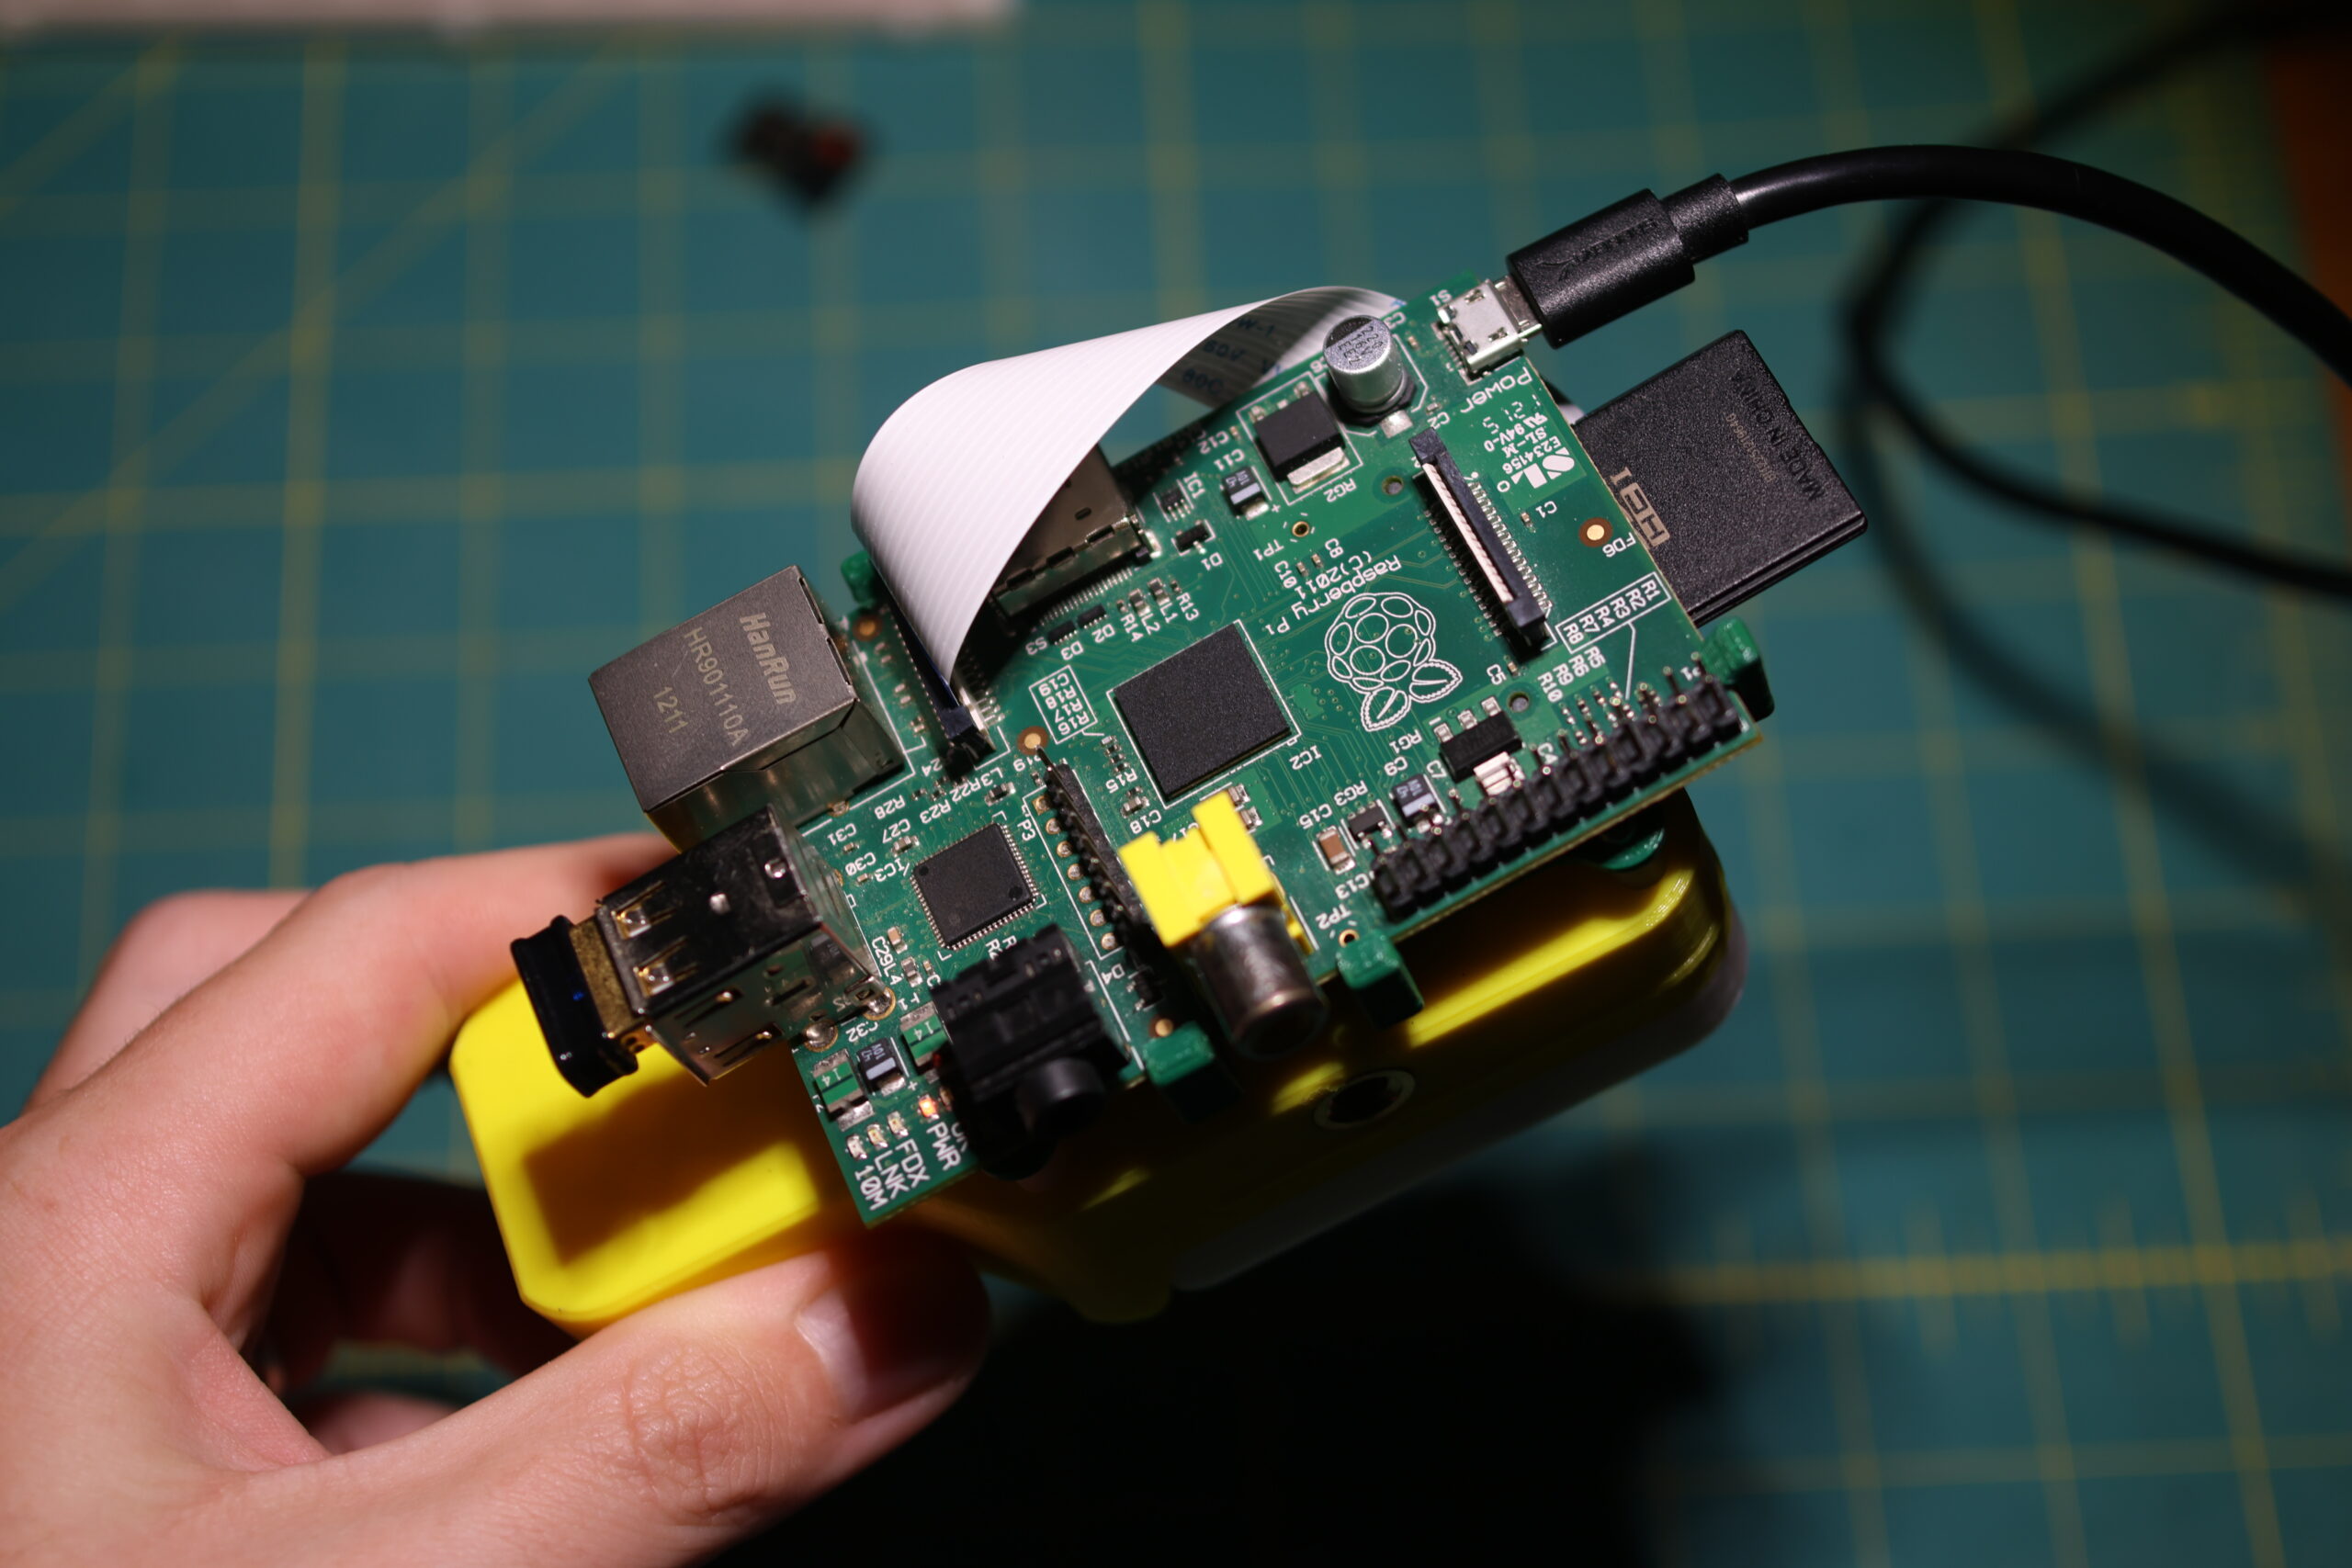
- An ultra-wide angle establishing shot. This is a launch Raspberry Pi which works great.
- Overhead bench camera.
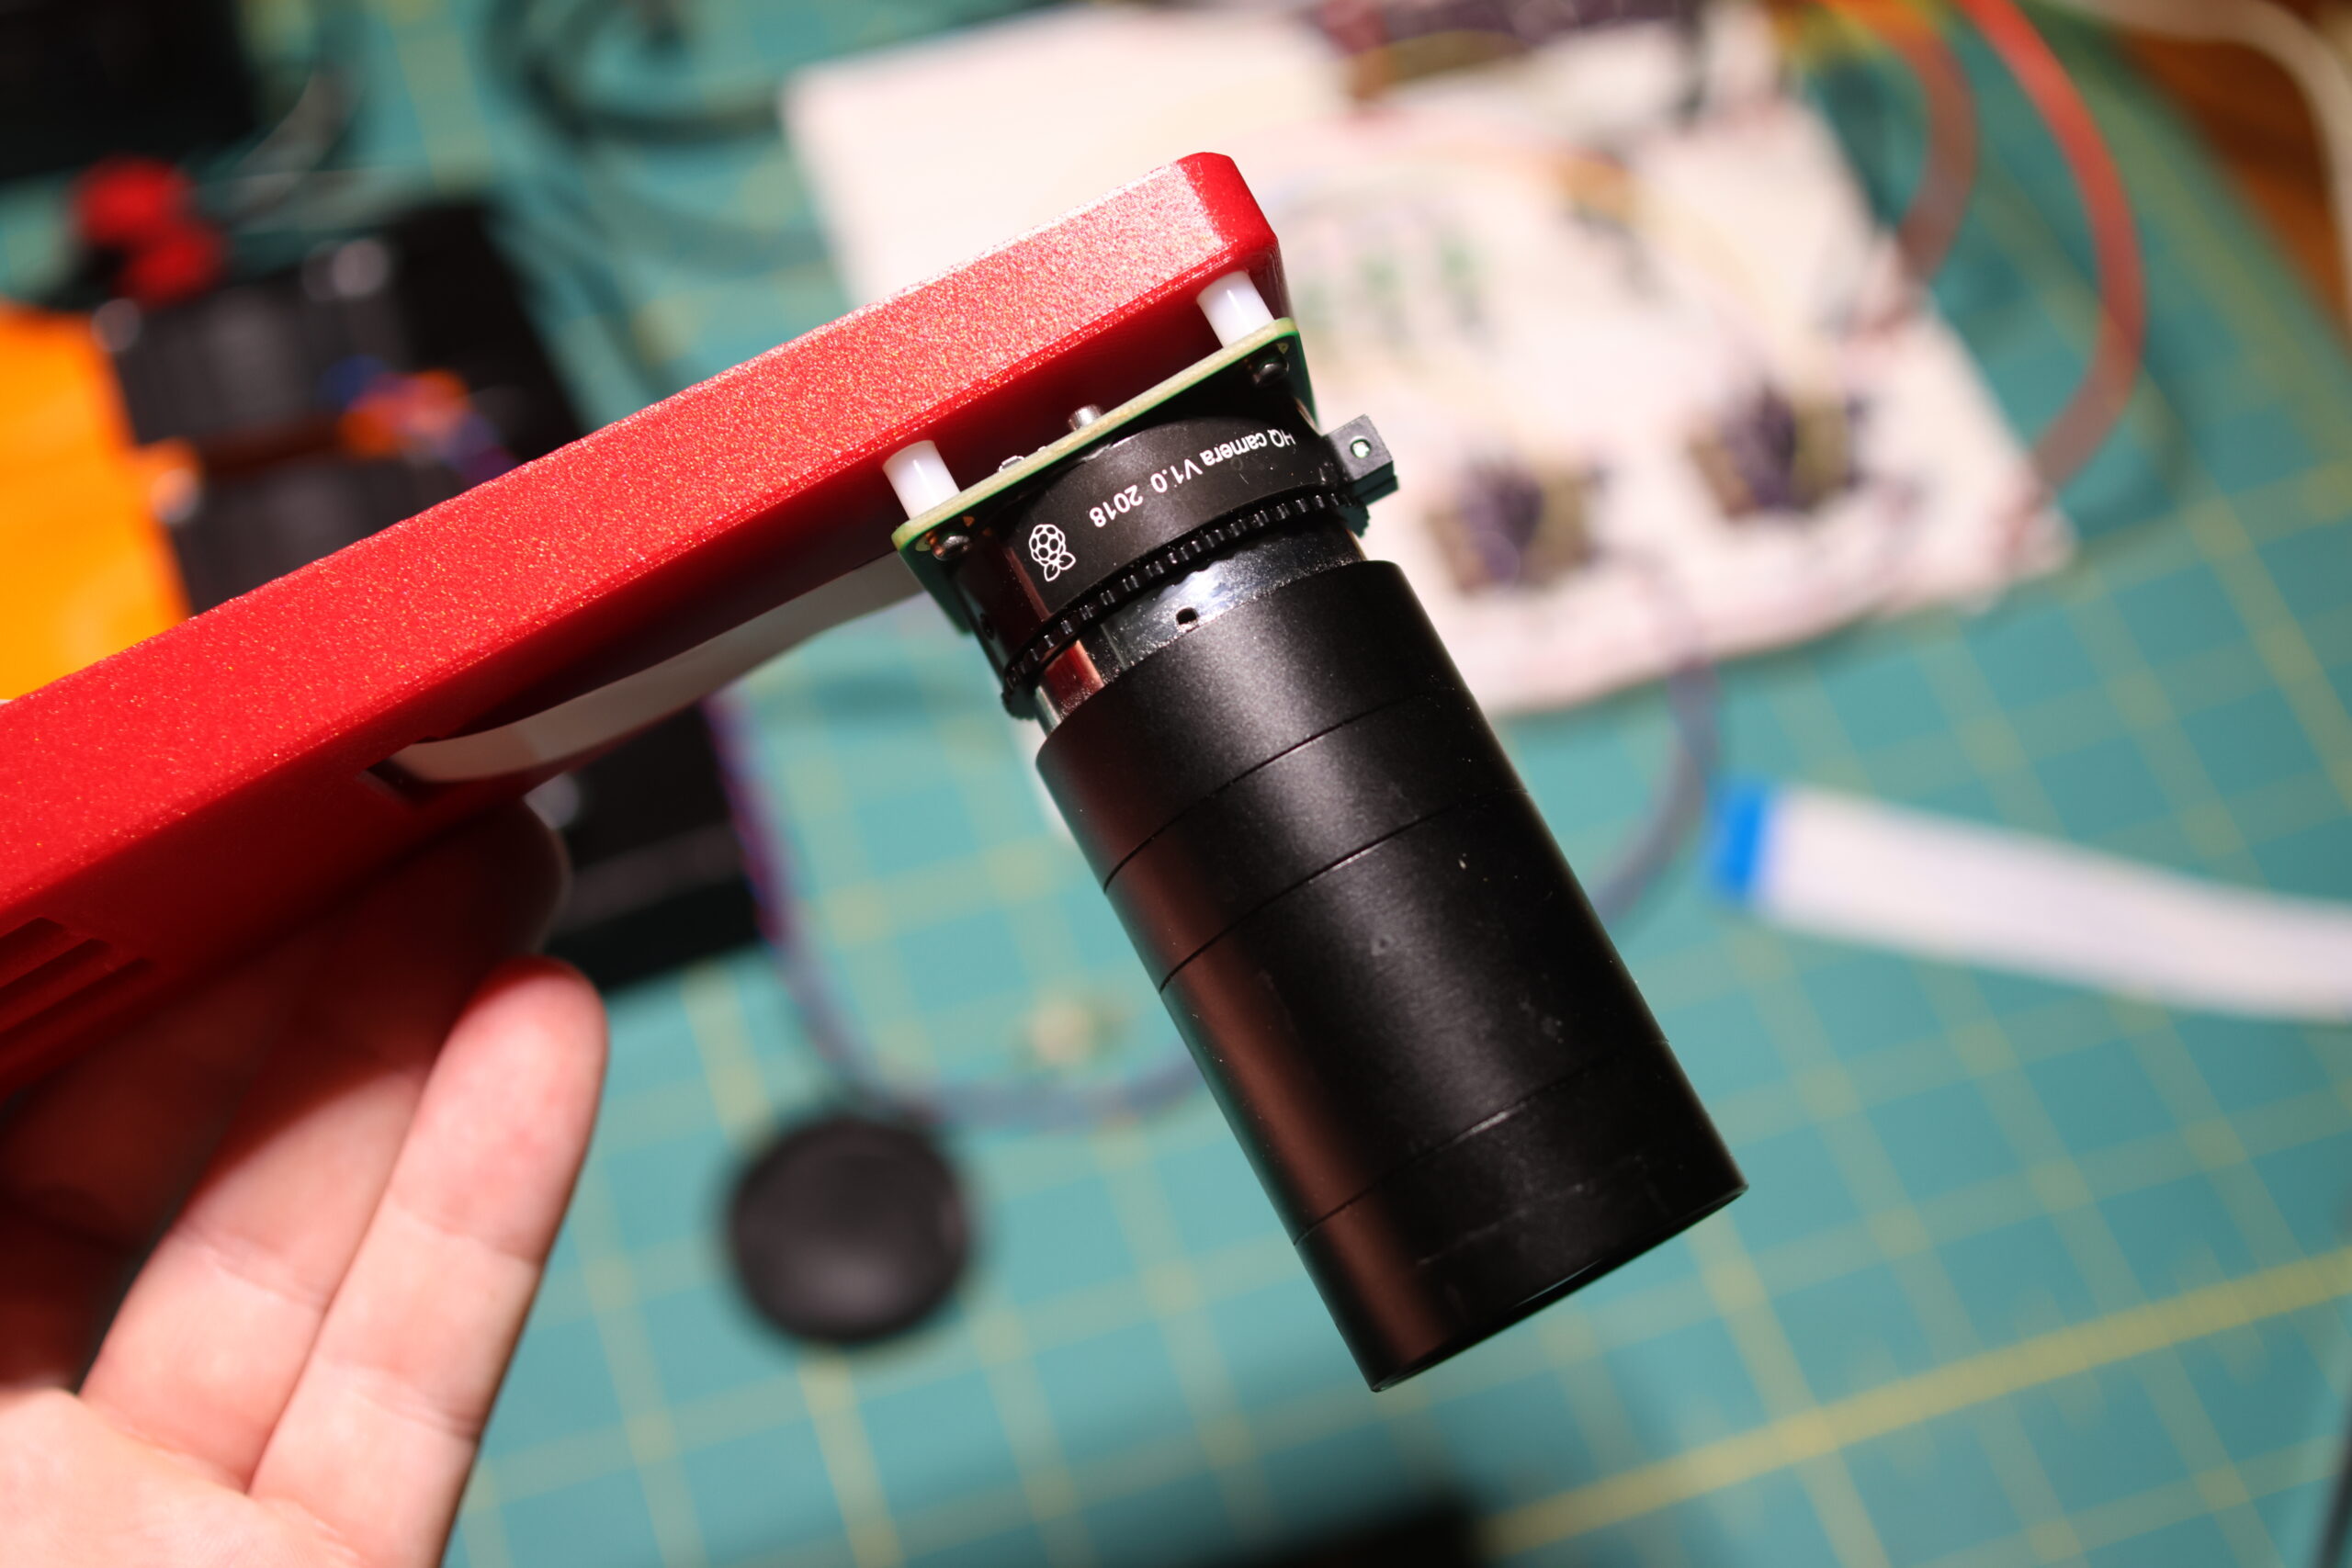
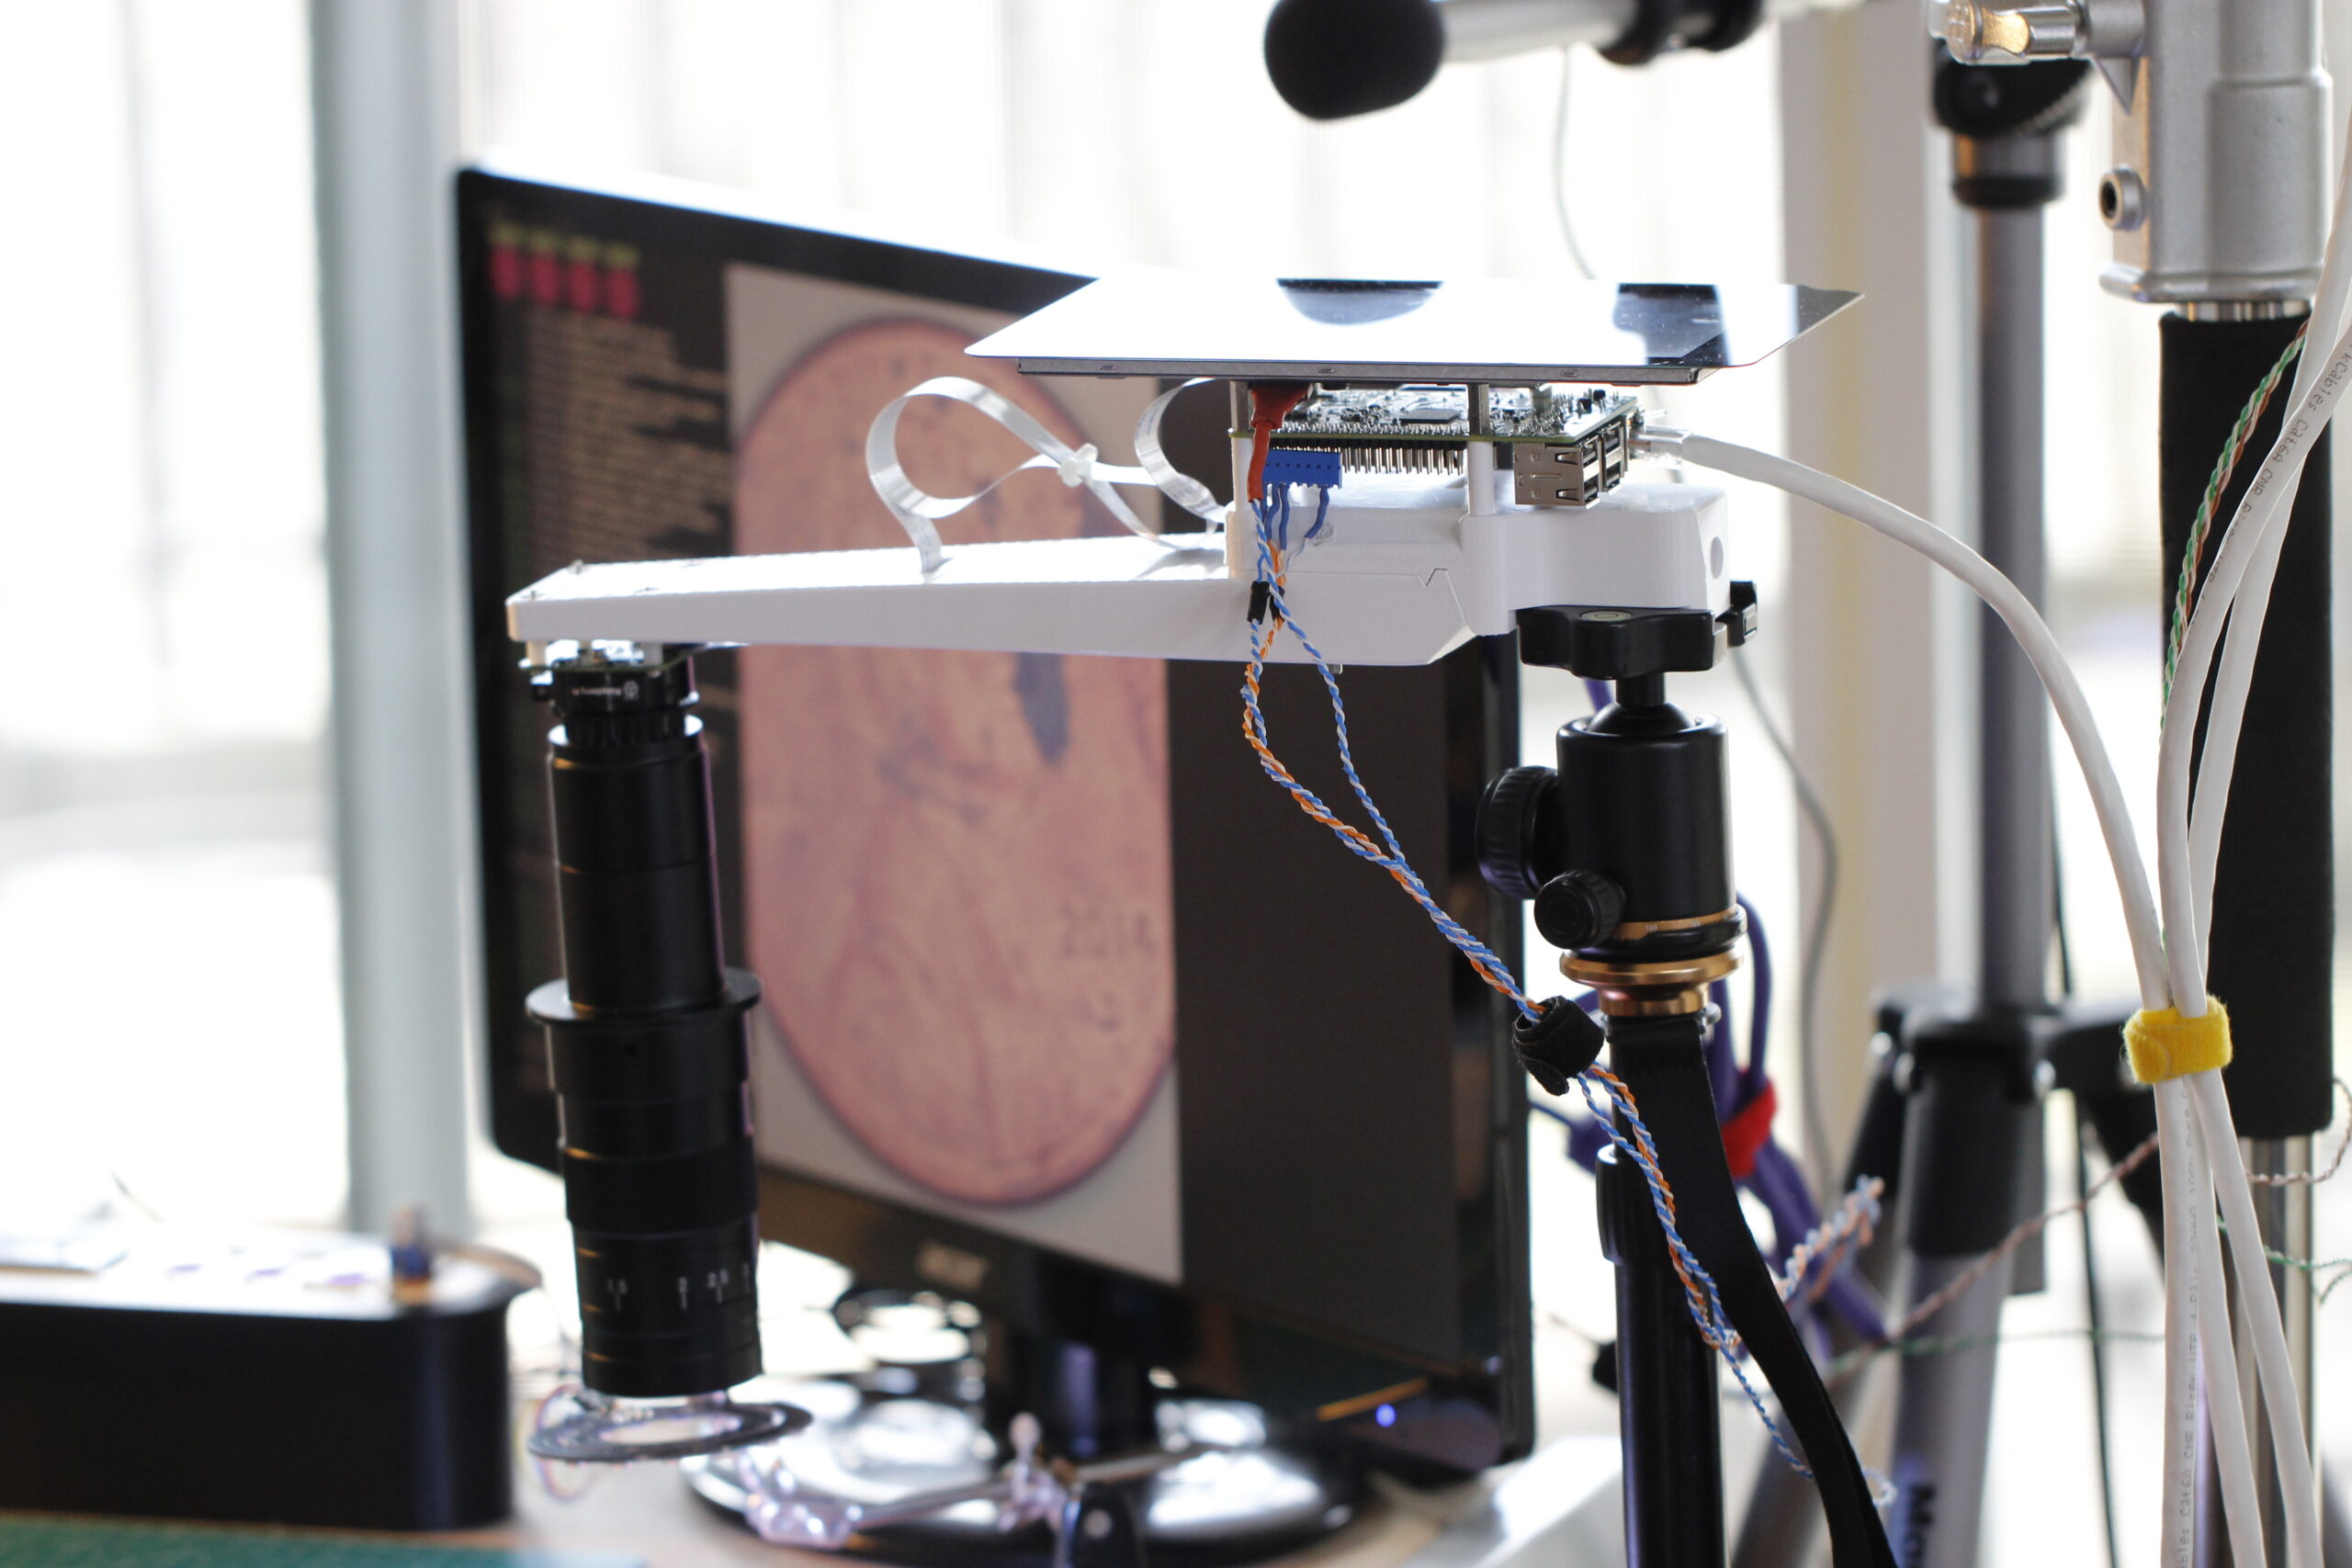
- Microscope camera.
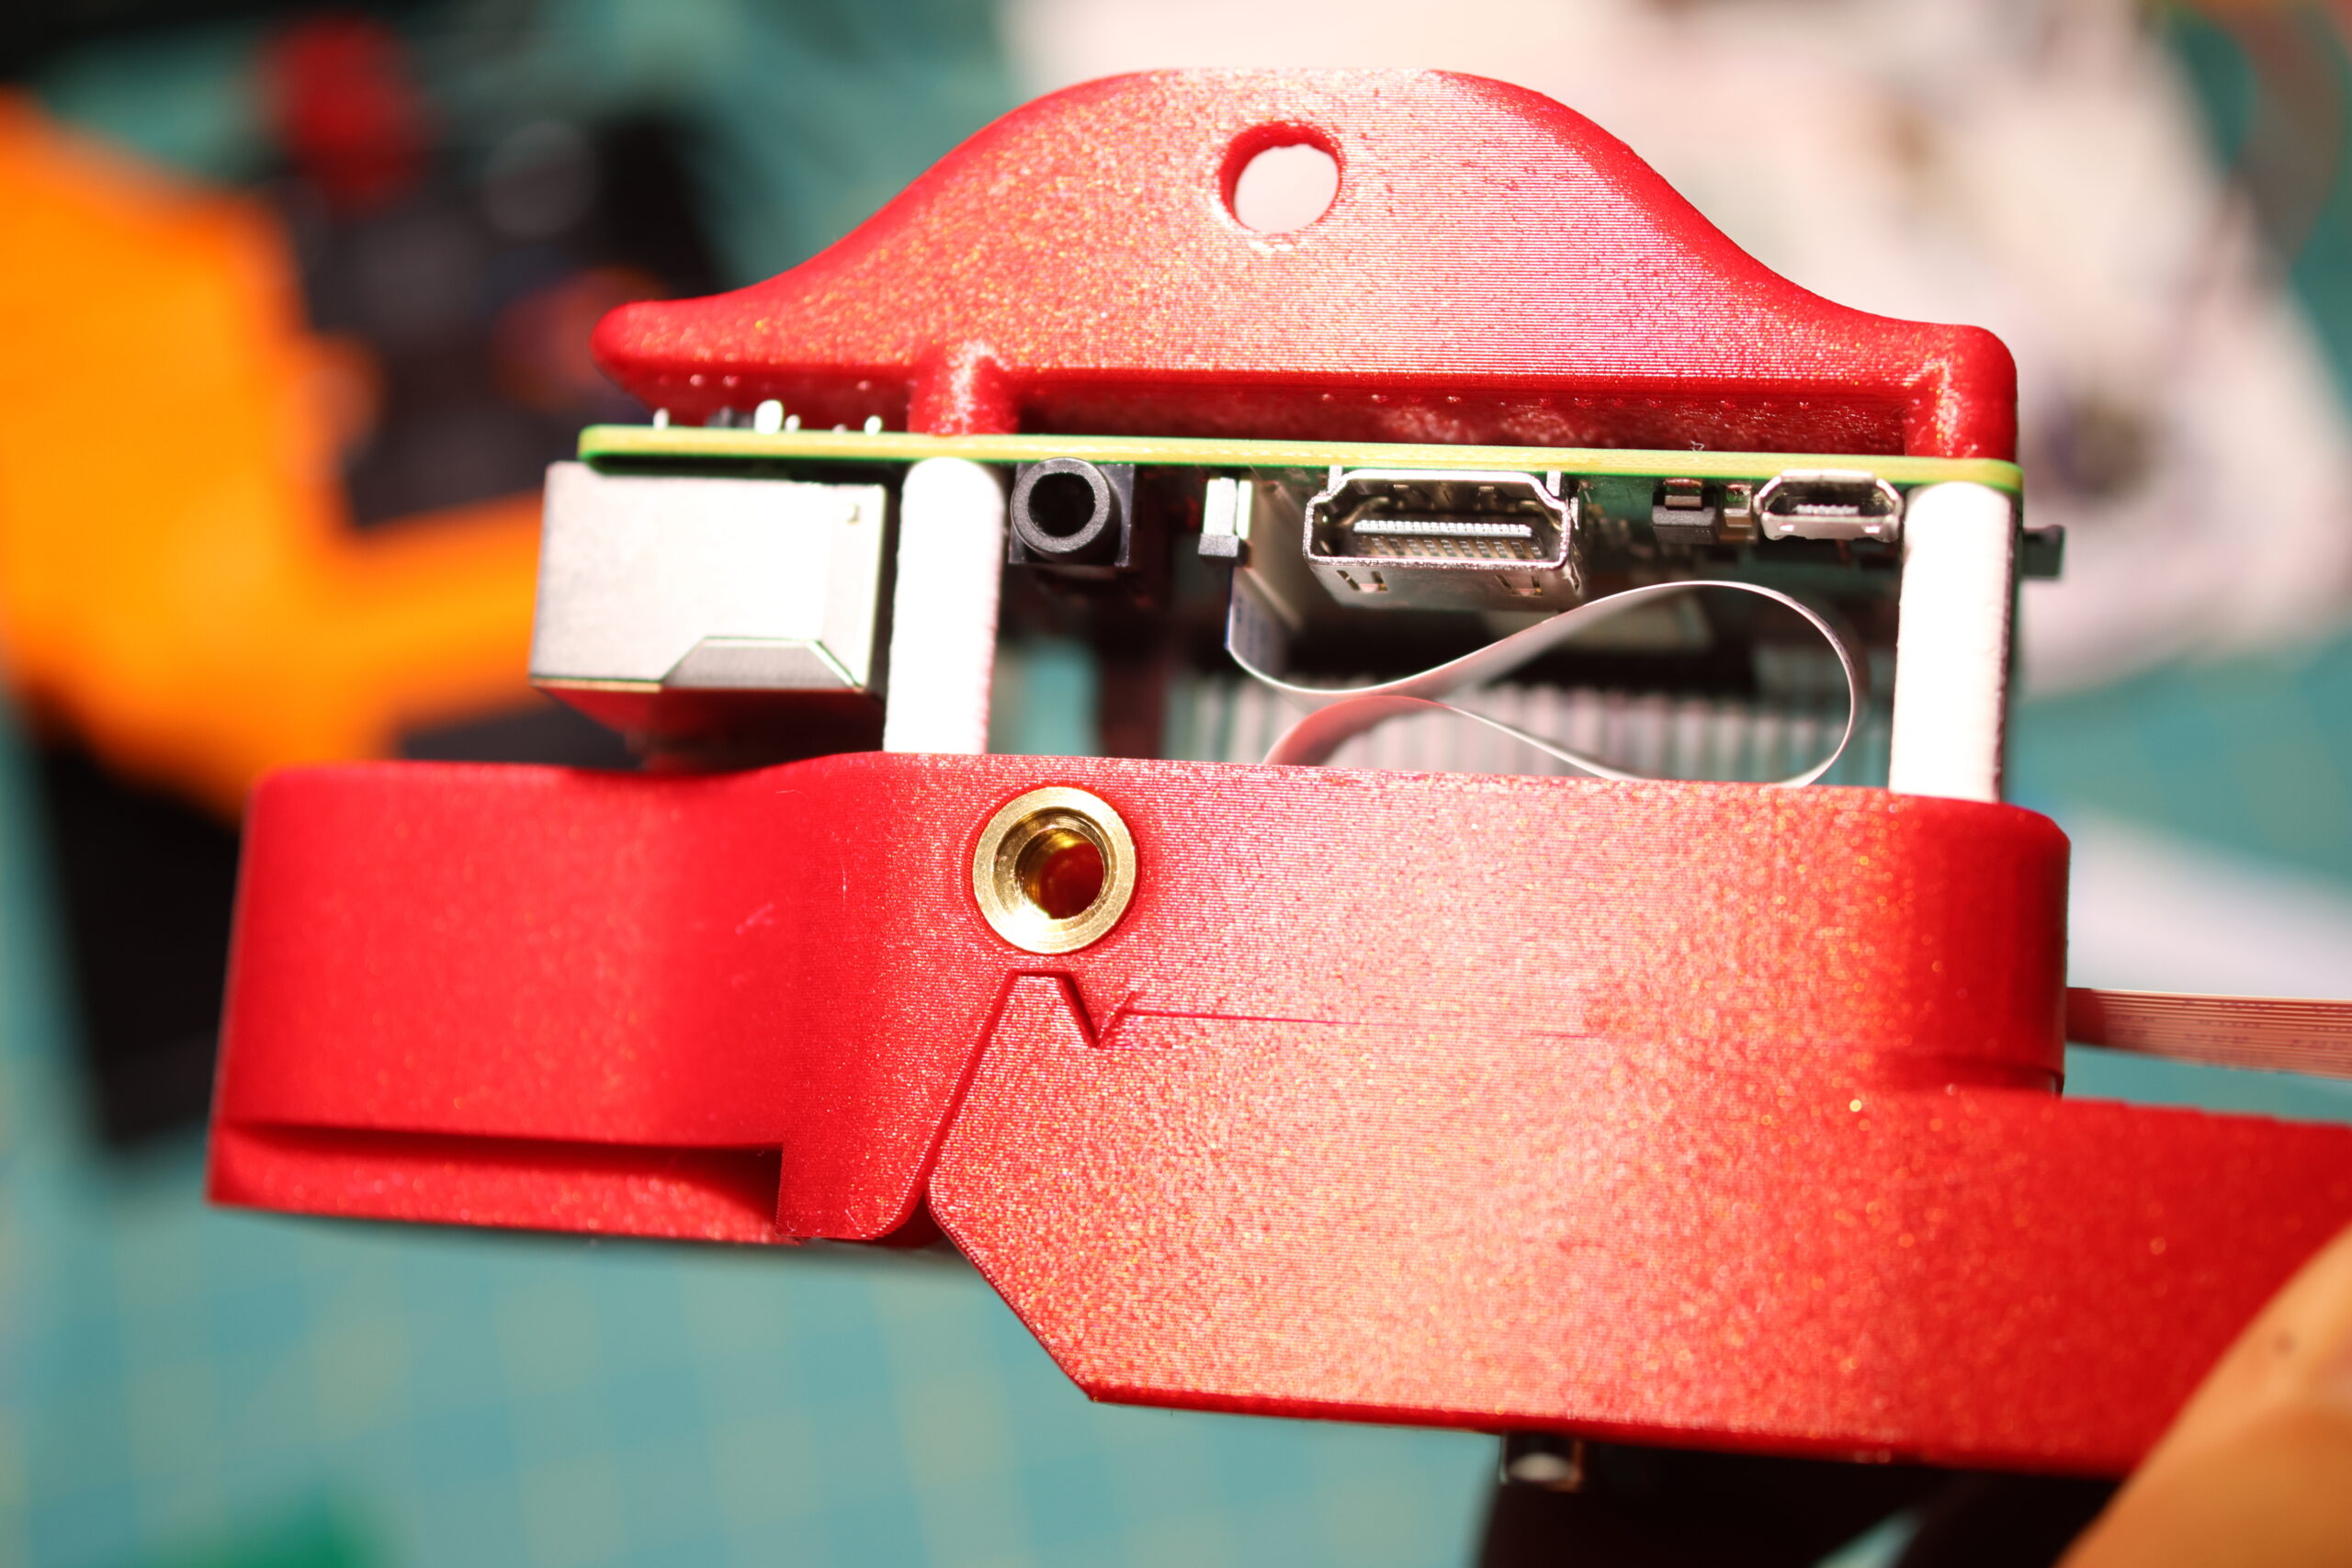
The settings for these can be found in the ansible hosts file in the repo. These are photos of the builds:
For a while, in my previous setup, I was using the official raspberry Pi display as a microscope monitor. This is still supported by the hardware:
Here’s a photo of that setup:
RasRig Bill of Materials
All of the printed parts, for all configurations are available on Printables.
Depending on what configuration you choose, your hardware needs will be a bit different. Things are grouped here by physical component:
pi-protector-switch-mount:
You could use a M2.5 nut here if you don’t want to use the protector.
plate-body:
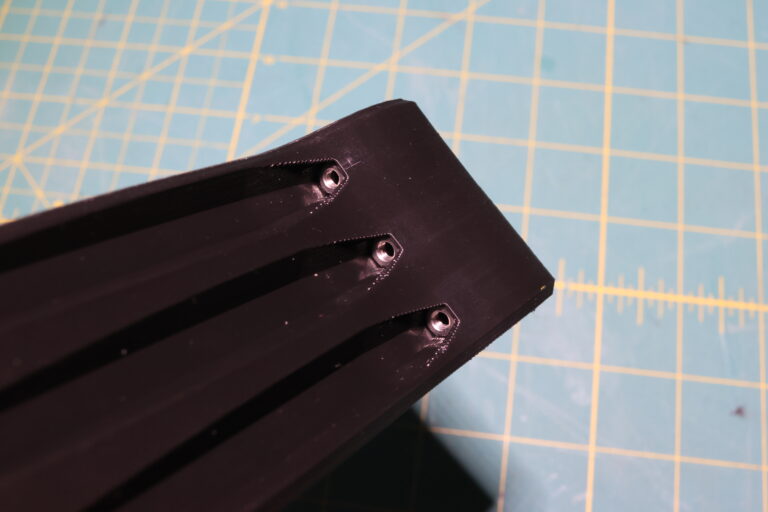
- 6.4mm M3 Threaded Inserts for the three “bracing” bolts.
- Those “bracing” bolts are always M3x70mm in all camera plate configurations.
- 3.8mm M3 Threaded Inserts for the two front facing bolts.
- The front facing bolts will change depending on your config.
- 0.3″ 1/4″-20 Threaded Inserts for the three tripod mounts.
Camera Module:
In both the plate-camera-microscope and plate-camera-short-downward-hq, the same hardware is used to mount the camera to the printed piece.
plate-camera-microscope-arm:
plate-camera-module-or-wide-angle:
The camera module:
For the wide-angle camera module config:
- M1.4x8mm Bolts fix the wide angle camera module to the plate.
- M1.4 Threaded Inserts mate with those bolts.
In both of these configs, and for the plate-camera-short-downward-hq config, M3x20mm bolts are used.
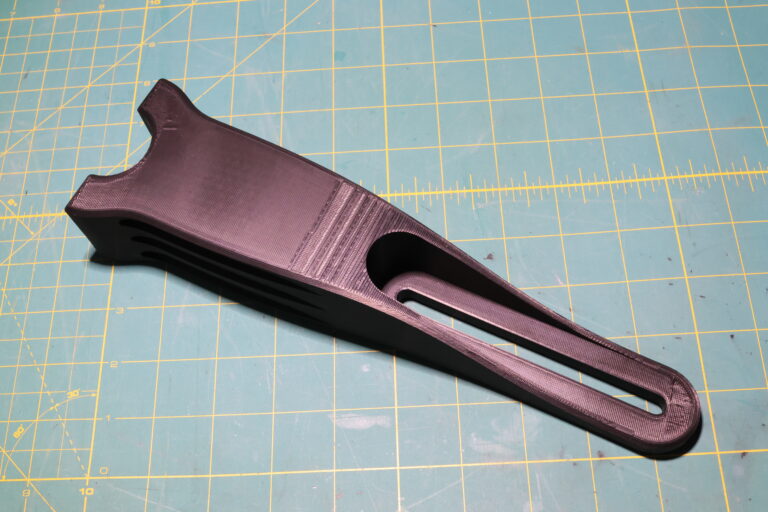
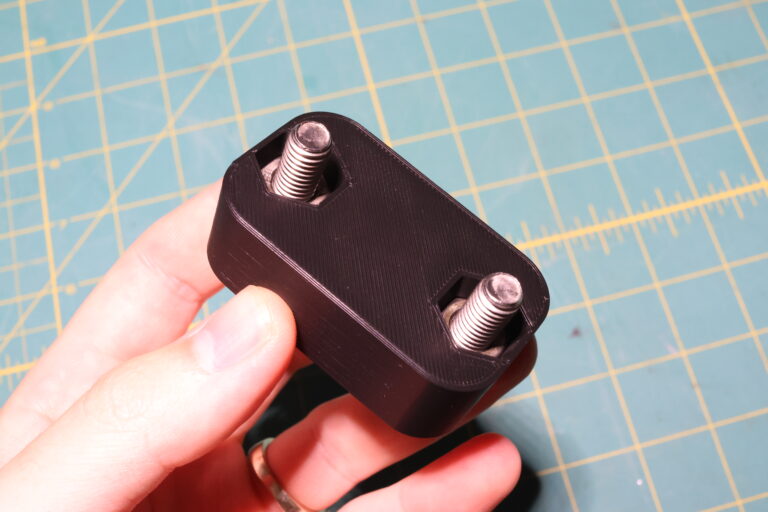
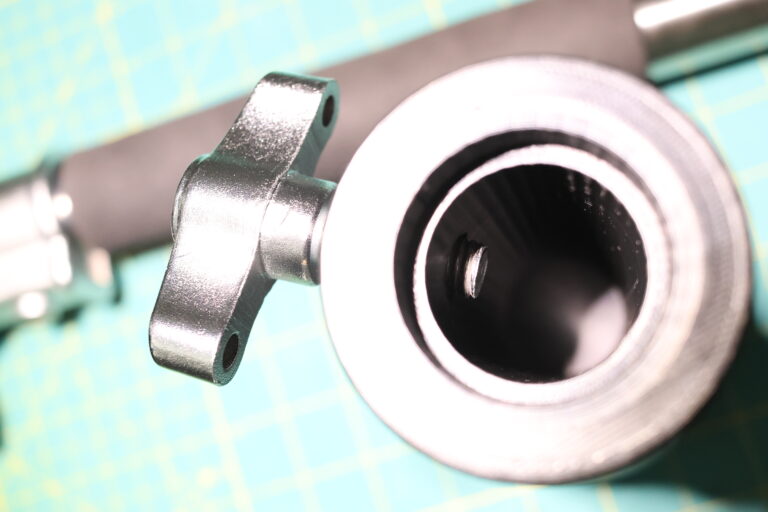
Desktop Microphone Stand
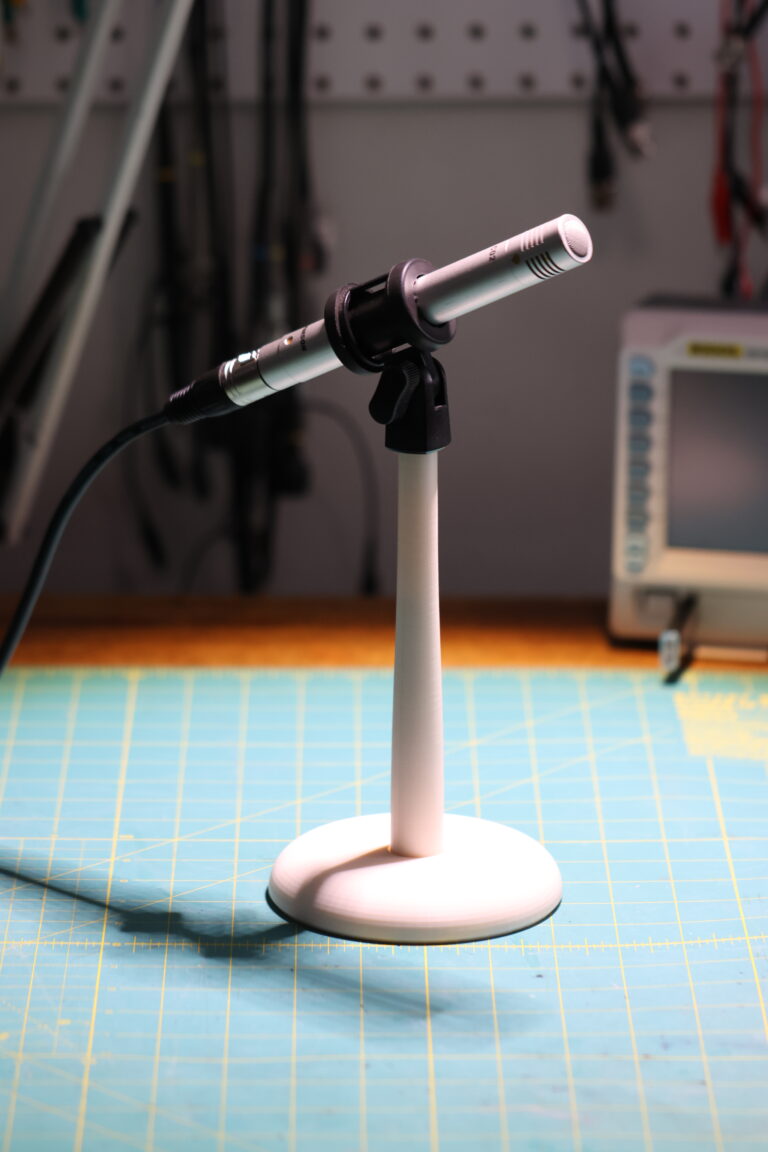
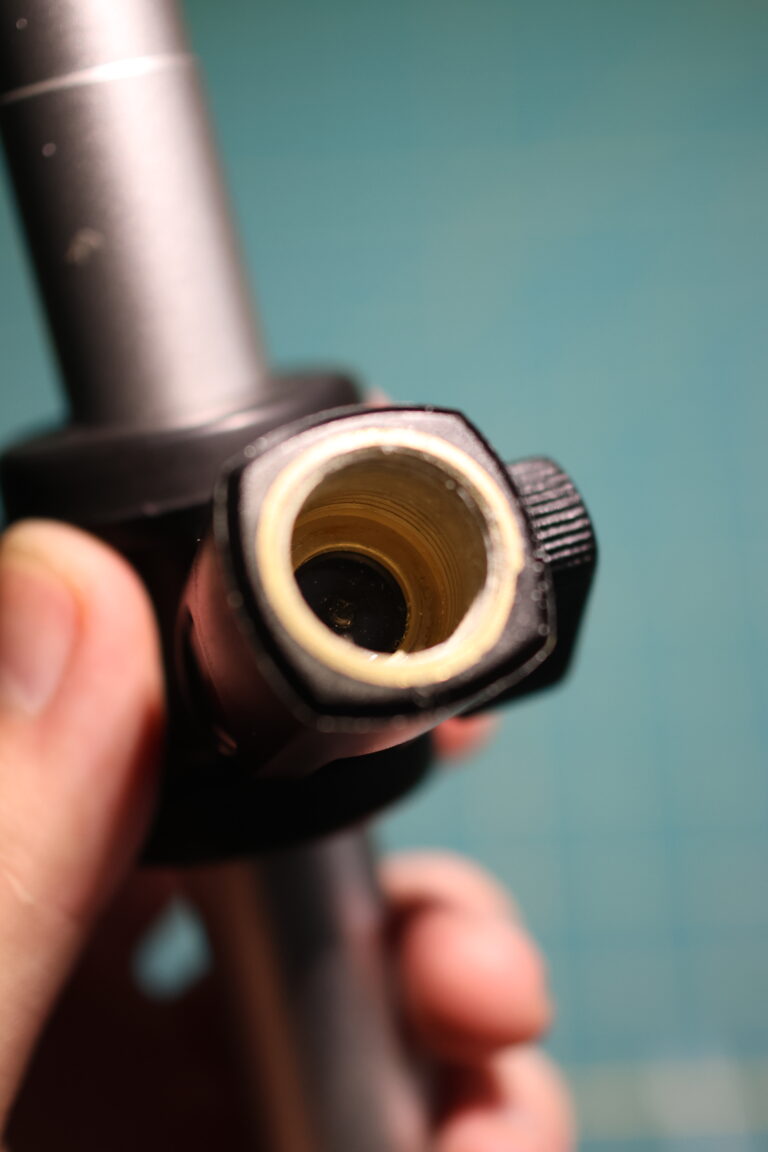
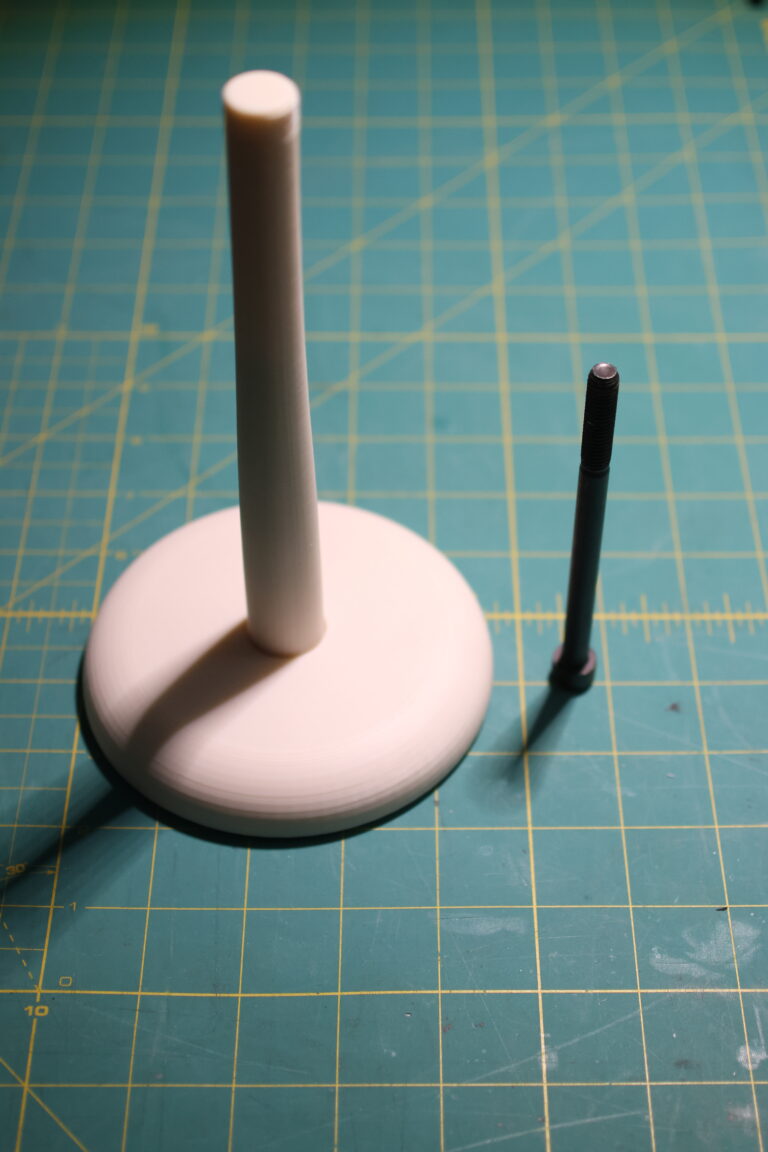
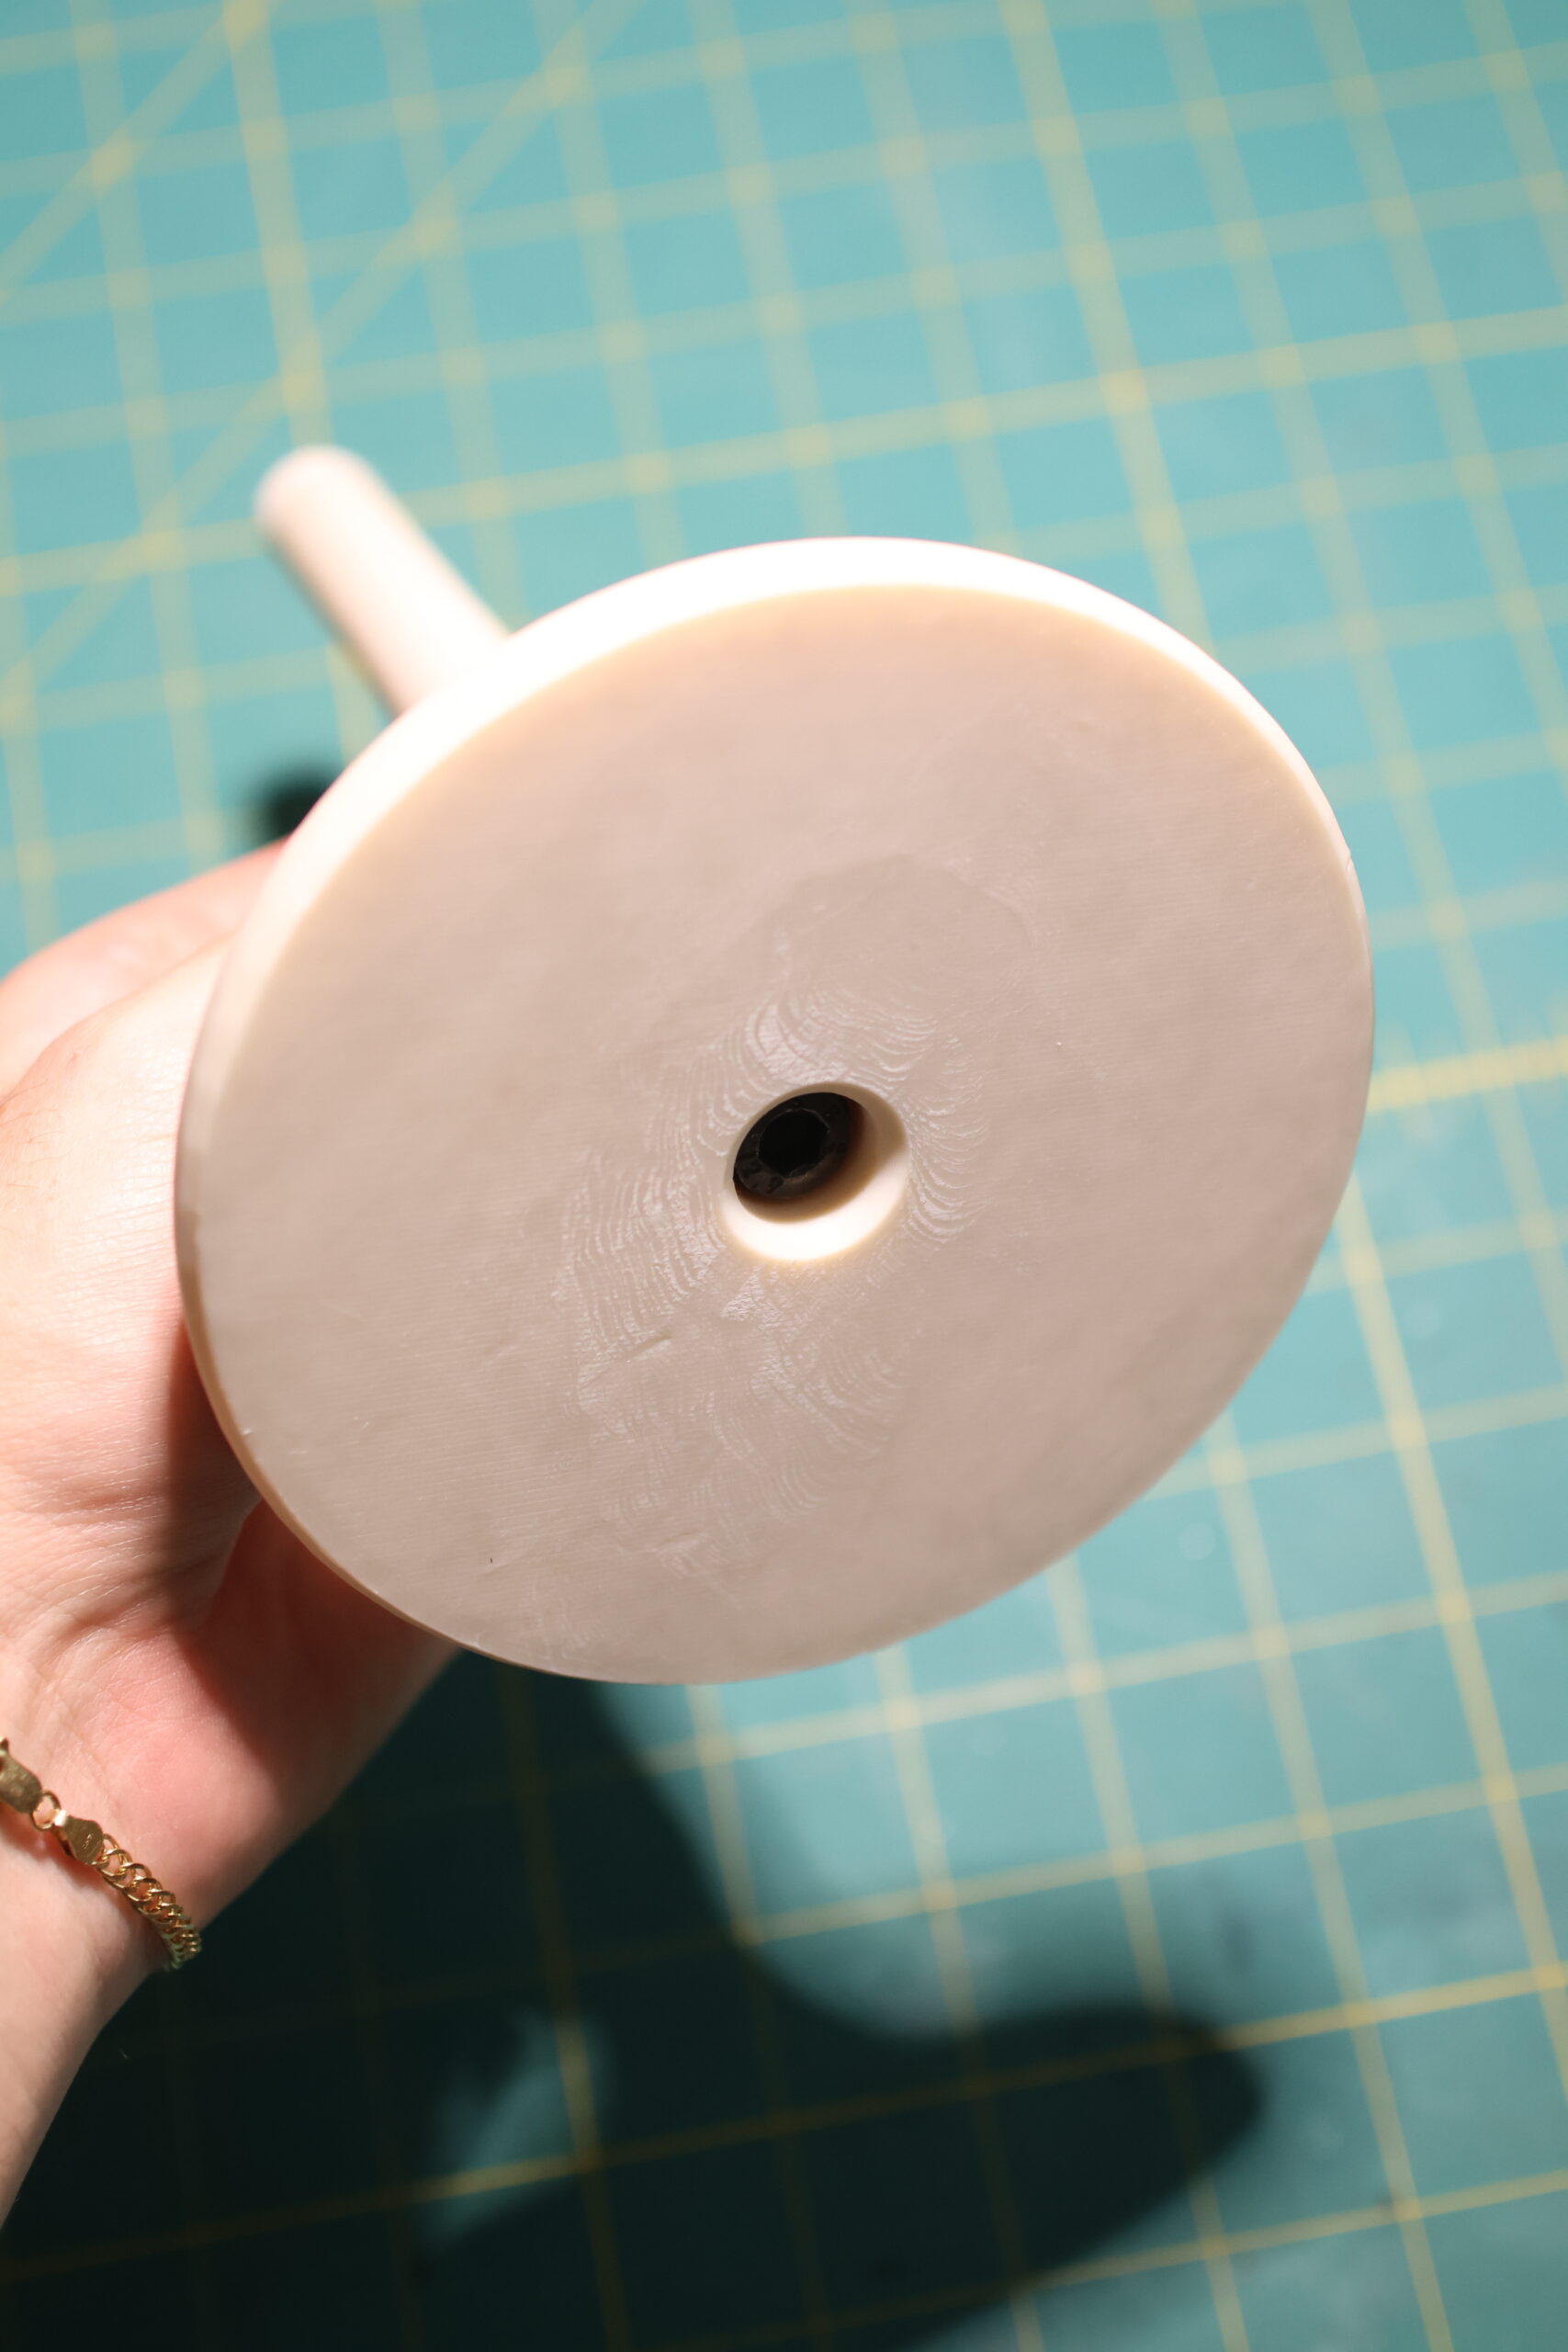
This is my second time designing and publishing a desktop microphone stand. This time around for the Samson C02 condenser microphone. The microphone ships with a shock mount that has a 5/8″-27 thread in the bottom, which is large enough to be 3D printable. The rod with the thread mates with a base using a big ‘ol M8x110mm bolt that also adds rigidity. Pretty simple!
During the stream, this mic will sit on the bench, so I can switch between the two spots without having the go grabbing for another microphone.
The XLR cable for the mic is the only new run between my computer workstation and the bench. It plugs into the USB sound interface I use, along with the other CO2 that is used as the desktop mic. The software stack for the microphones is a bit indirect:
- Equalizer APO is installed, used for modifying the input audio.
- The software preamp built into Equalizer APO is used to boost the input sound level, which is a bit quiet out of the interface.
- An AI noise reduction plugin removes hiss and self-noise and room noise. The resulting audio quality is good enough, and I really would like to avoid a massive SM7B-style microphone.
- Audio from the mics flows through the Peace Plugin, EQ-ing the sound.
- Then, in OBS, I create two mono audio sources based on the two halves of the interface.
I’d like to have a compressor to prioritize voice audio over desktop audio for the stream, but I haven’t gotten that far yet.
The printable pieces for this Desktop Microphone Stand are available on Printables.
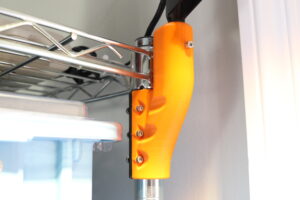
C-Stand Workbench Mount

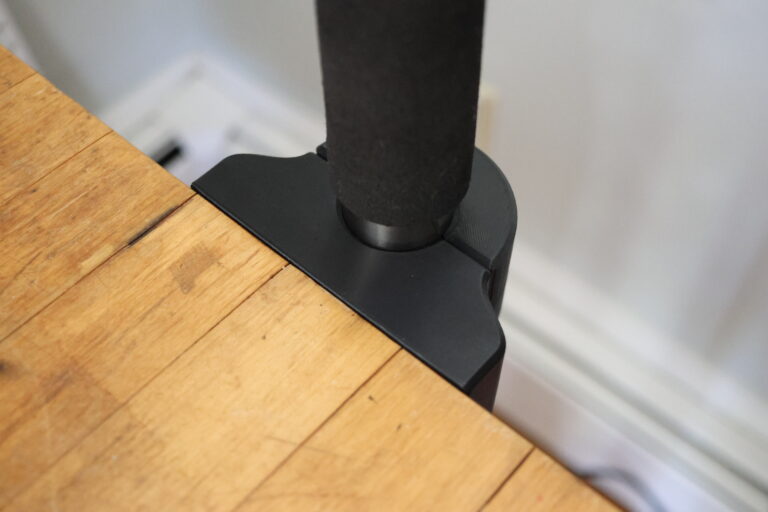

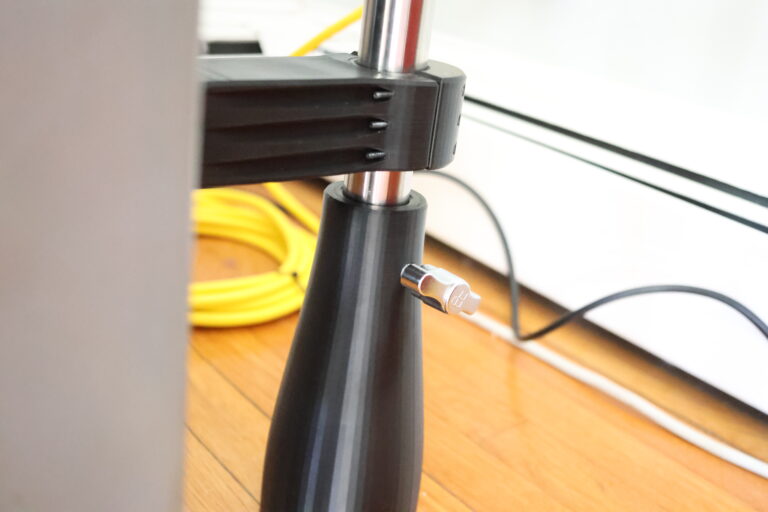
This has been a wishlist project of mine since I moved into this apartment. I bought this c-stand several years ago and have gotten so much use out of it ever since. It’s big, it’s heavy and it has no problem performing non-photography related tasks. I’ve used it to hold lights, microphones, cameras, cooling fans and photo backdrops.
However, my new space is pretty small, and I don’t have the floor space for the legs.
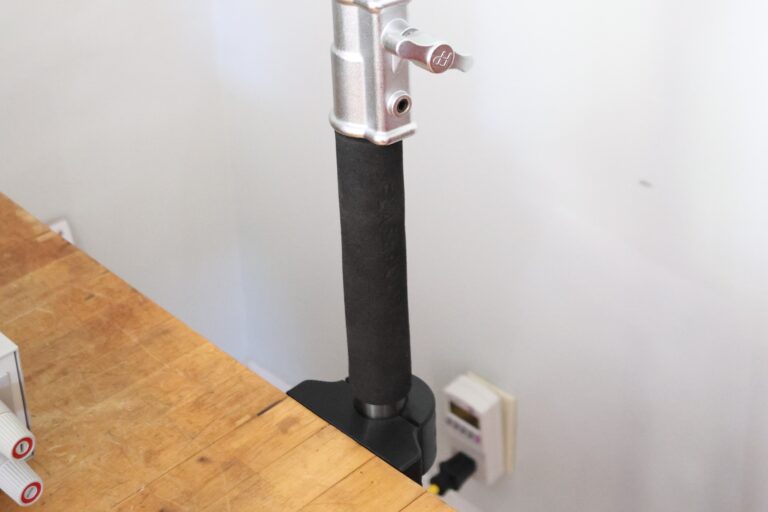
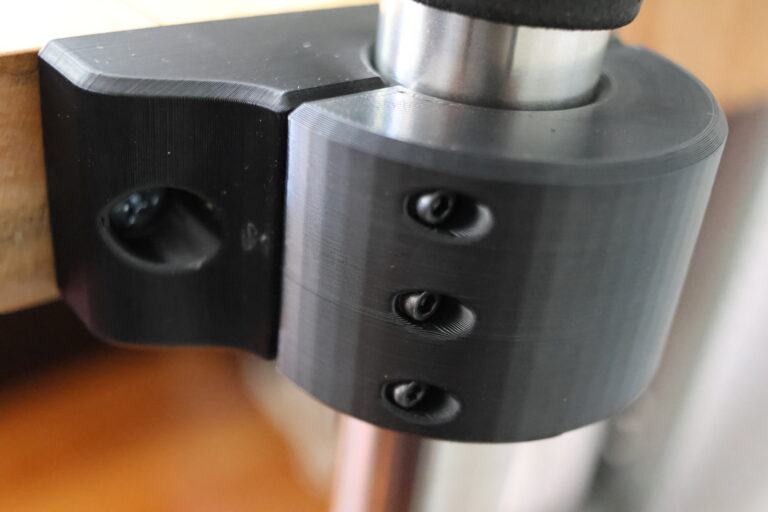
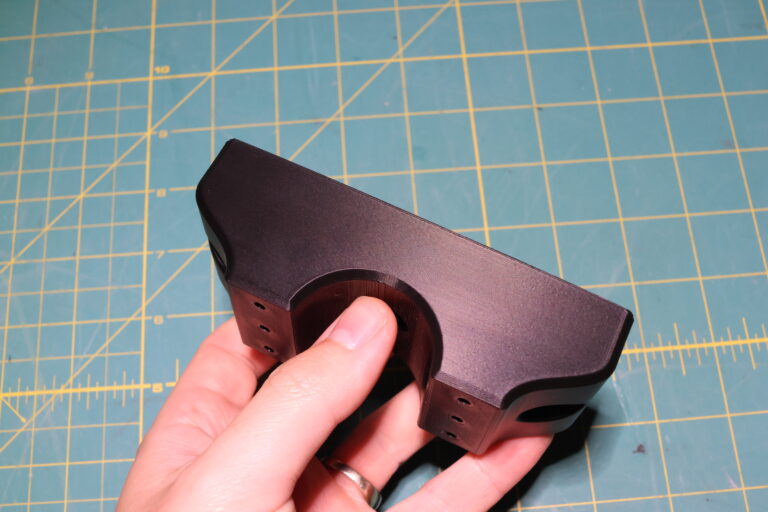
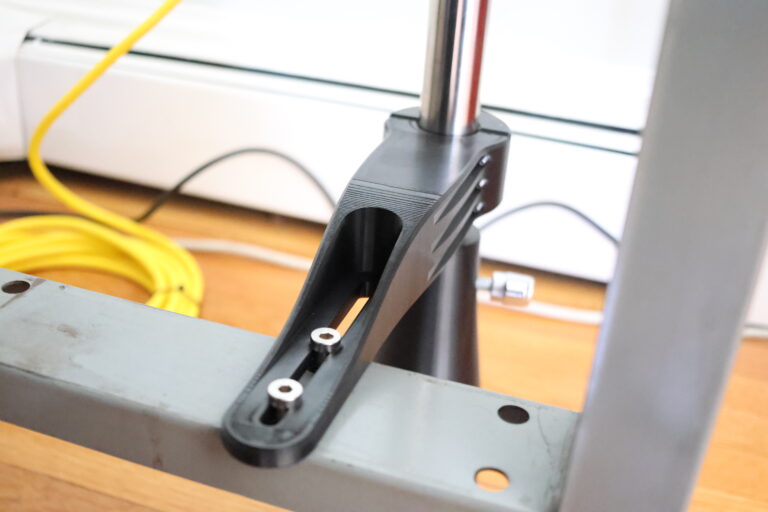
This design essentially removes the need for the “turtle base” (the legs), bolting the base directly to the workbench. There’s a strong chance I make another one of these for the other side of the bench later on, I’m loving this that much.
This is kind of hard to photograph, here’s the 3D model I used:
This will light the shots provided by the overhead RasRig cameras during stream, and gives me a ton of flexibility to be able to change out lights and increase/decrease intensity as needed.
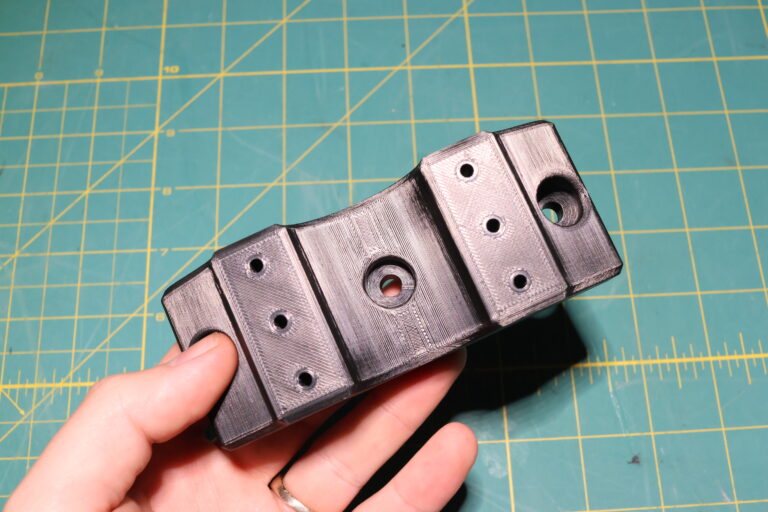
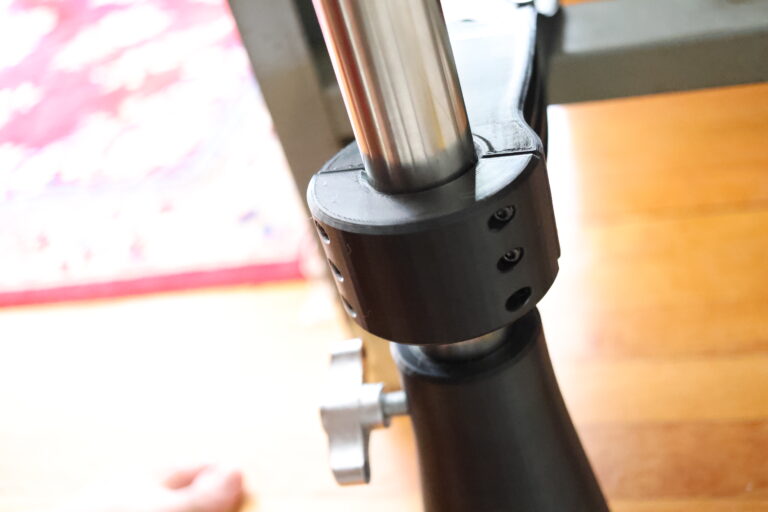
For mechanical hardware:
Are used by the printed pieces to fix the pole in place.
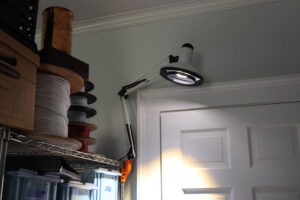
Sadly, this new lighting setup forced my old desk lamp into retirement. To commemorate his many years of fantastic work, I built him a new perch where he can enjoy his twilight years as an overhead lamp.
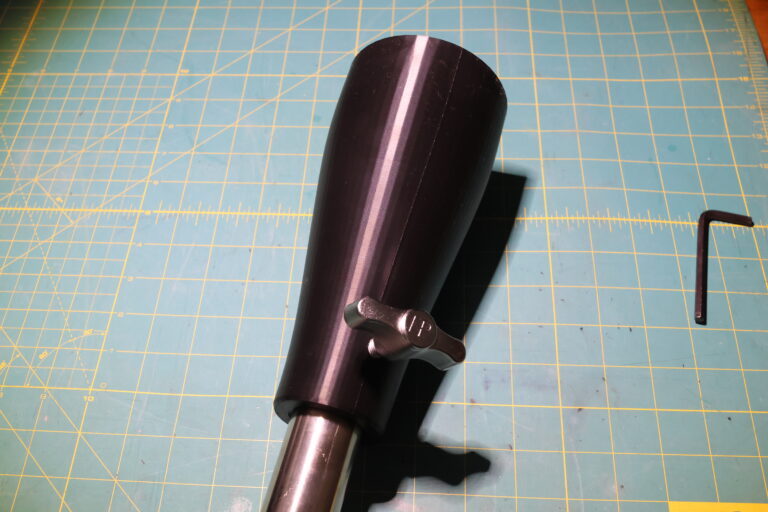
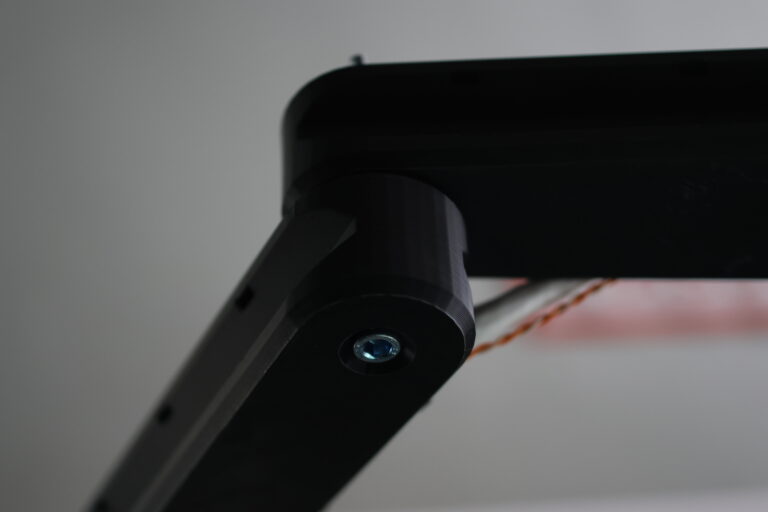
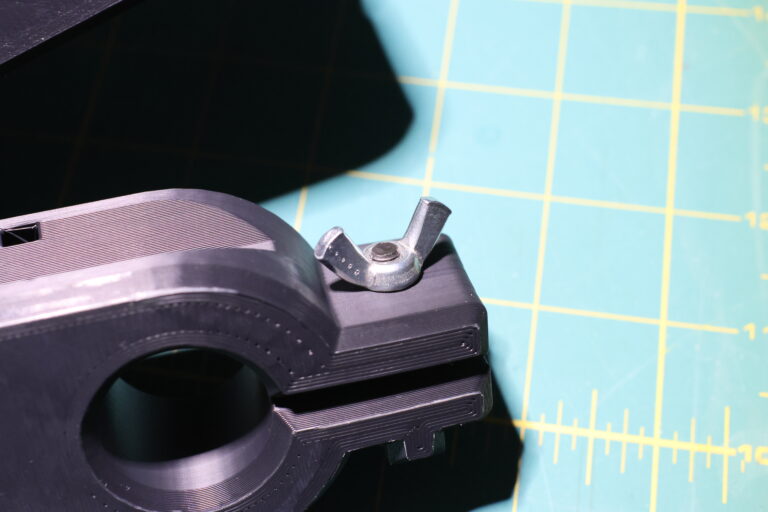
Articulating Ball Head Arm
Frustratingly, you can’t really buy separate arms without the desk mounting poles for desk-mount arm kits commonly found on amazon. I use the arm that came with this kit for the microscope camera described above, but I wanted to add another arm to hold the other overhead camera. These overhead bench shots add a lot of depth to the stream.
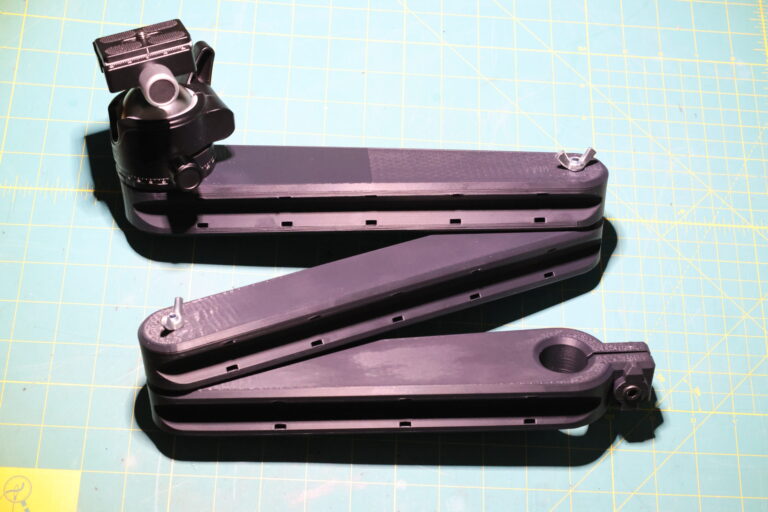

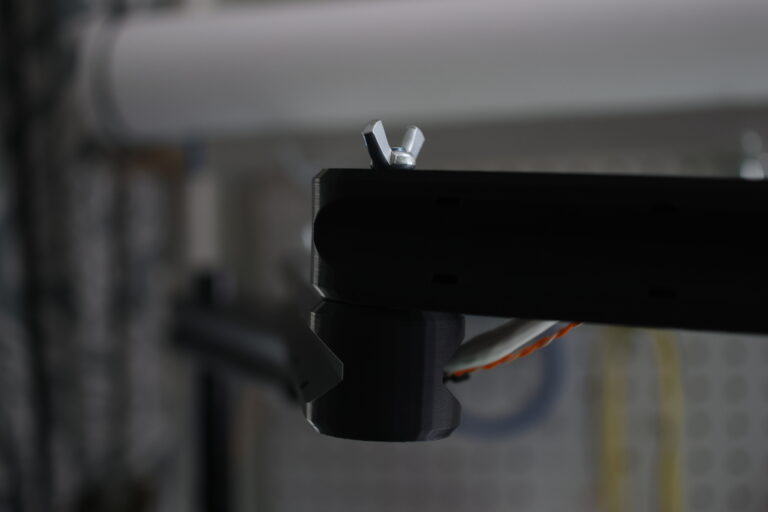
The ball head I use is a bit overkill, but again it’s something I know I can re-use very easily down the road.
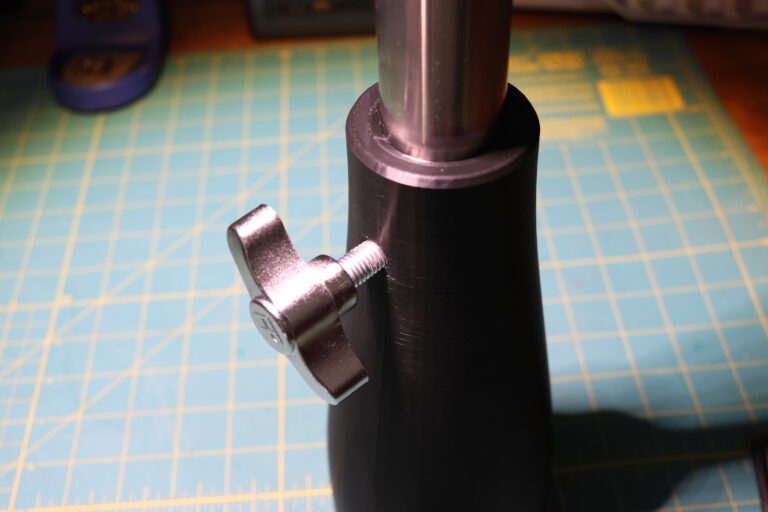
The hardware here is really simple:
- A M6x30mm Bolt for the pole arm.
- M6x65mm Bolts link the arms together.
- M6 Wing Nuts fasten all the bolts.
Printed parts again are on Printables.
Stream Demo!
So how does this all look? I shot a context video for the project I’m going to be working on first on the stream:
I’m still not 100% happy with the audio pipeline, and I think I’d like to get a macropad for scene switching but I think we’re good to go.