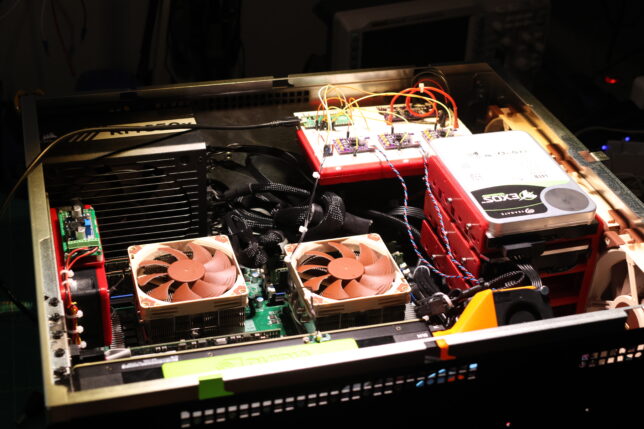
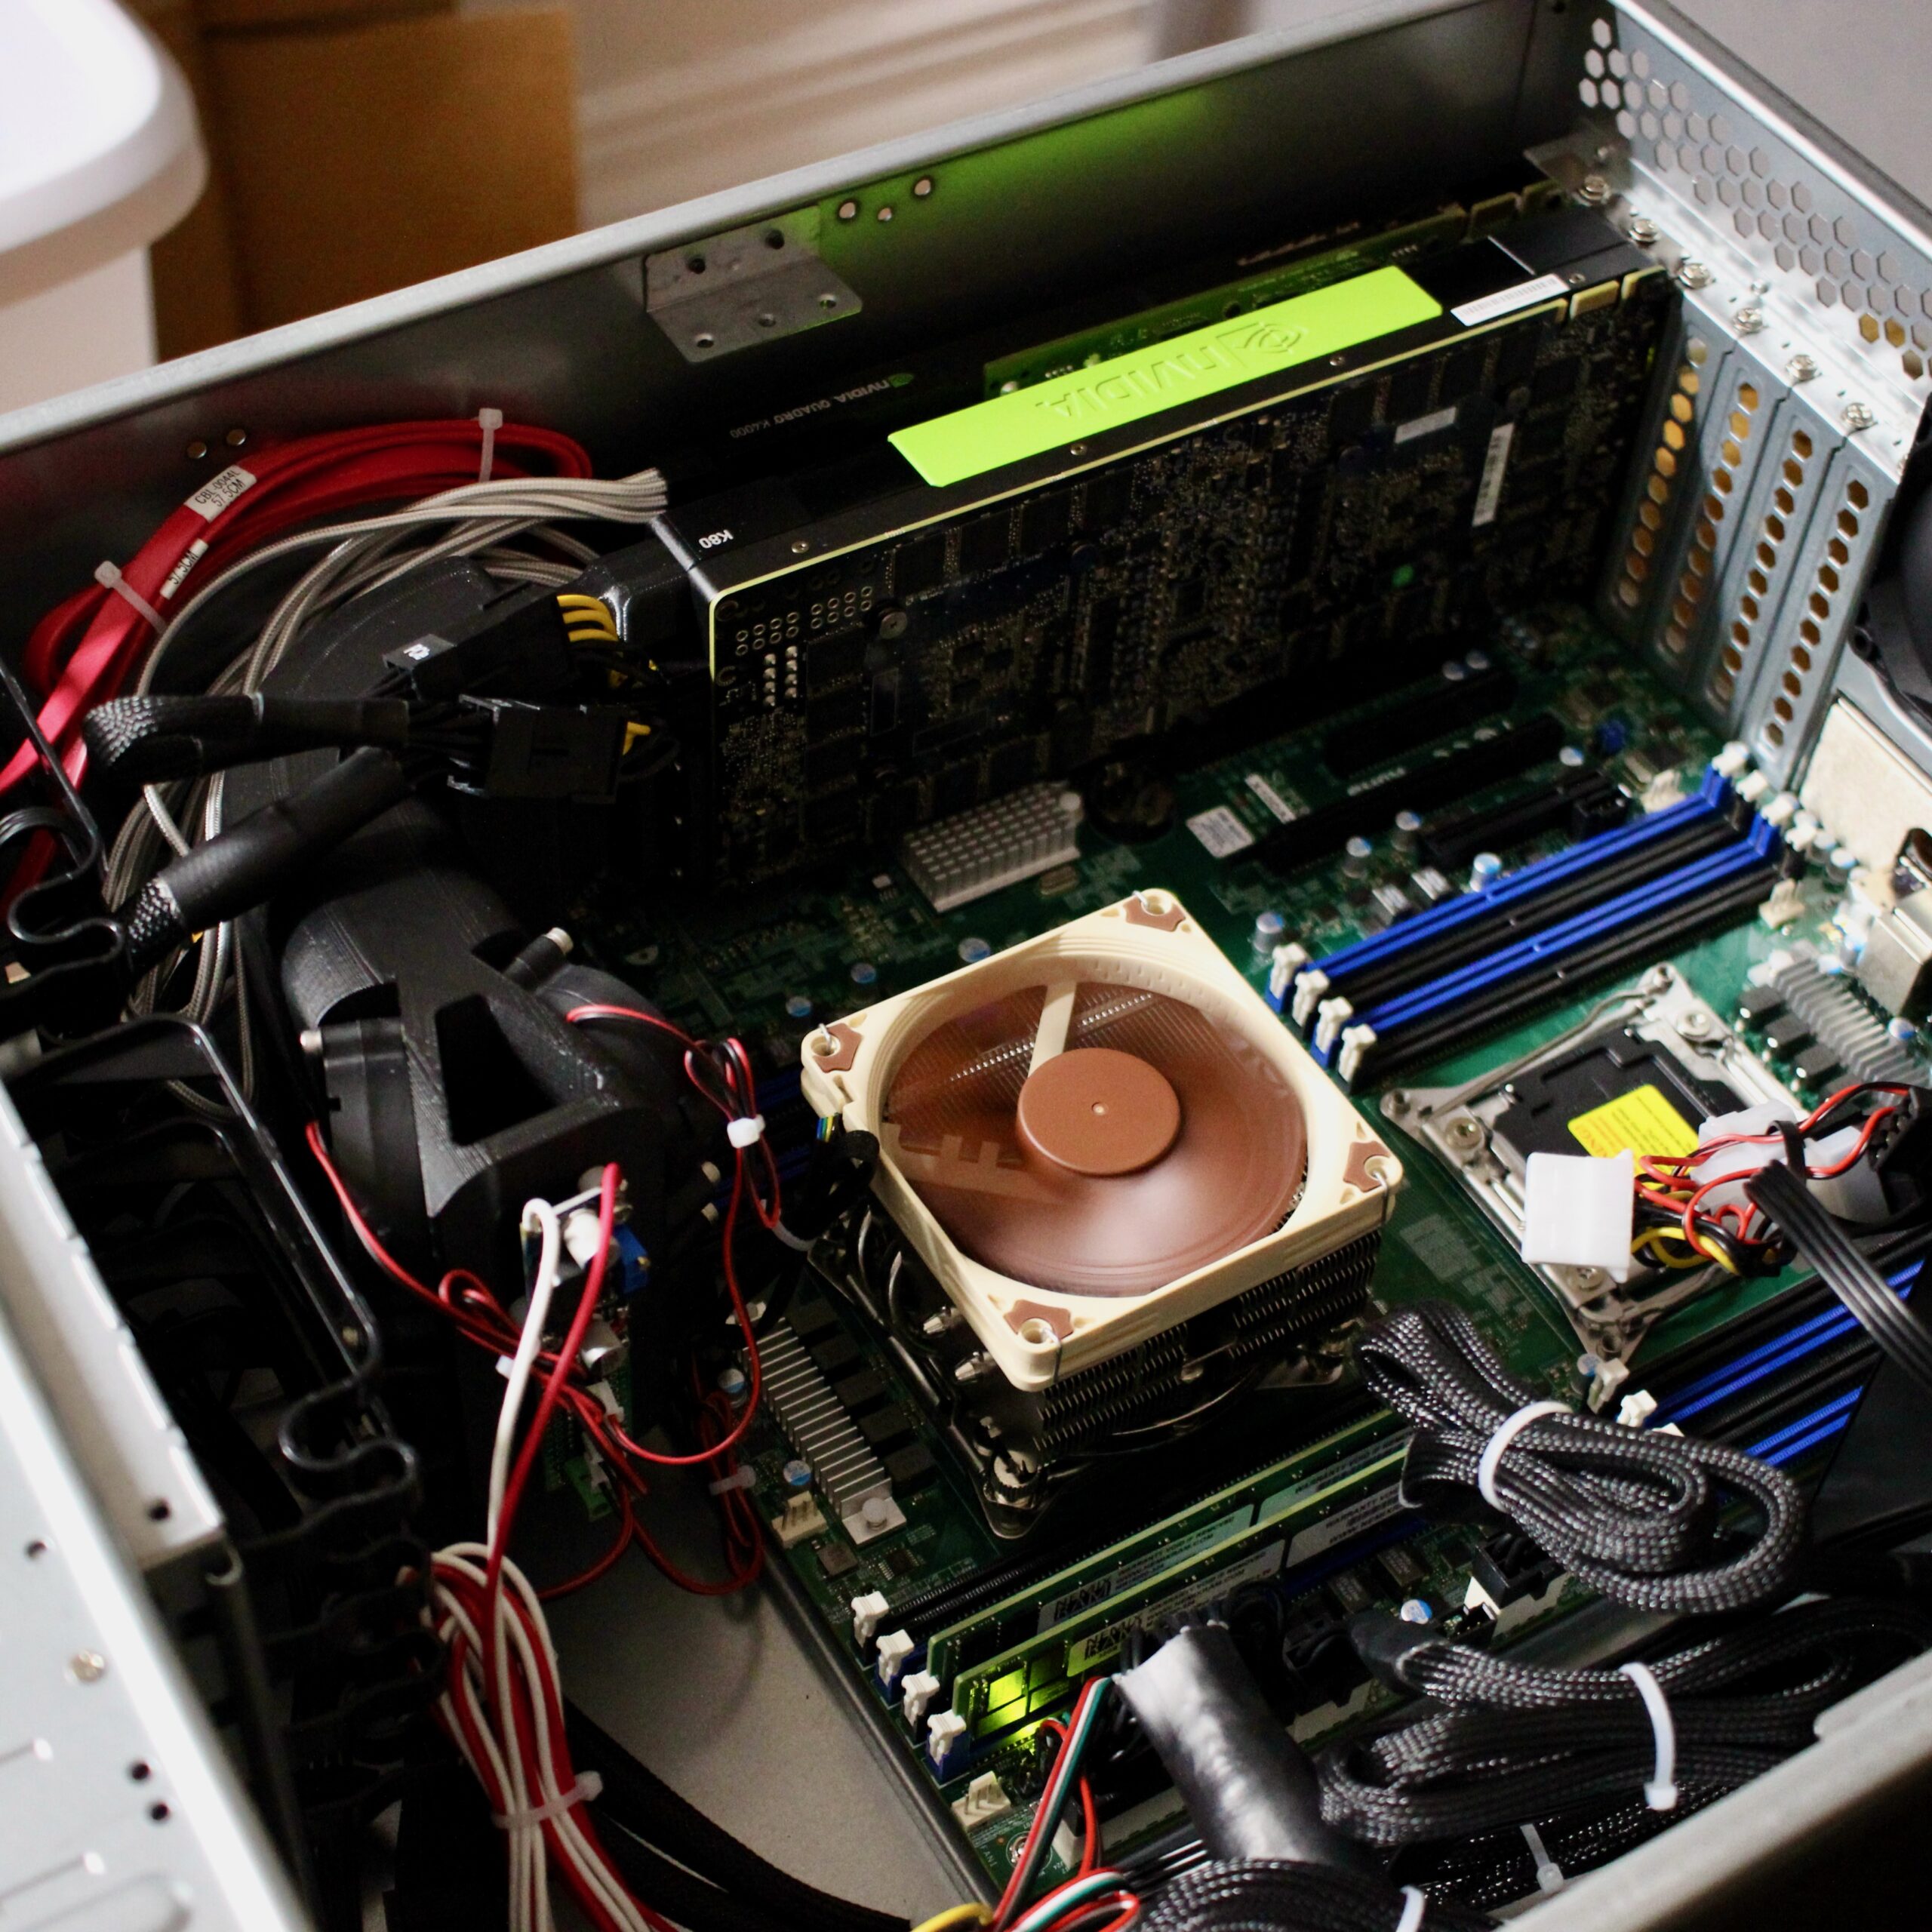
In the years since the GANce days, Rosewill’s massive 4U chassis, RSV-L4000U has housed my daily-driver virtualization host. The guts of the build are almost identical to the original spec, but it has come time to move into a smaller case. CX4200A from Sliger won out because of a few factors.
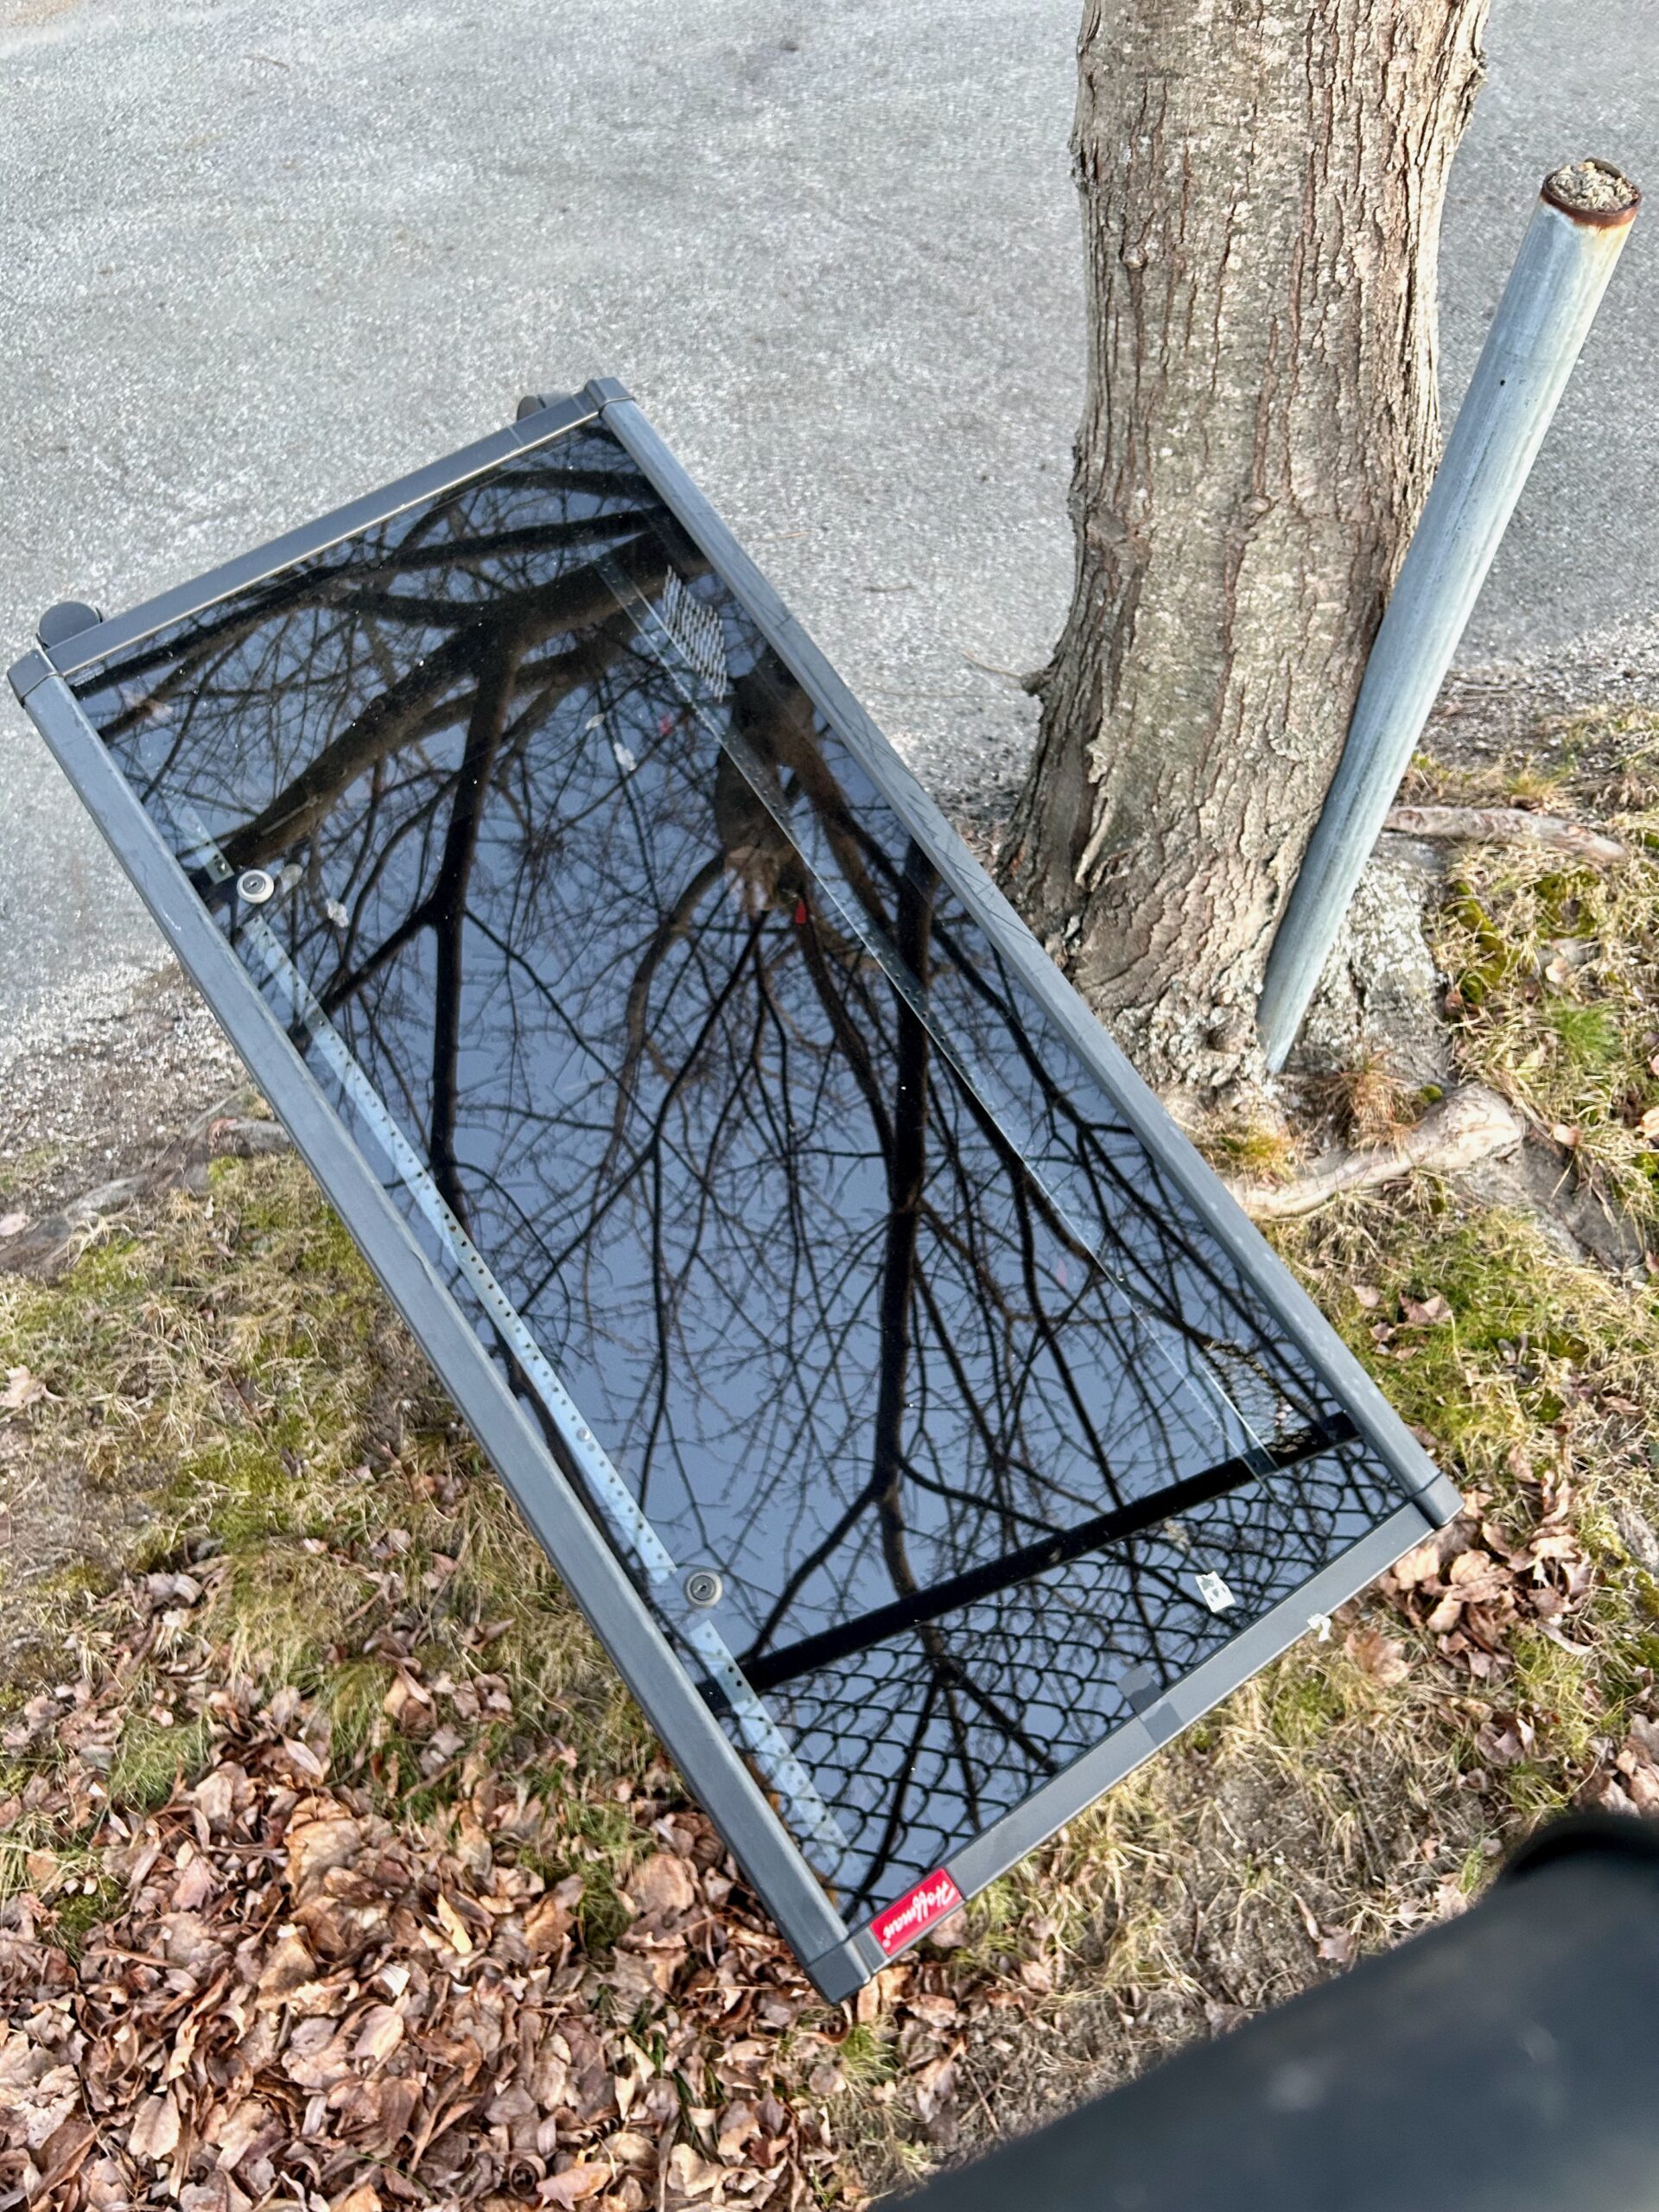
The main one is that, following some flooding in my city, someone discarded a Hoffman EWMW482425 26U short-depth rack with a flawless glass door and an MSRP over over $1000:

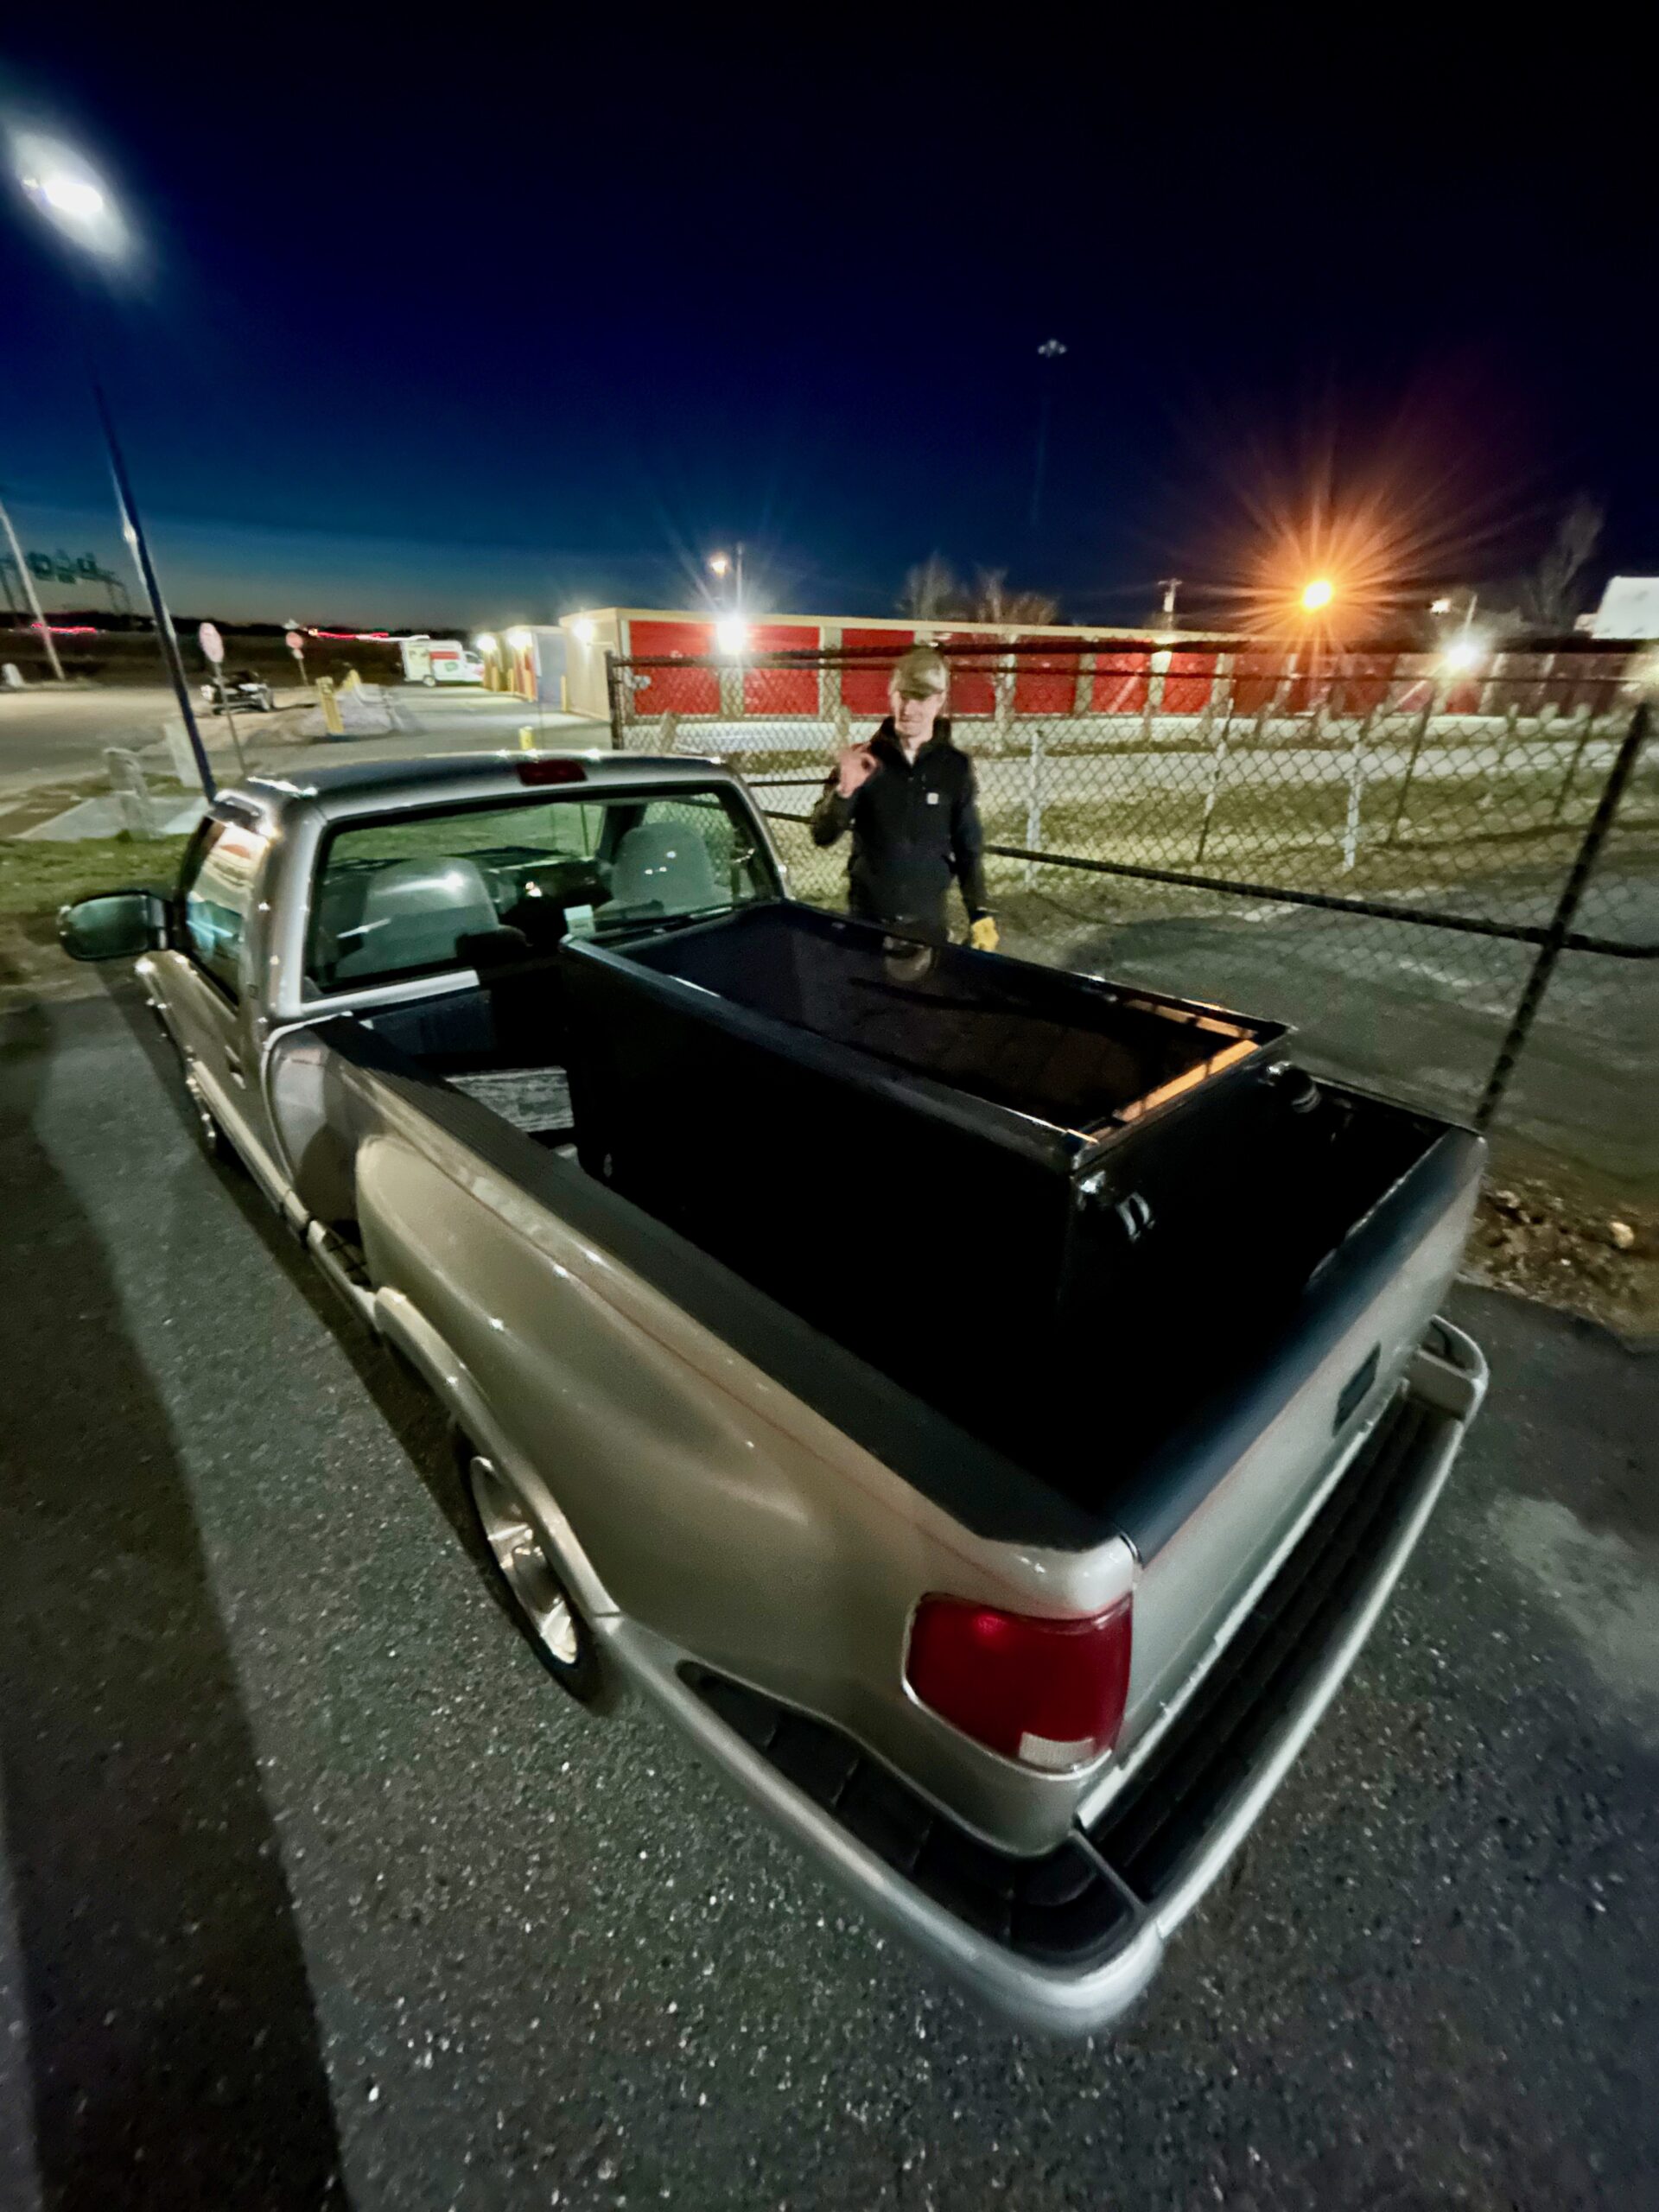
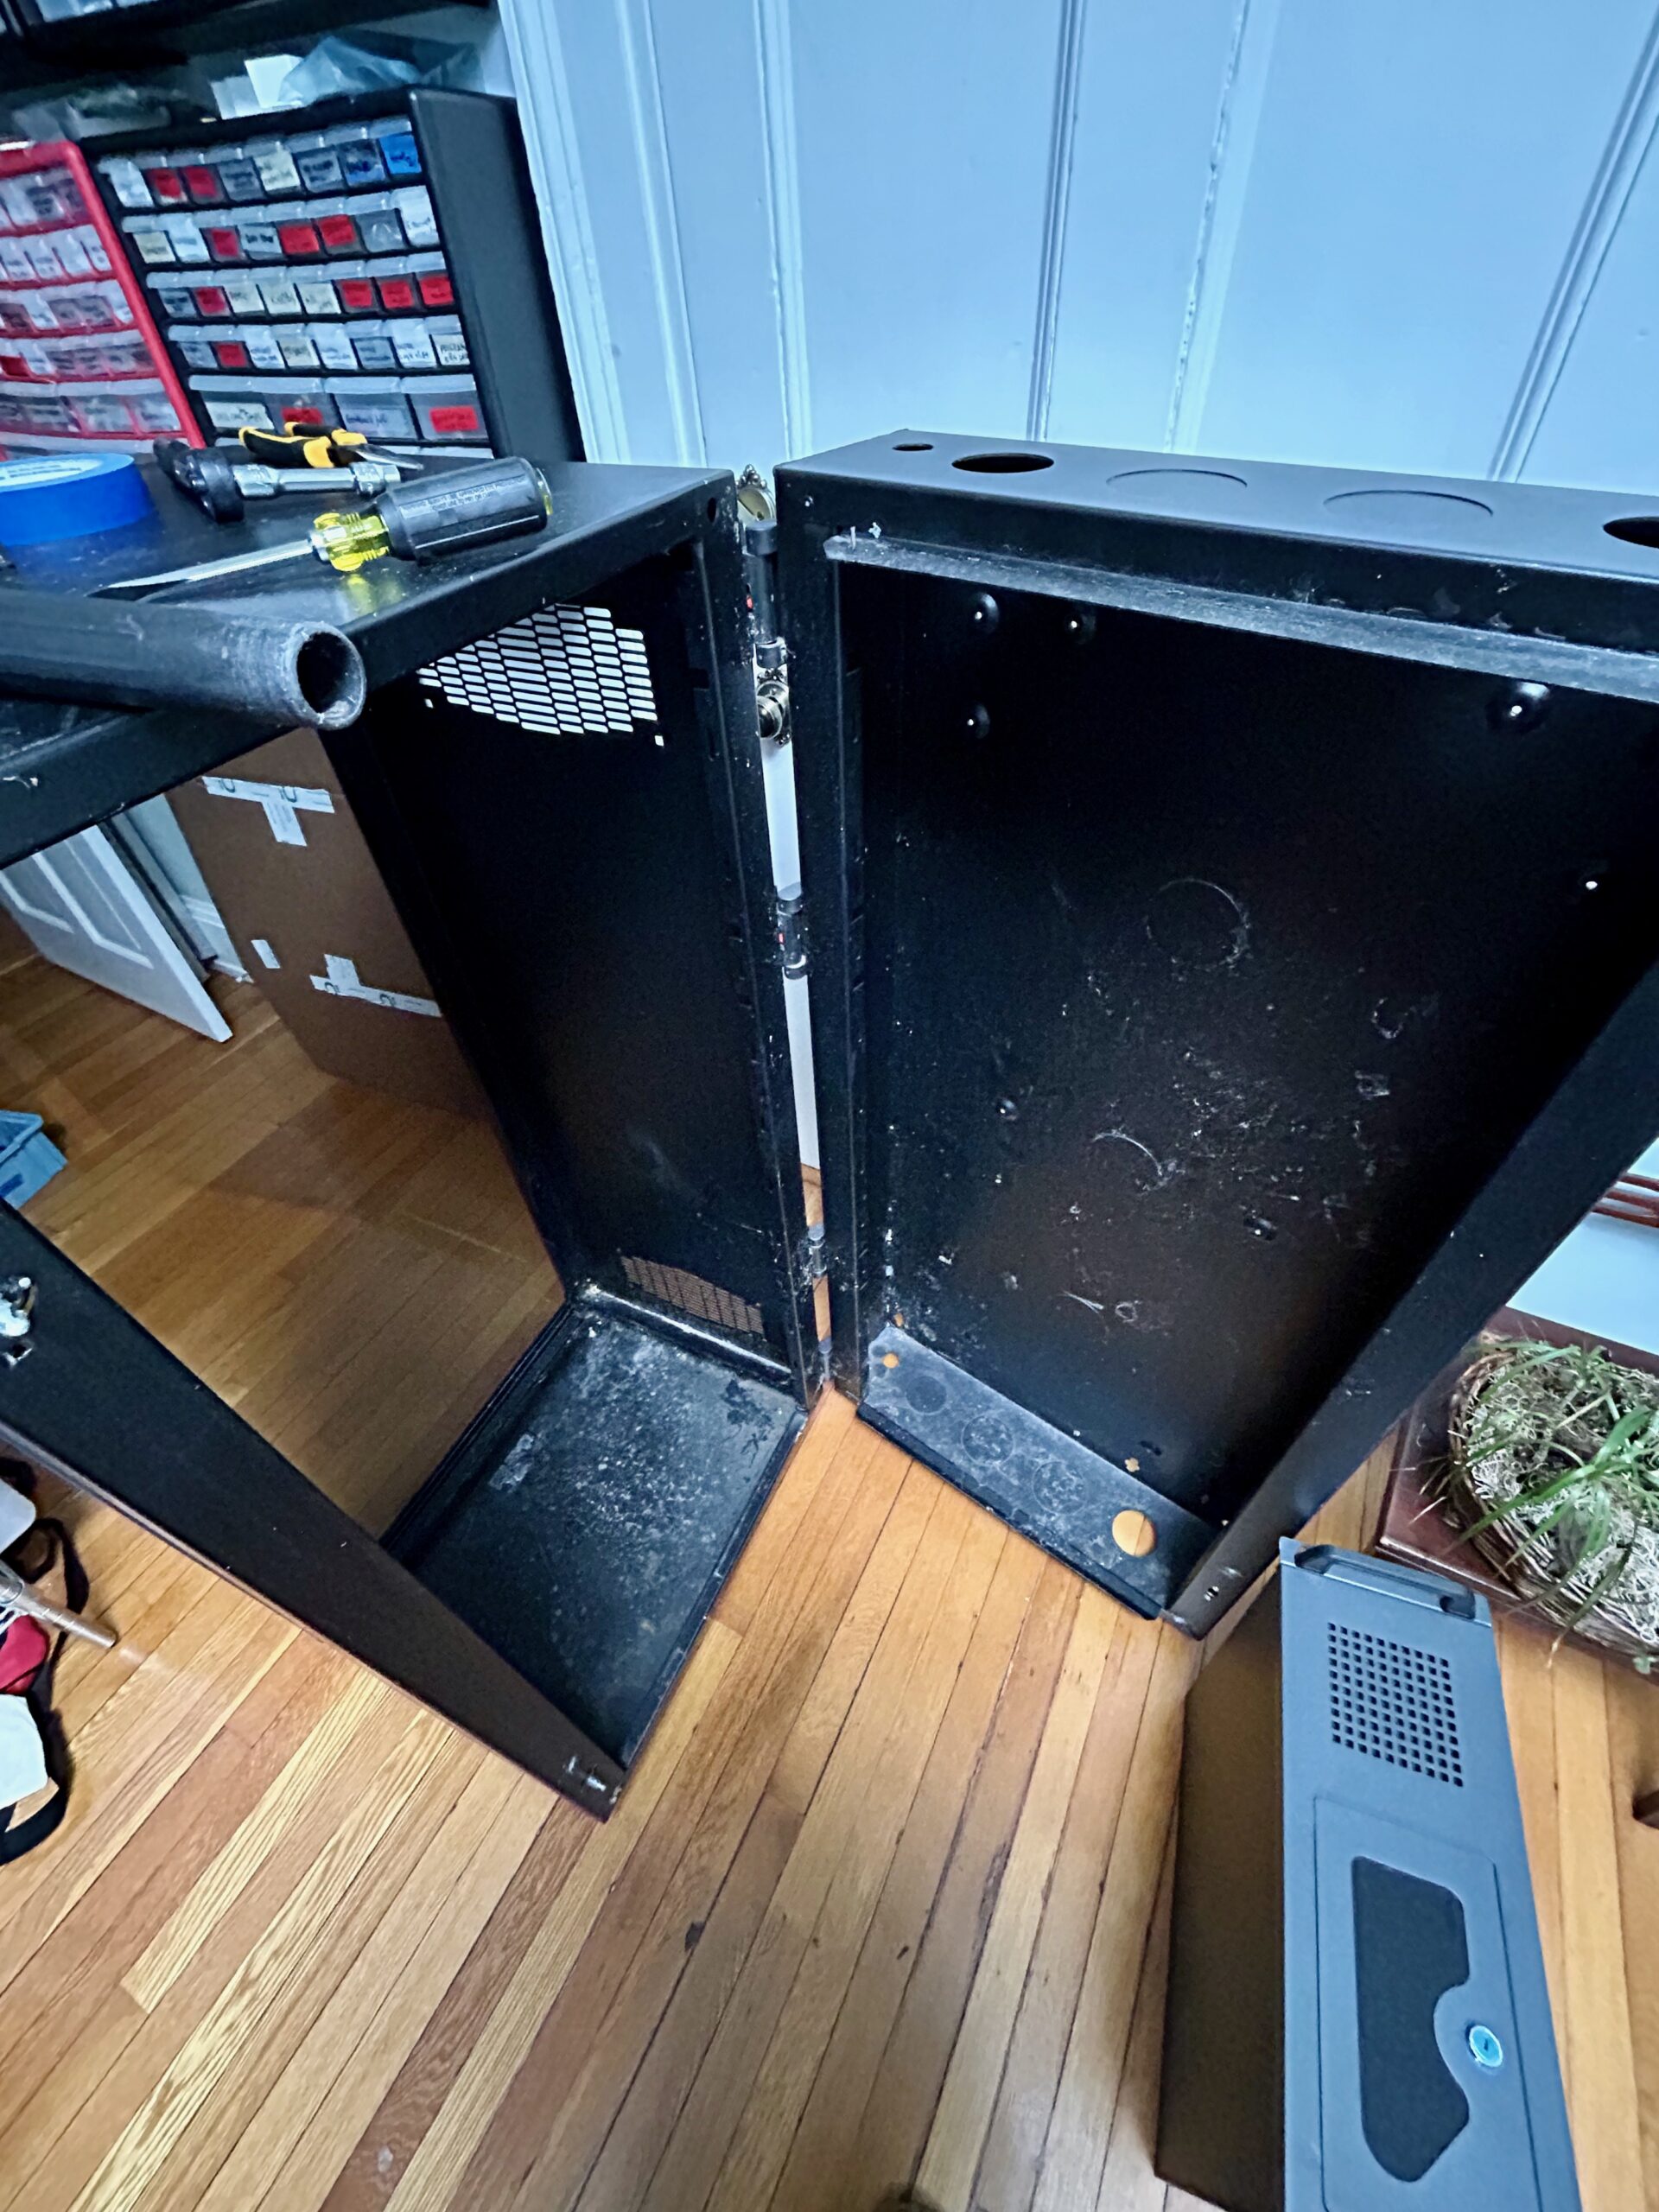
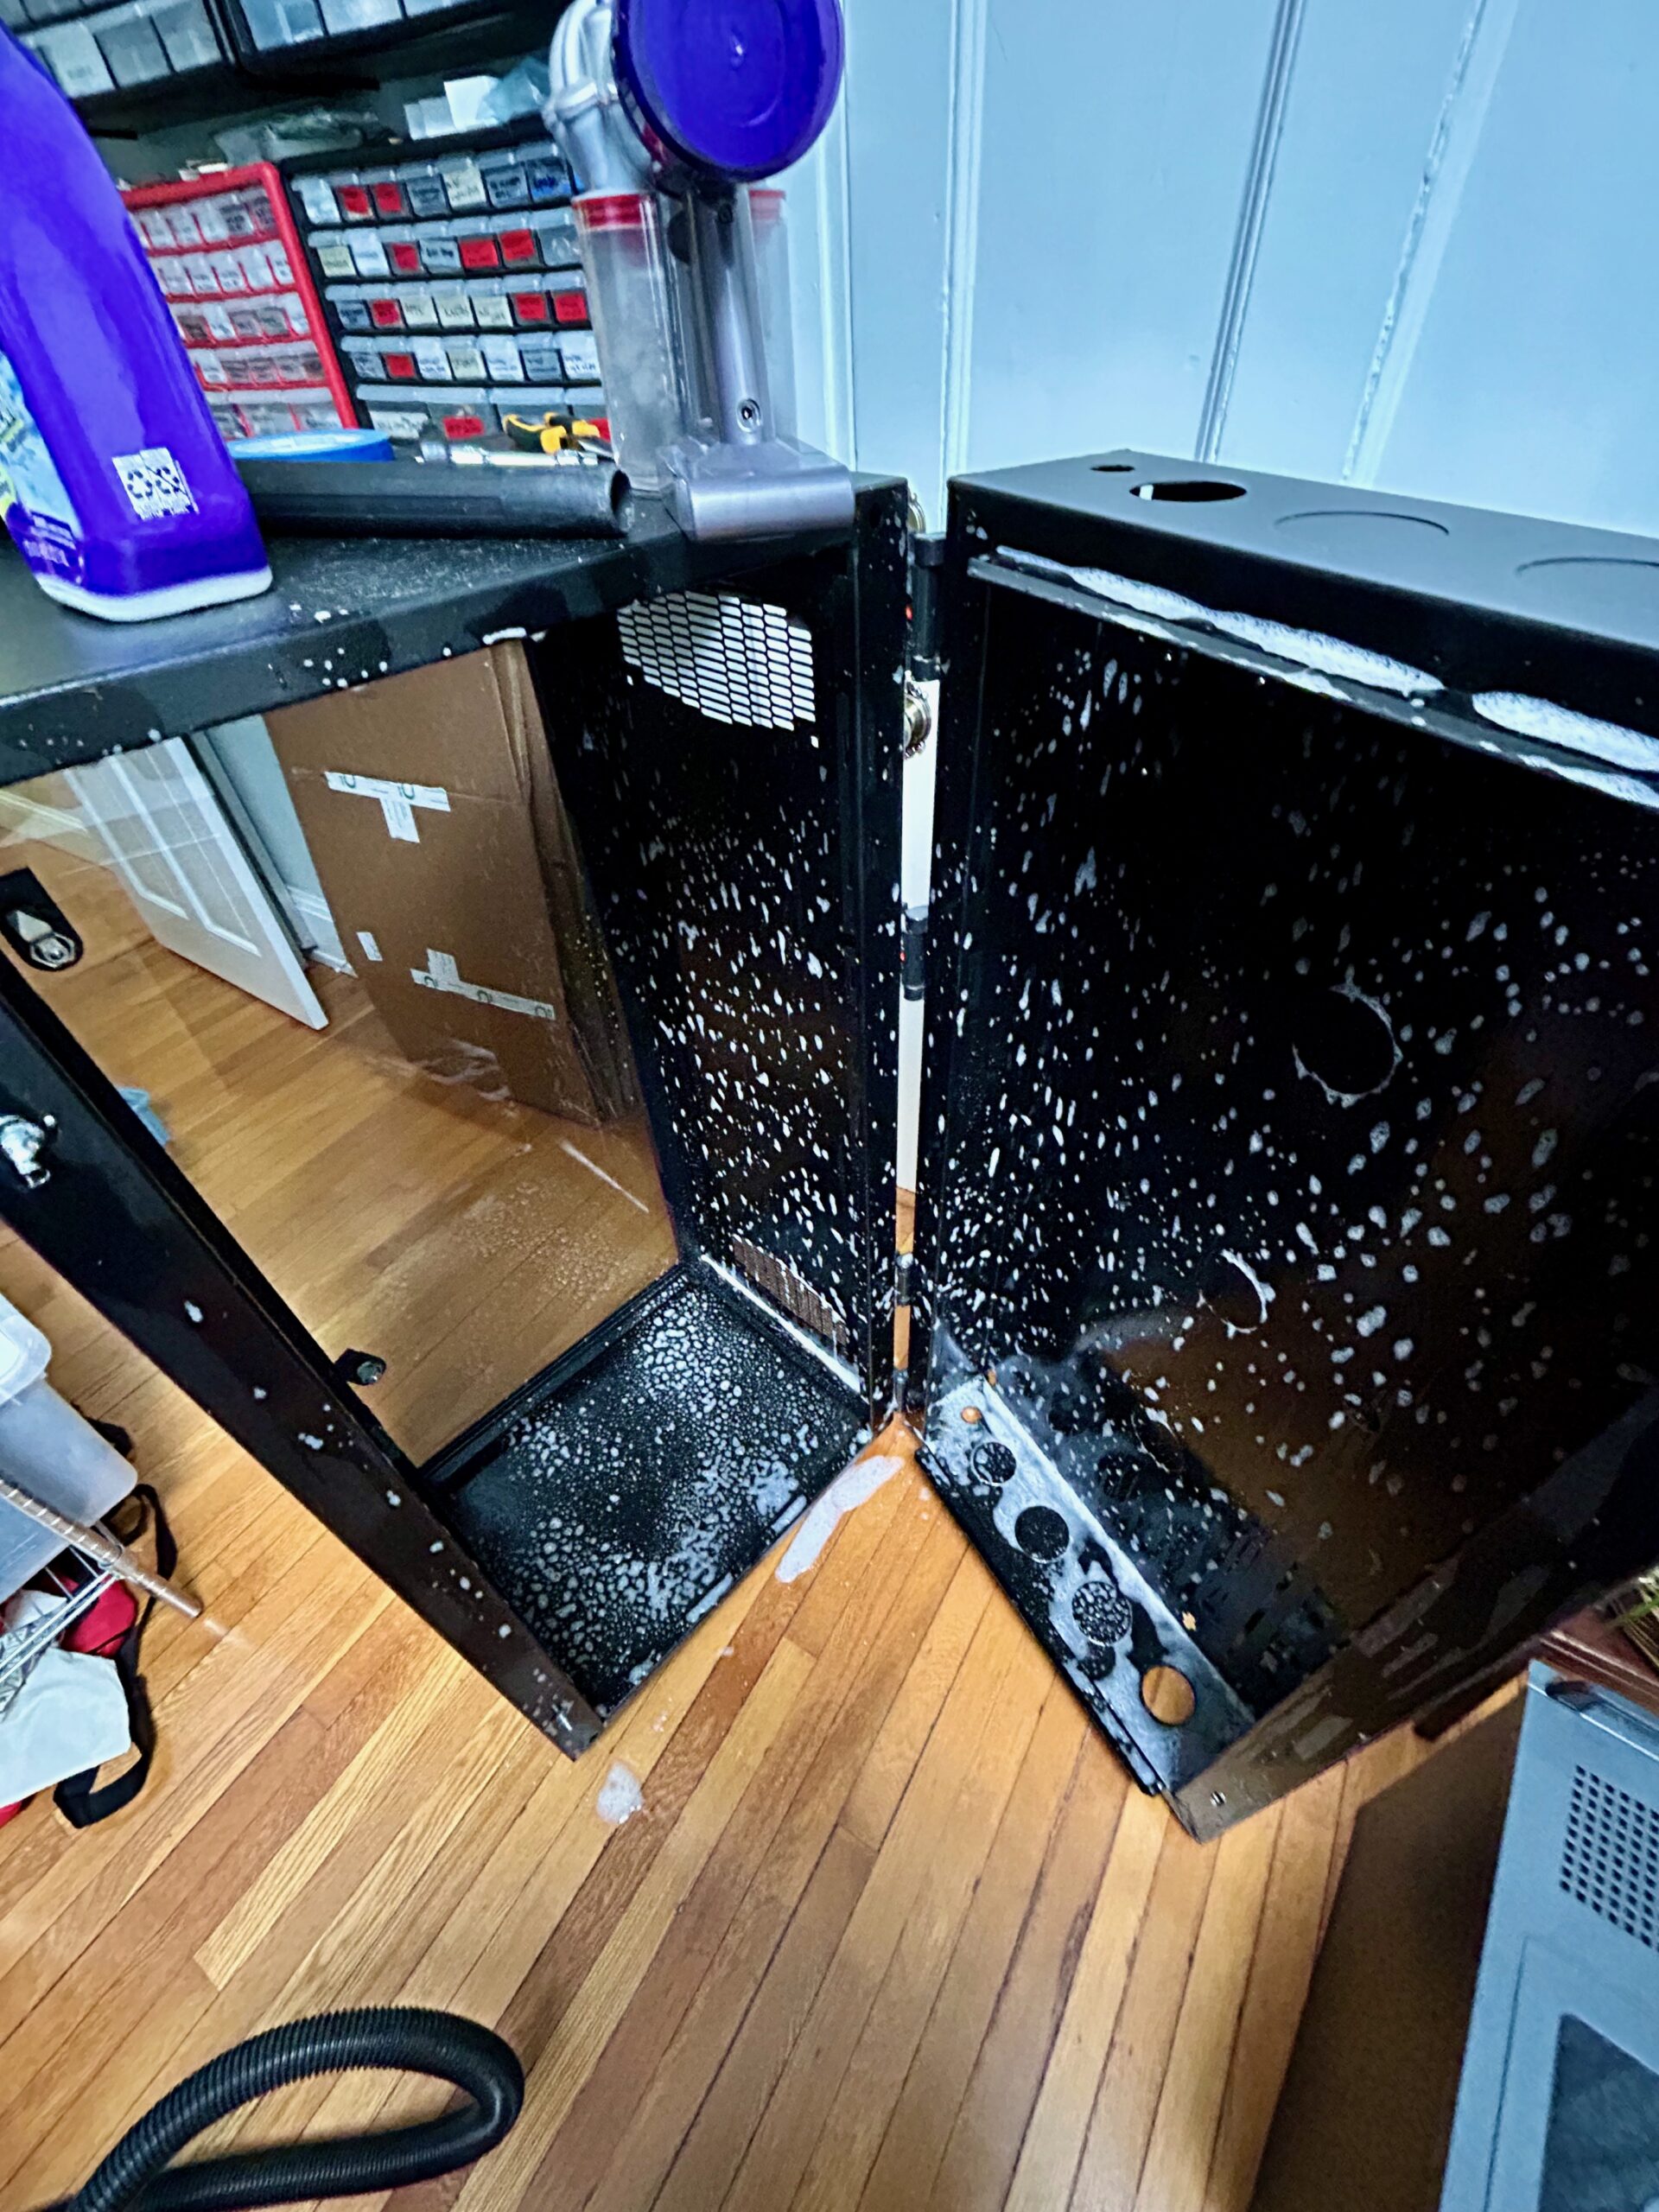
Under the cover of darkness, a co-conspirator and I were able to heist the rack from its resting place back to mine.
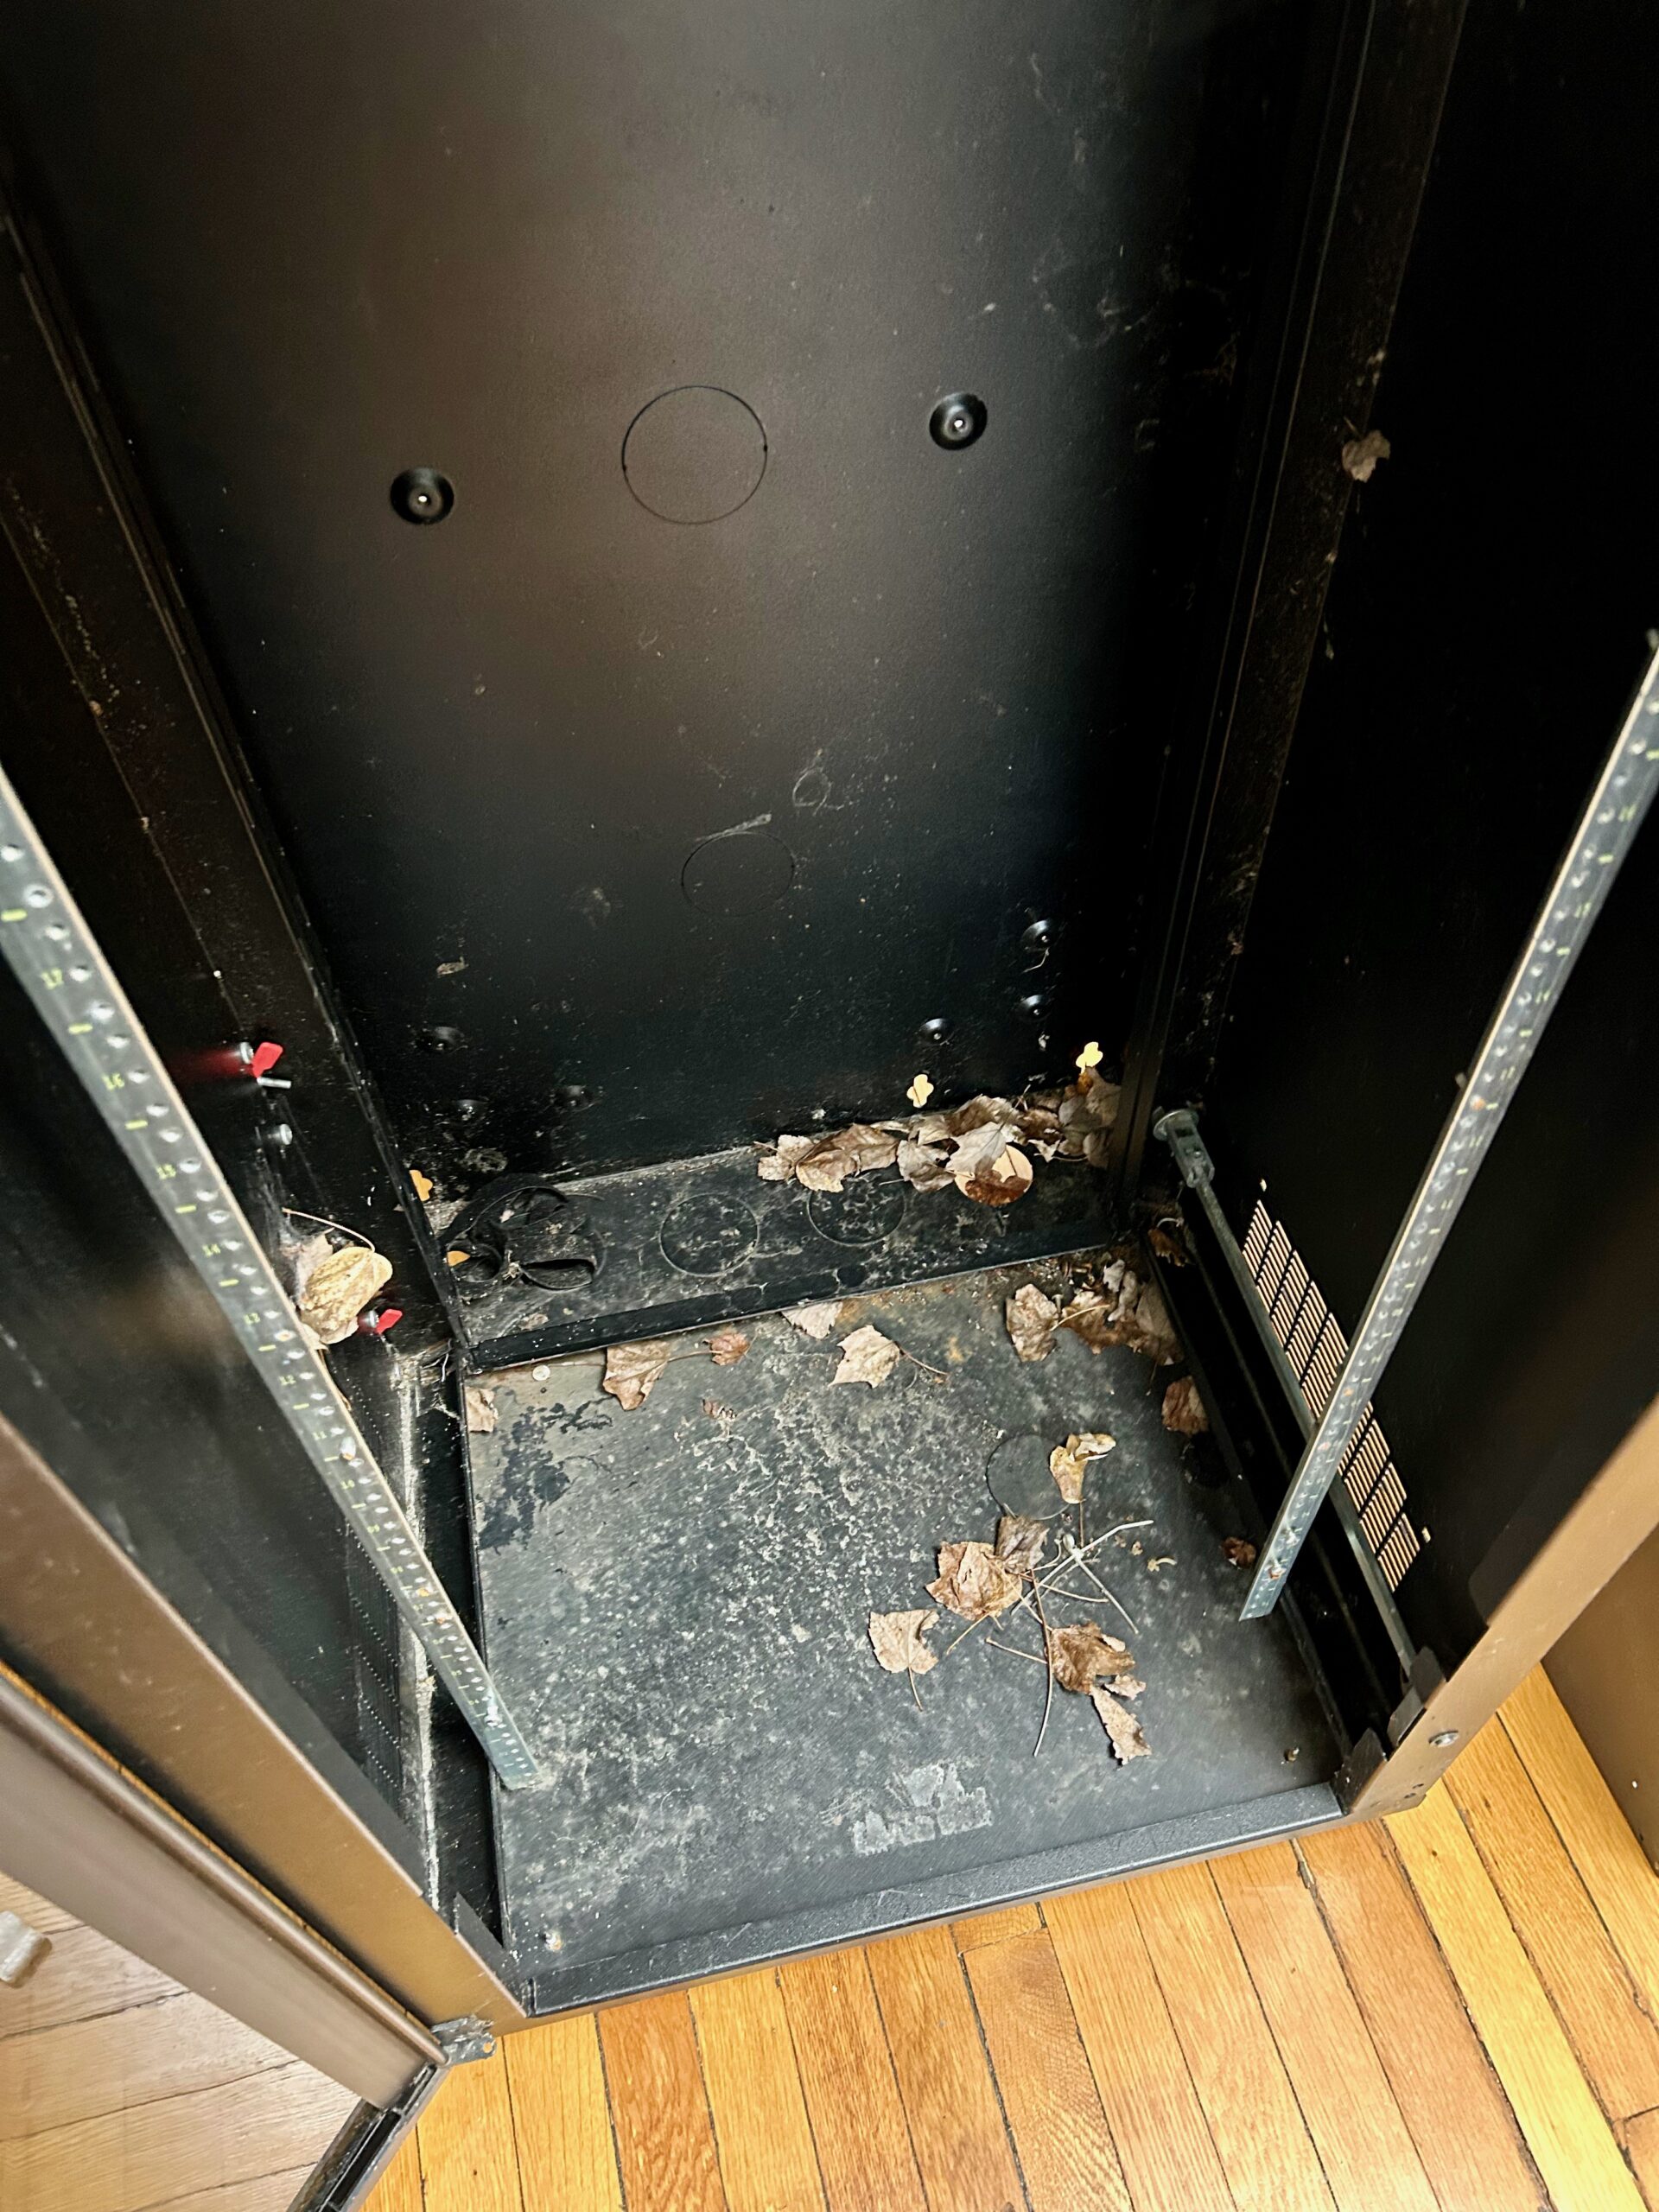
Judging by the bits left in inside, it looks to have served as a housing for telecom gear. Much of the rackable gear I’ve come into over the years is similarly short-depth with one exception, the Rosewill.

The 25″ of depth is way too much for the rack. It was great for being able to work on tesla cooler, plenty of room for weird coolers and hard drives. The weight, the physical mass of the thing is also just too much. I’ve moved apartments twice since acquiring the Rosewill and have dreaded moving it both times. These aren’t RSV-L4000U’s fault, these are features for the majority of users. Just not for me right now.
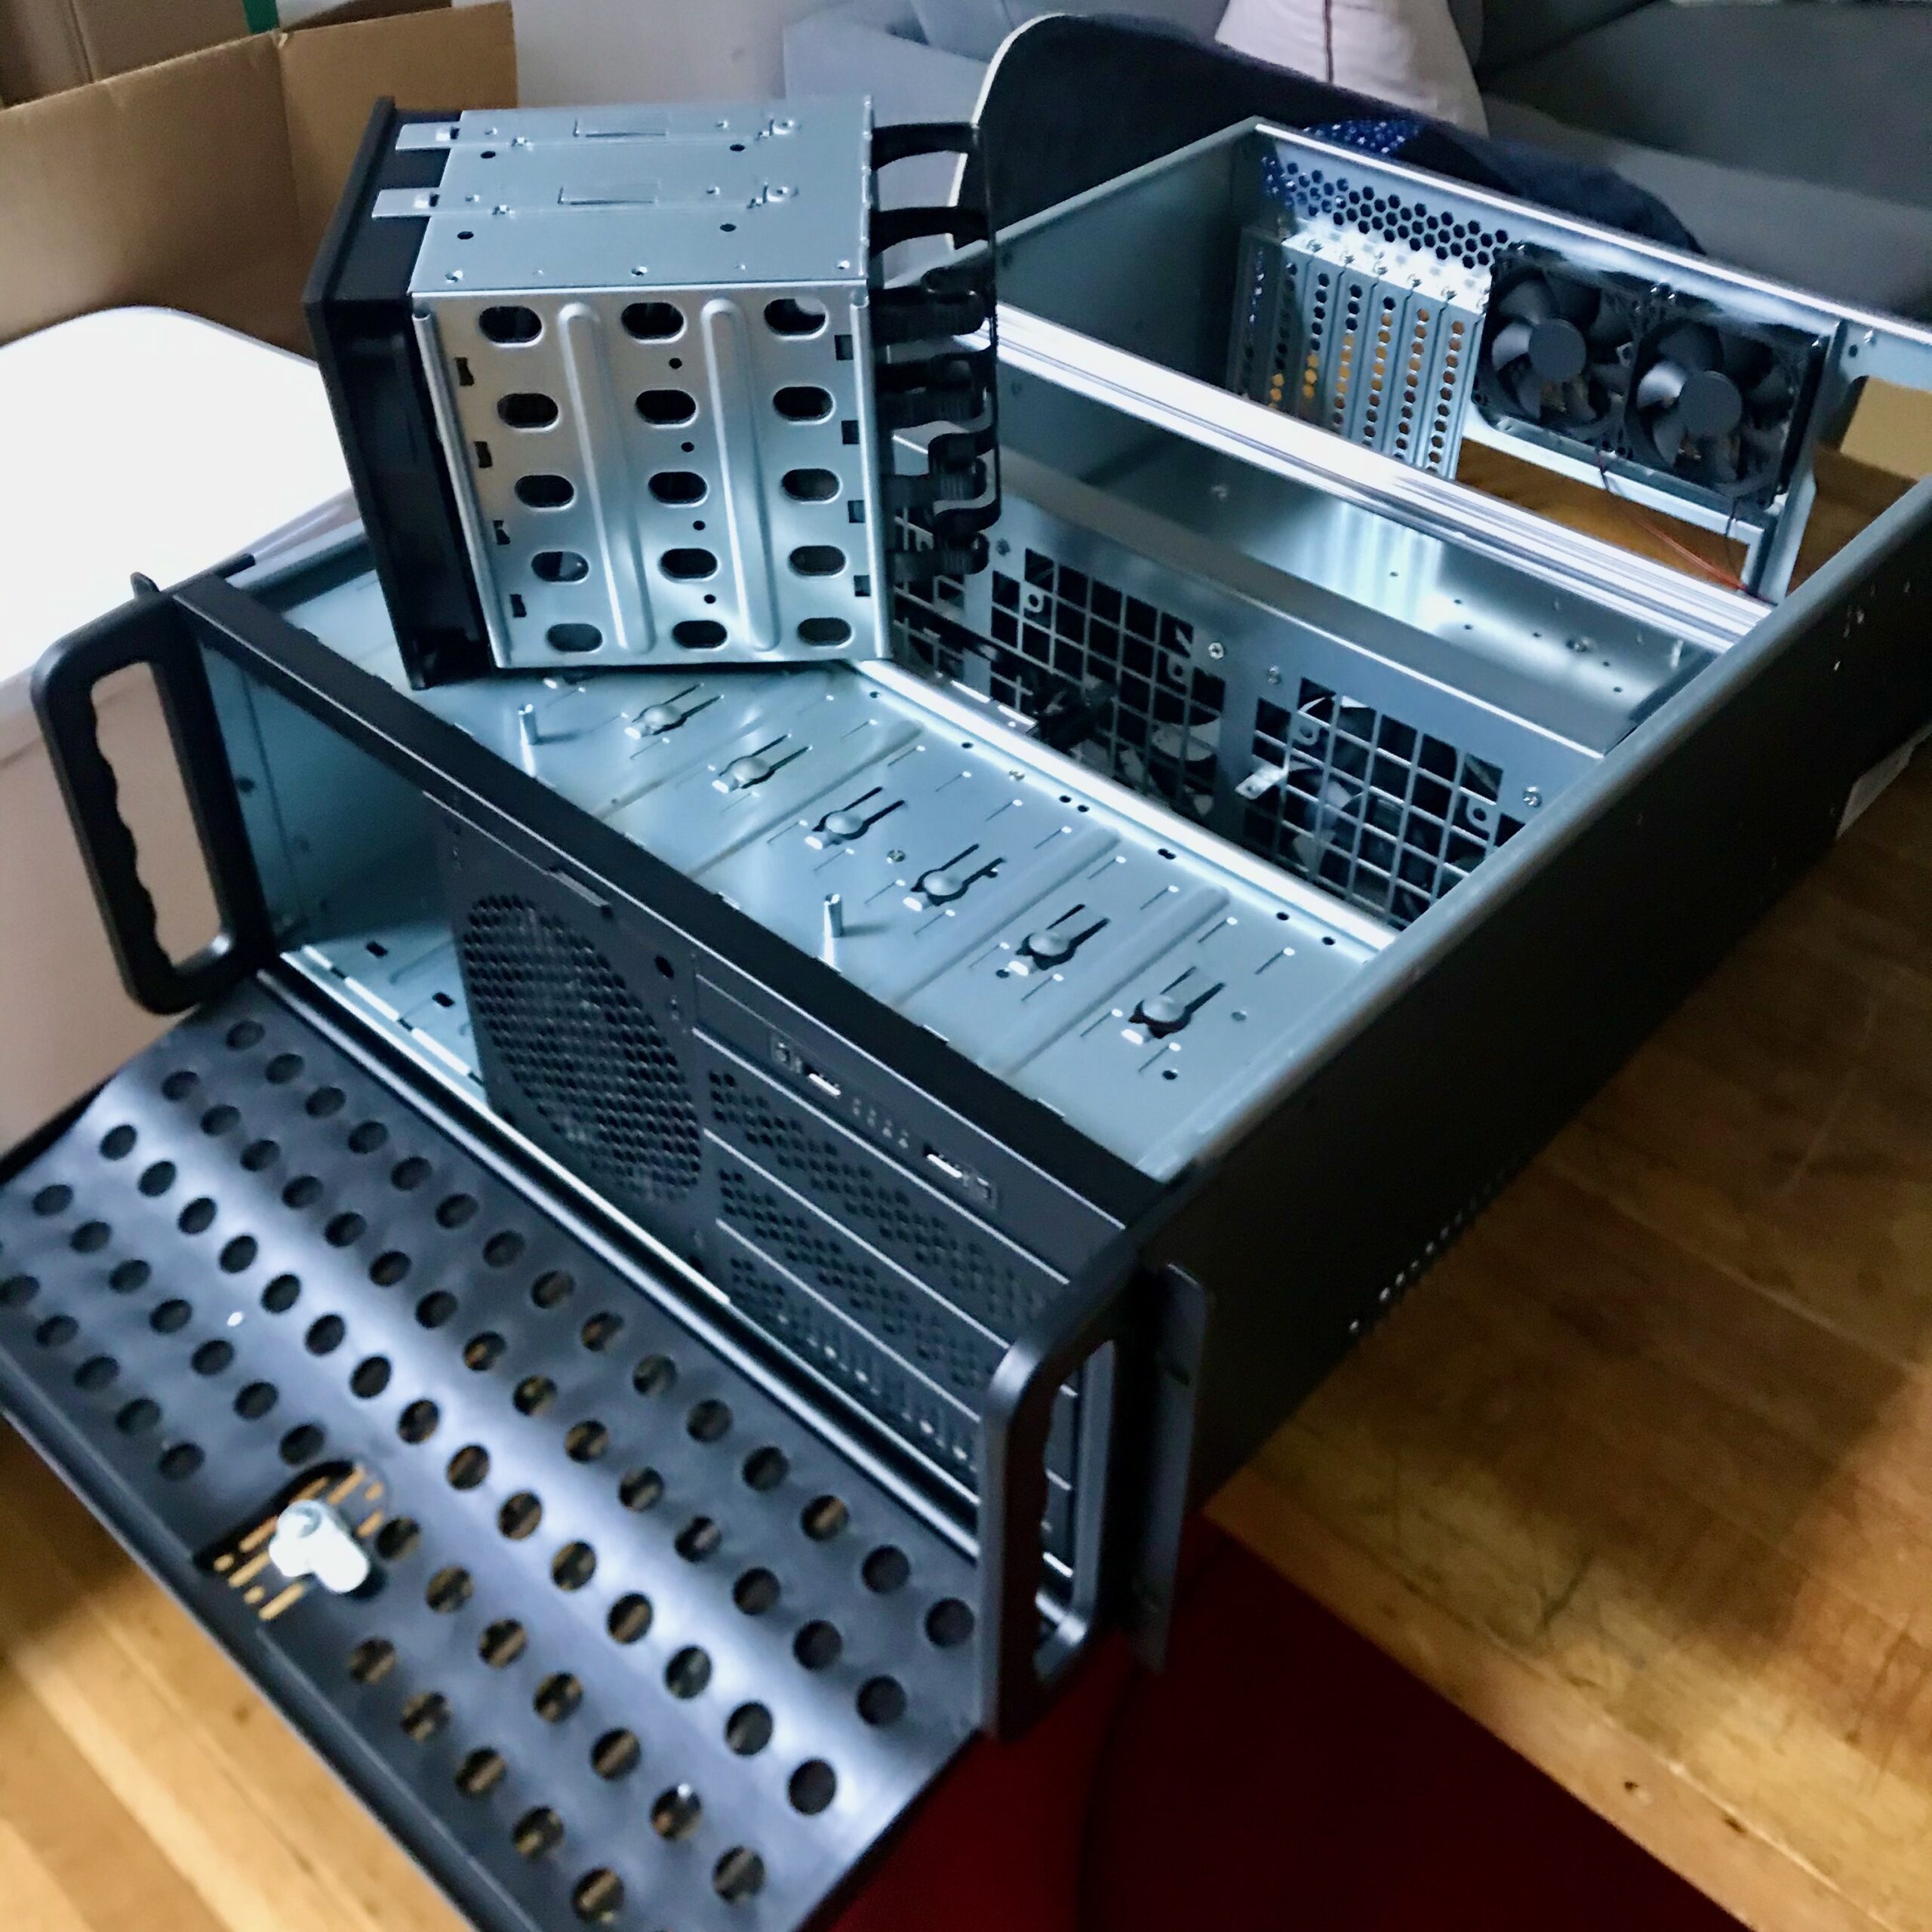
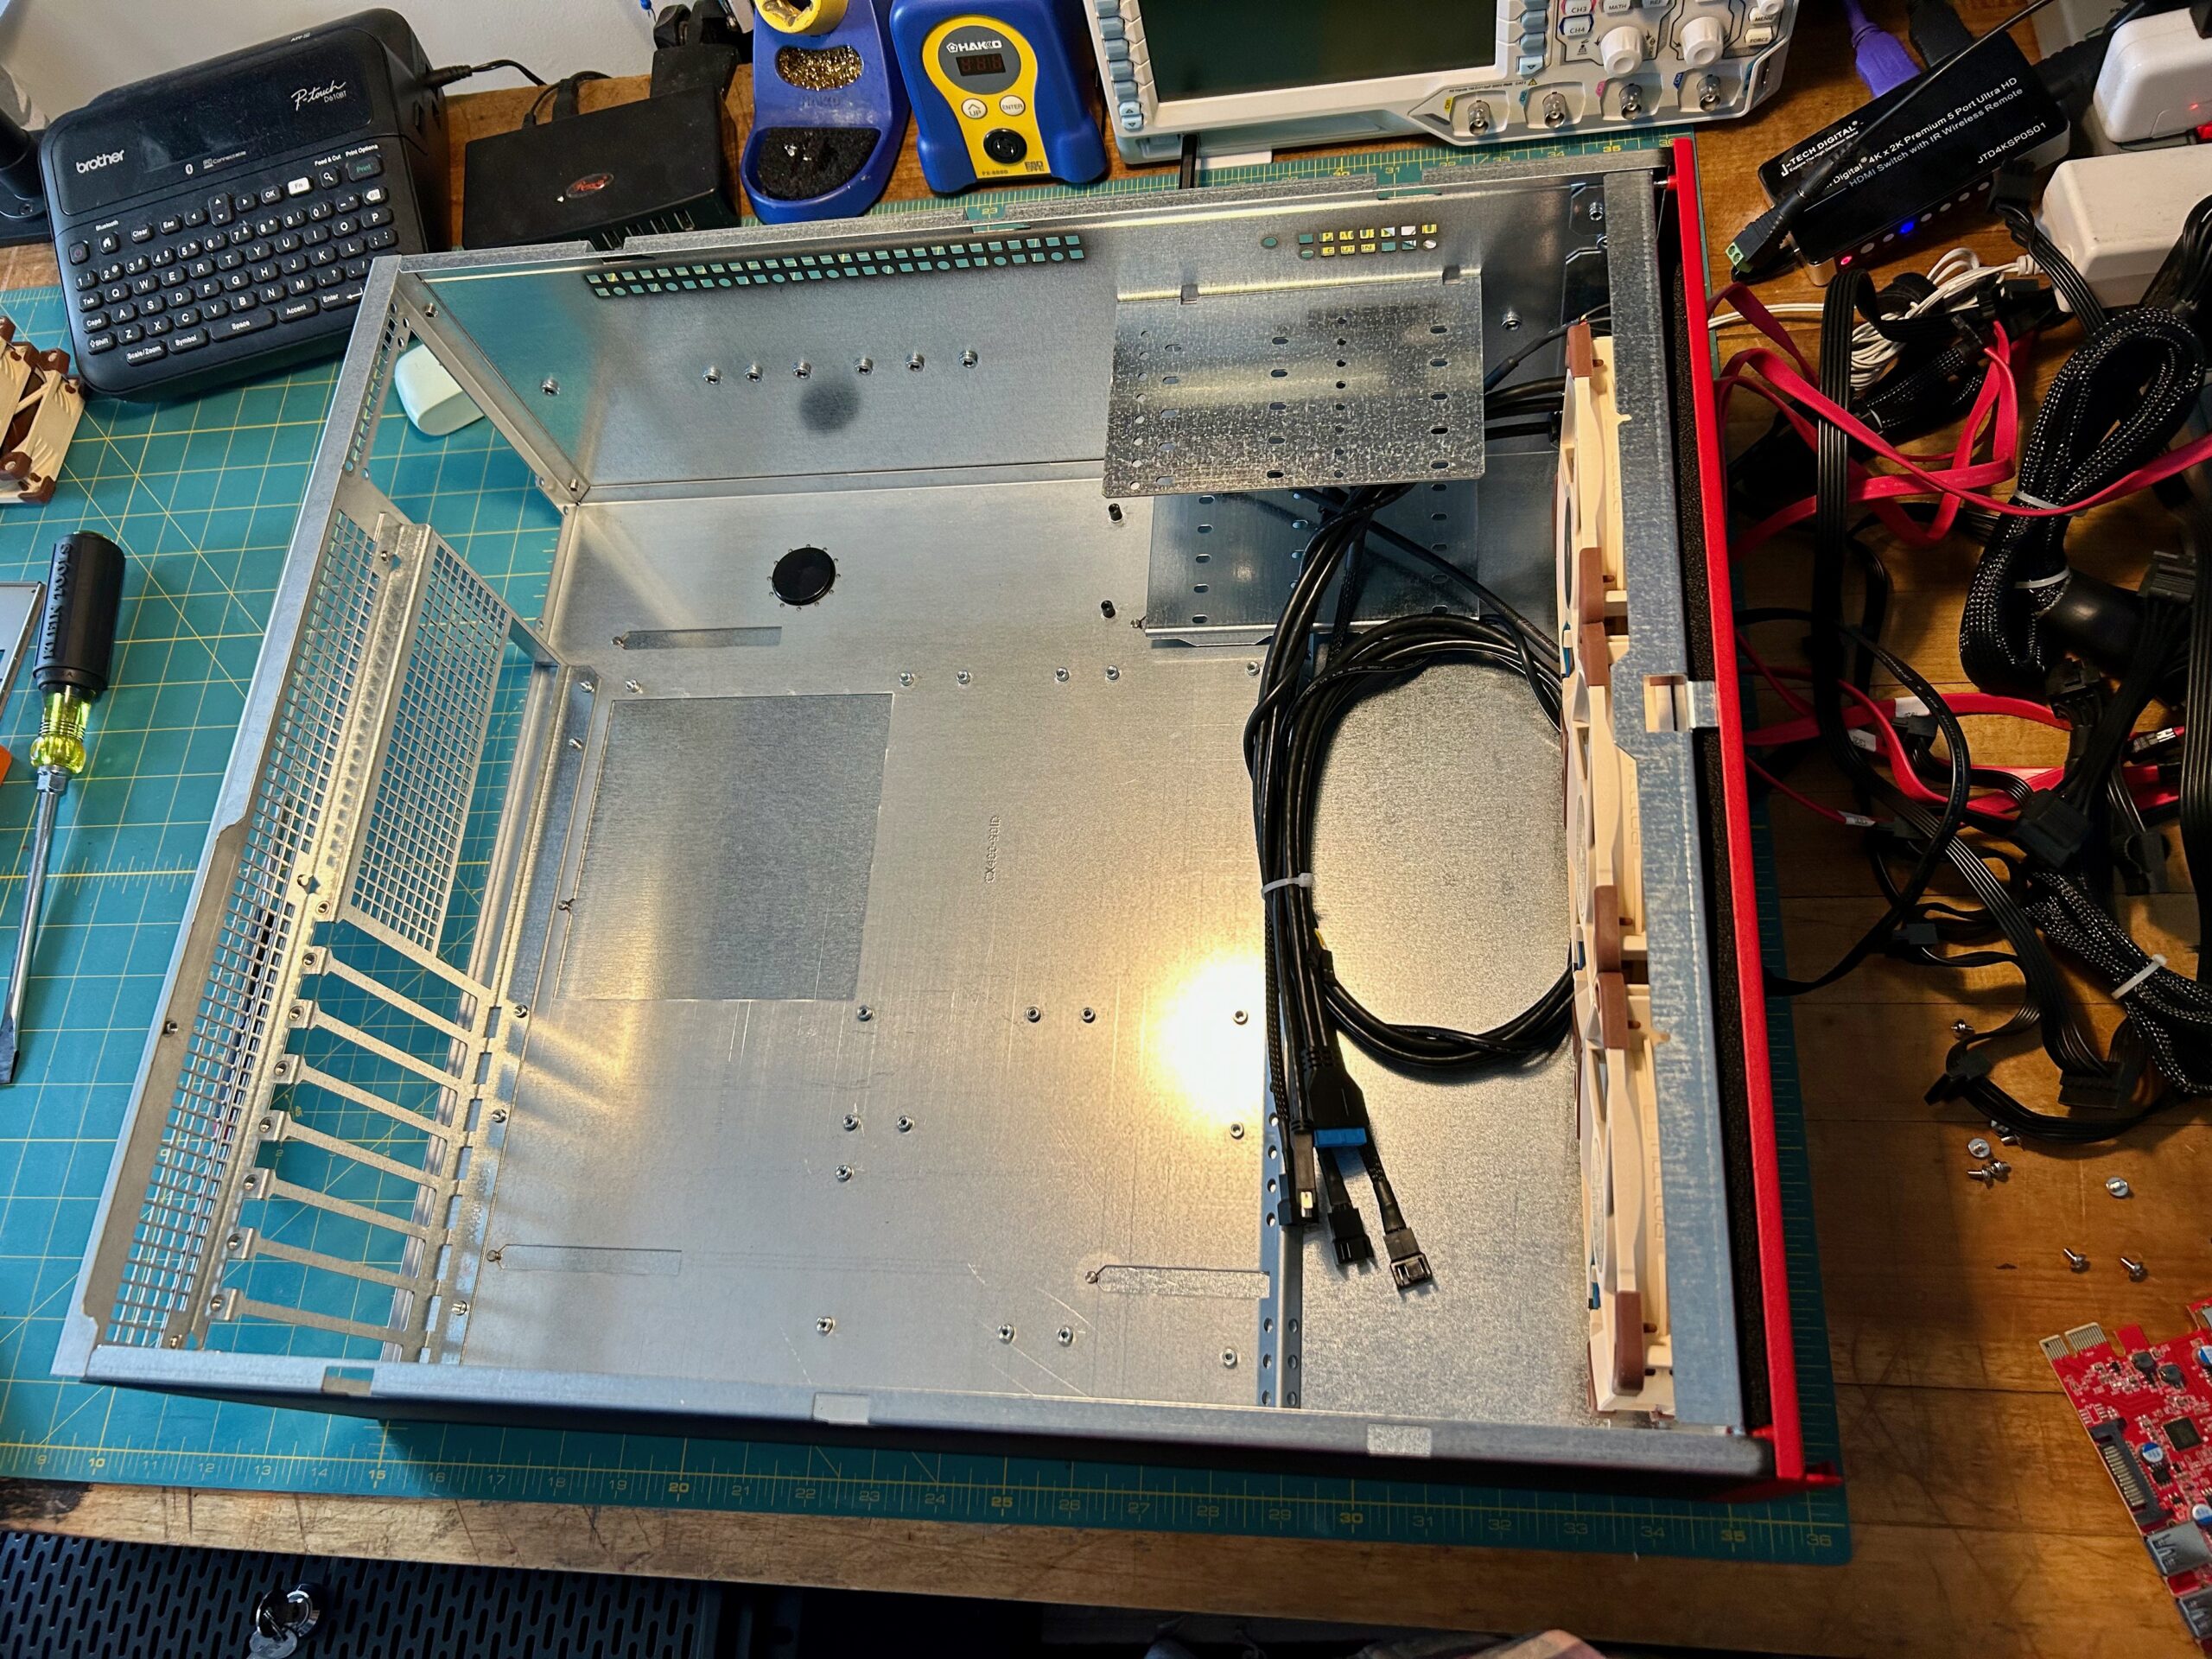
Enter the Sliger CX4200A and a few modifications to make it perfect for my needs:

Finding a short-depth 4U chassis is harder than you’d think, 4U cases are XL by nature. Sliger has a few 4U offerings for you, CX4200A being a good balance of size and motherboard compatibility (fits E-ATX).
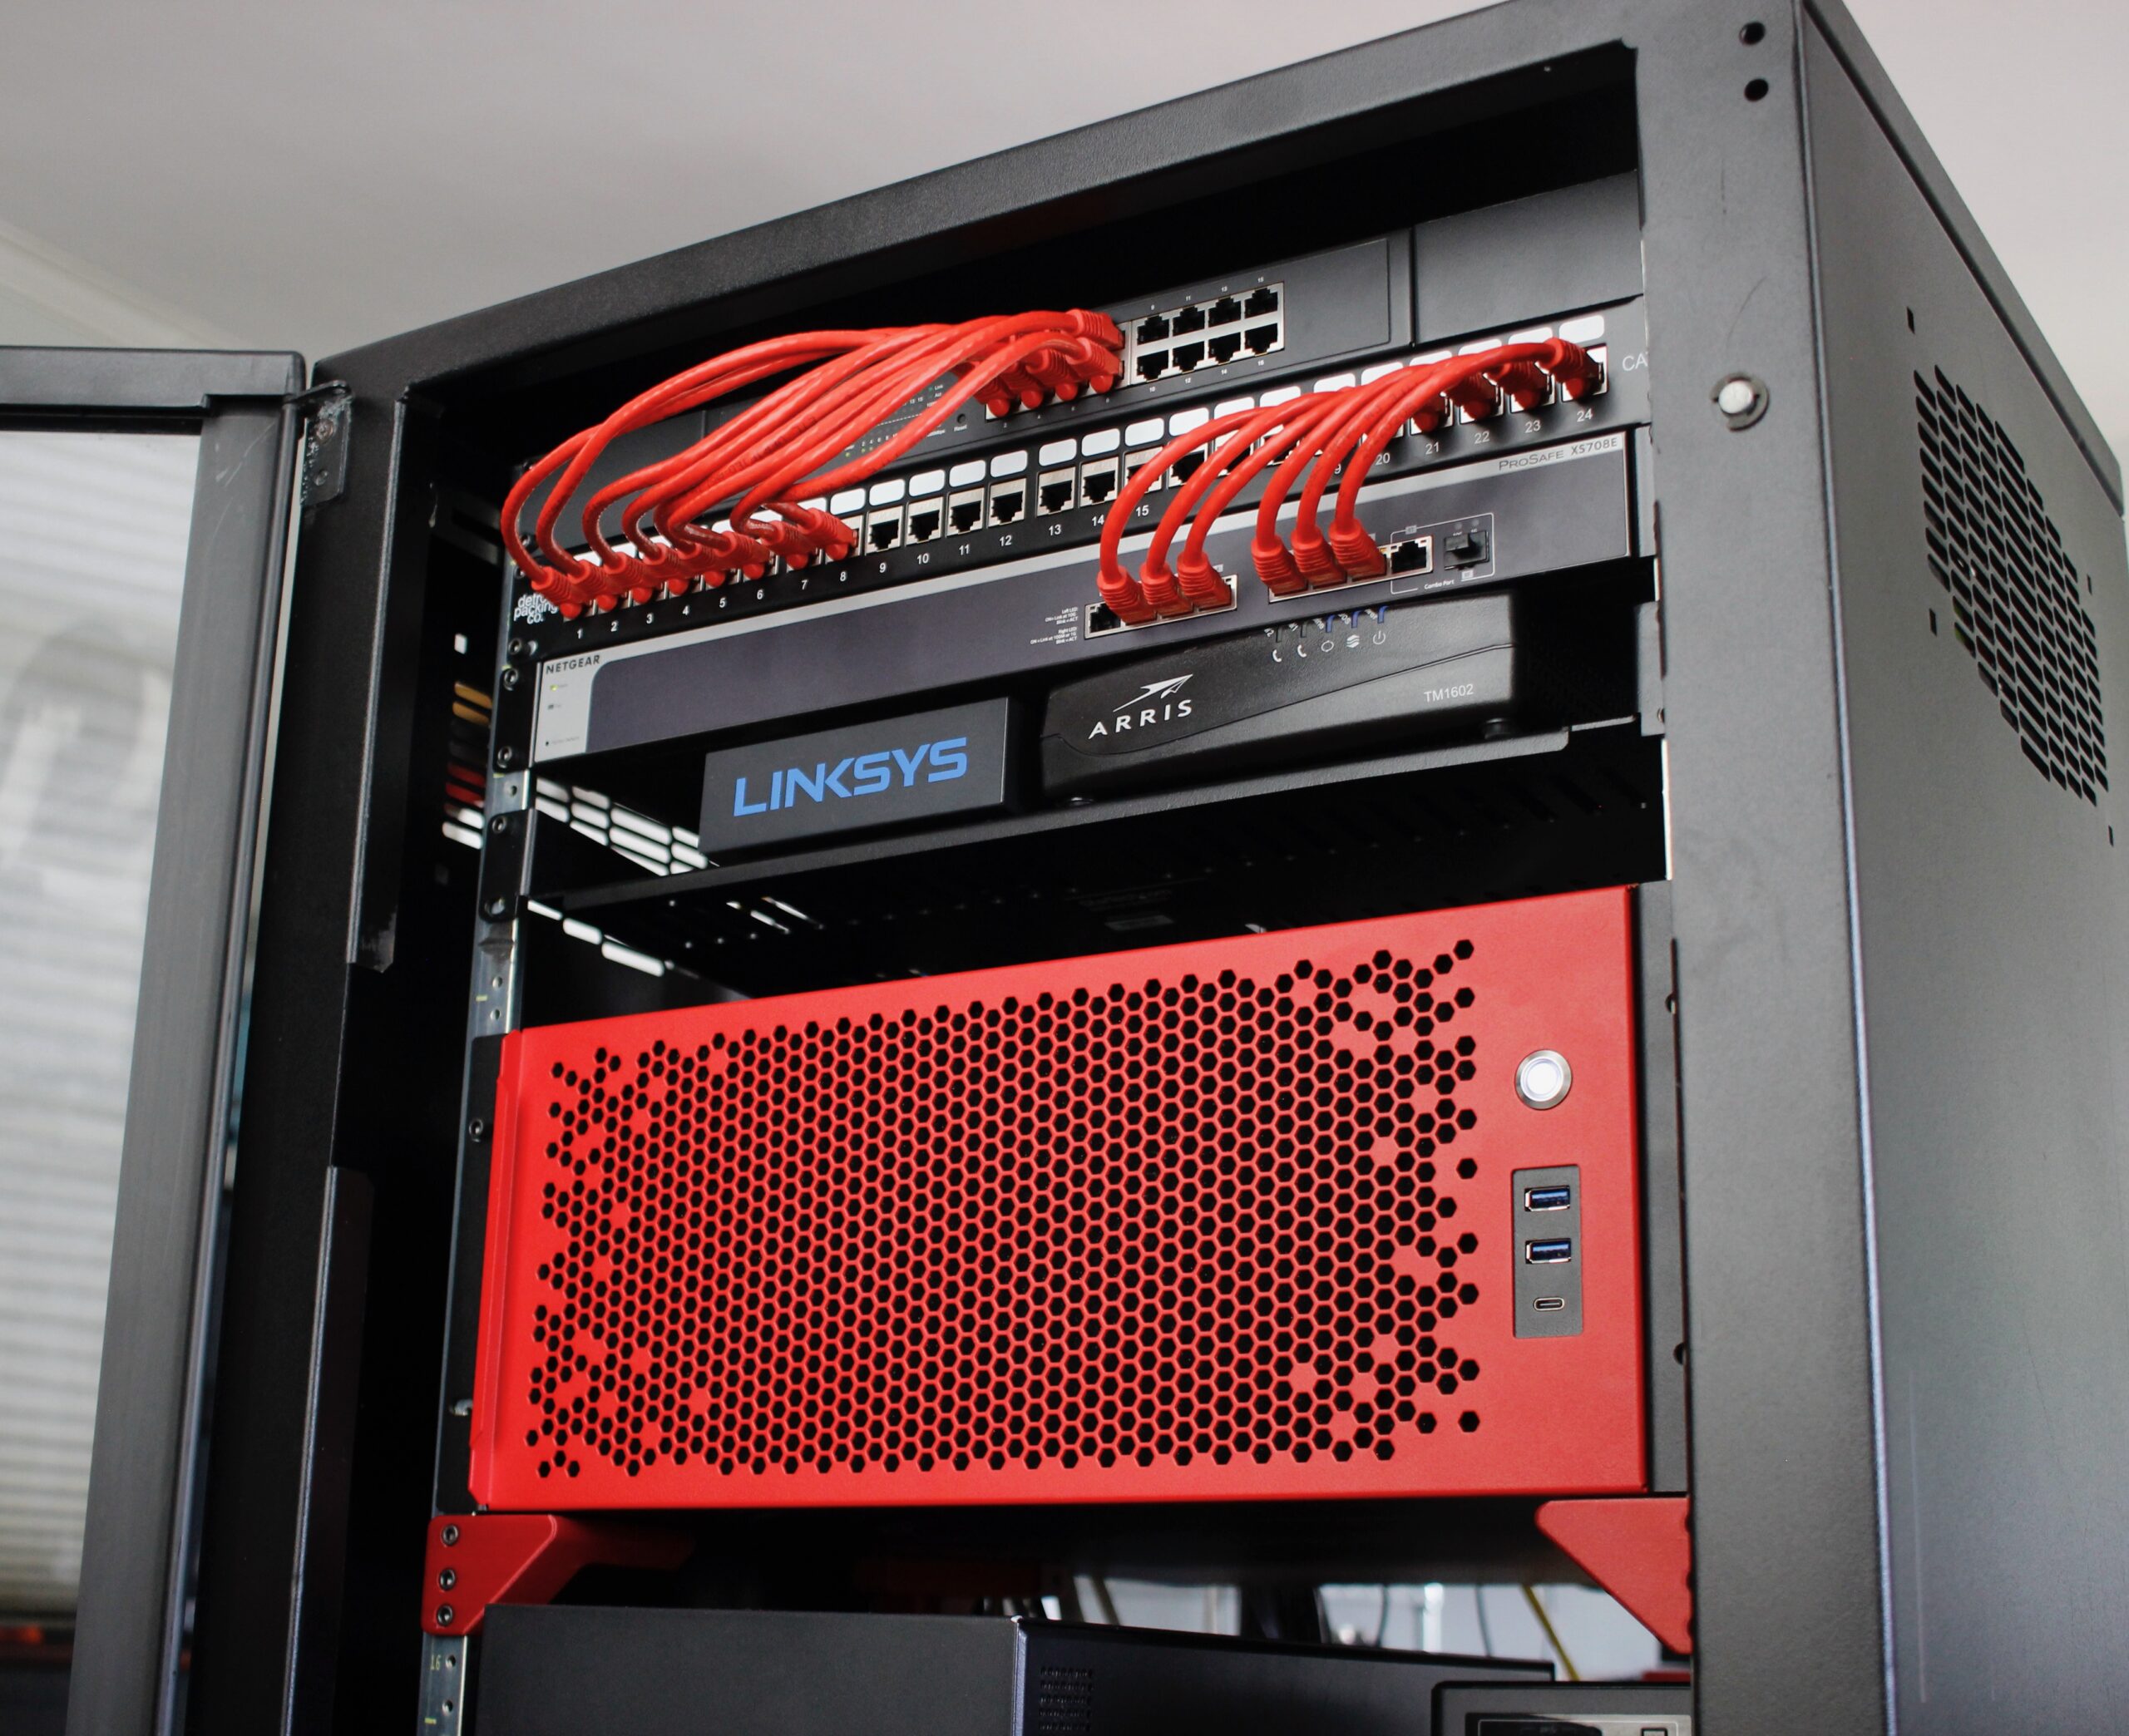
The rack can accommodate hardware of varying lengths. From the end of the front posts, to the absolute back of the cable management area measures 20.5″. There’s also around 3″ between the front posts and the glass. 3D printed spacers could be used to give you some more room in the cable management area. CX4200A comes in at a depth of 19.89 specified inches, in reality though it should just be called 20. This is tight but it works, I’m fine with a well-utilized (packed) rack.
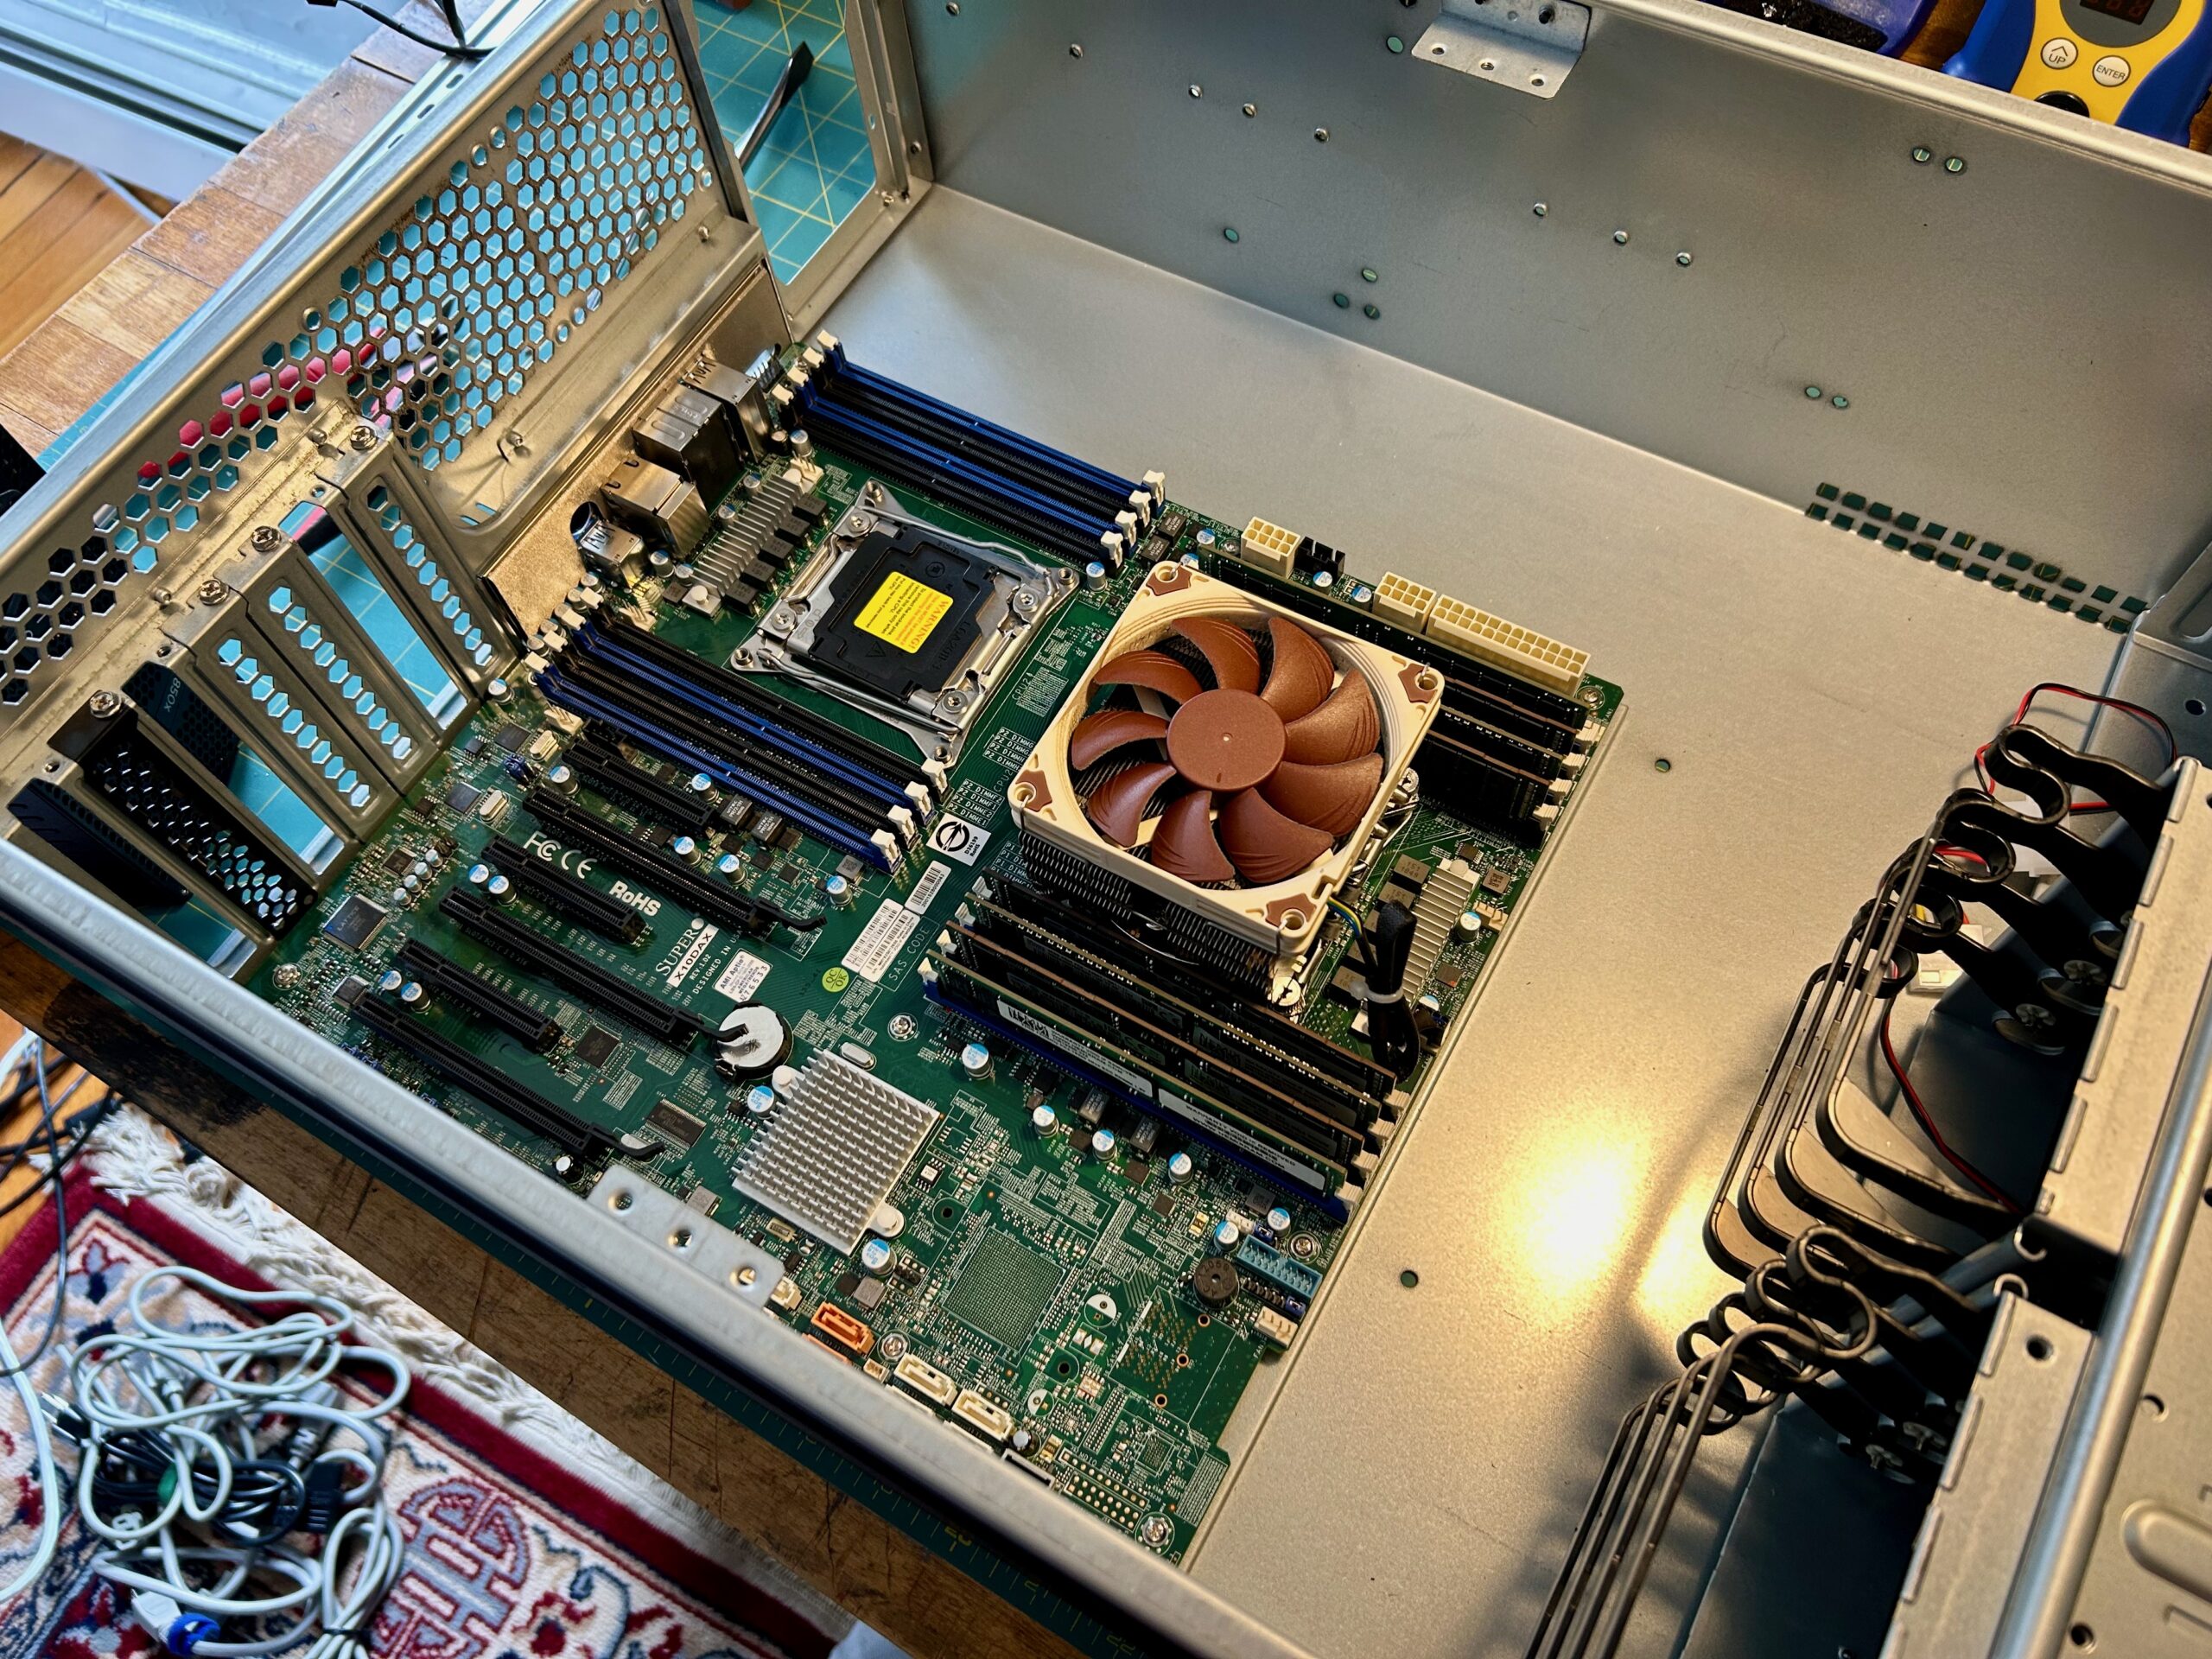
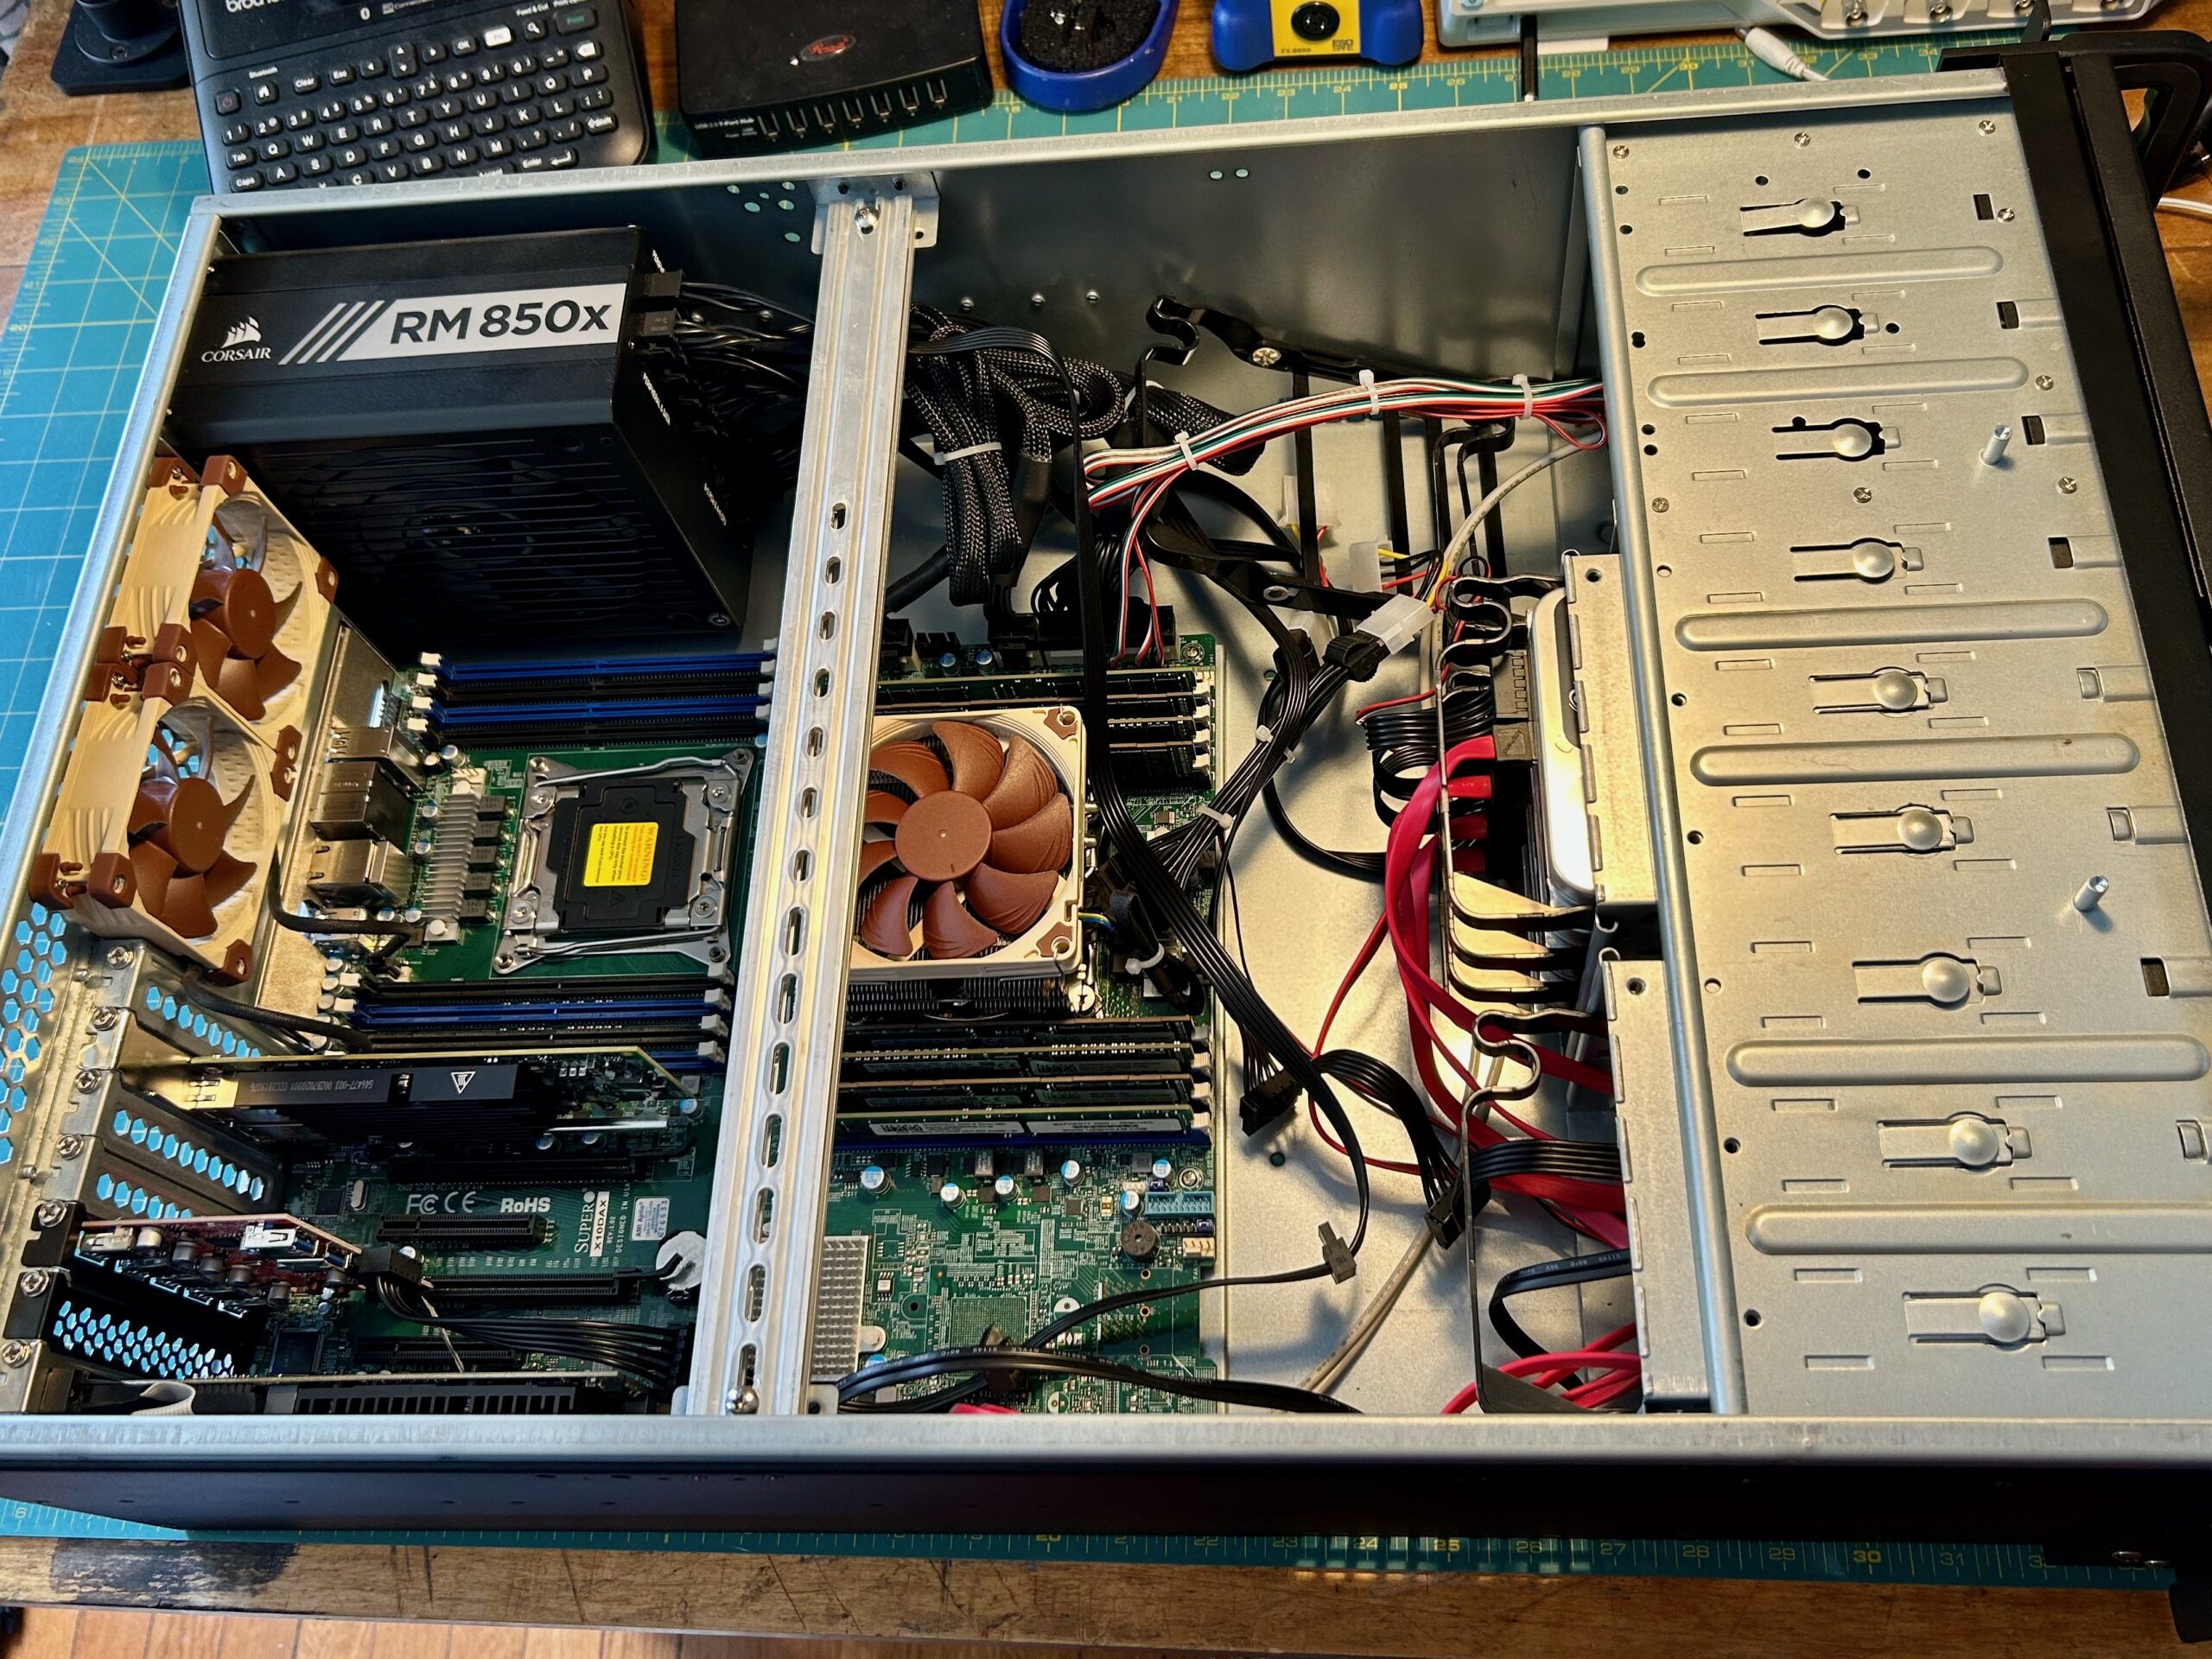
CX4200A can almost natively accommodate my build.
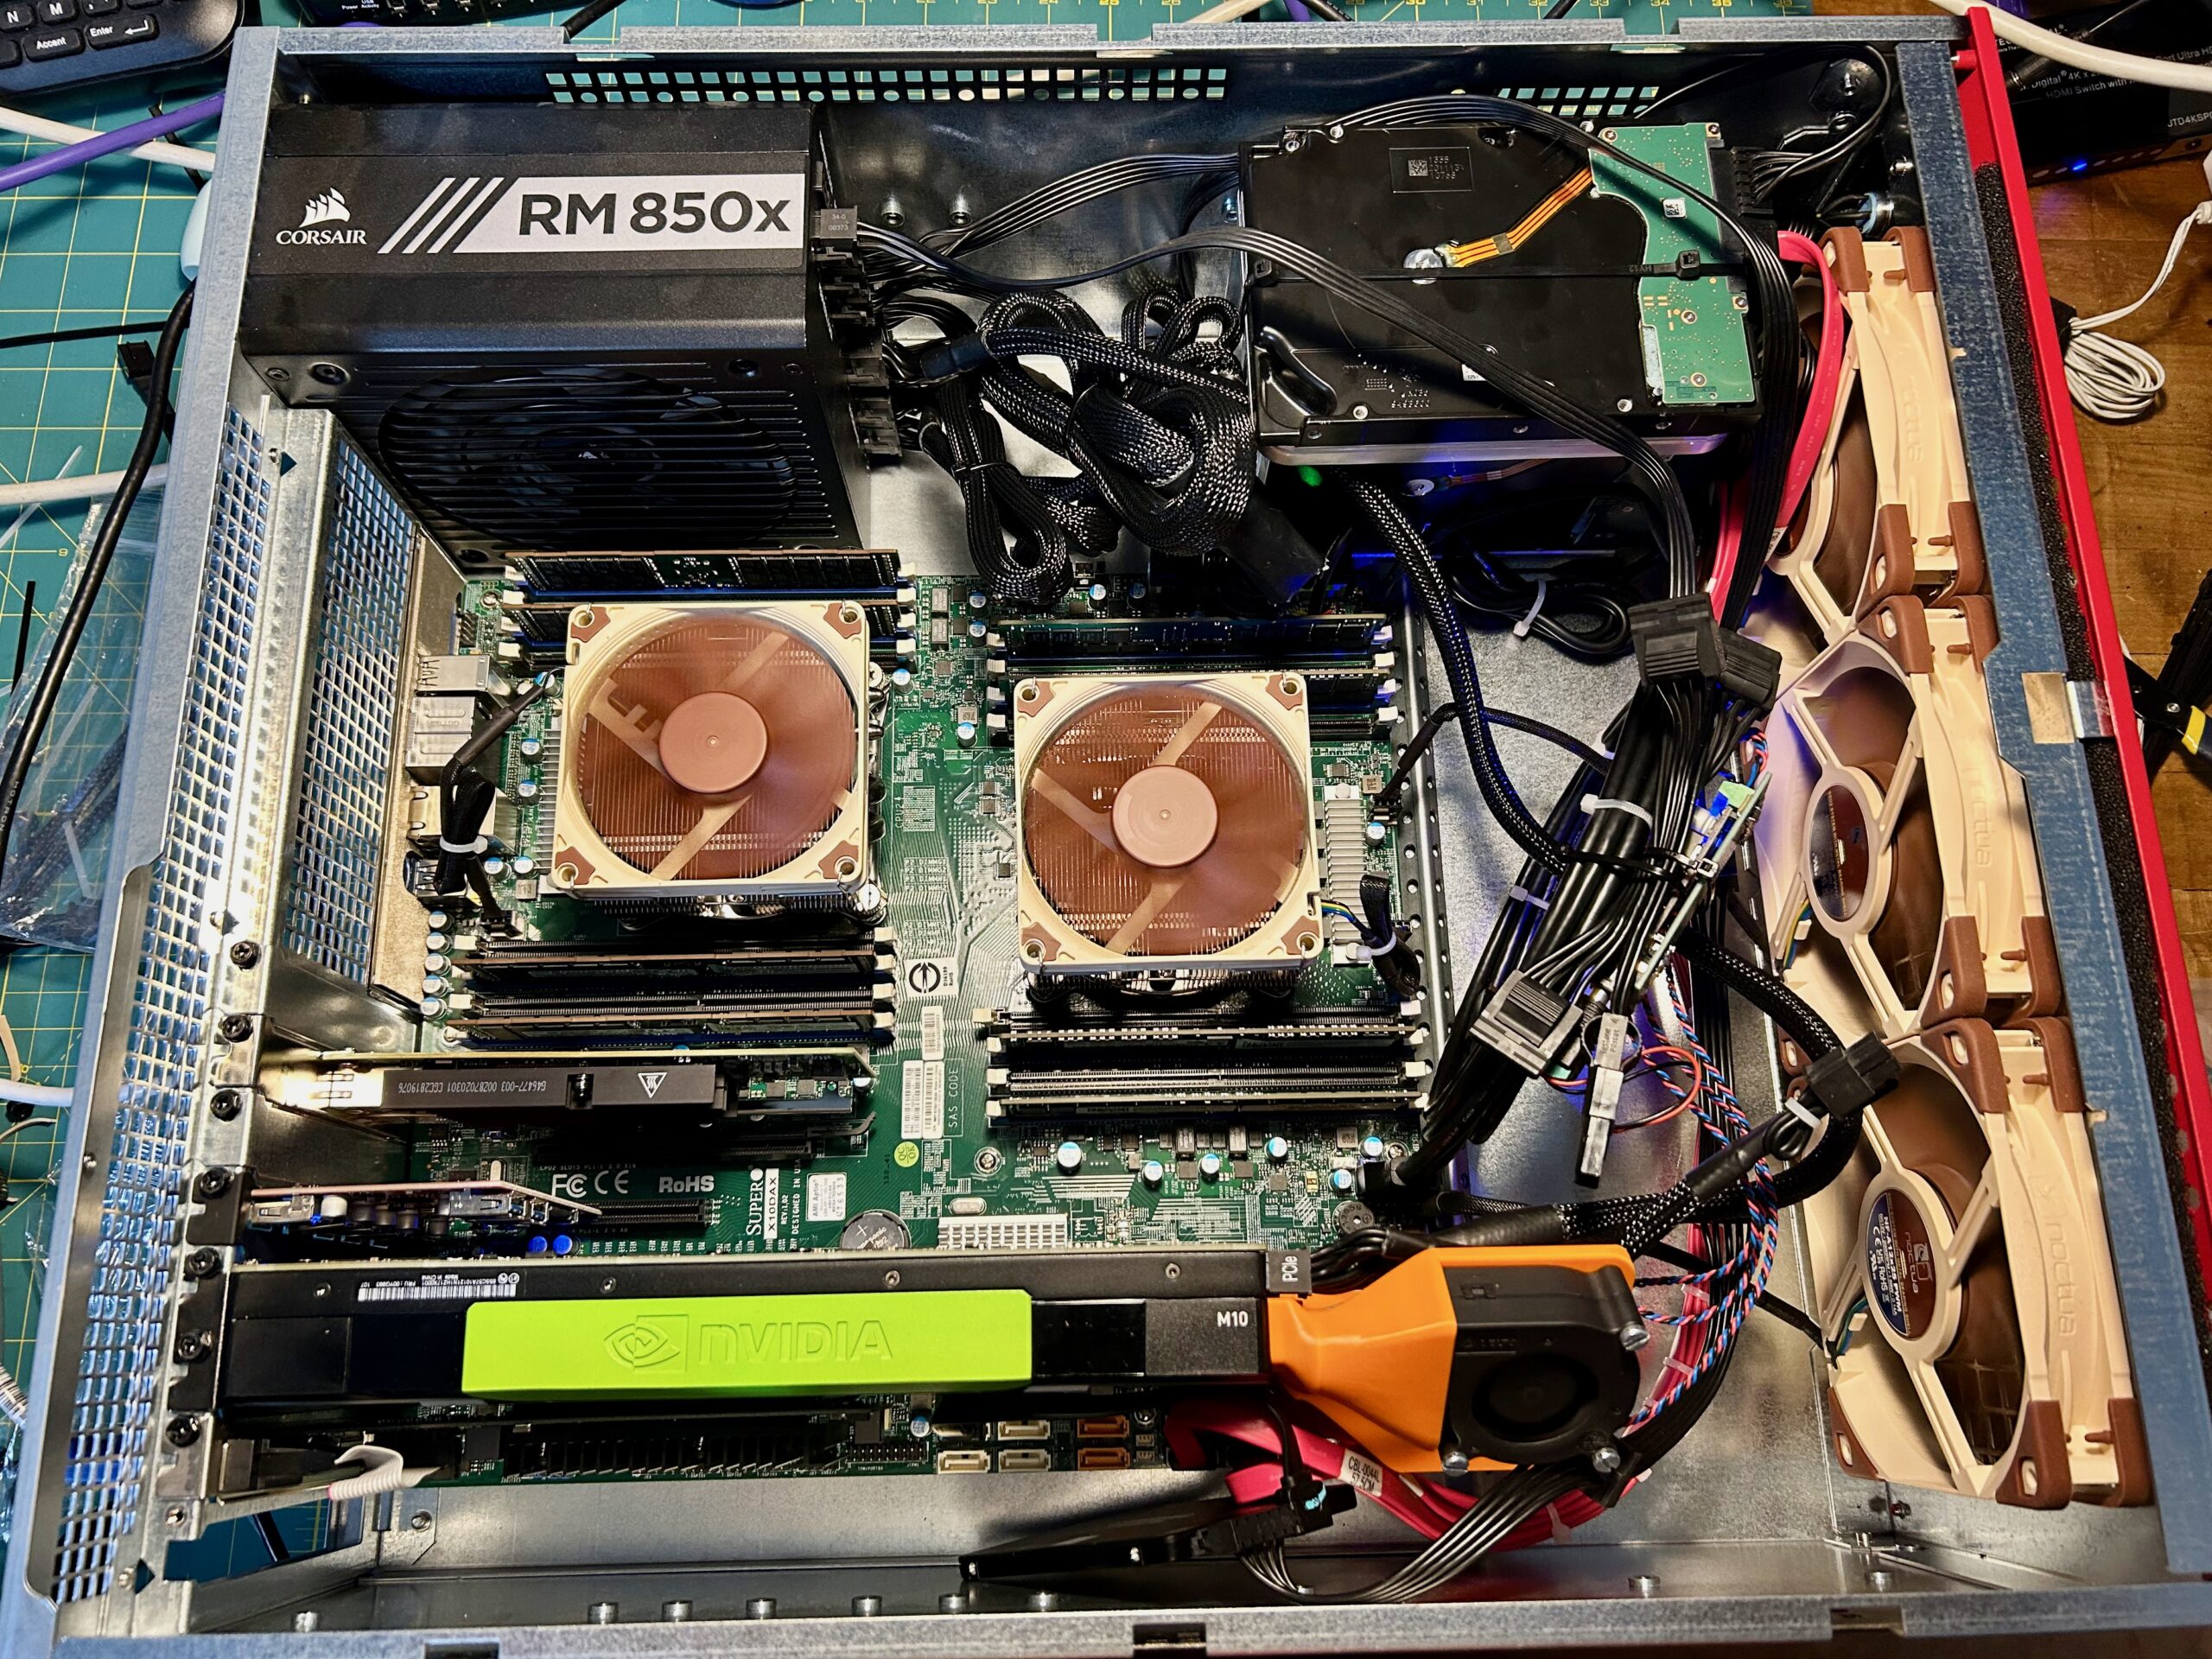
The problems worth solving are:
- No rear exhaust fans.
- Only room for 3×3.5″ hard drives. My storage array uses four, and I’d like a 5th as well.
- Using all the 3.5″ bays blocks the use of the 2.5″ slots. I use a 2.5″ SSD as dedicated storage for realtime VMs, so I need mounting for one of these.
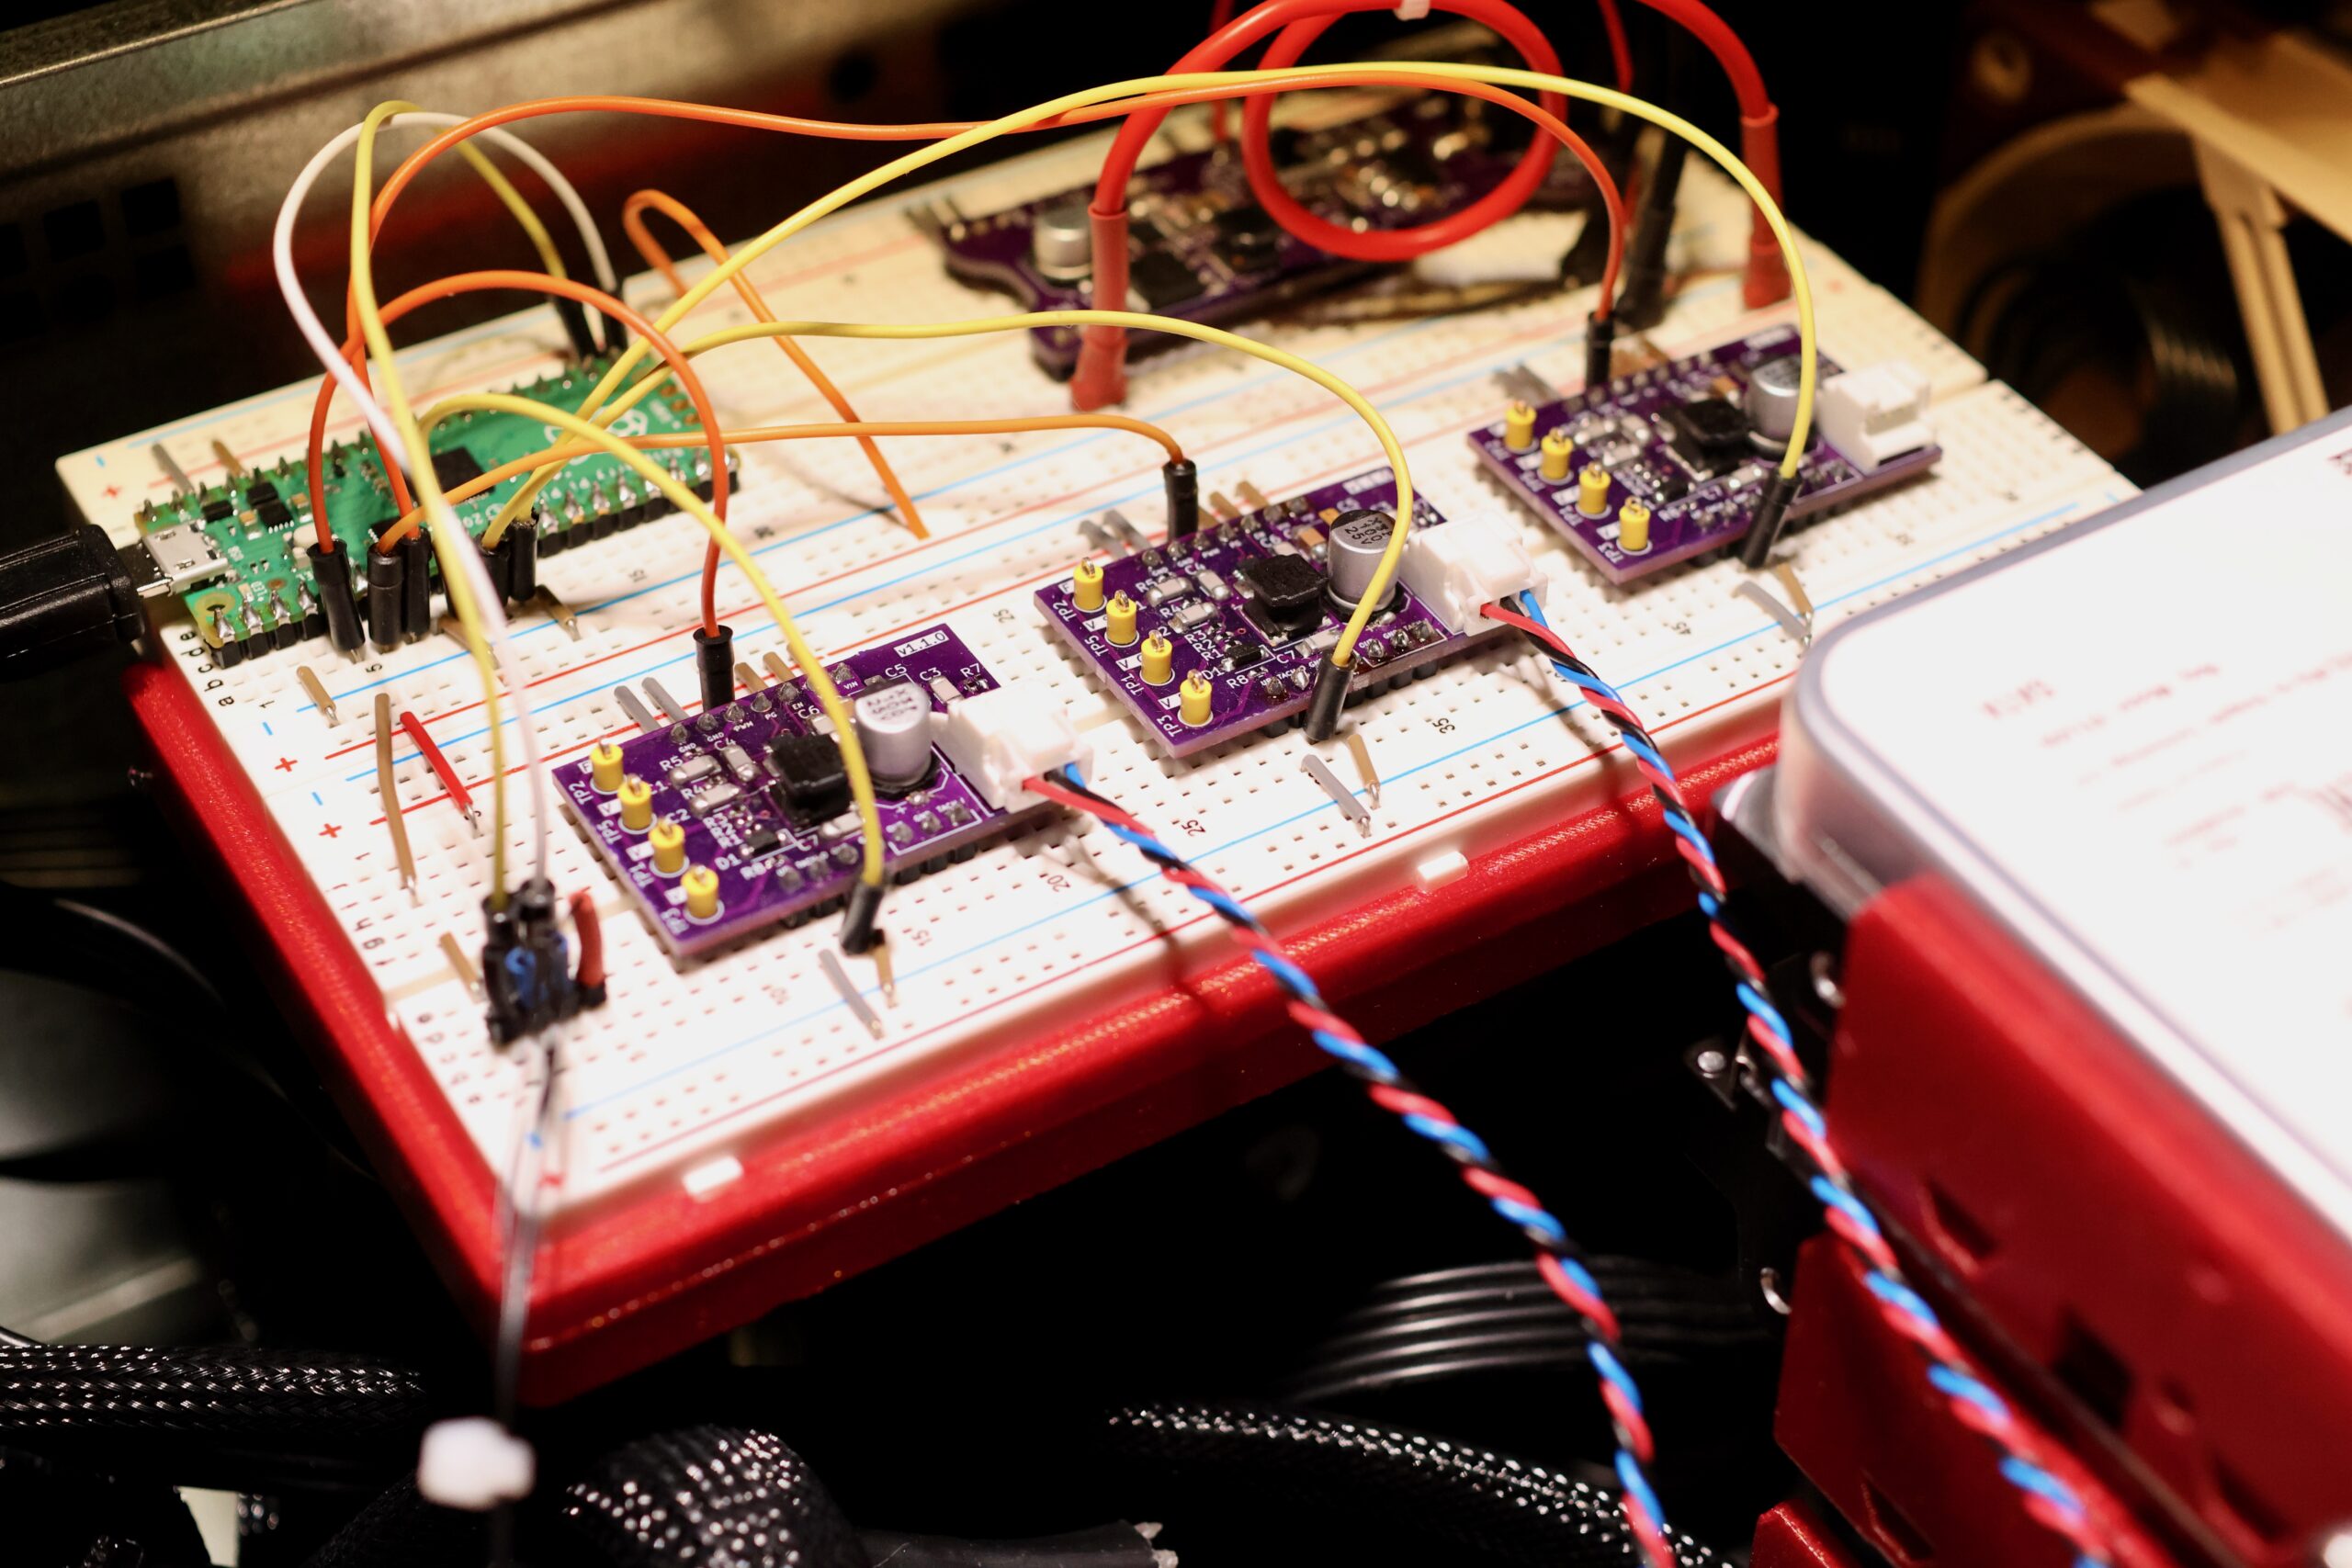
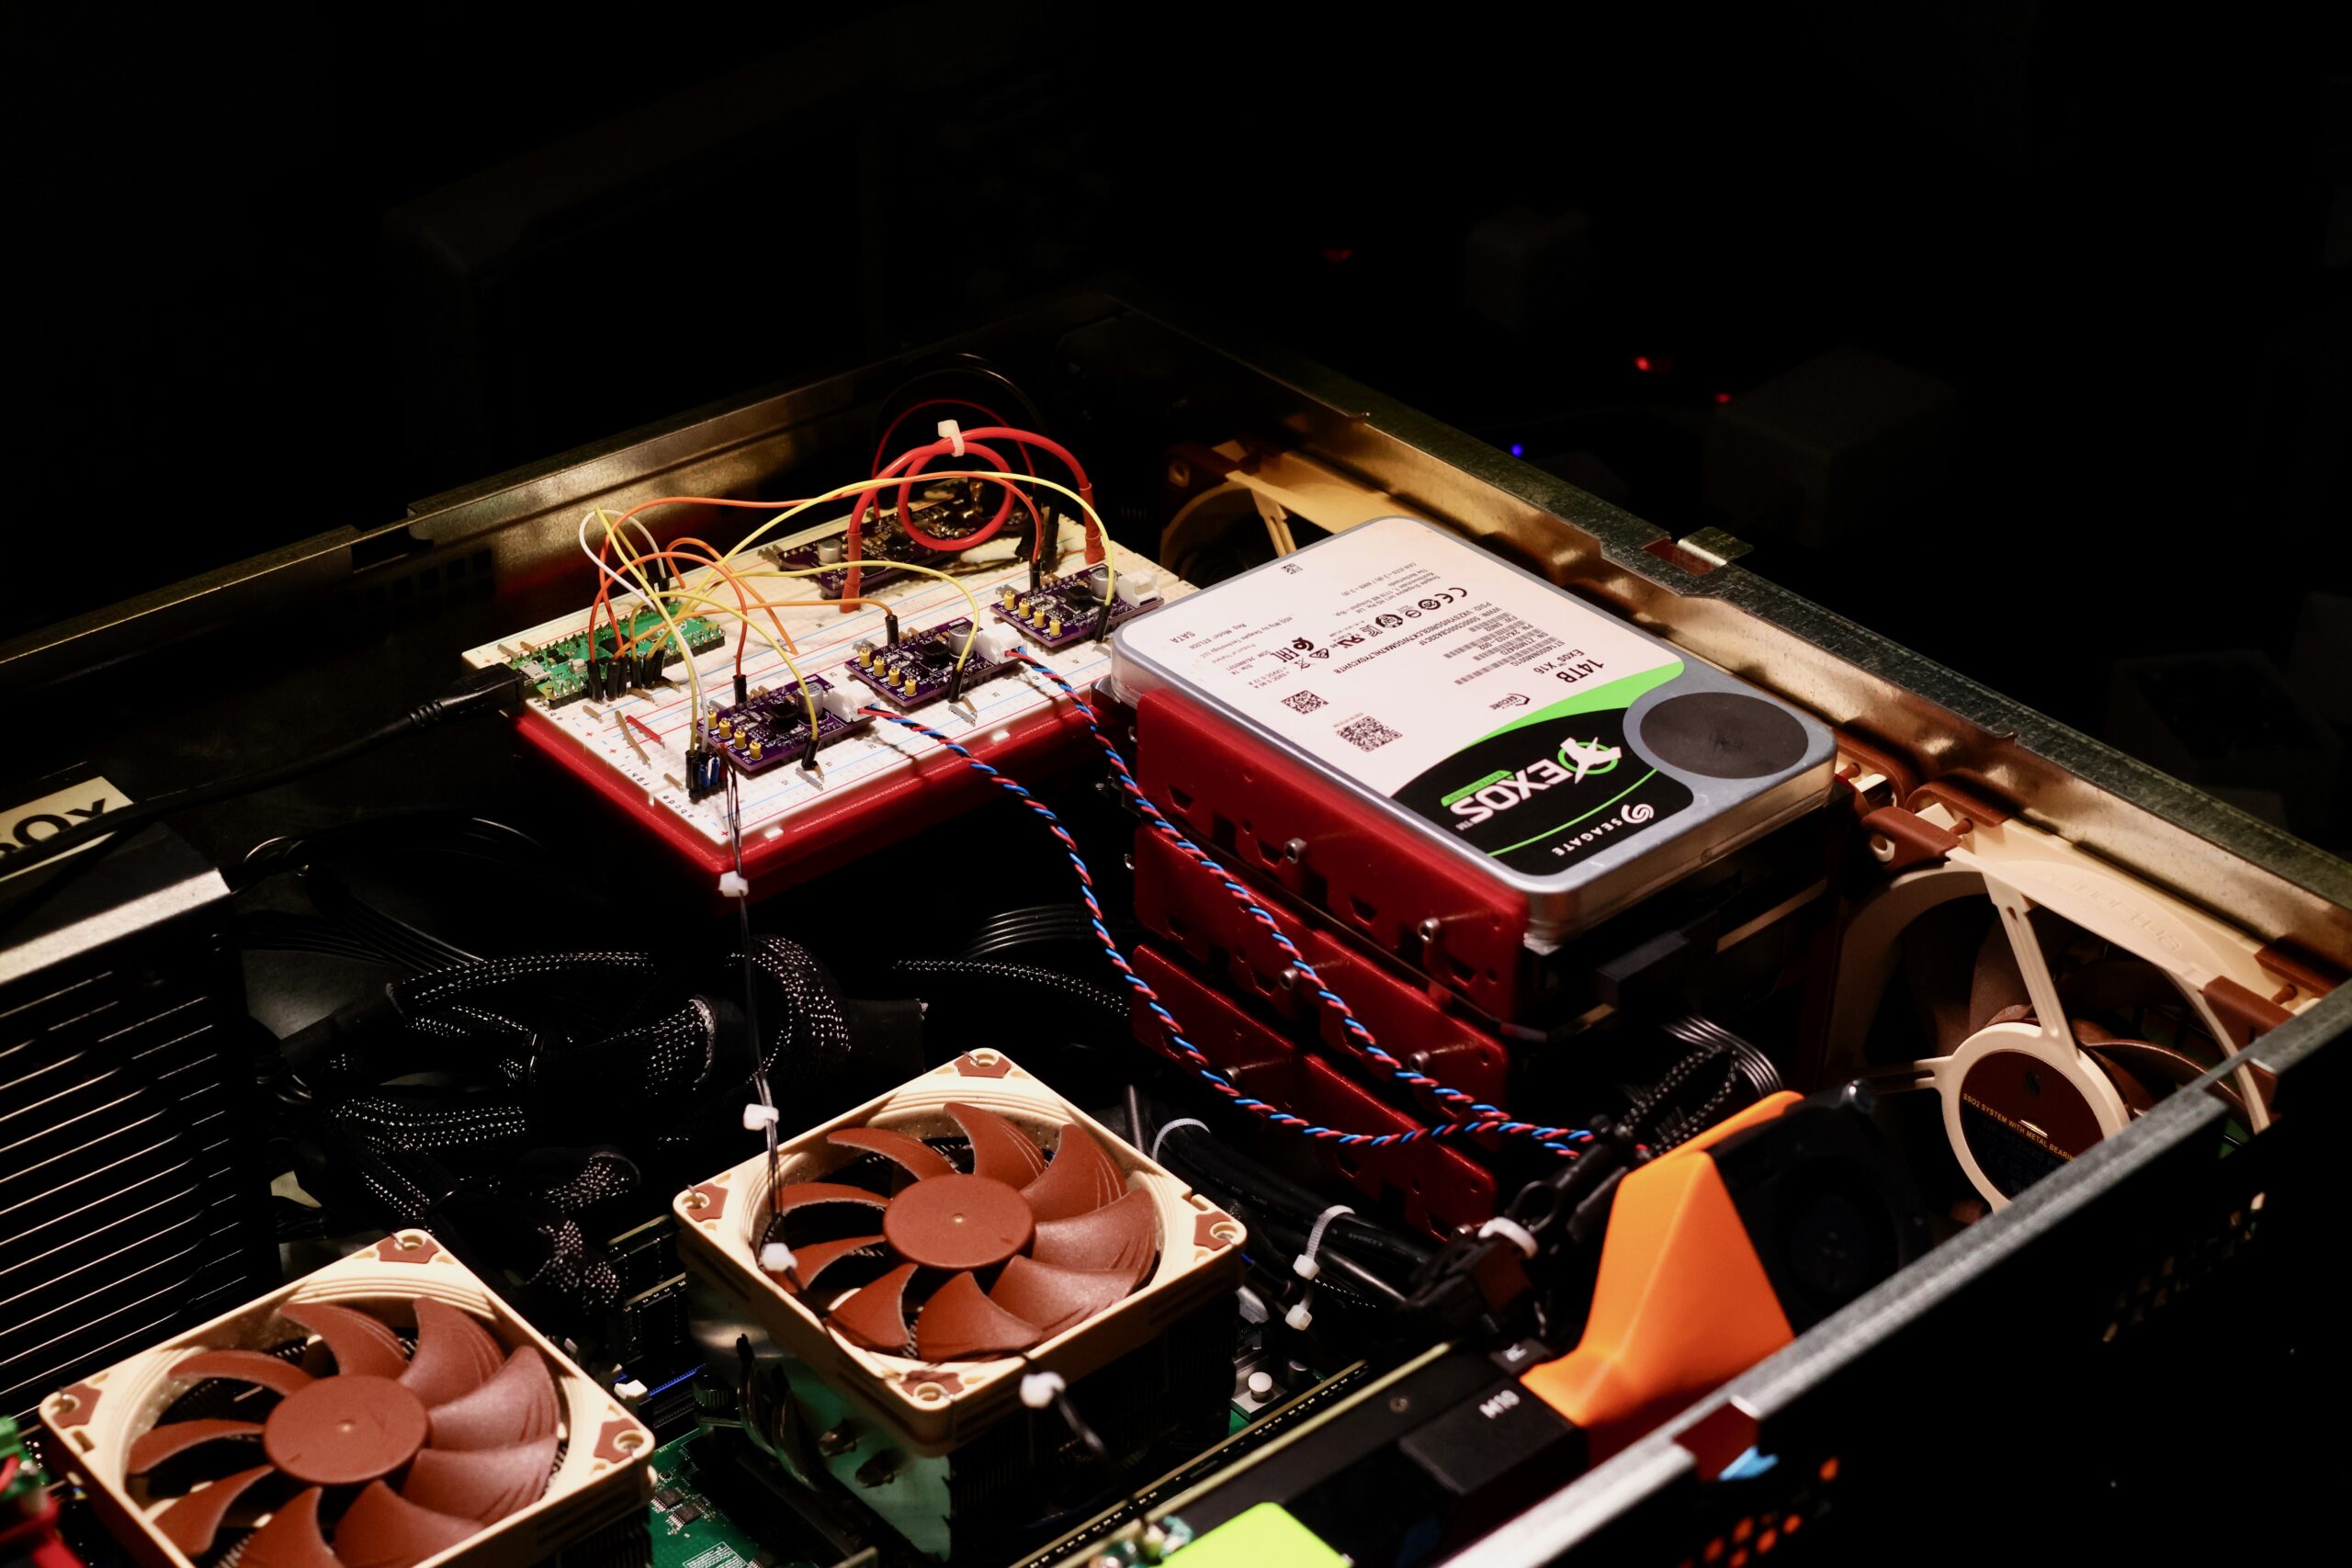
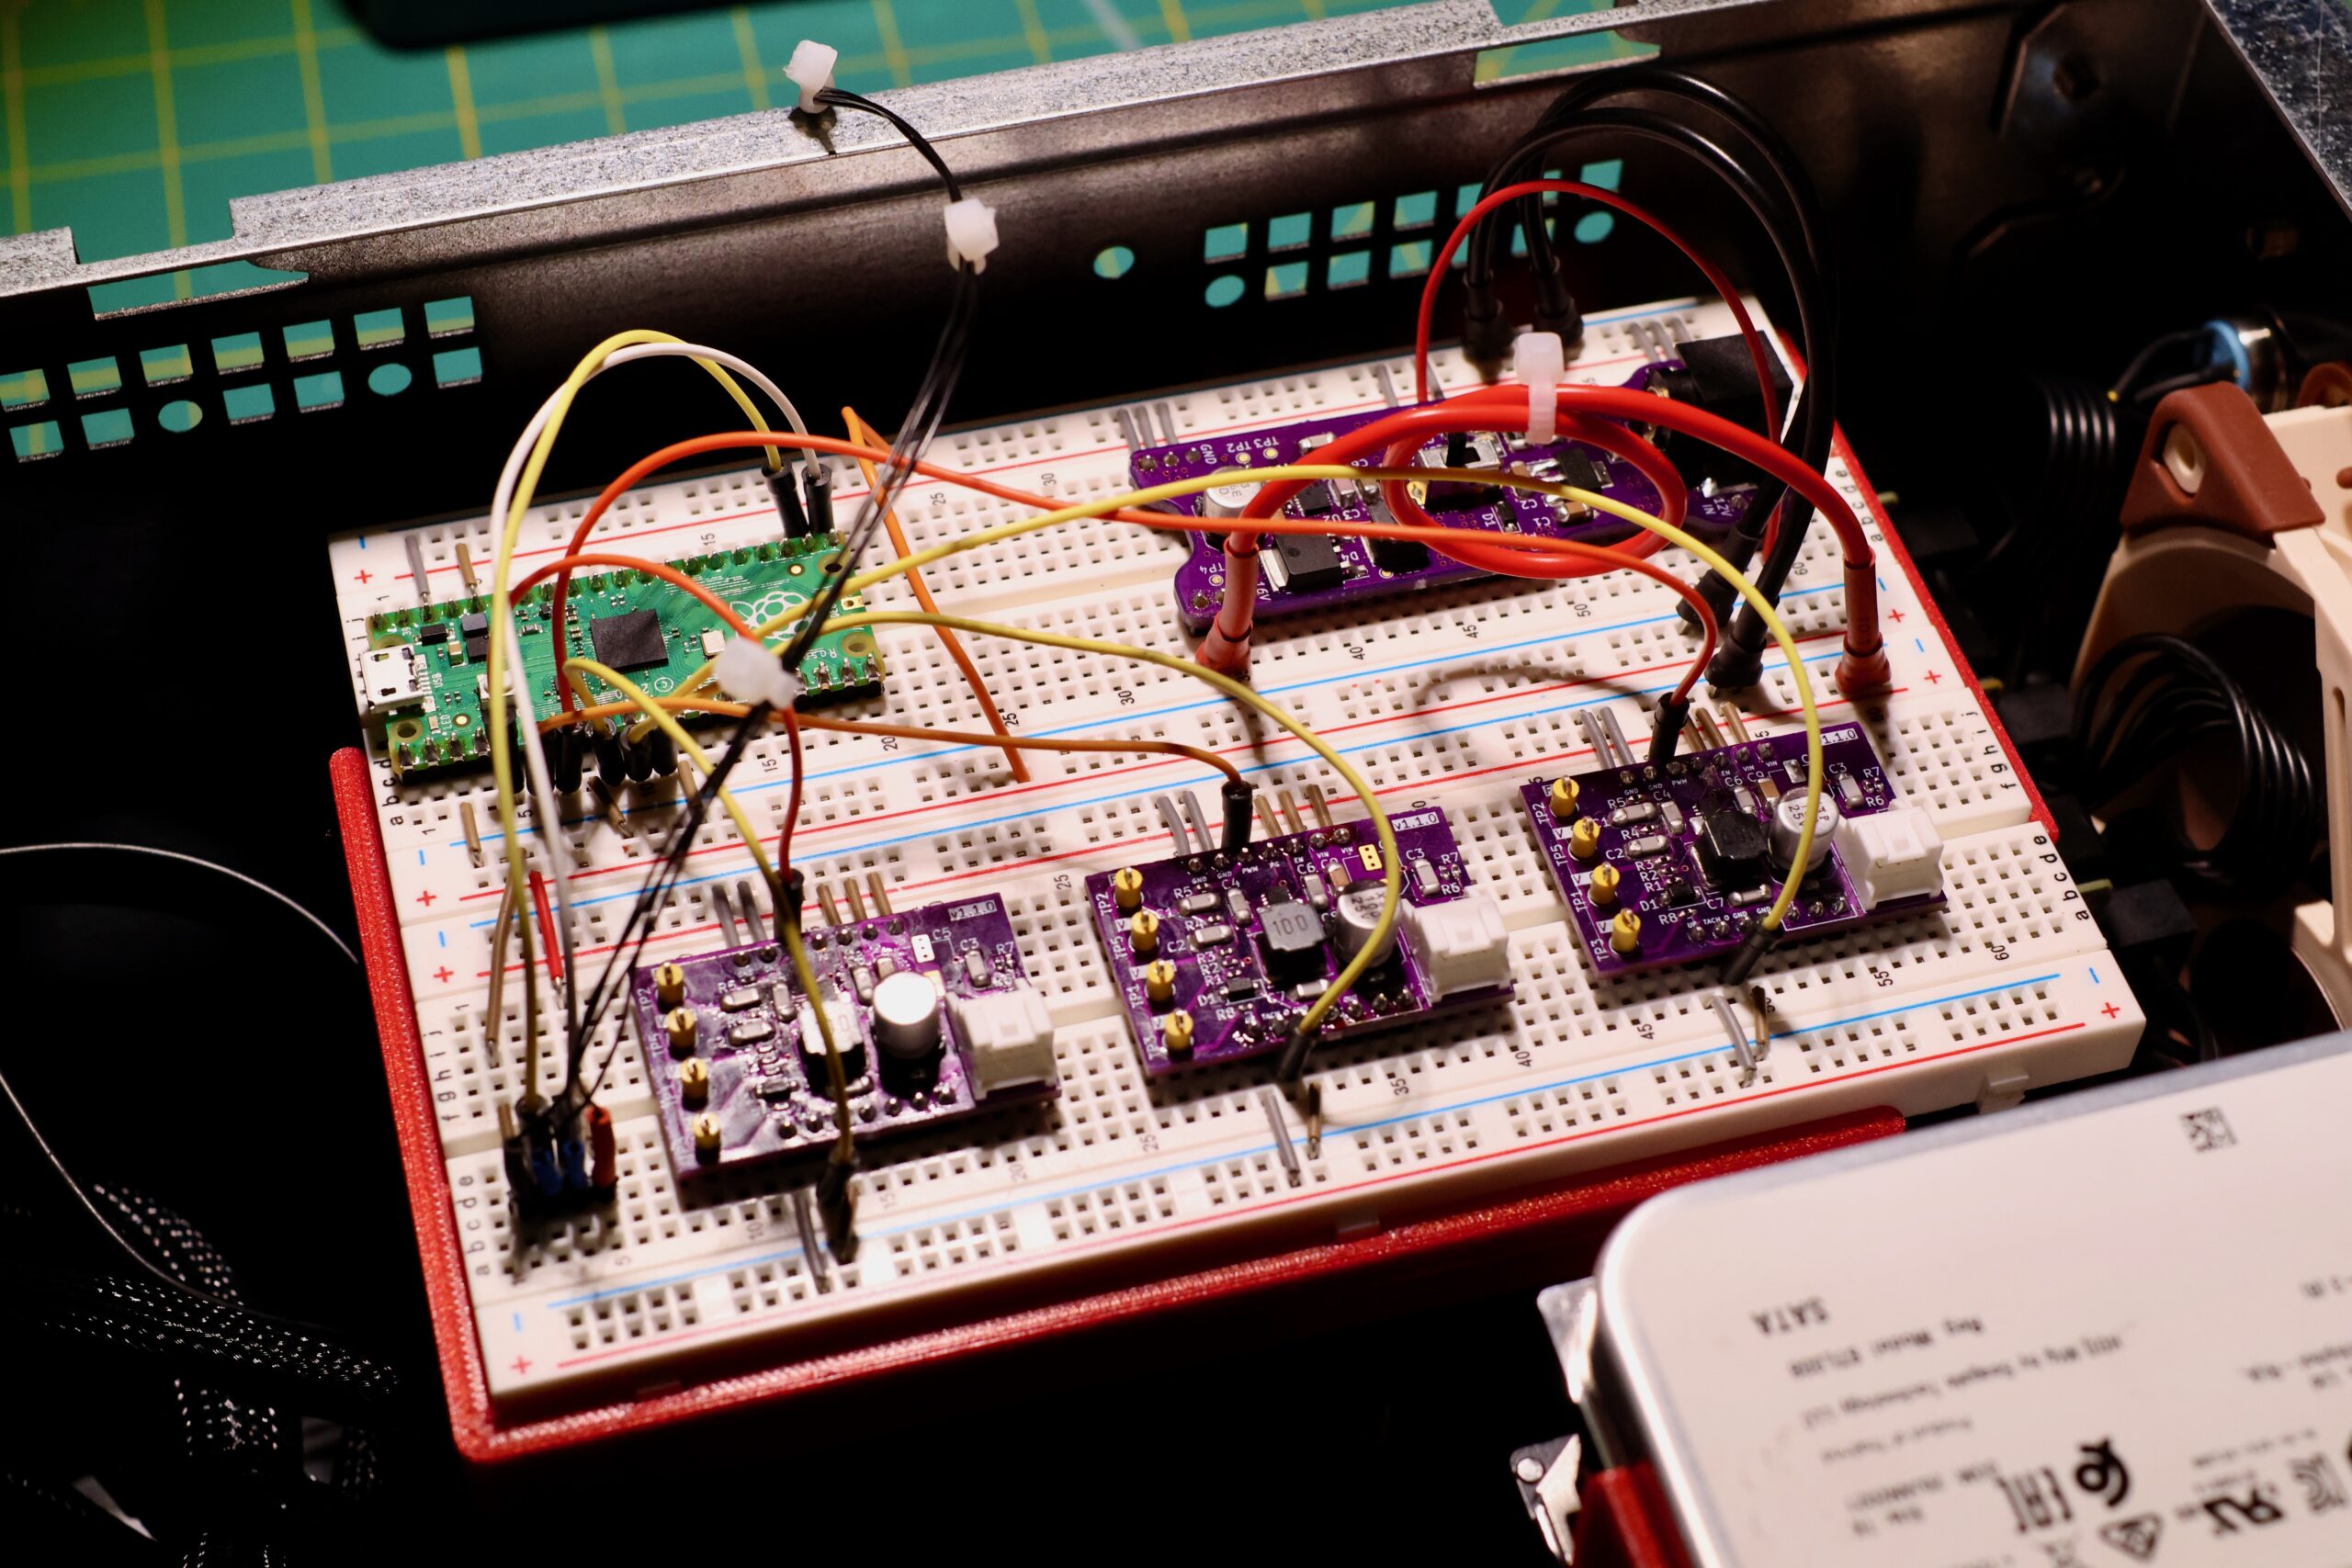
- I want to be able to use some of the empty space in the chassis to mount a double breadboard setup.
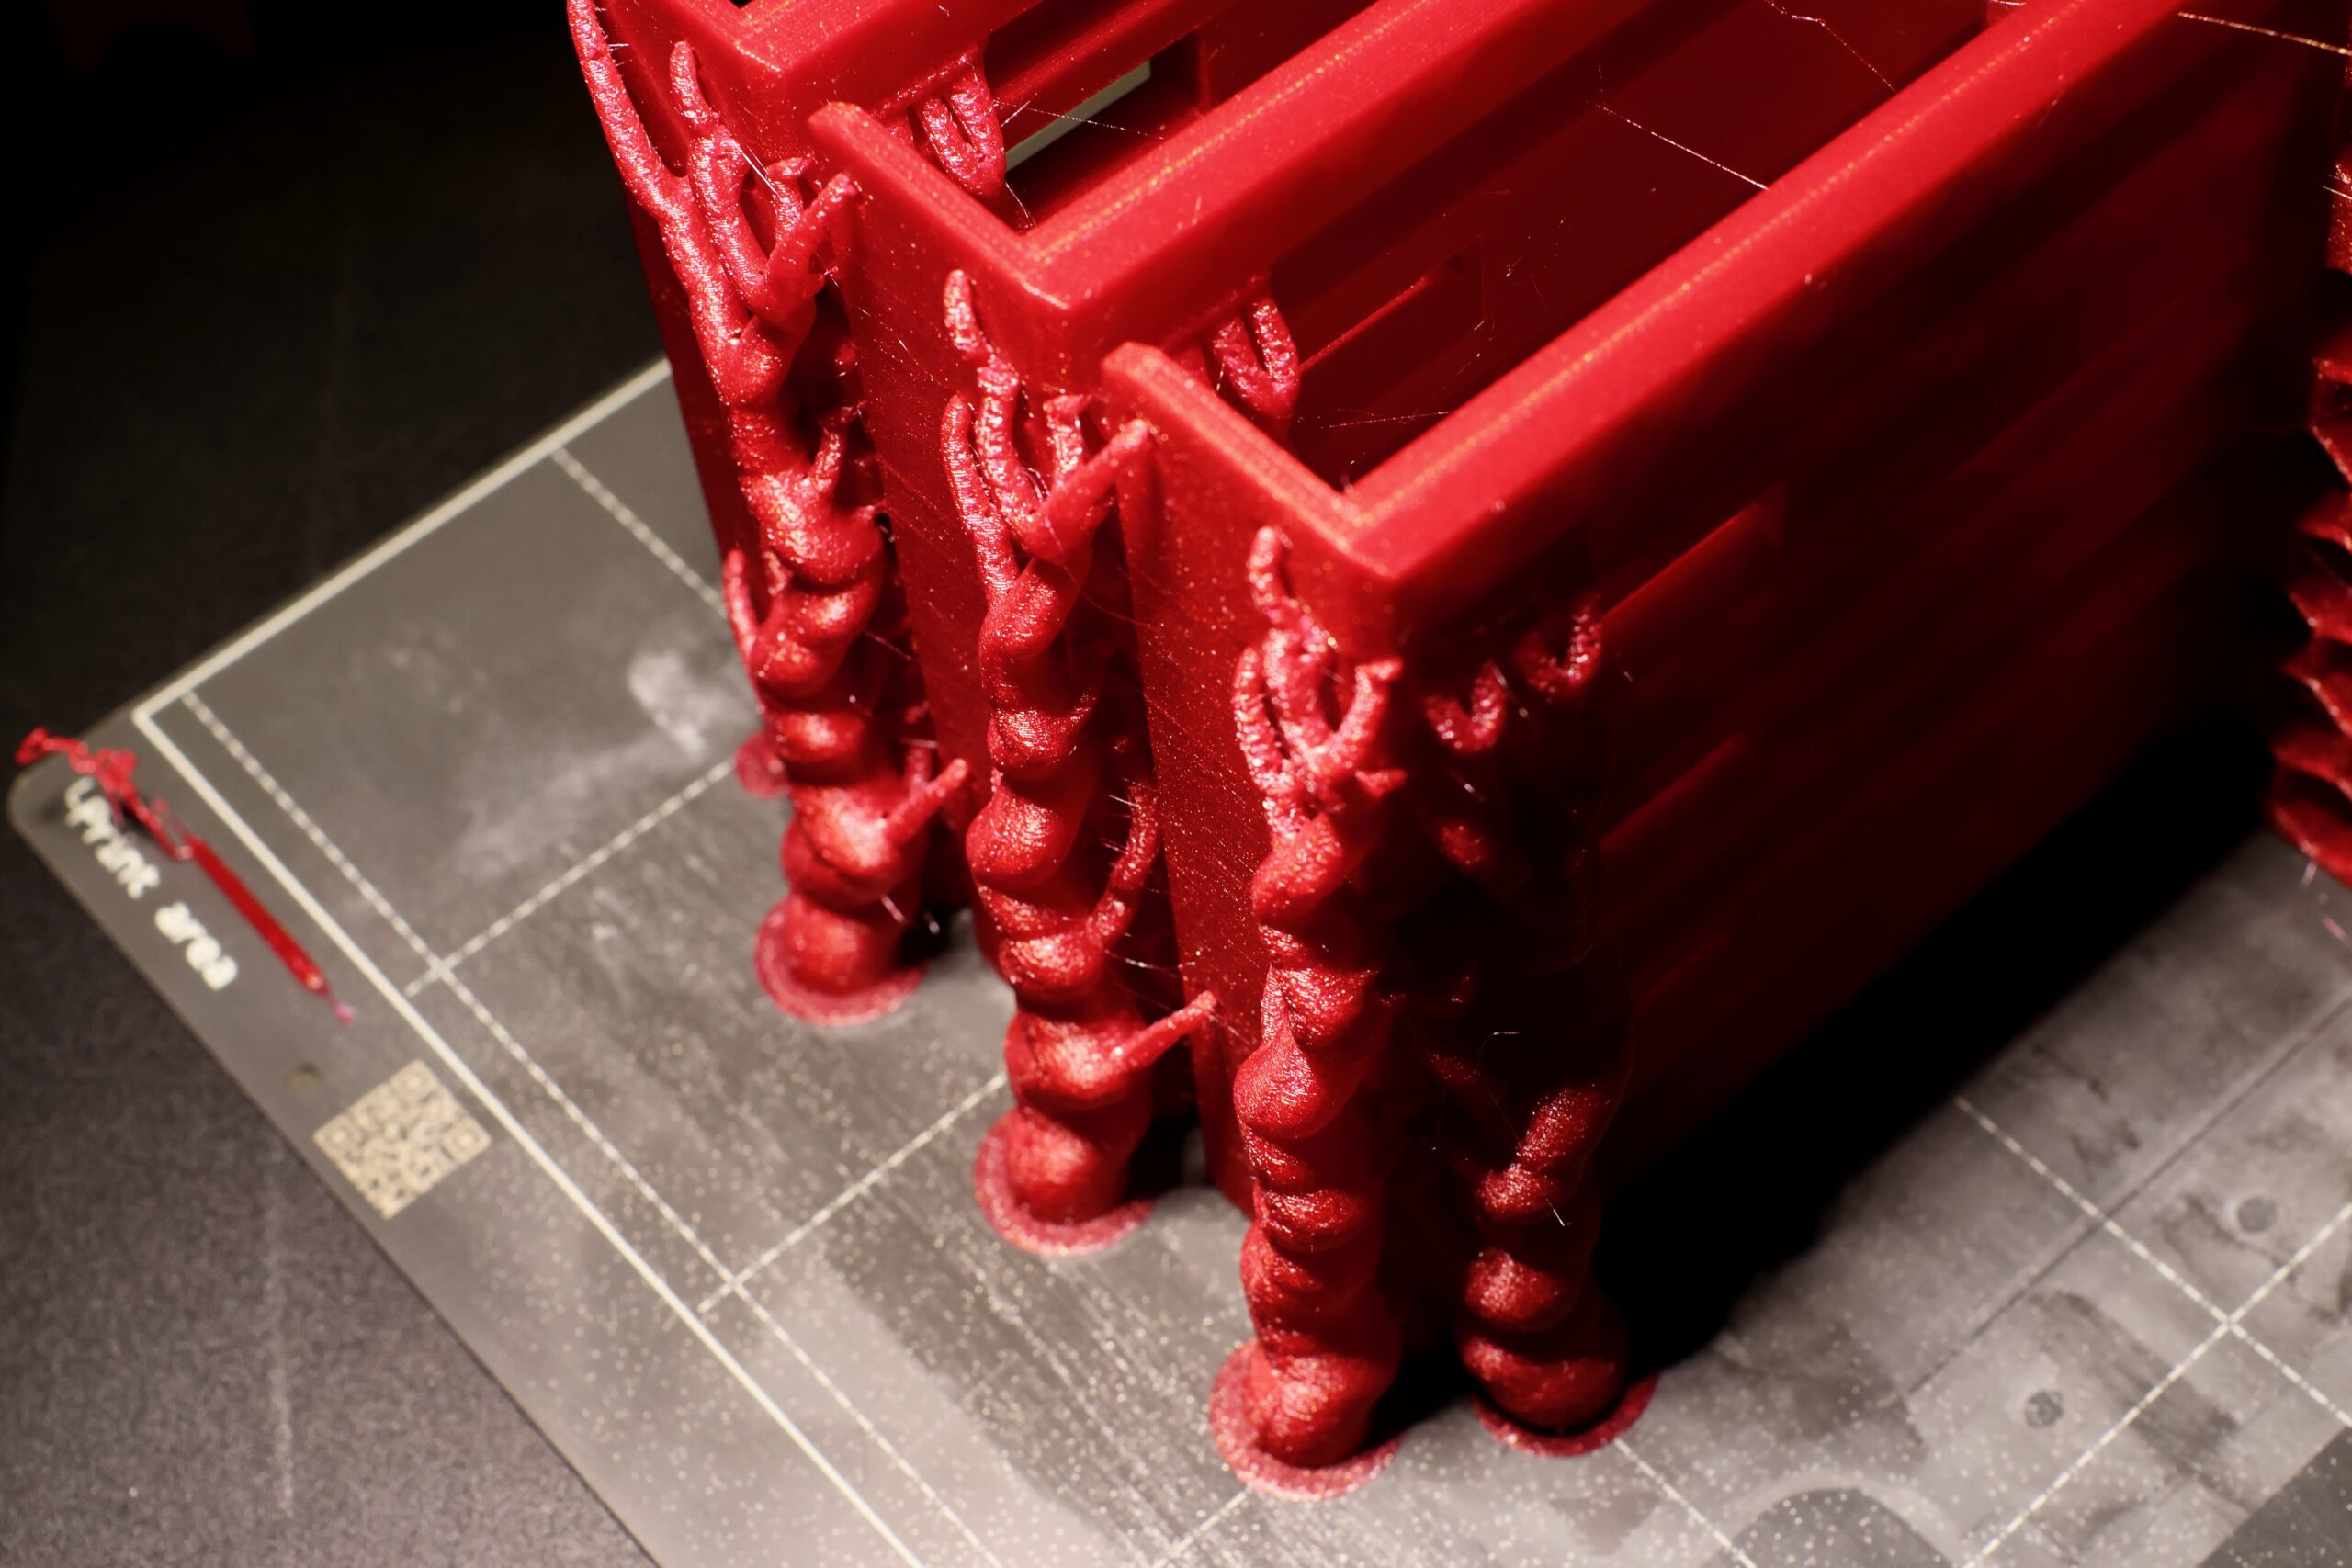
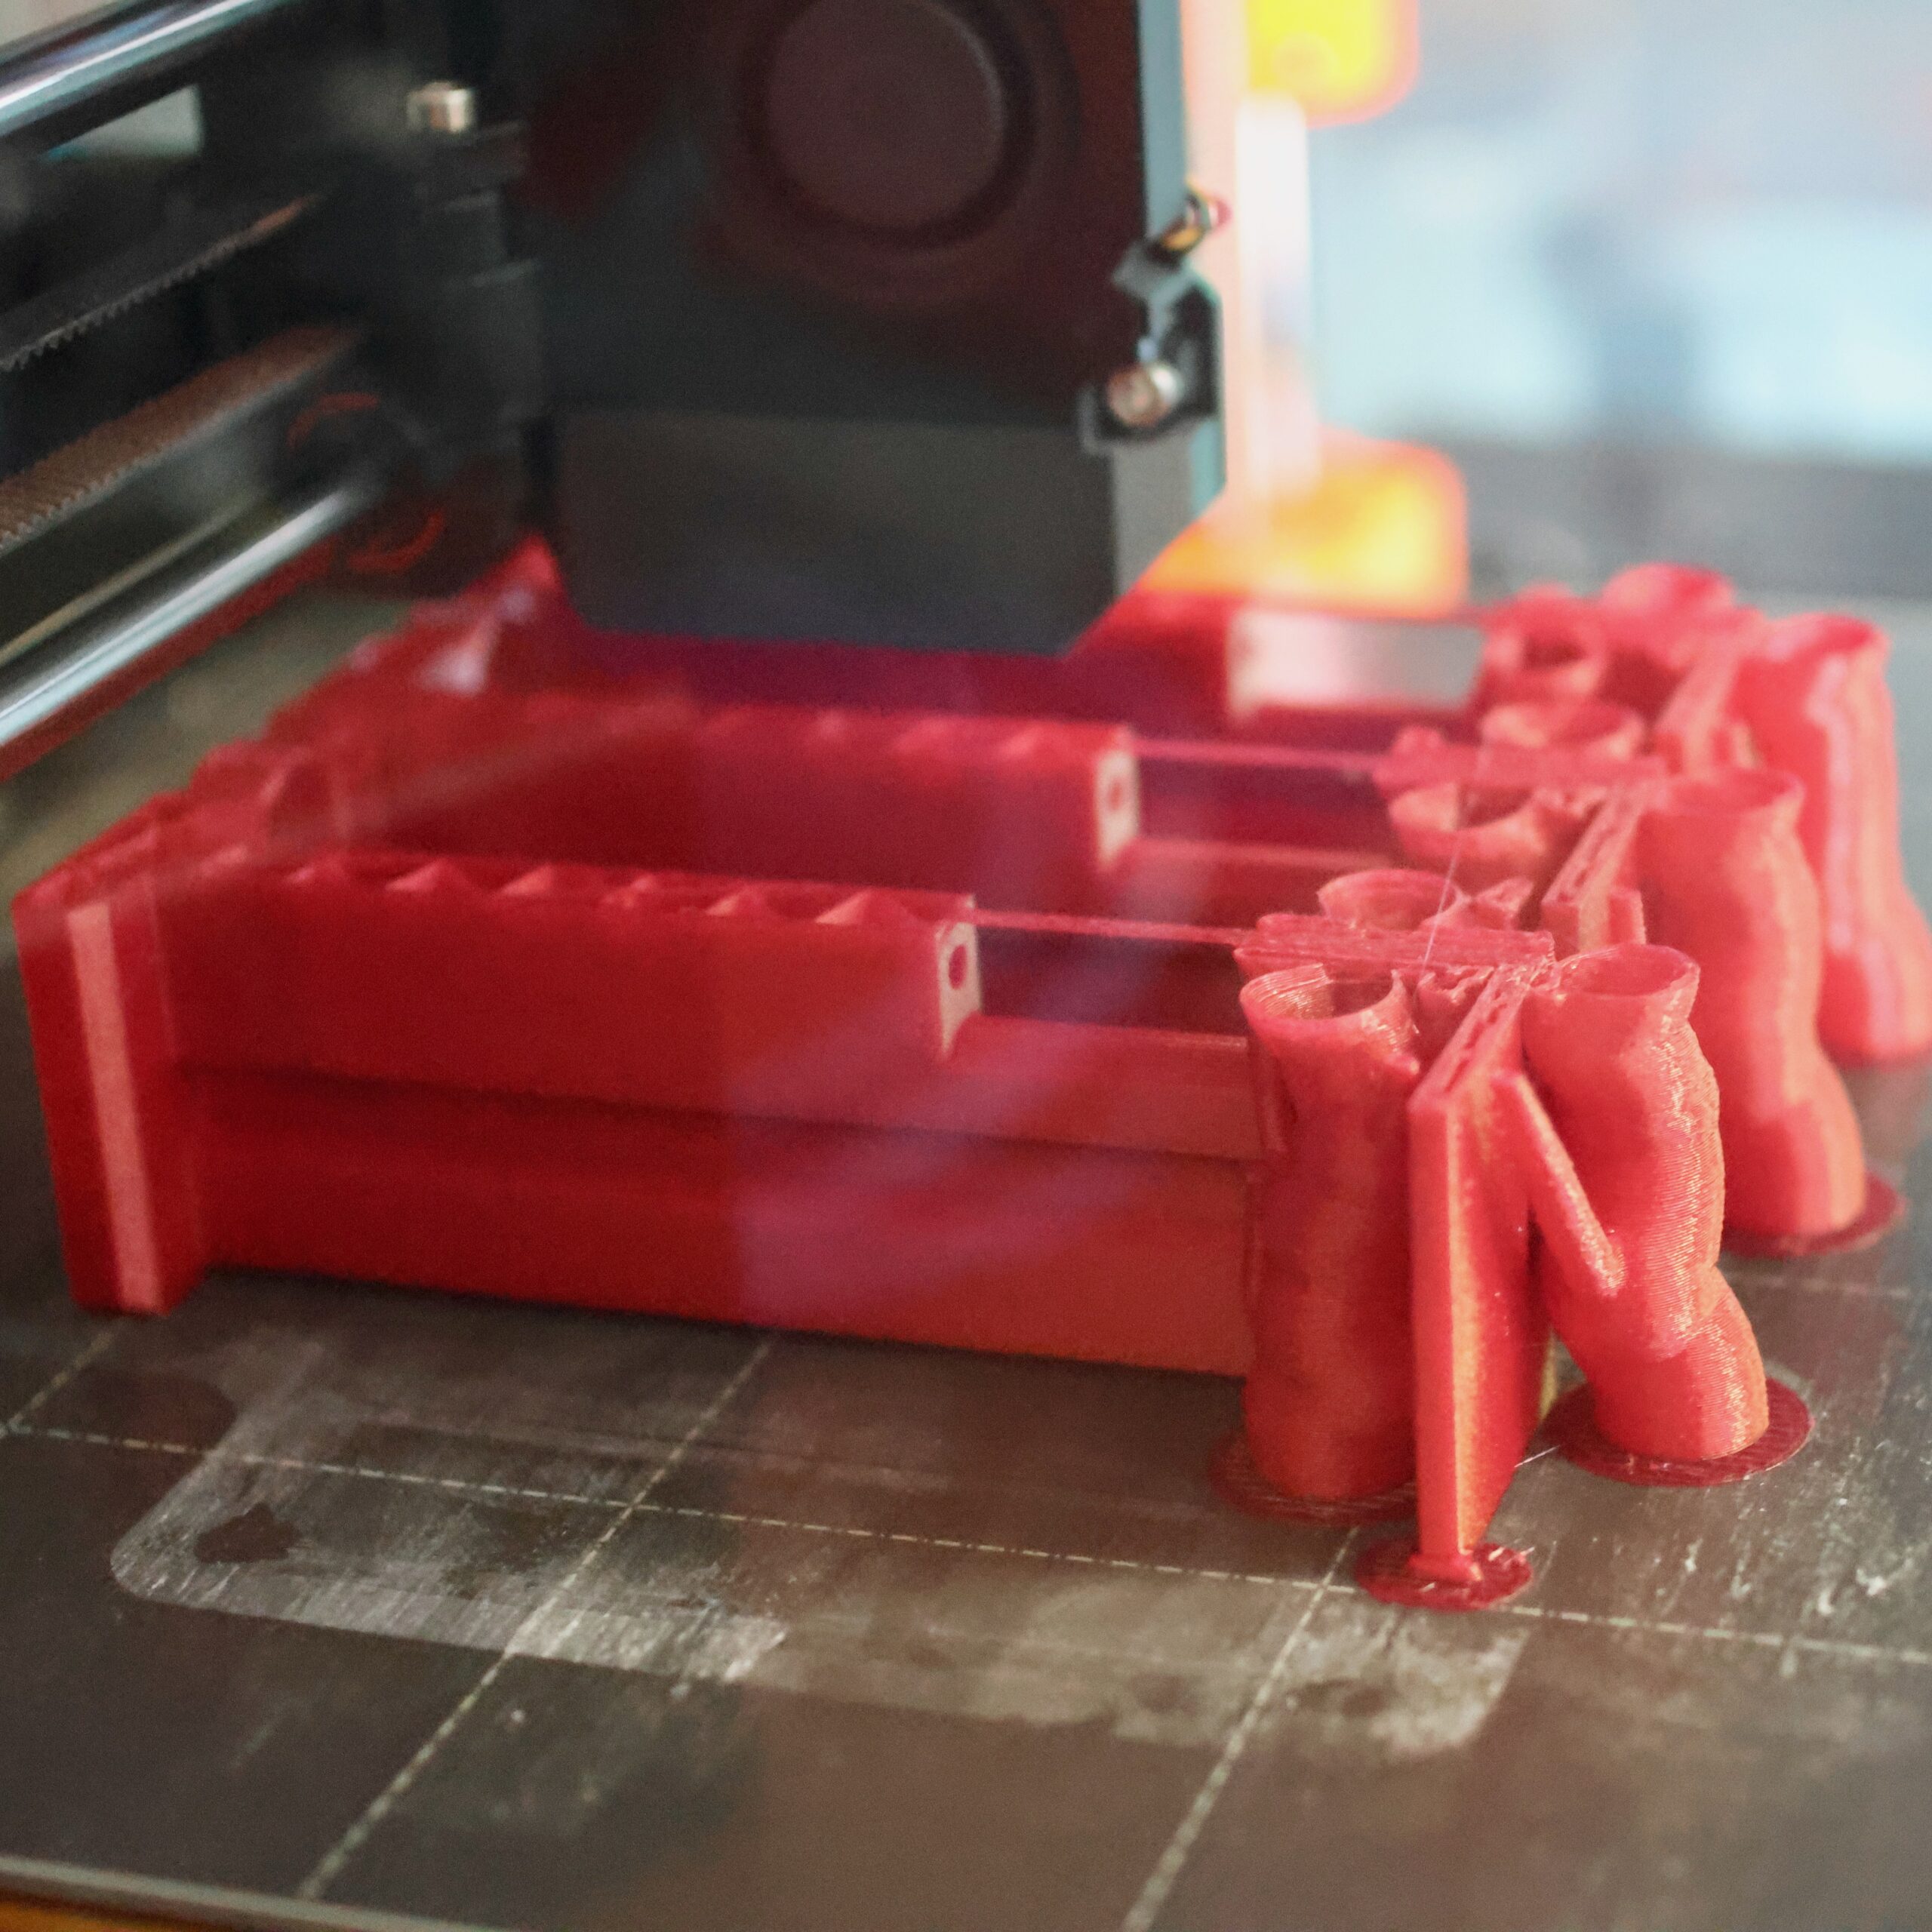
Like many problems in my life I’m able to solve each of these with some 3D printed parts.
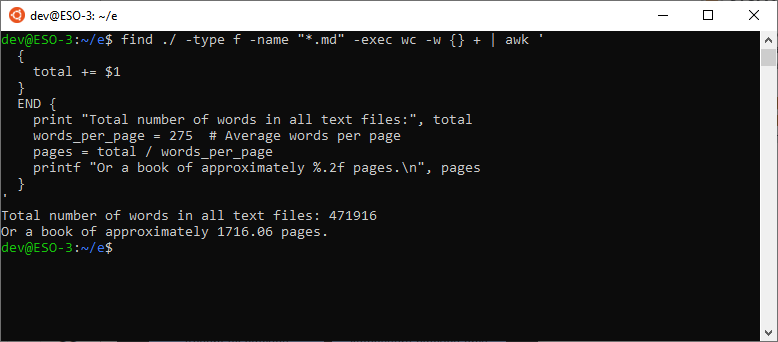
The following sections go through design rationale and the BOM for each of the sub-assemblies, but let’s start with a build timelapse of getting everything assembled and into the chassis:
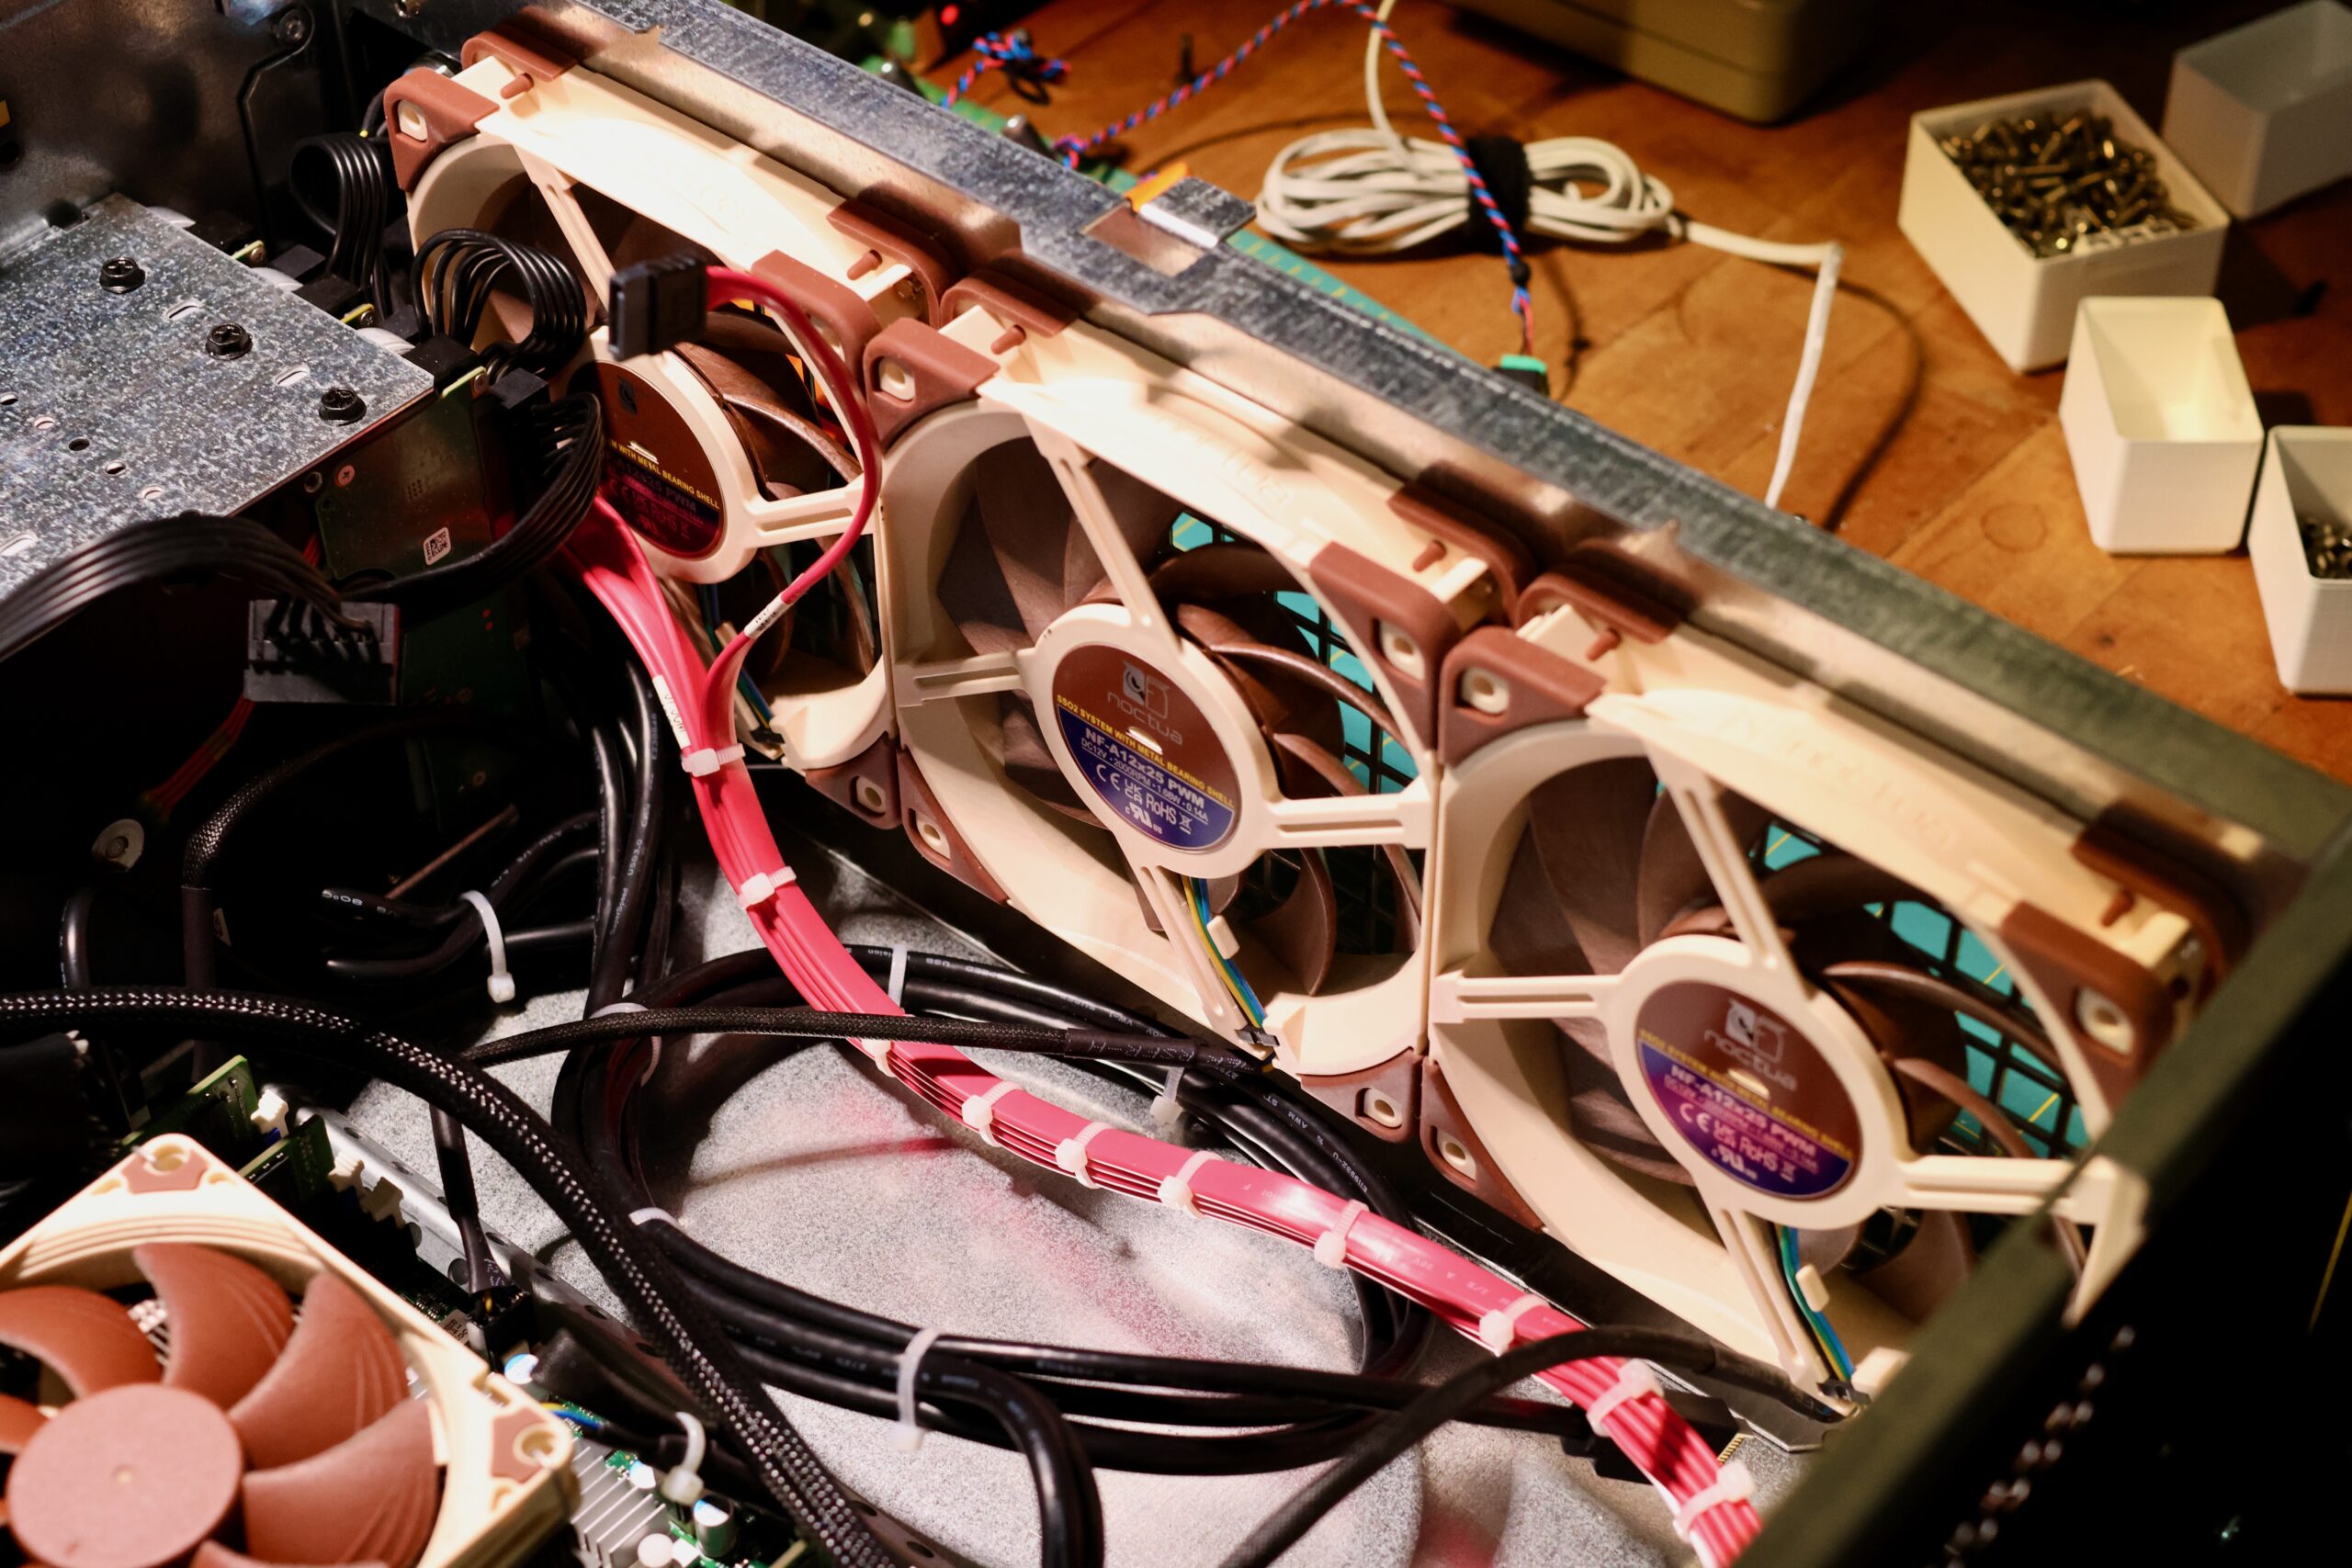
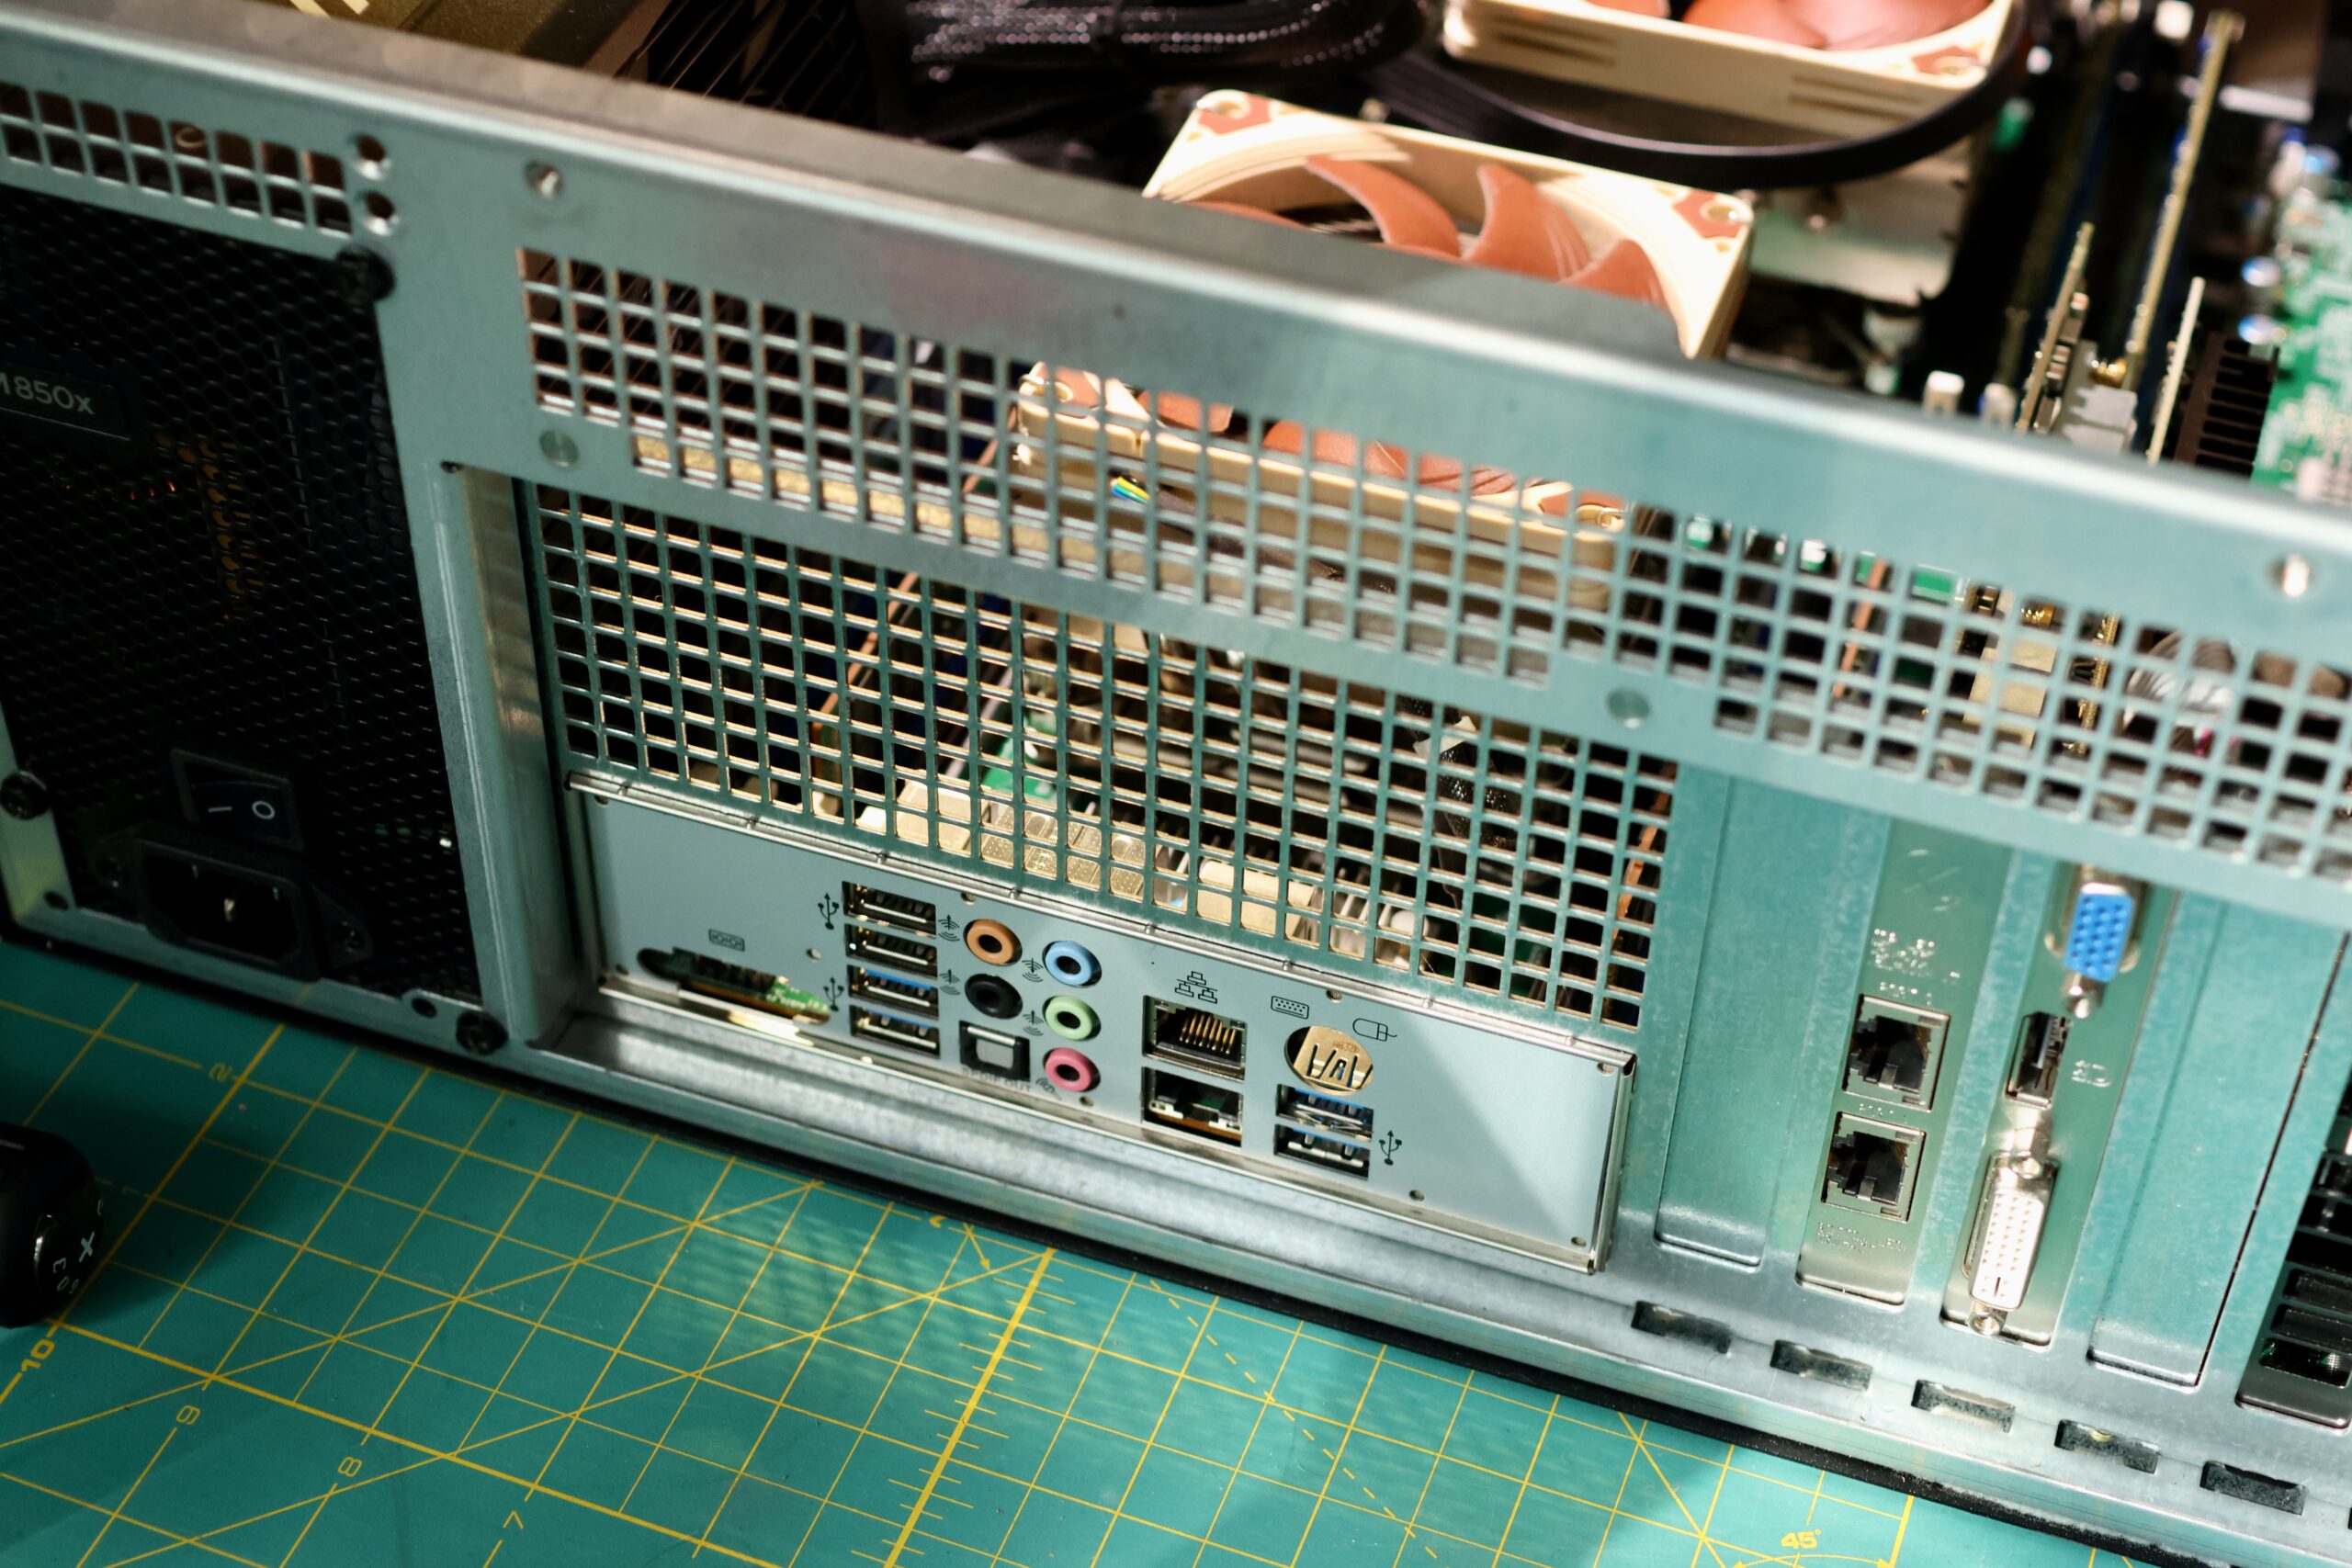
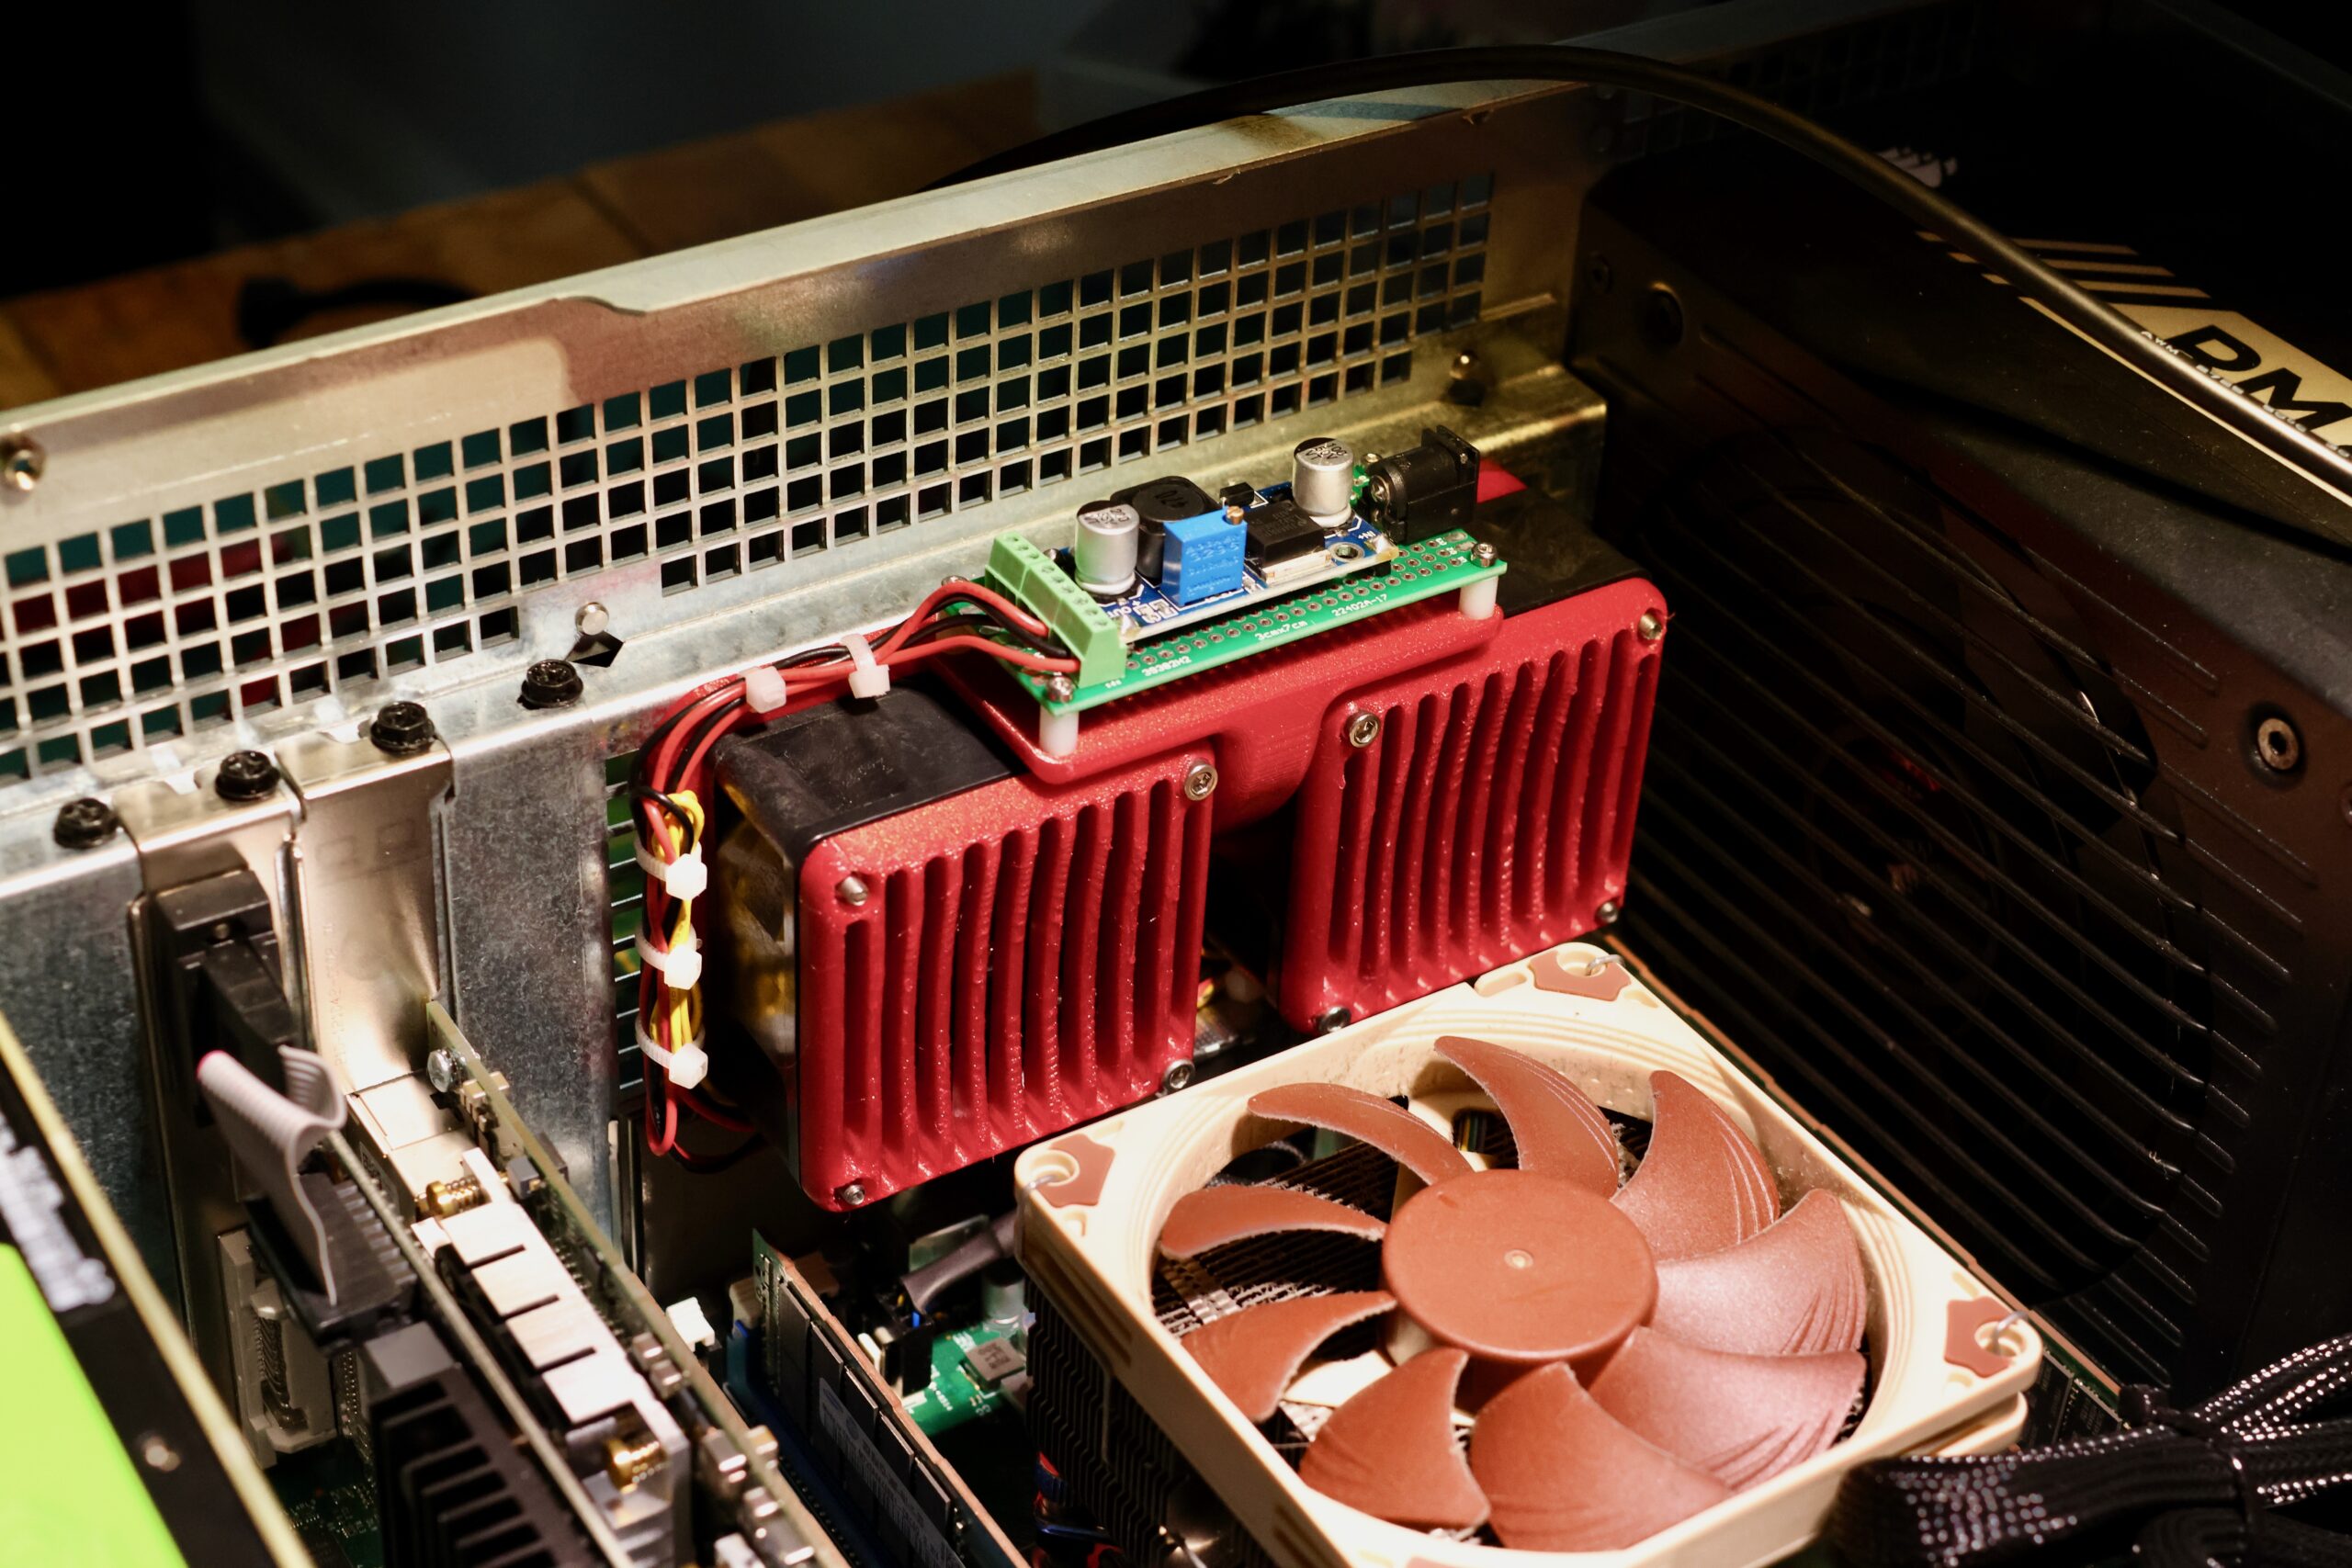
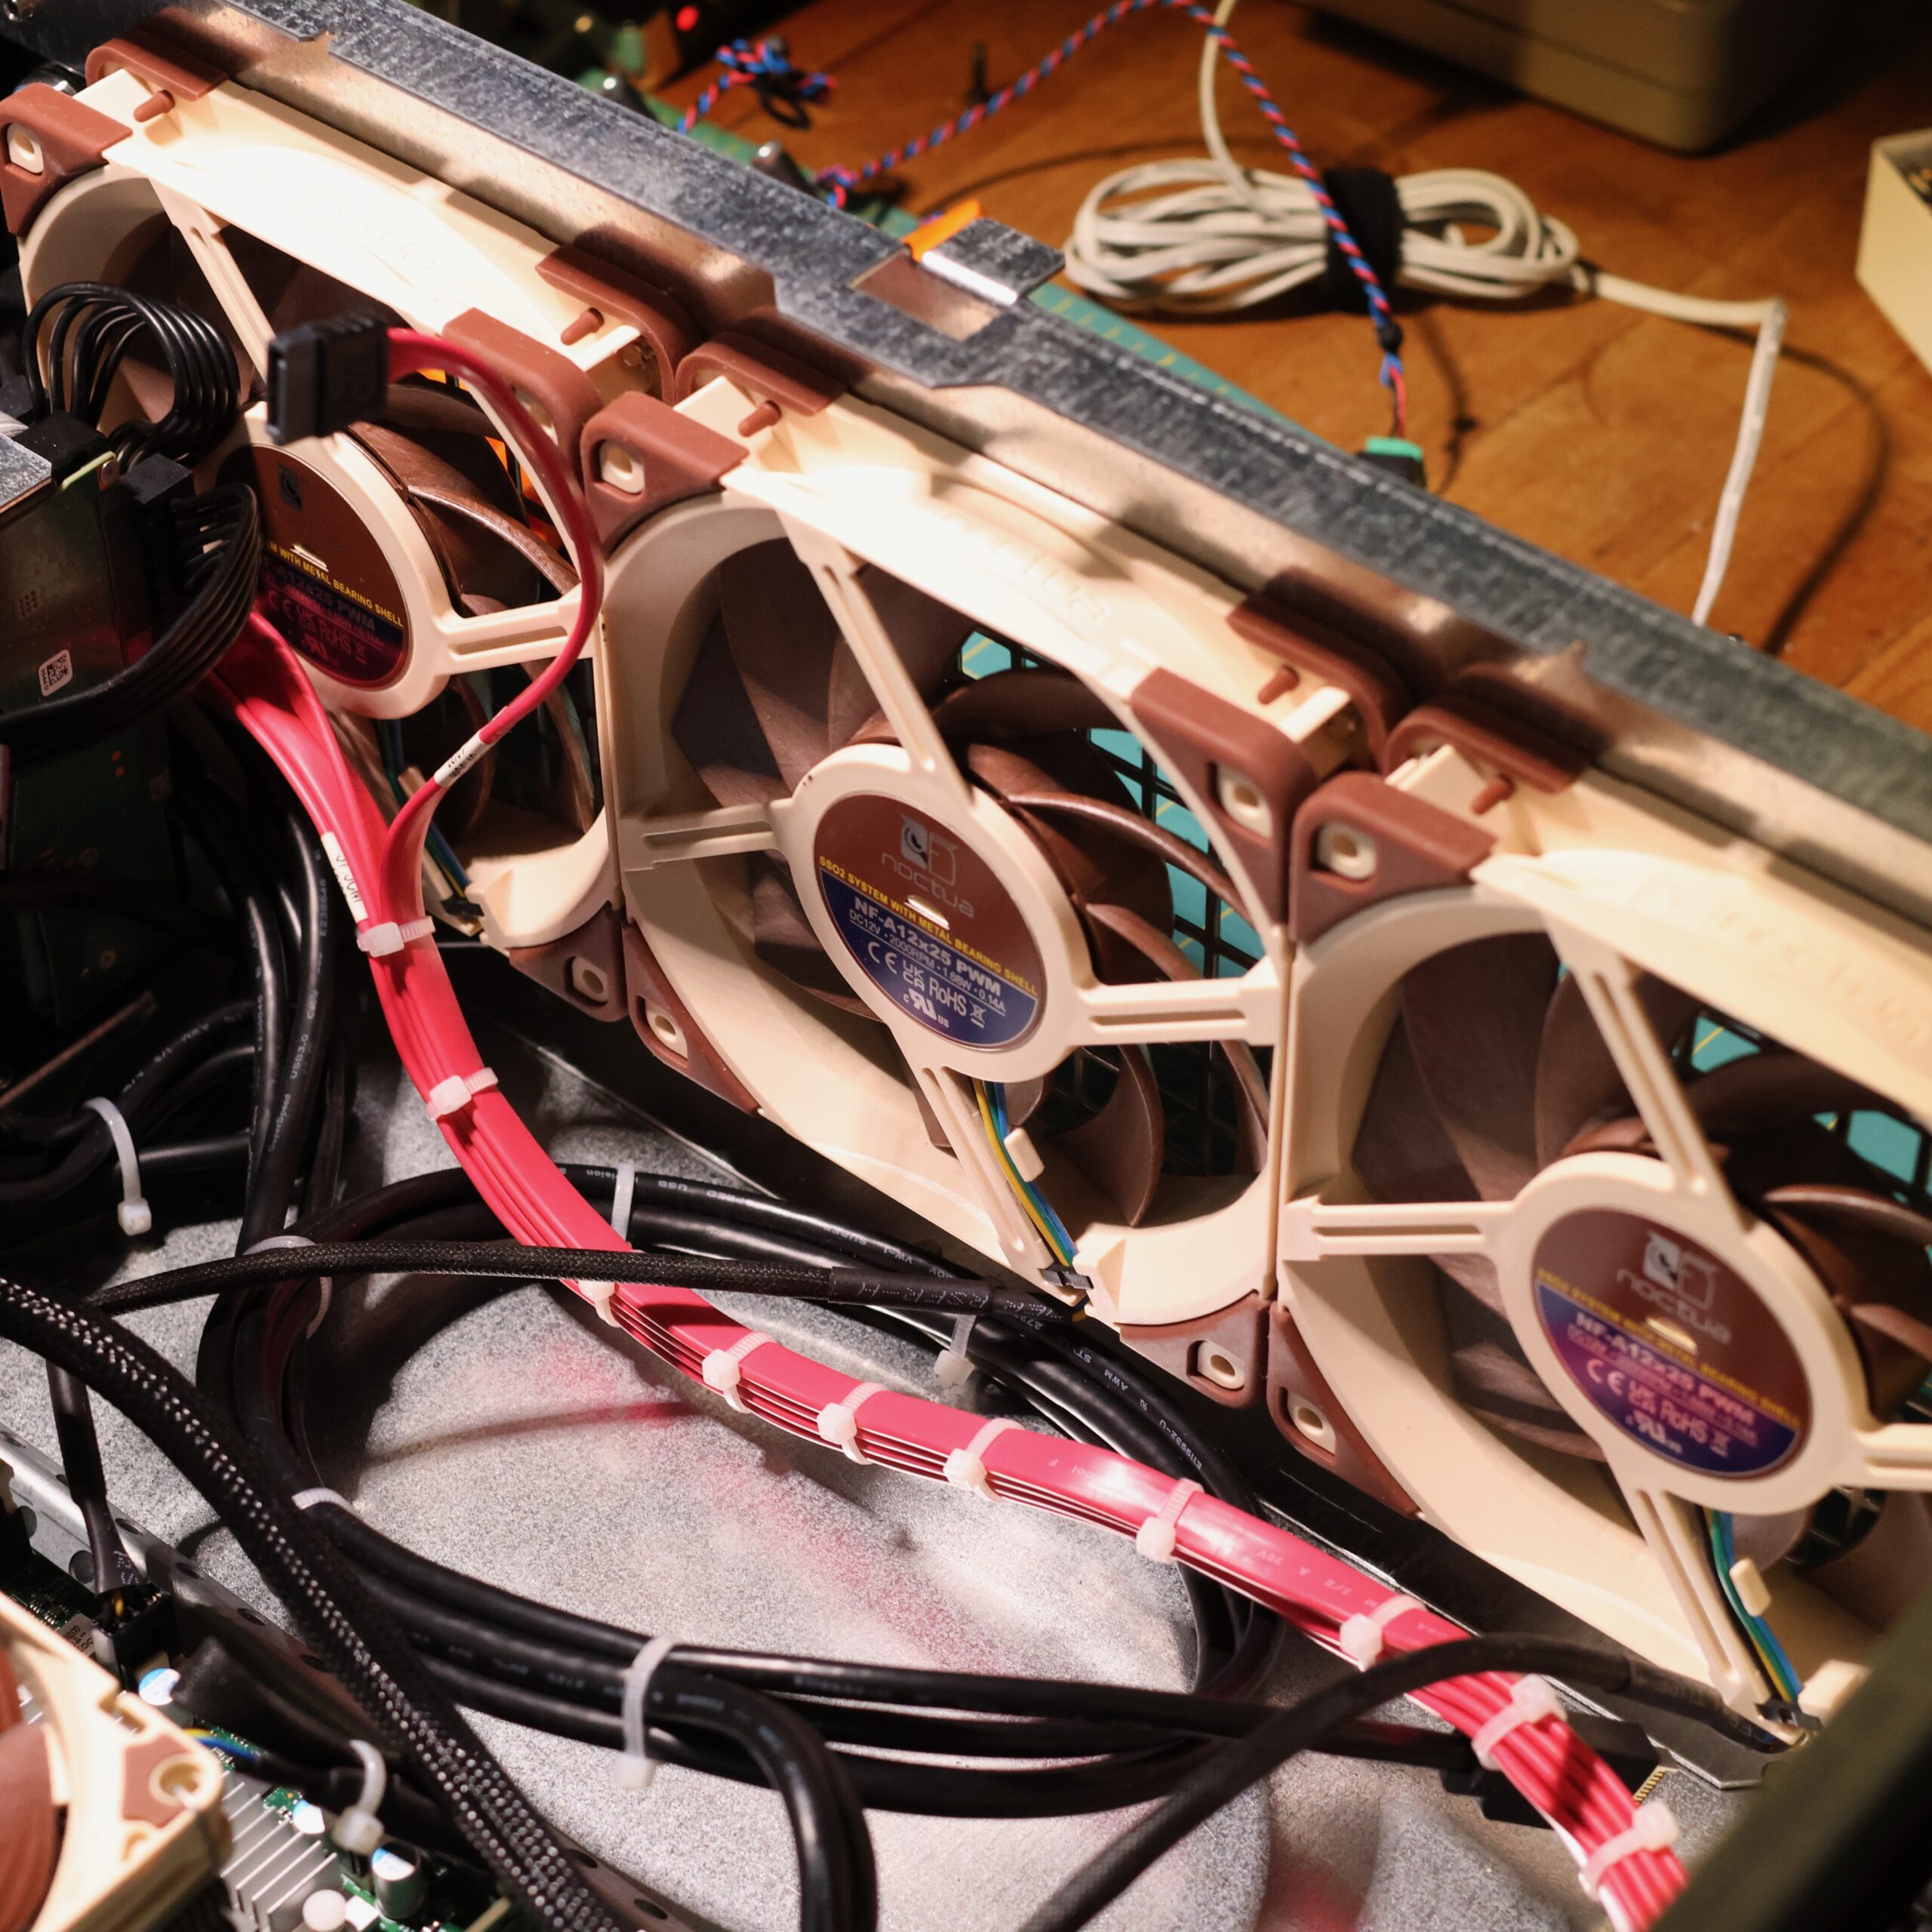
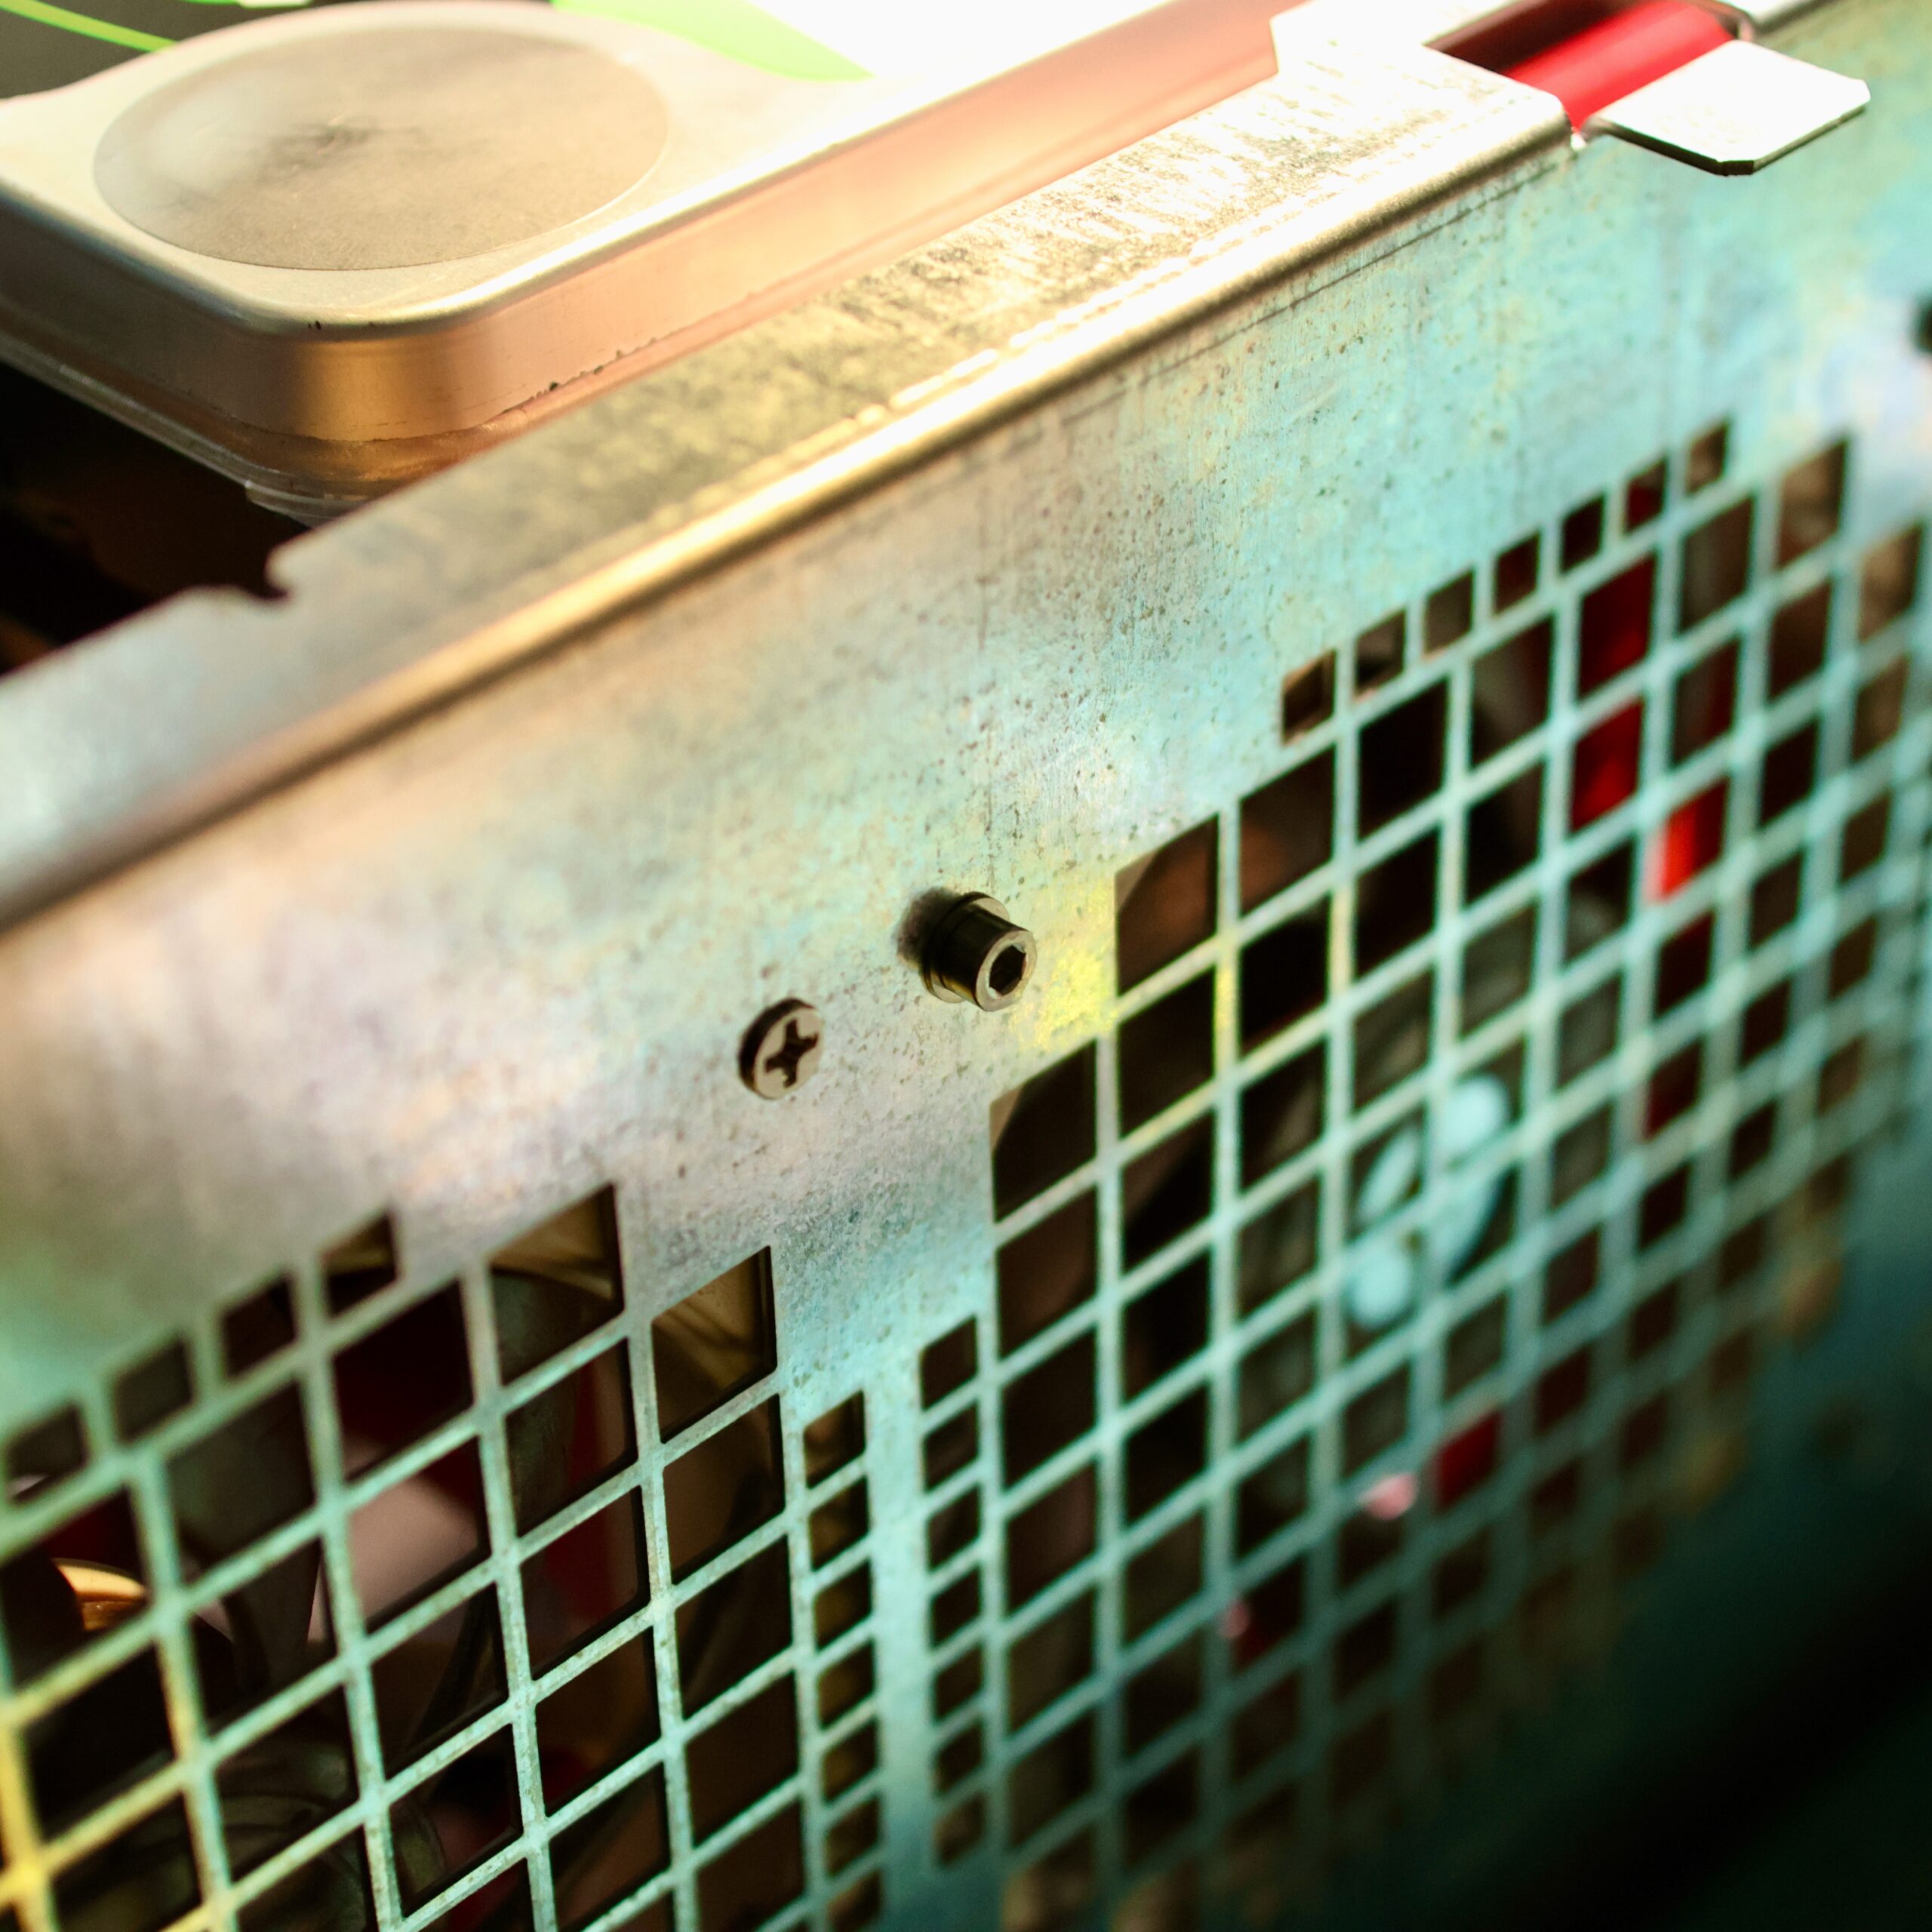
Sliger Rear Exhaust Fans
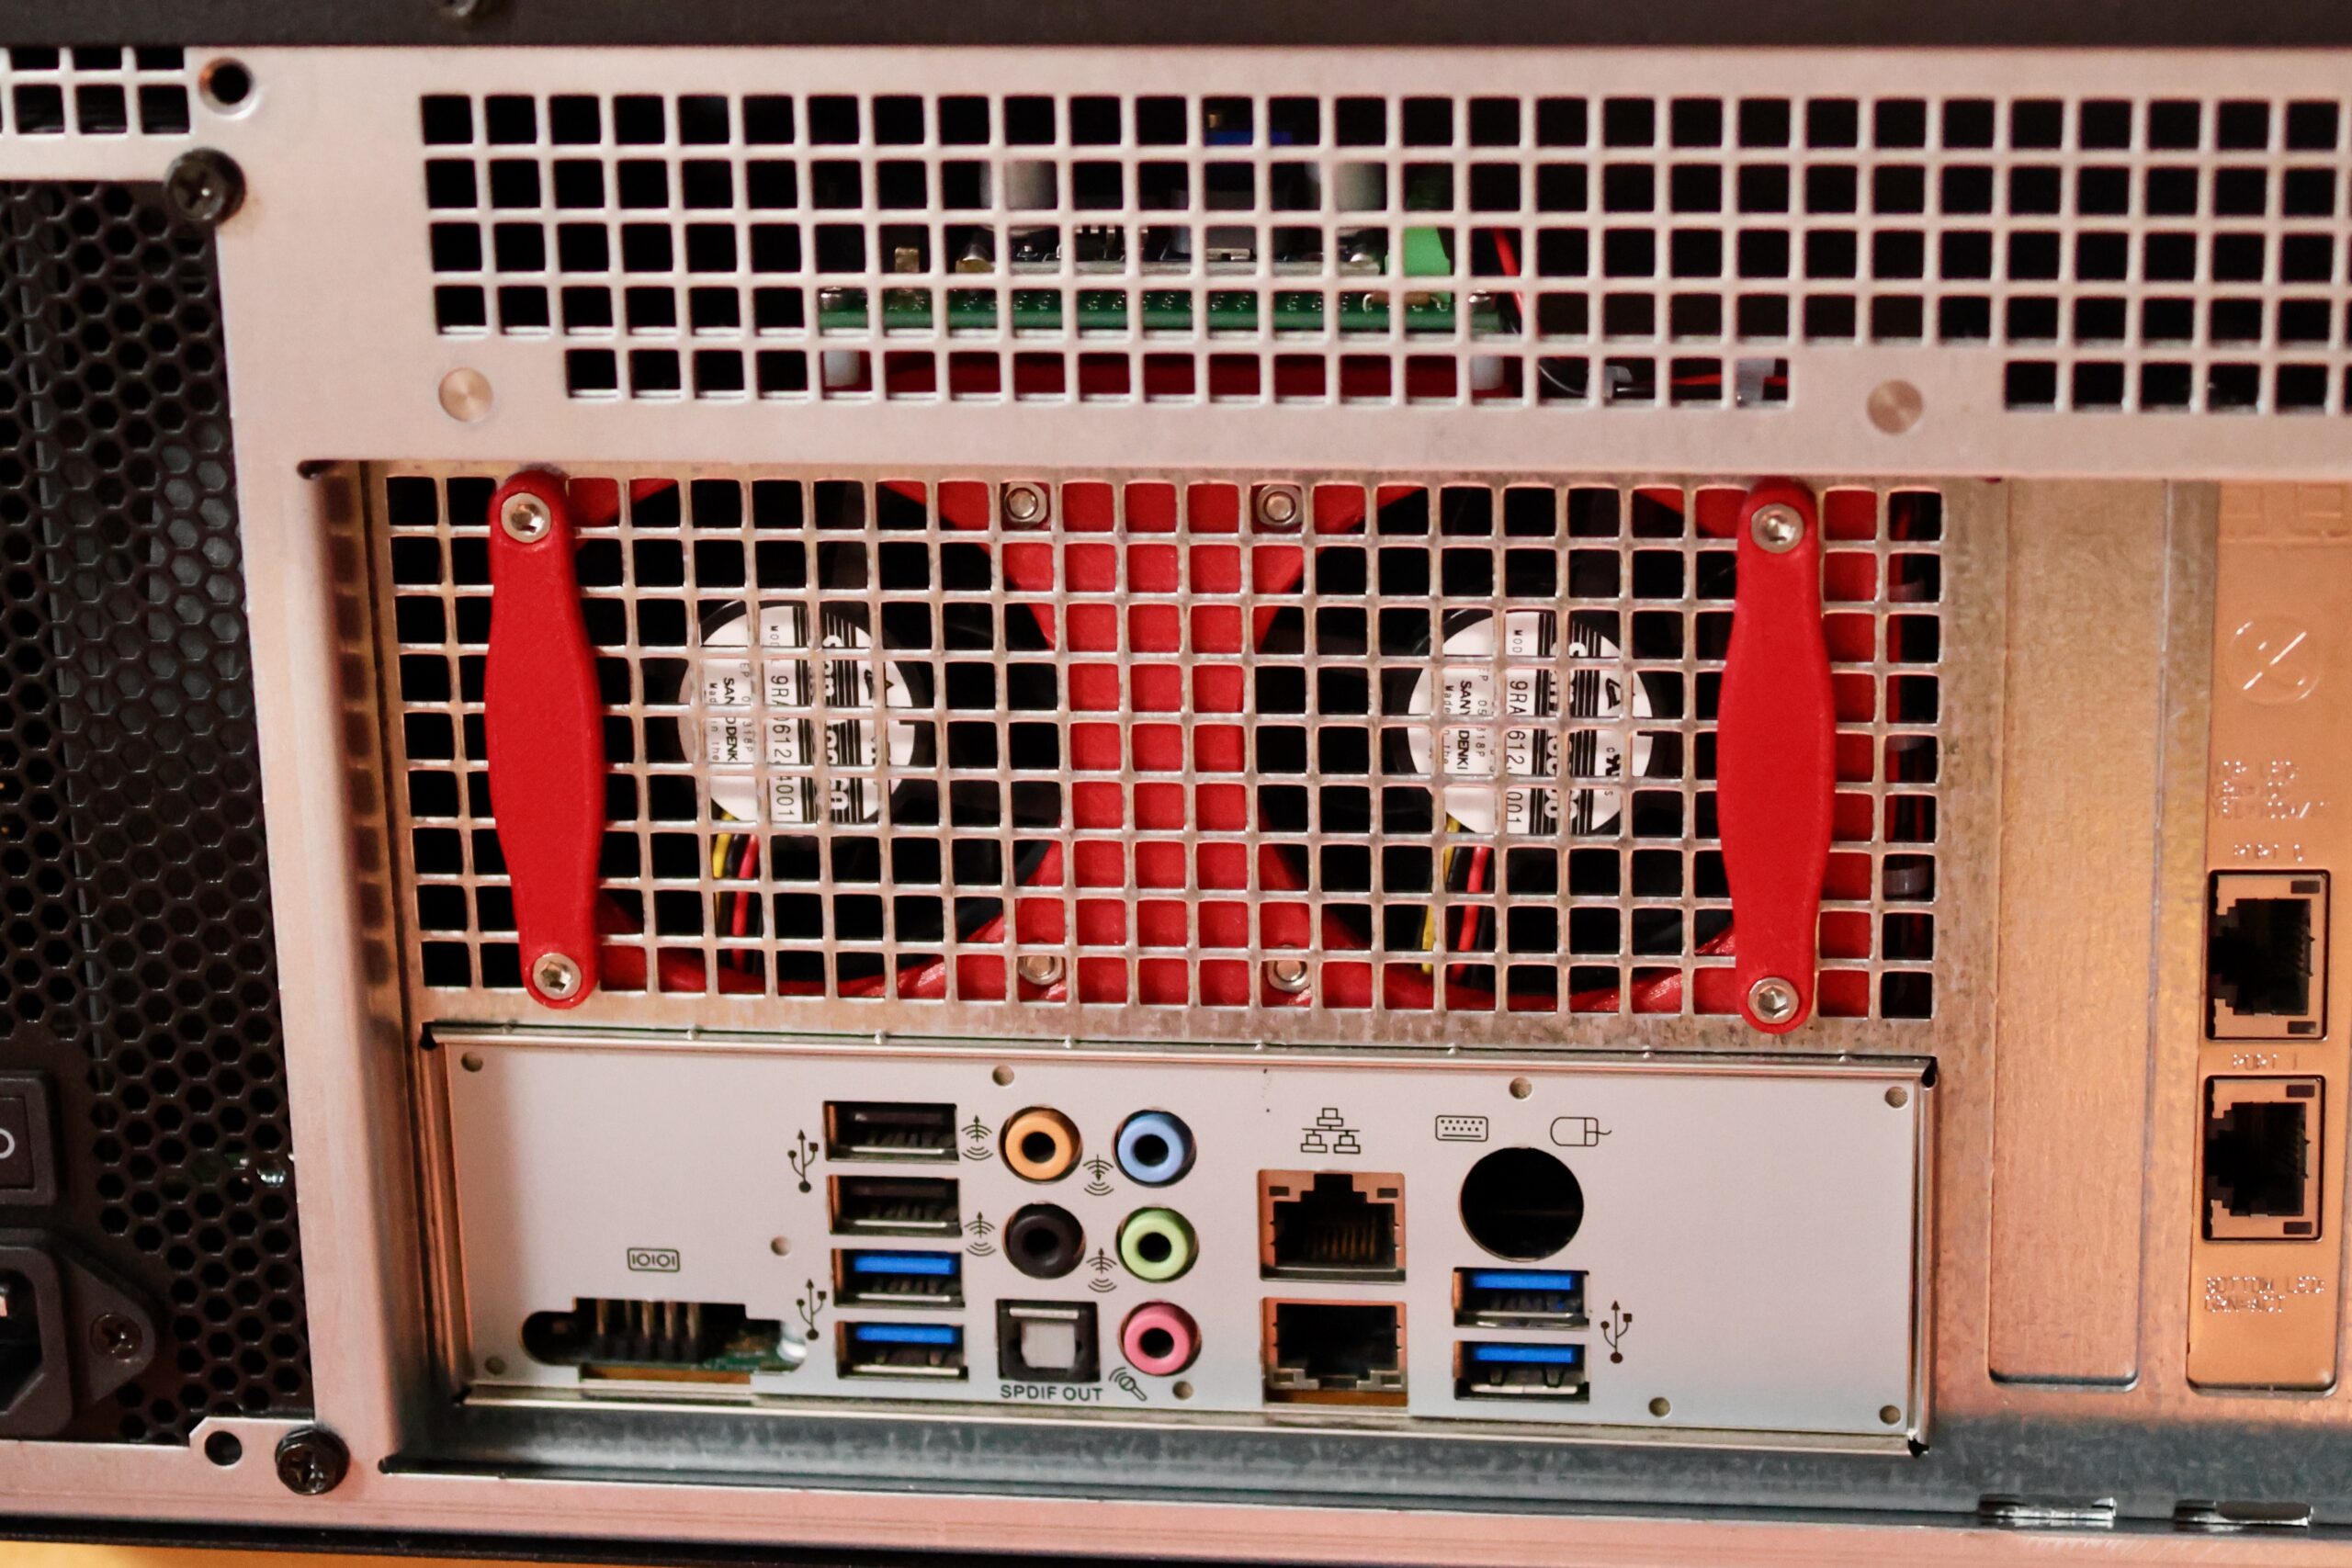
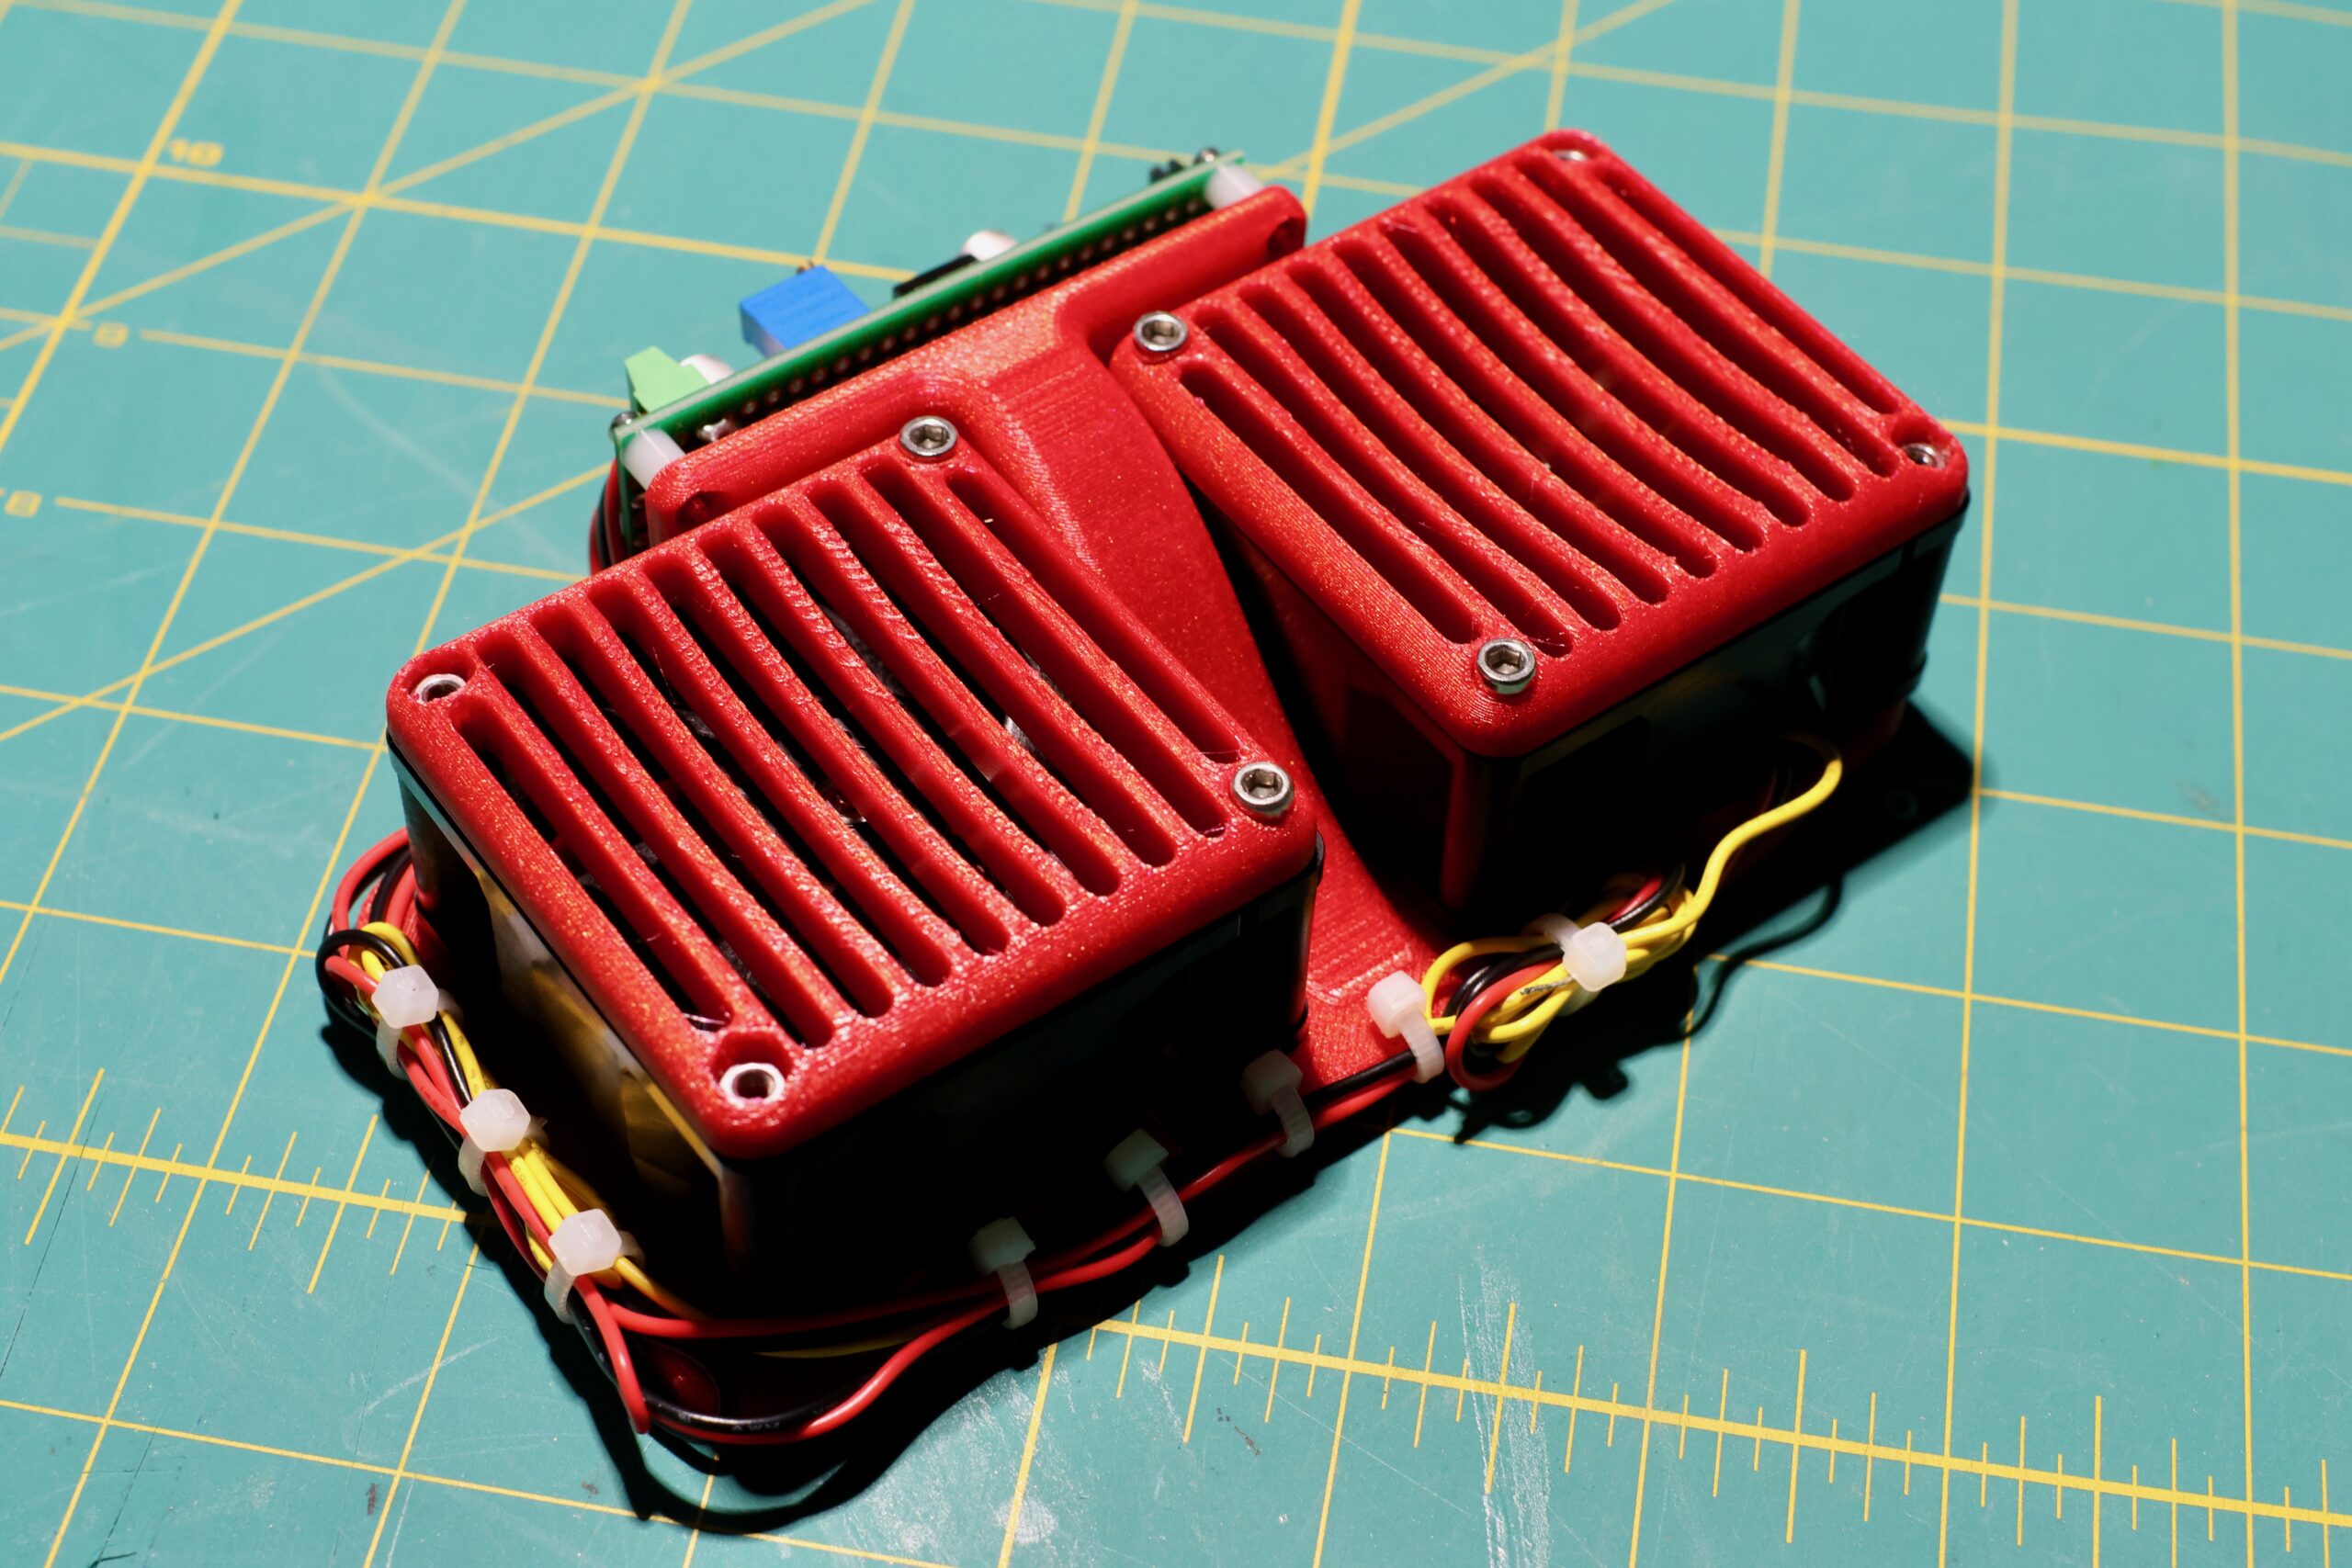
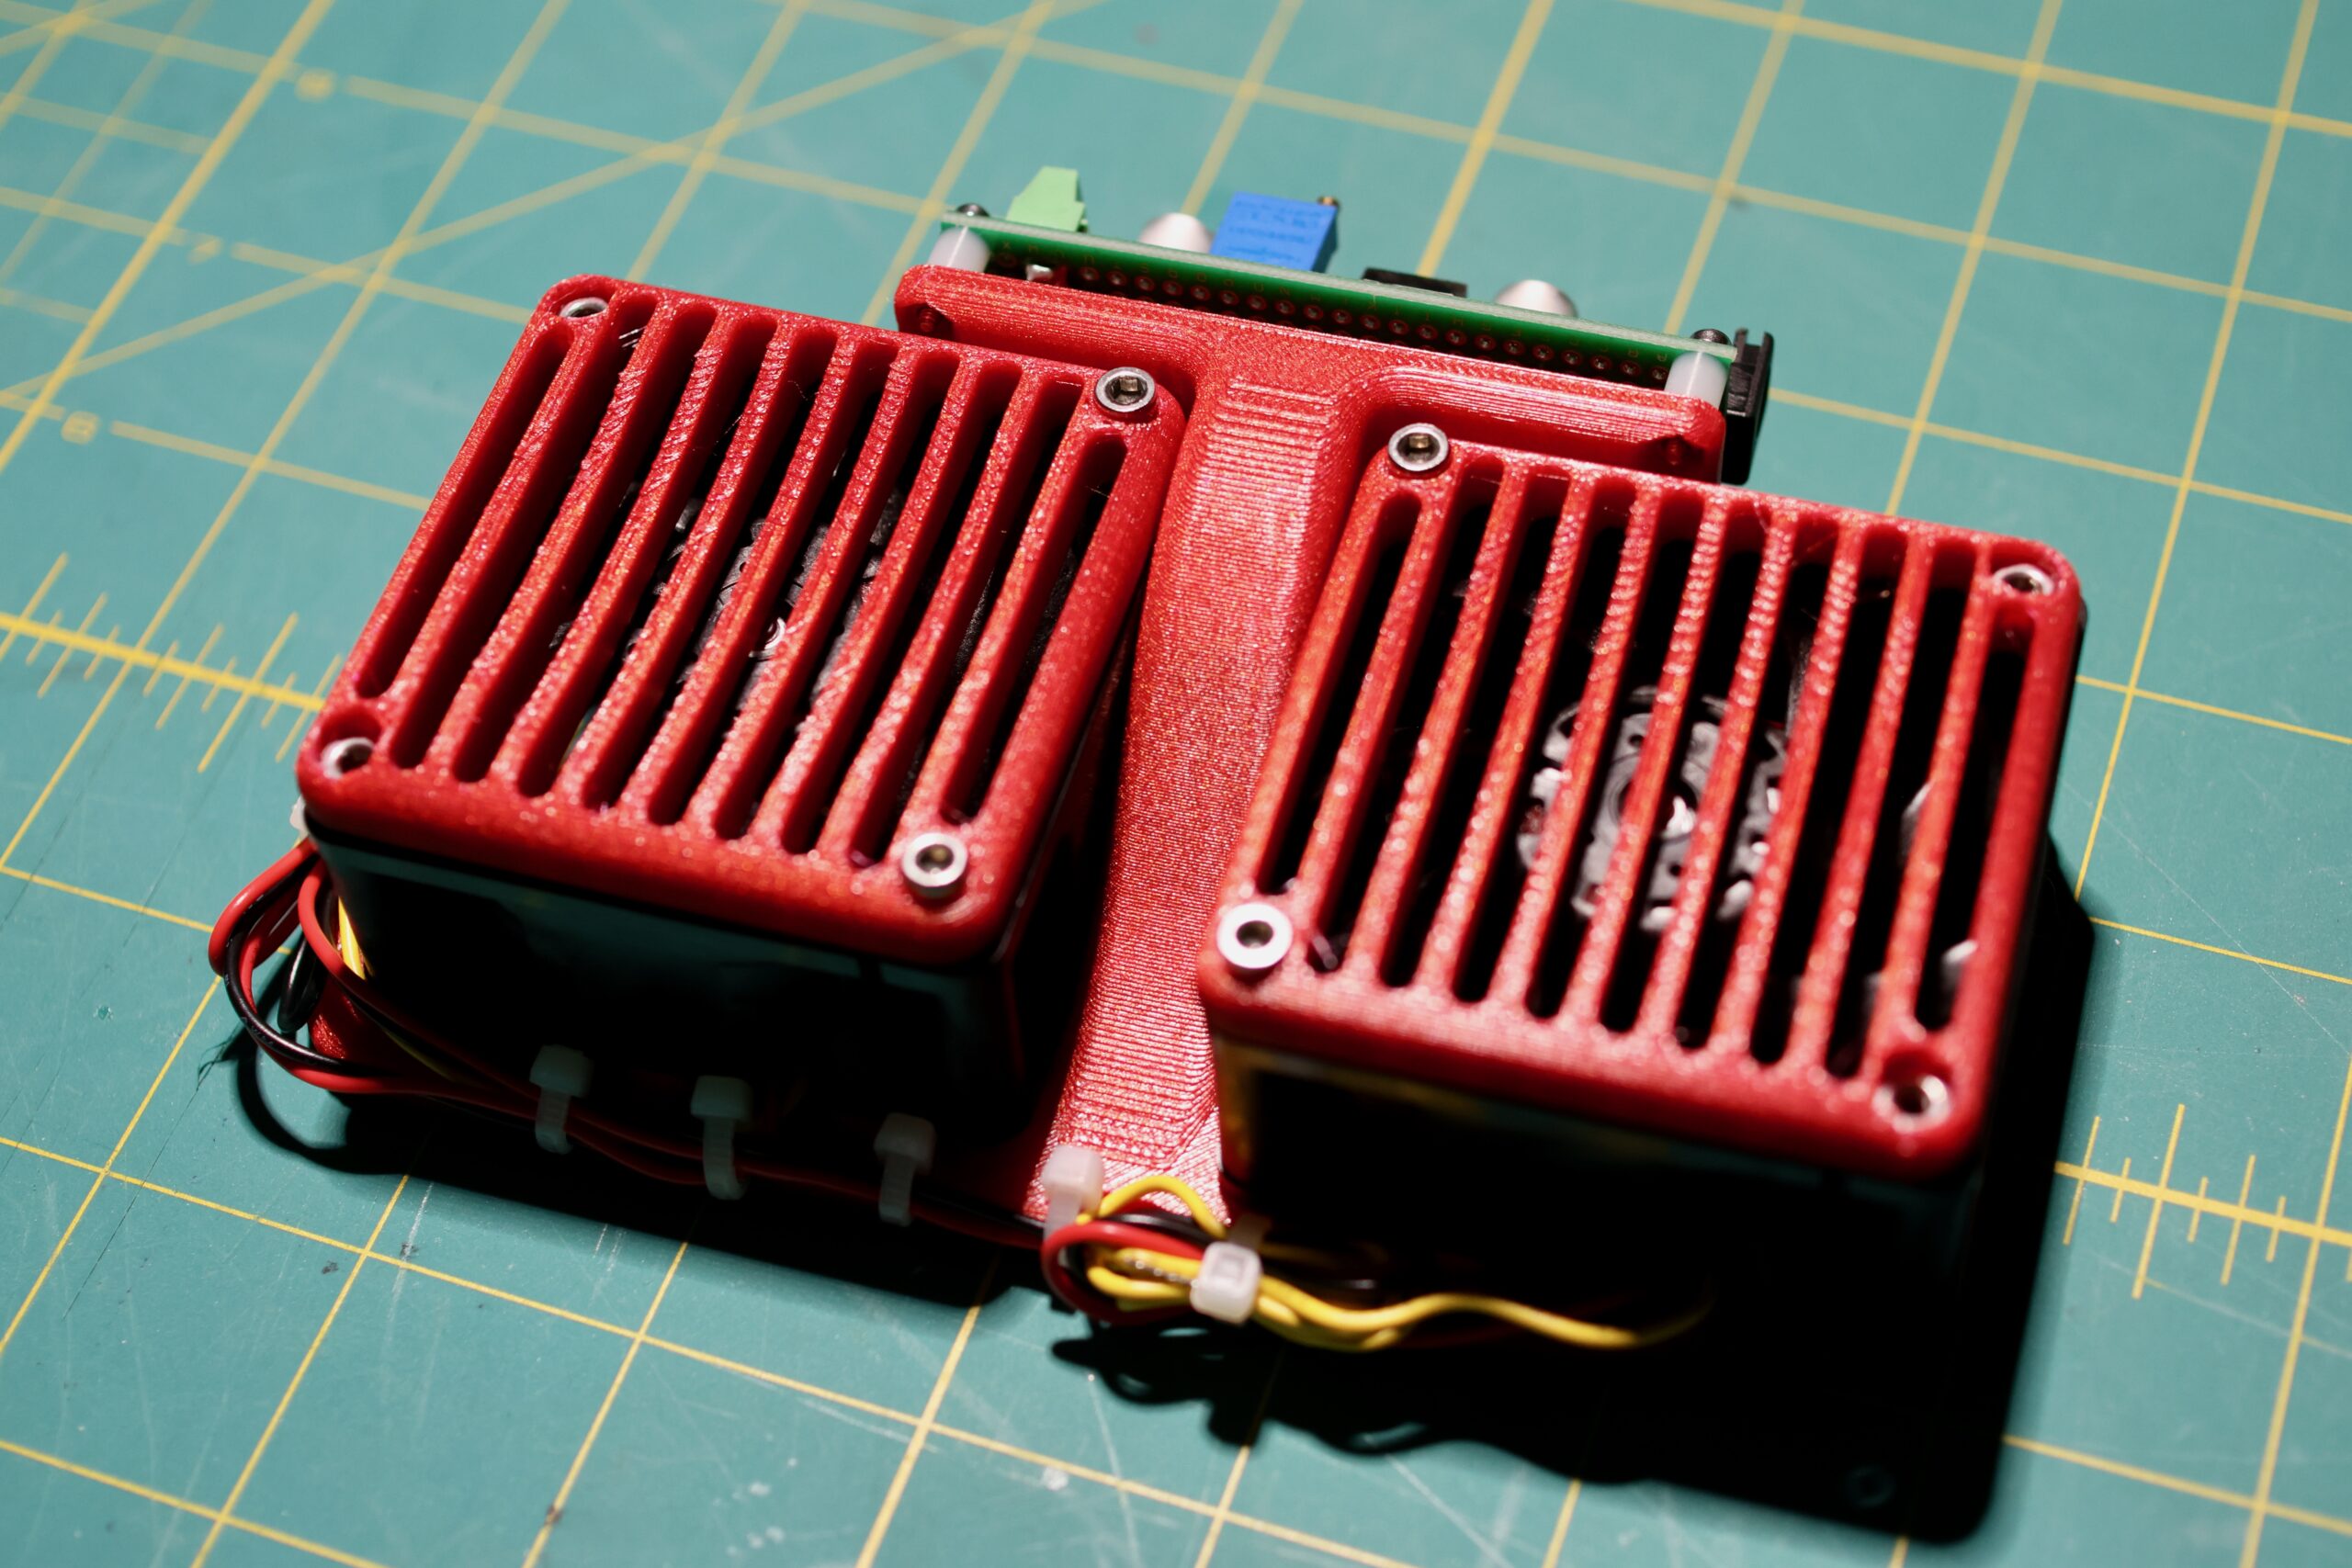
CX4200A can easily fit two 60mm fans on the rear grille, but no mounting points are integrated into the design; an oversight in my eyes. The grille is easy enough to sandwich using some printed parts and M3 bolts.

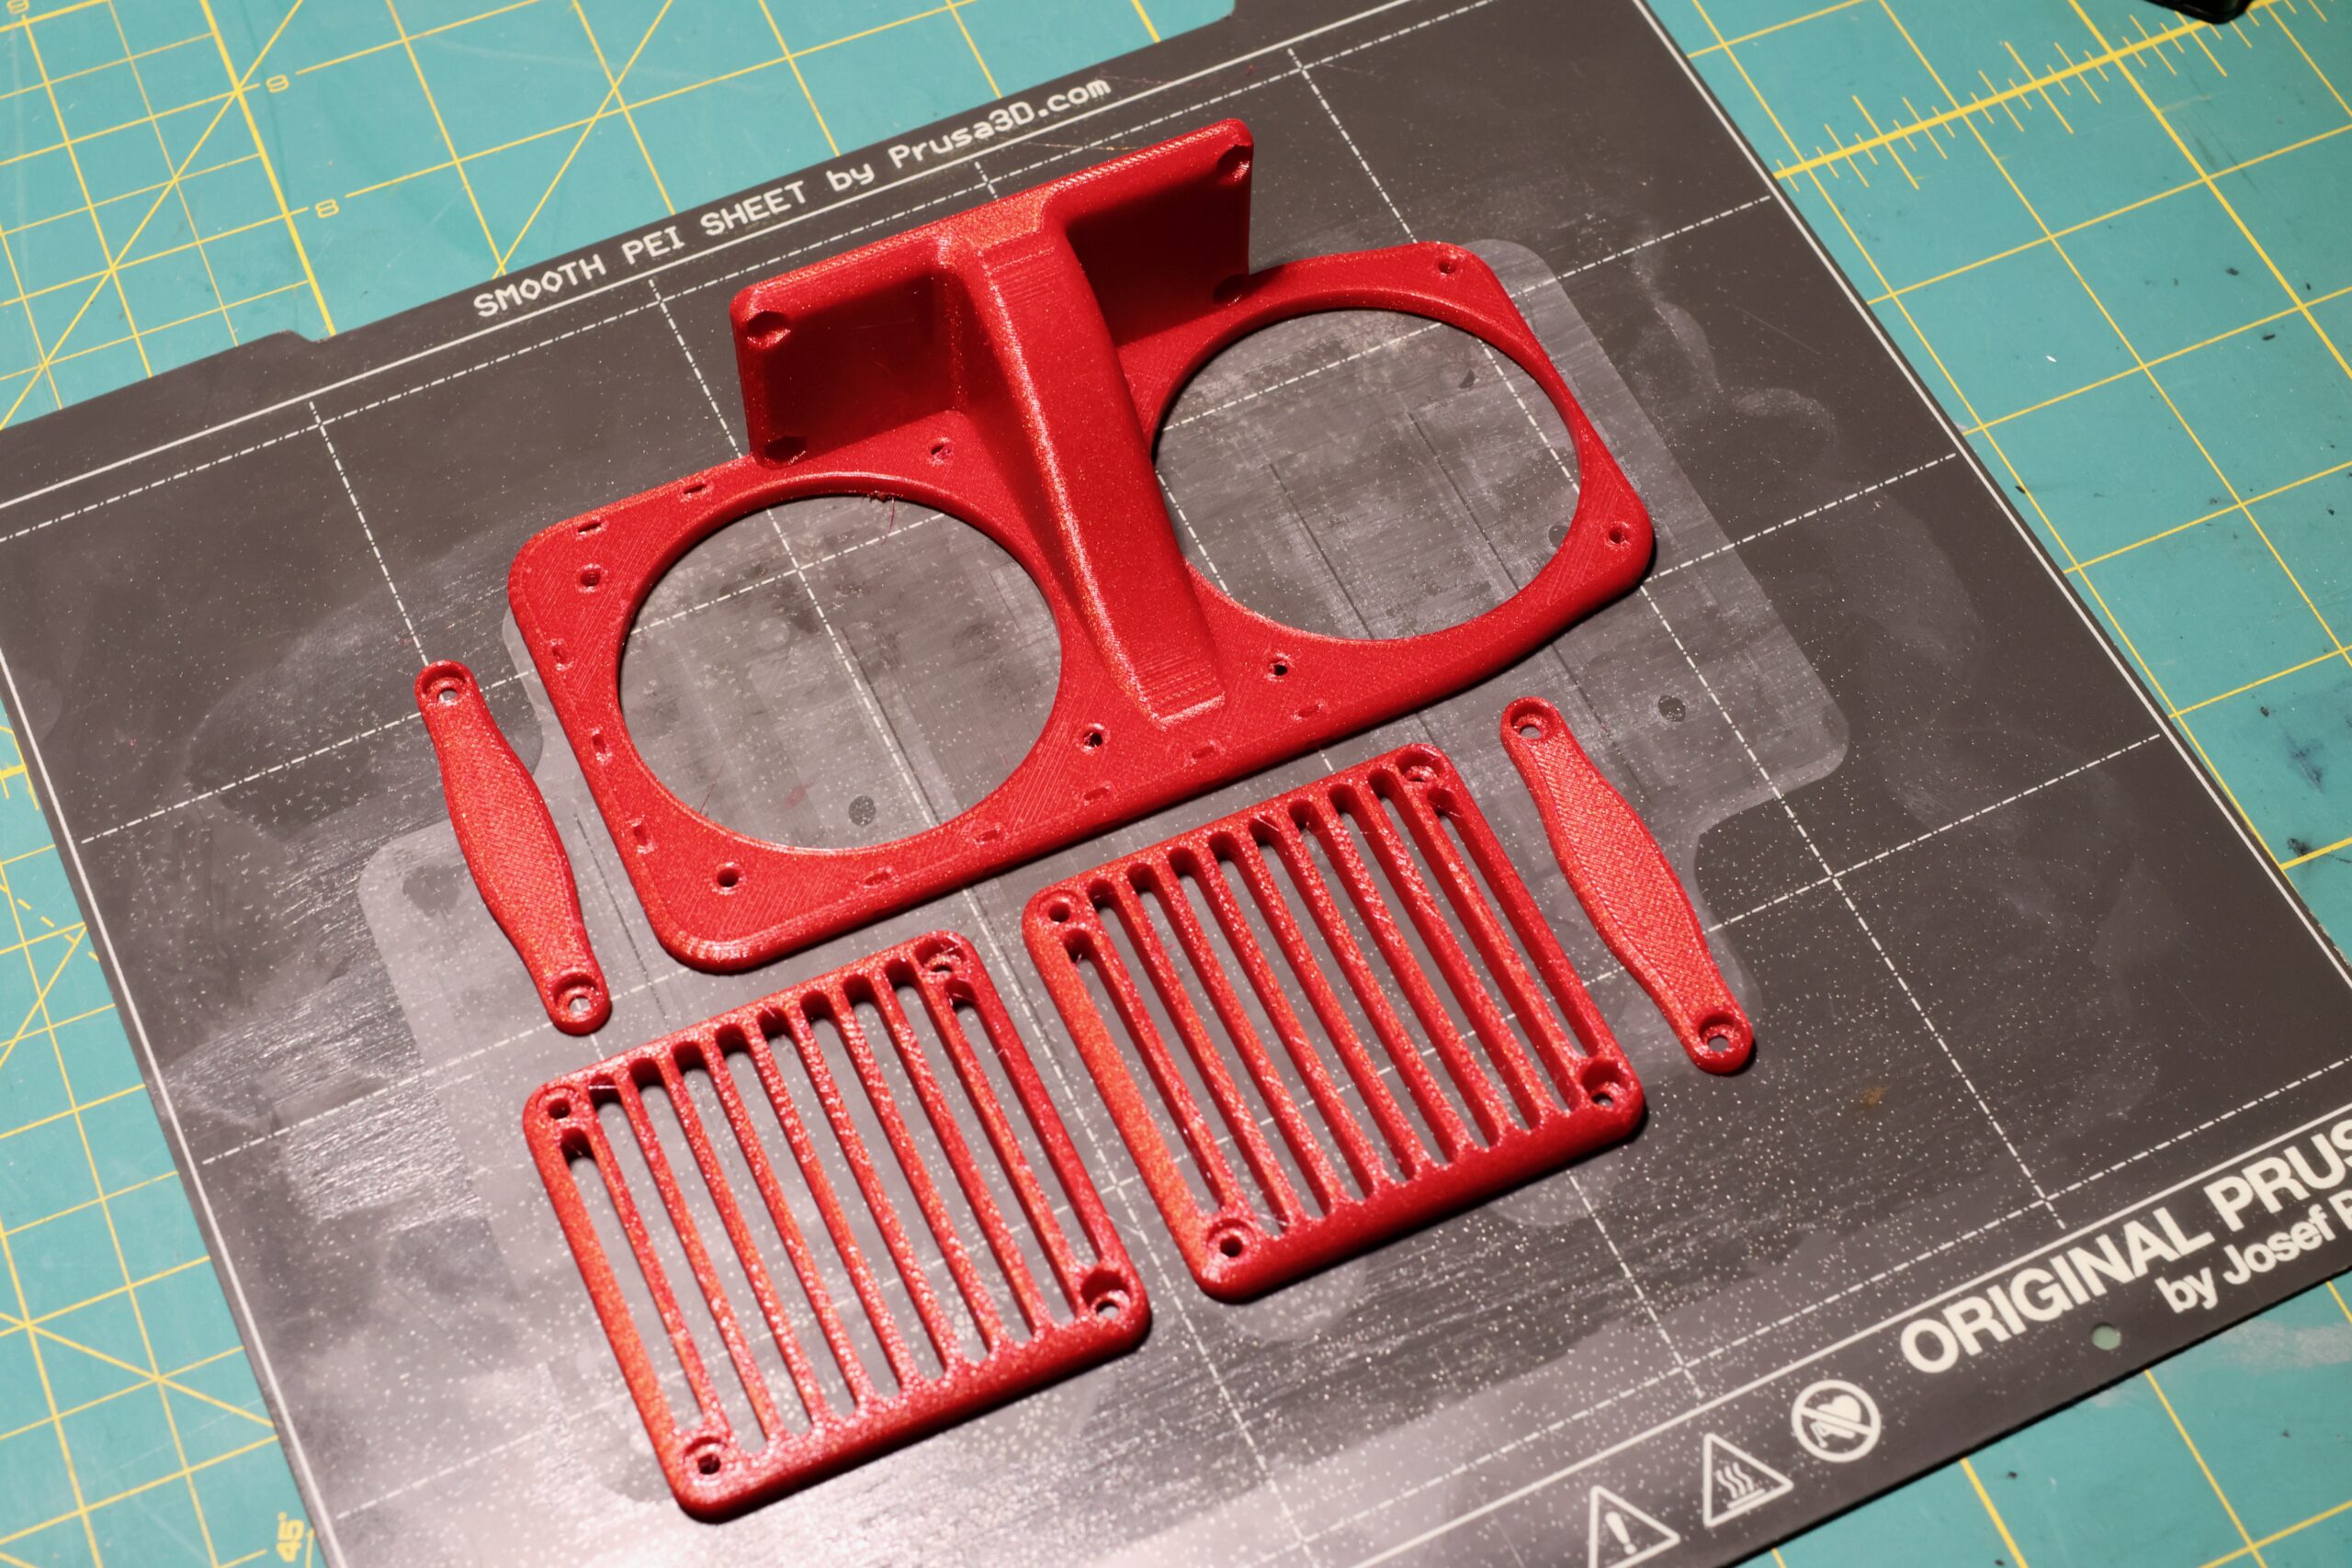
You can download the printable parts for the rear exhaust fans on printables.
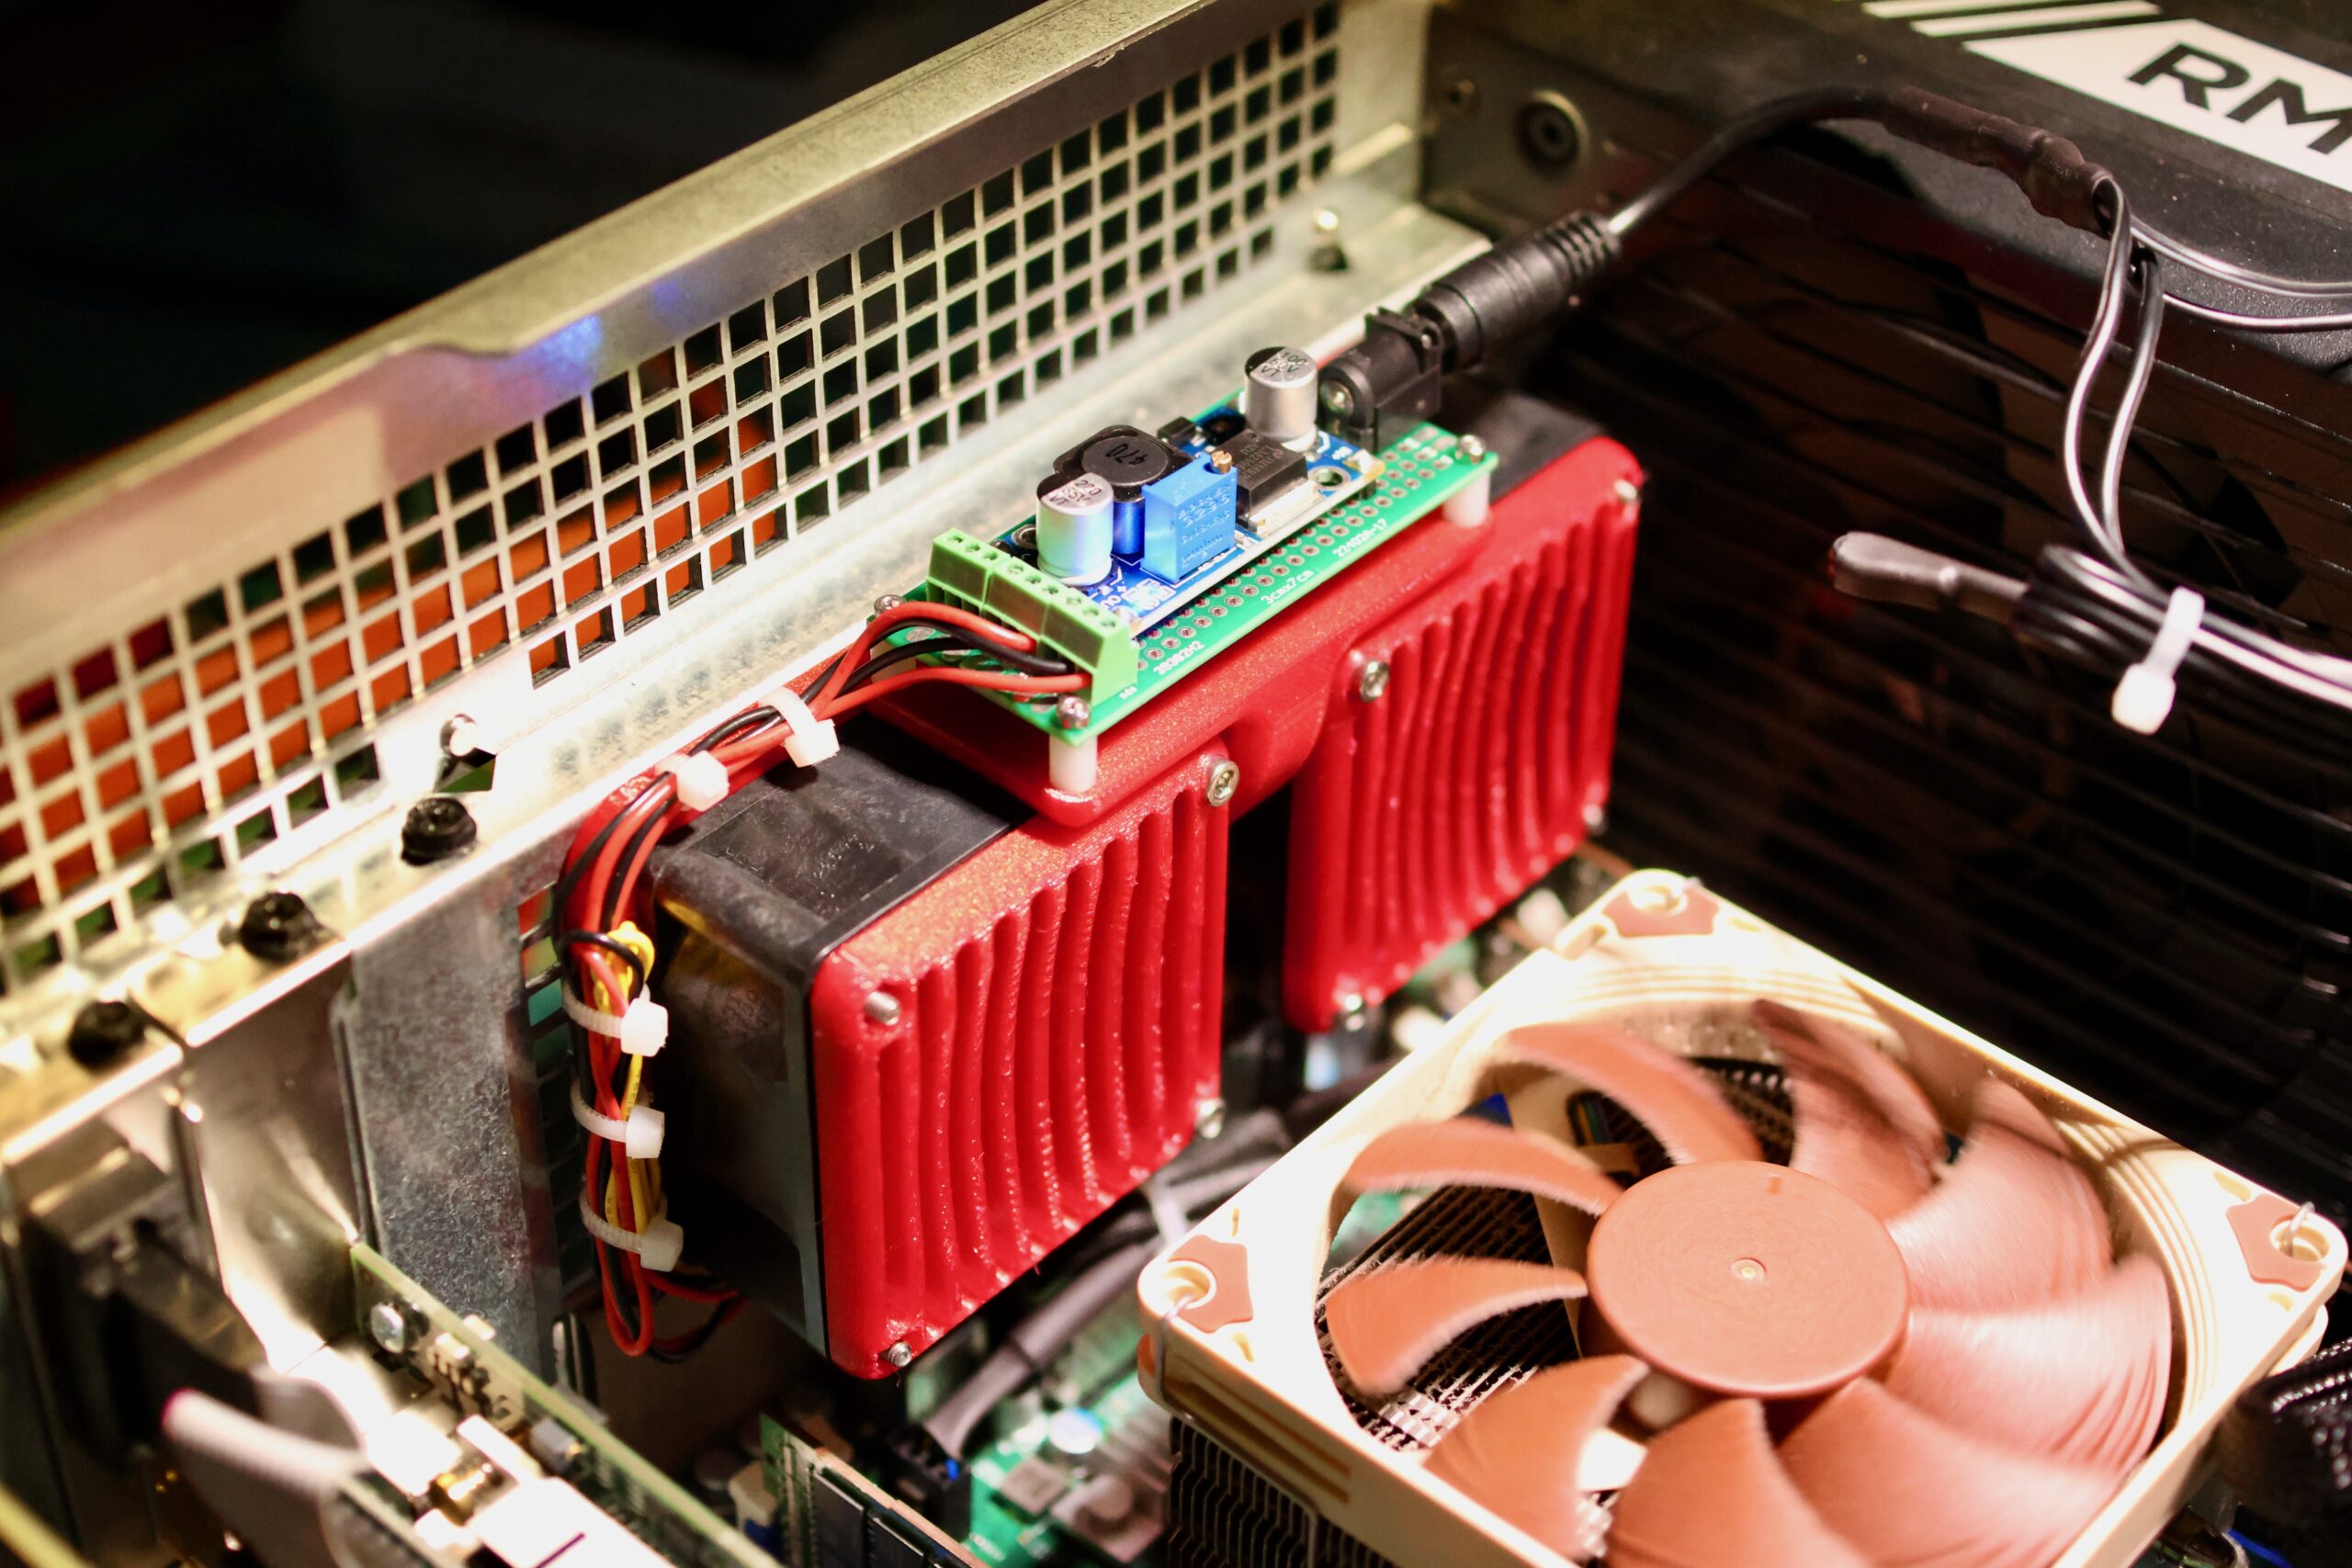
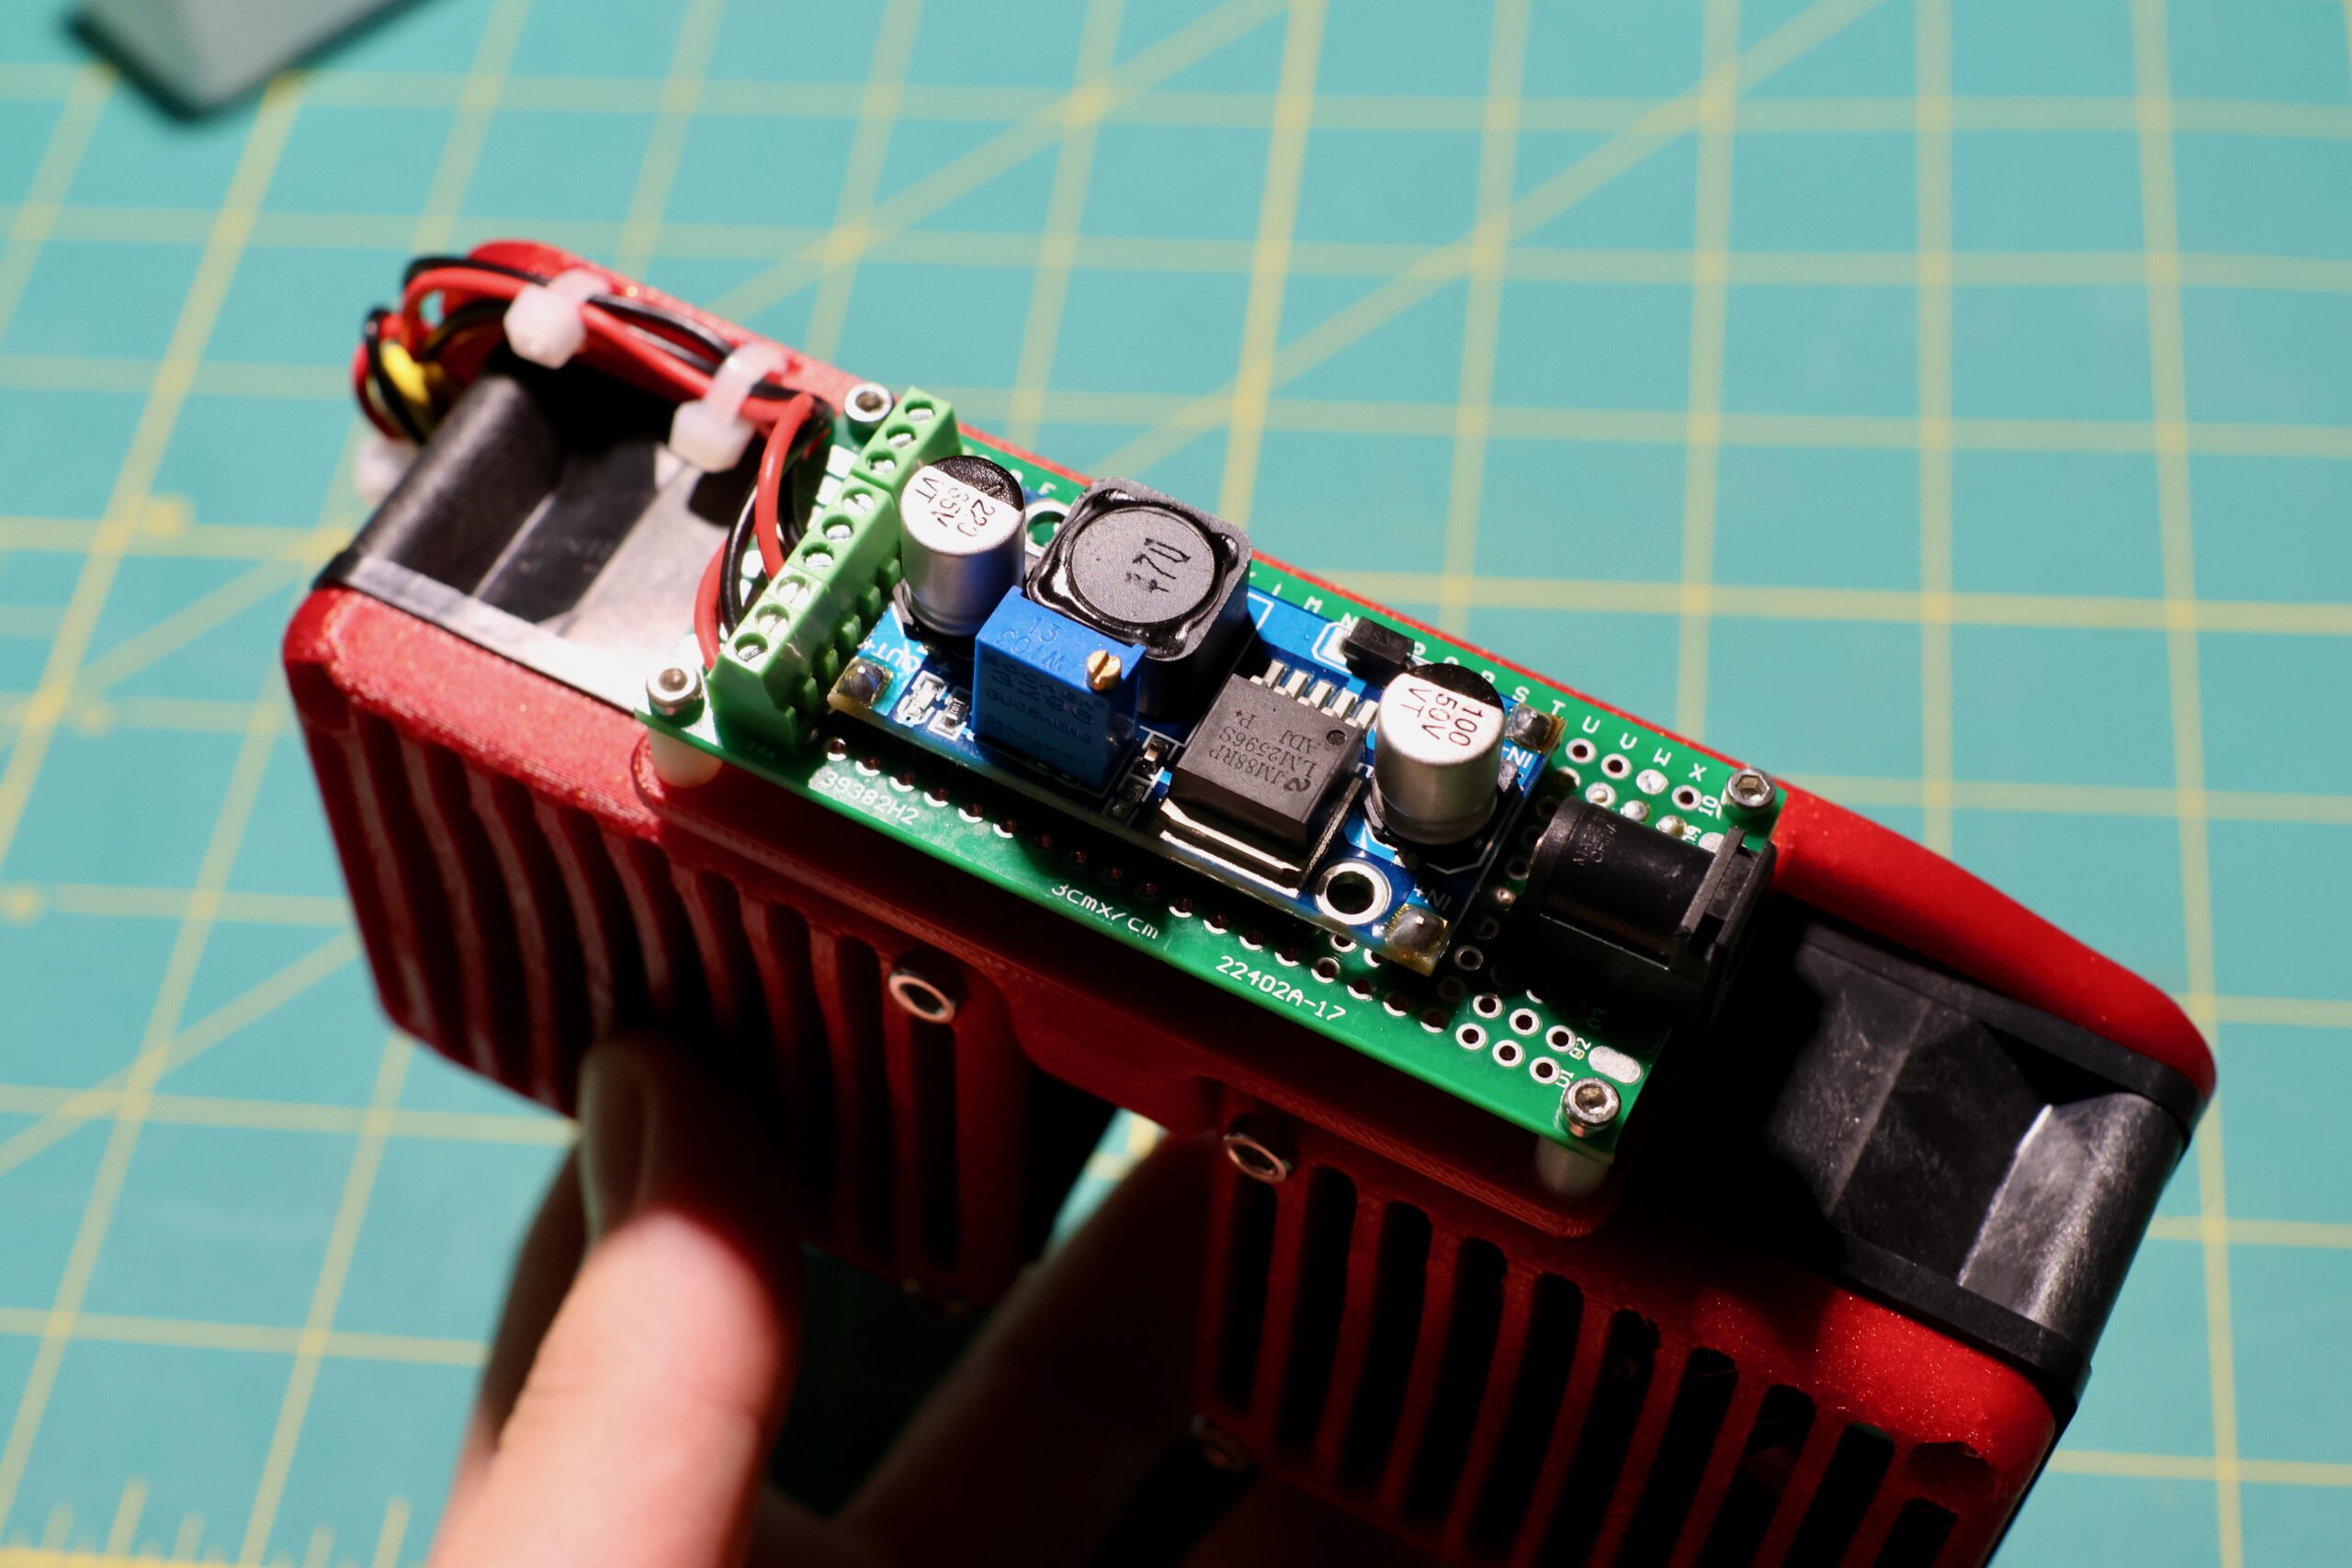
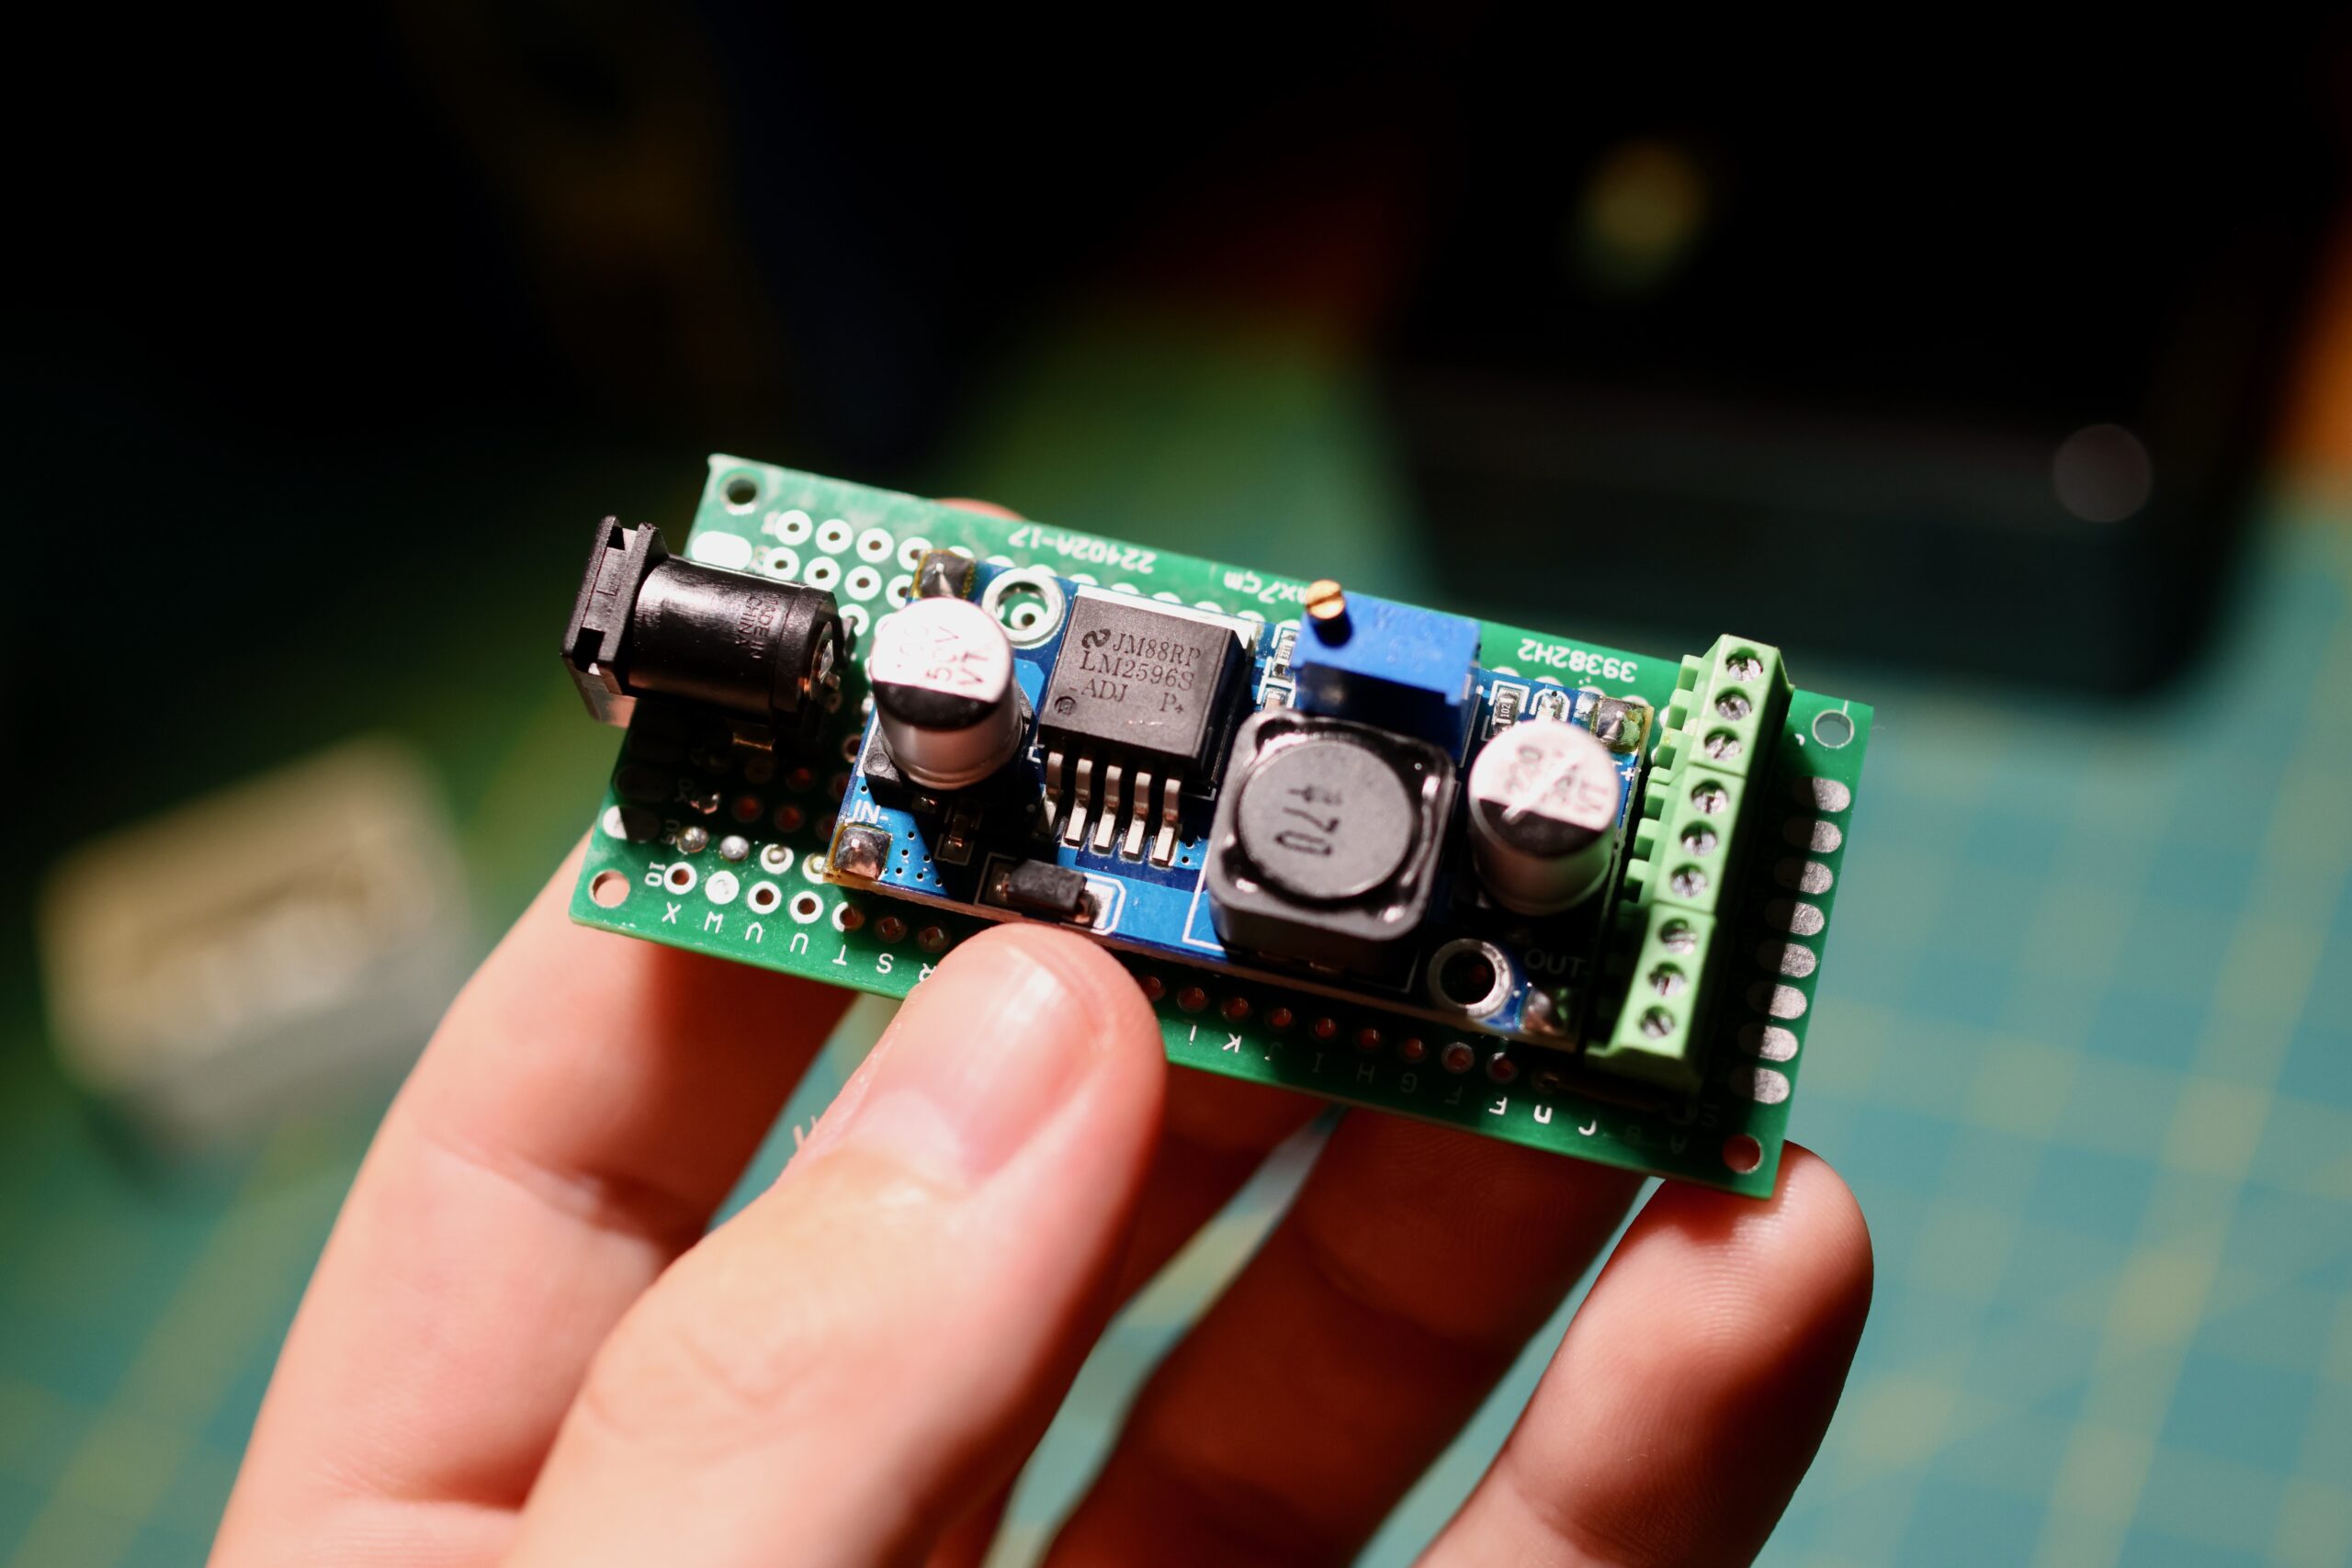
The PCB here is very simple. A barrel jack feeds a DC-DC converter, the output of which is wired two three sets of screw terminals in parallel. A standalone DC-DC converter is used because each fan can consume ~5W, right near the limit for what my motherboard can provide. The lack of PWM speed control also means they would be full-blast all the time, which is sonically undesirable.
The assembly is held in place against the rear grill with the two outside-bracket-retainer pieces.
The BOM is simple but worth recording:
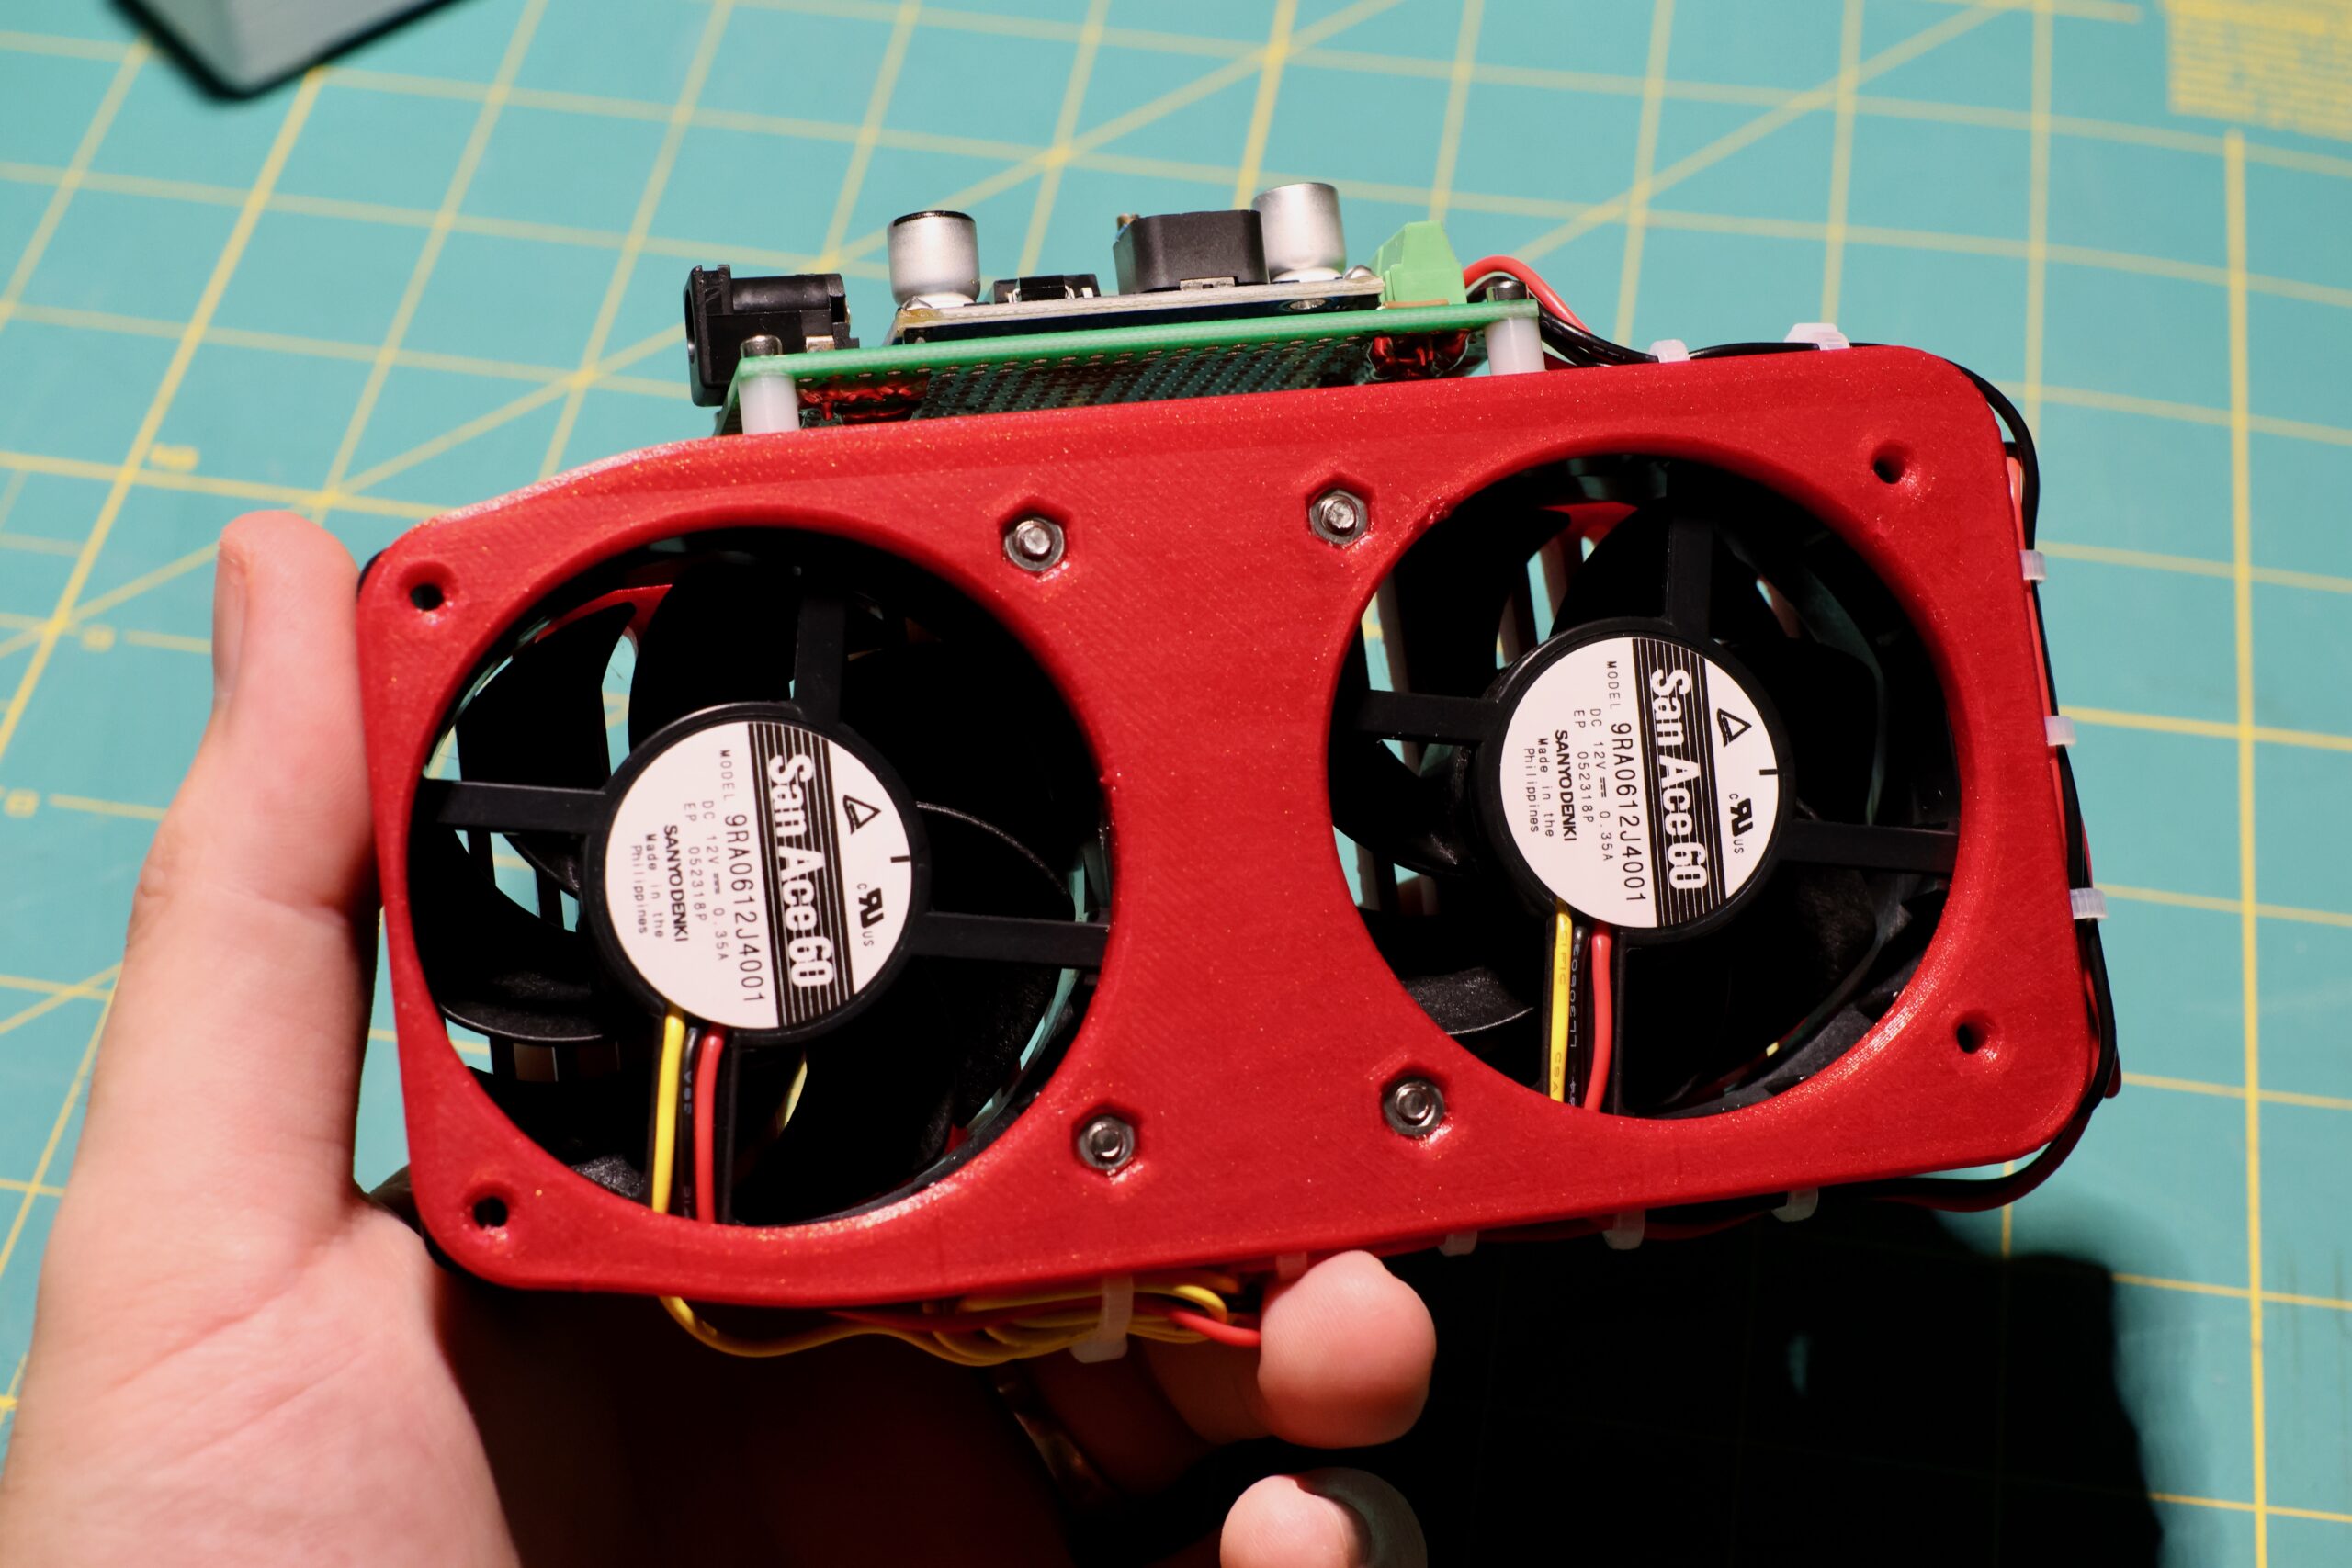
- 4x M3x35mm bolts mount the fans to
rear-exhaust-fans-inner-mount. - 4x M3x40mm bolts secure the assembly to the grate with
outside-bracket-retainer. - 8x M3 nuts are used with the M3 bolts.
- 4x M2x12mm bolts secure the PCB to
rear-exhaust-fans-inner-mount. - 4x M2 nuts compliment the M2 bolts.
- 2x 60mm x 60mm x 25mm, 7700 RPM fans are used.
- The DC-DC converter is a standard LM2596-based board that I have a million of sitting around.
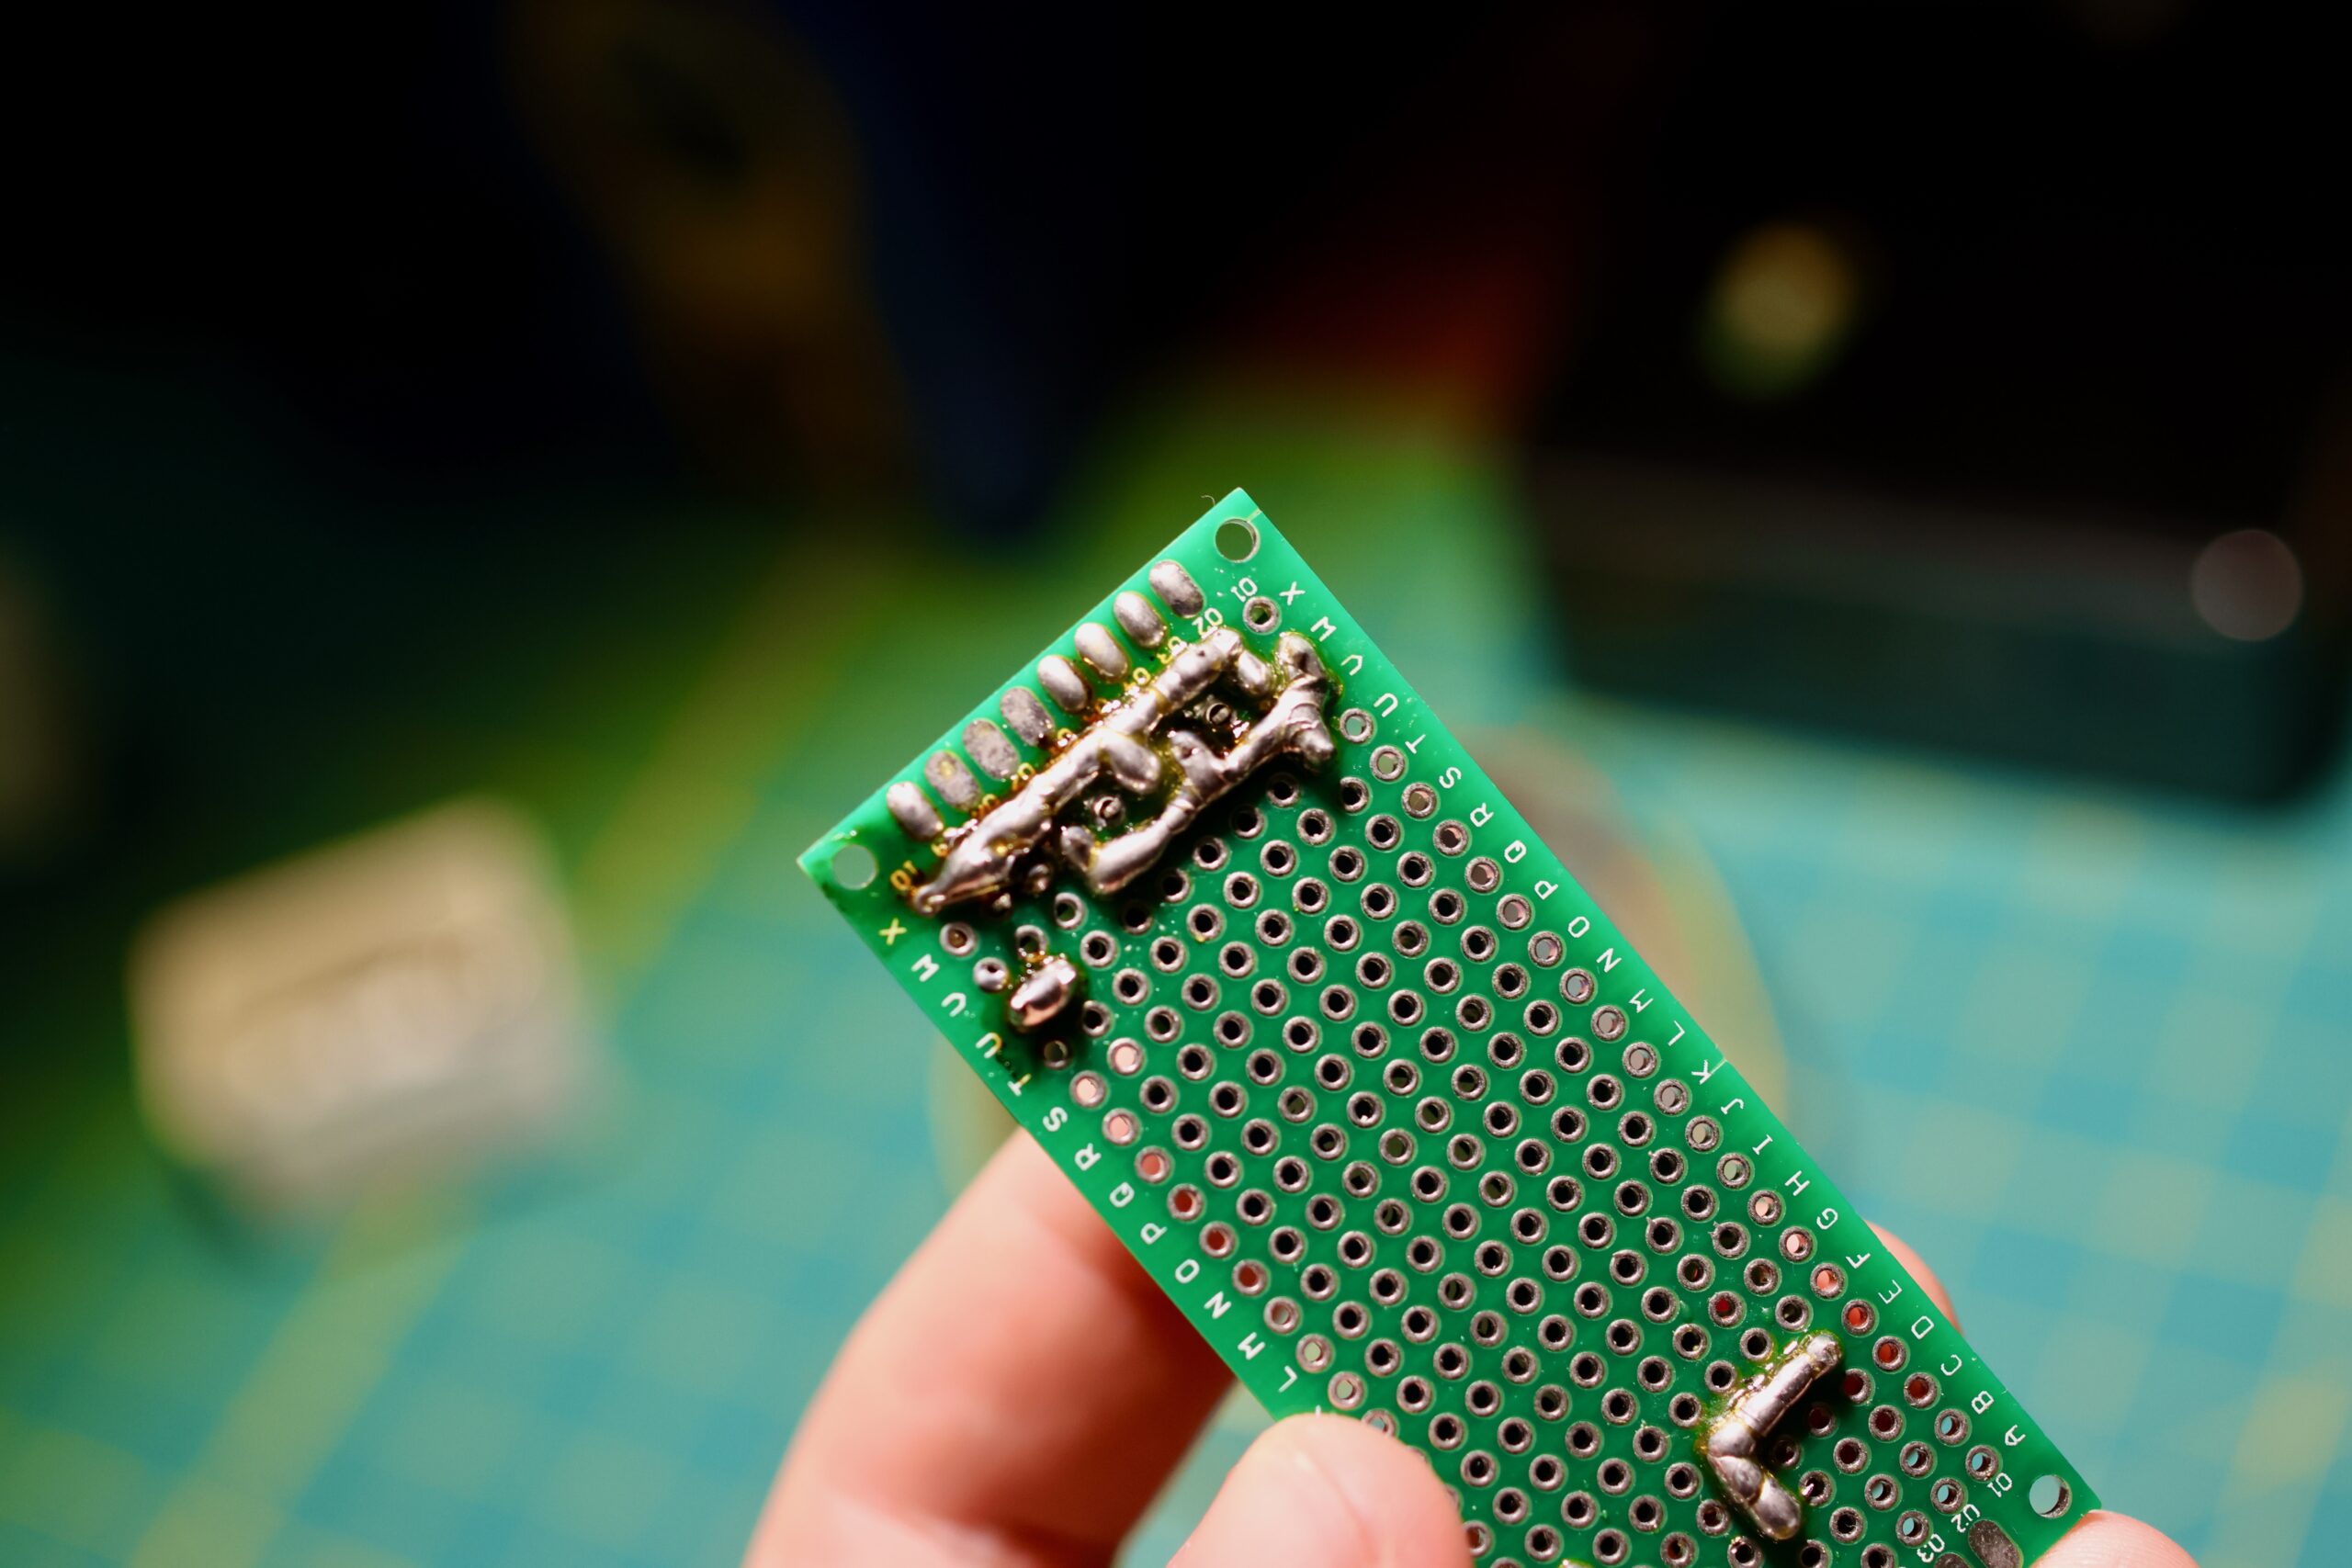
- The PCB is a now out-of-stock standard shape for prototyping, it is 7cm x 3cm.
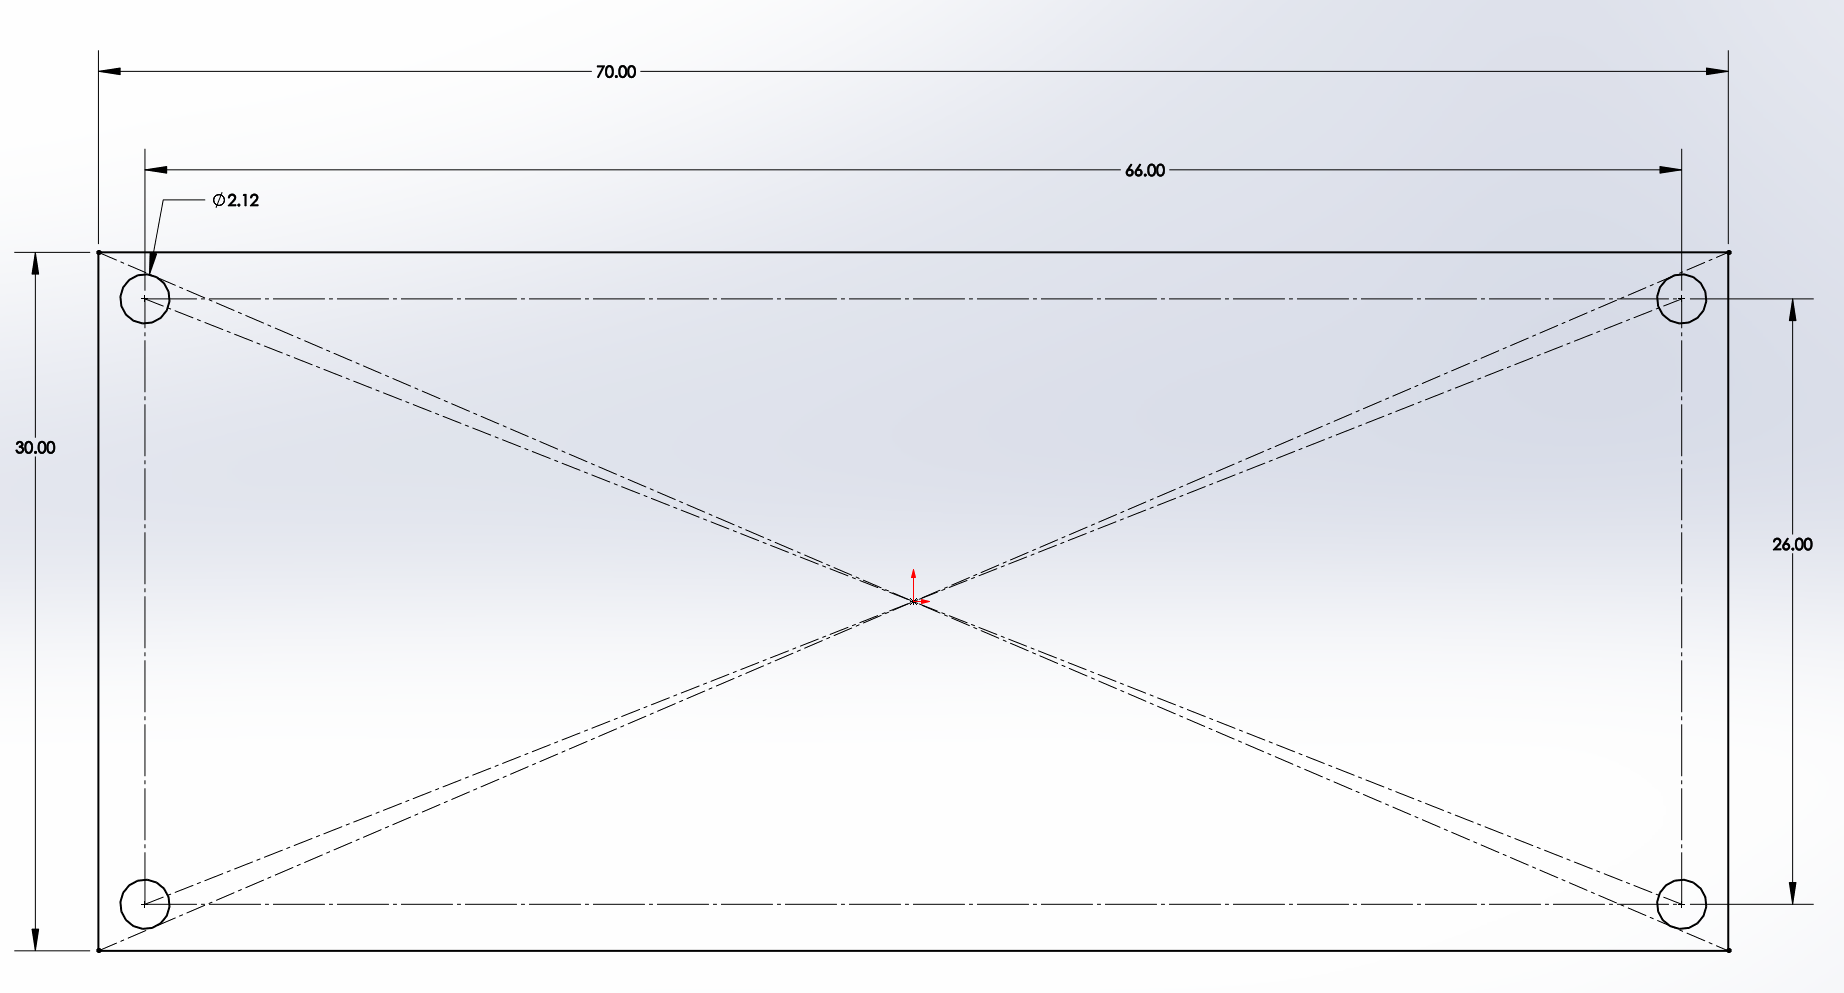
Here are the mm dimensions for the PCB, if someone else finds a suitable replacement I’ll update this post:
Additionally, I made a custom cable to connect the DC power jack to the server’s power supply.
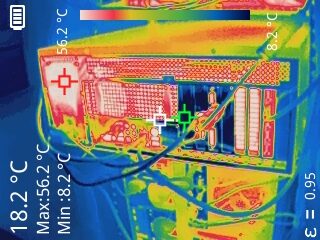
The following is an image of the rear of the running server from a thermal camera. Note the nice hotspot forming near the rear exhaust fans showing that they’re moving heat out of the system.
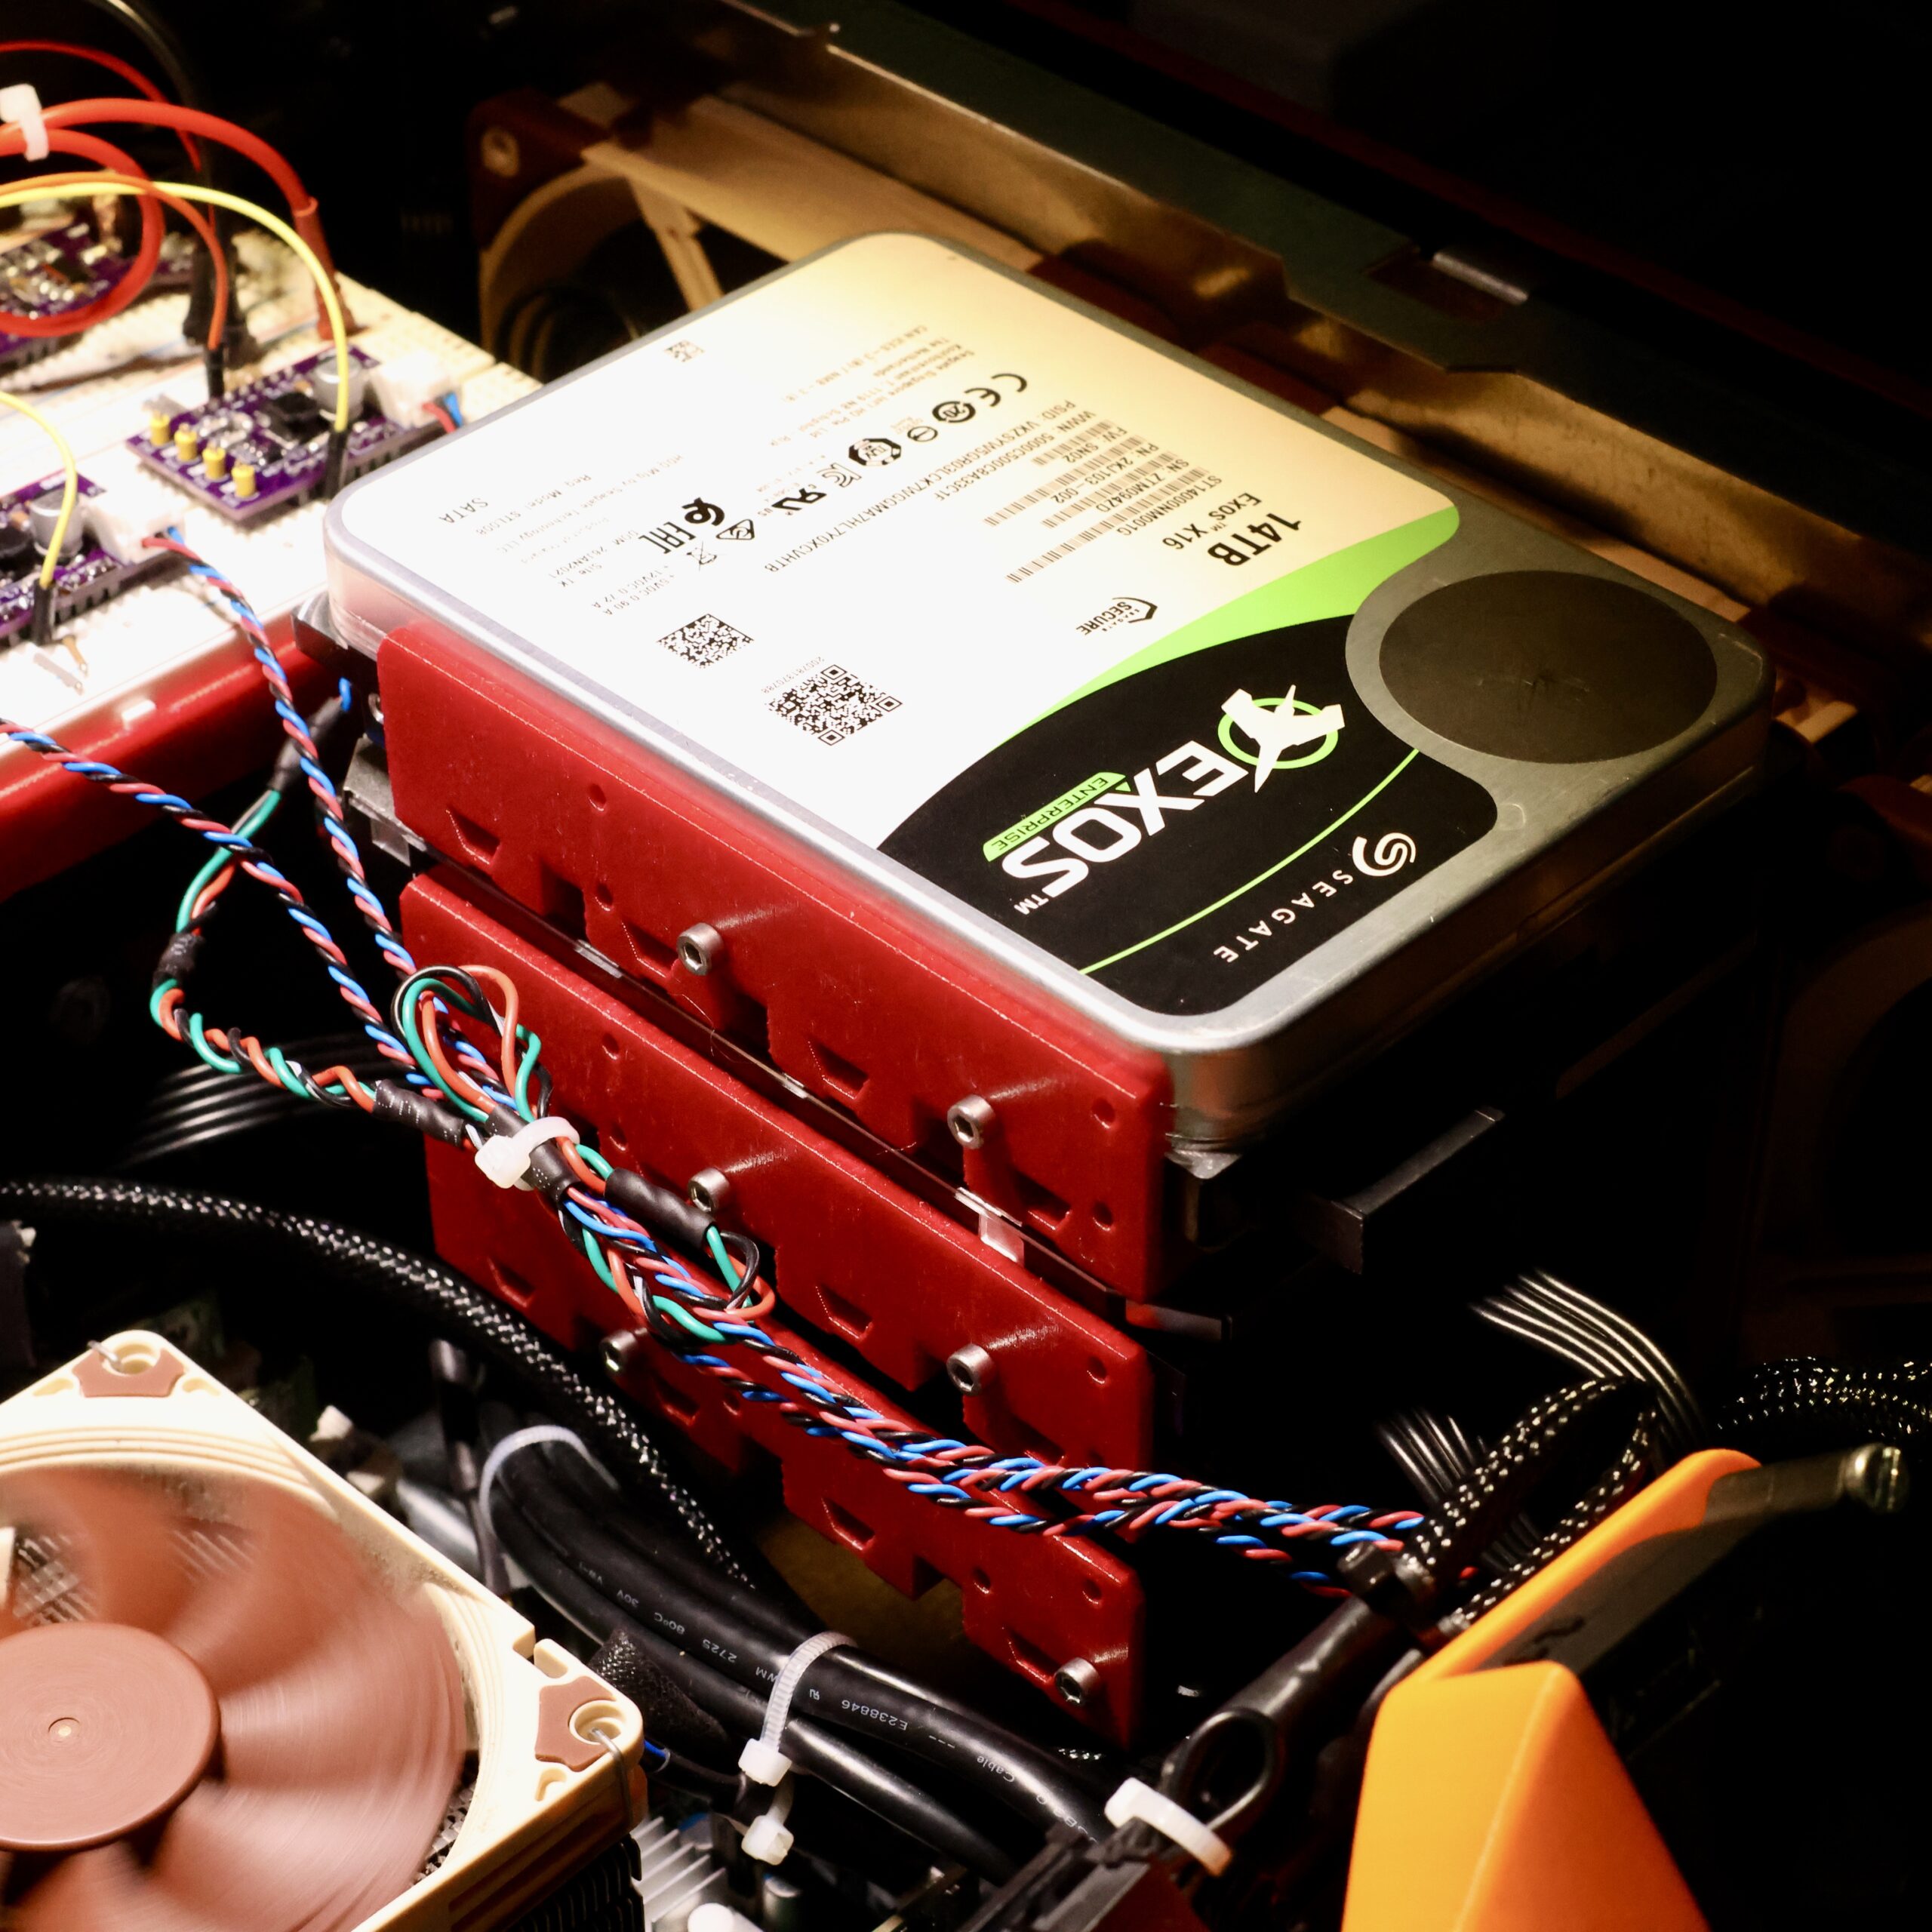
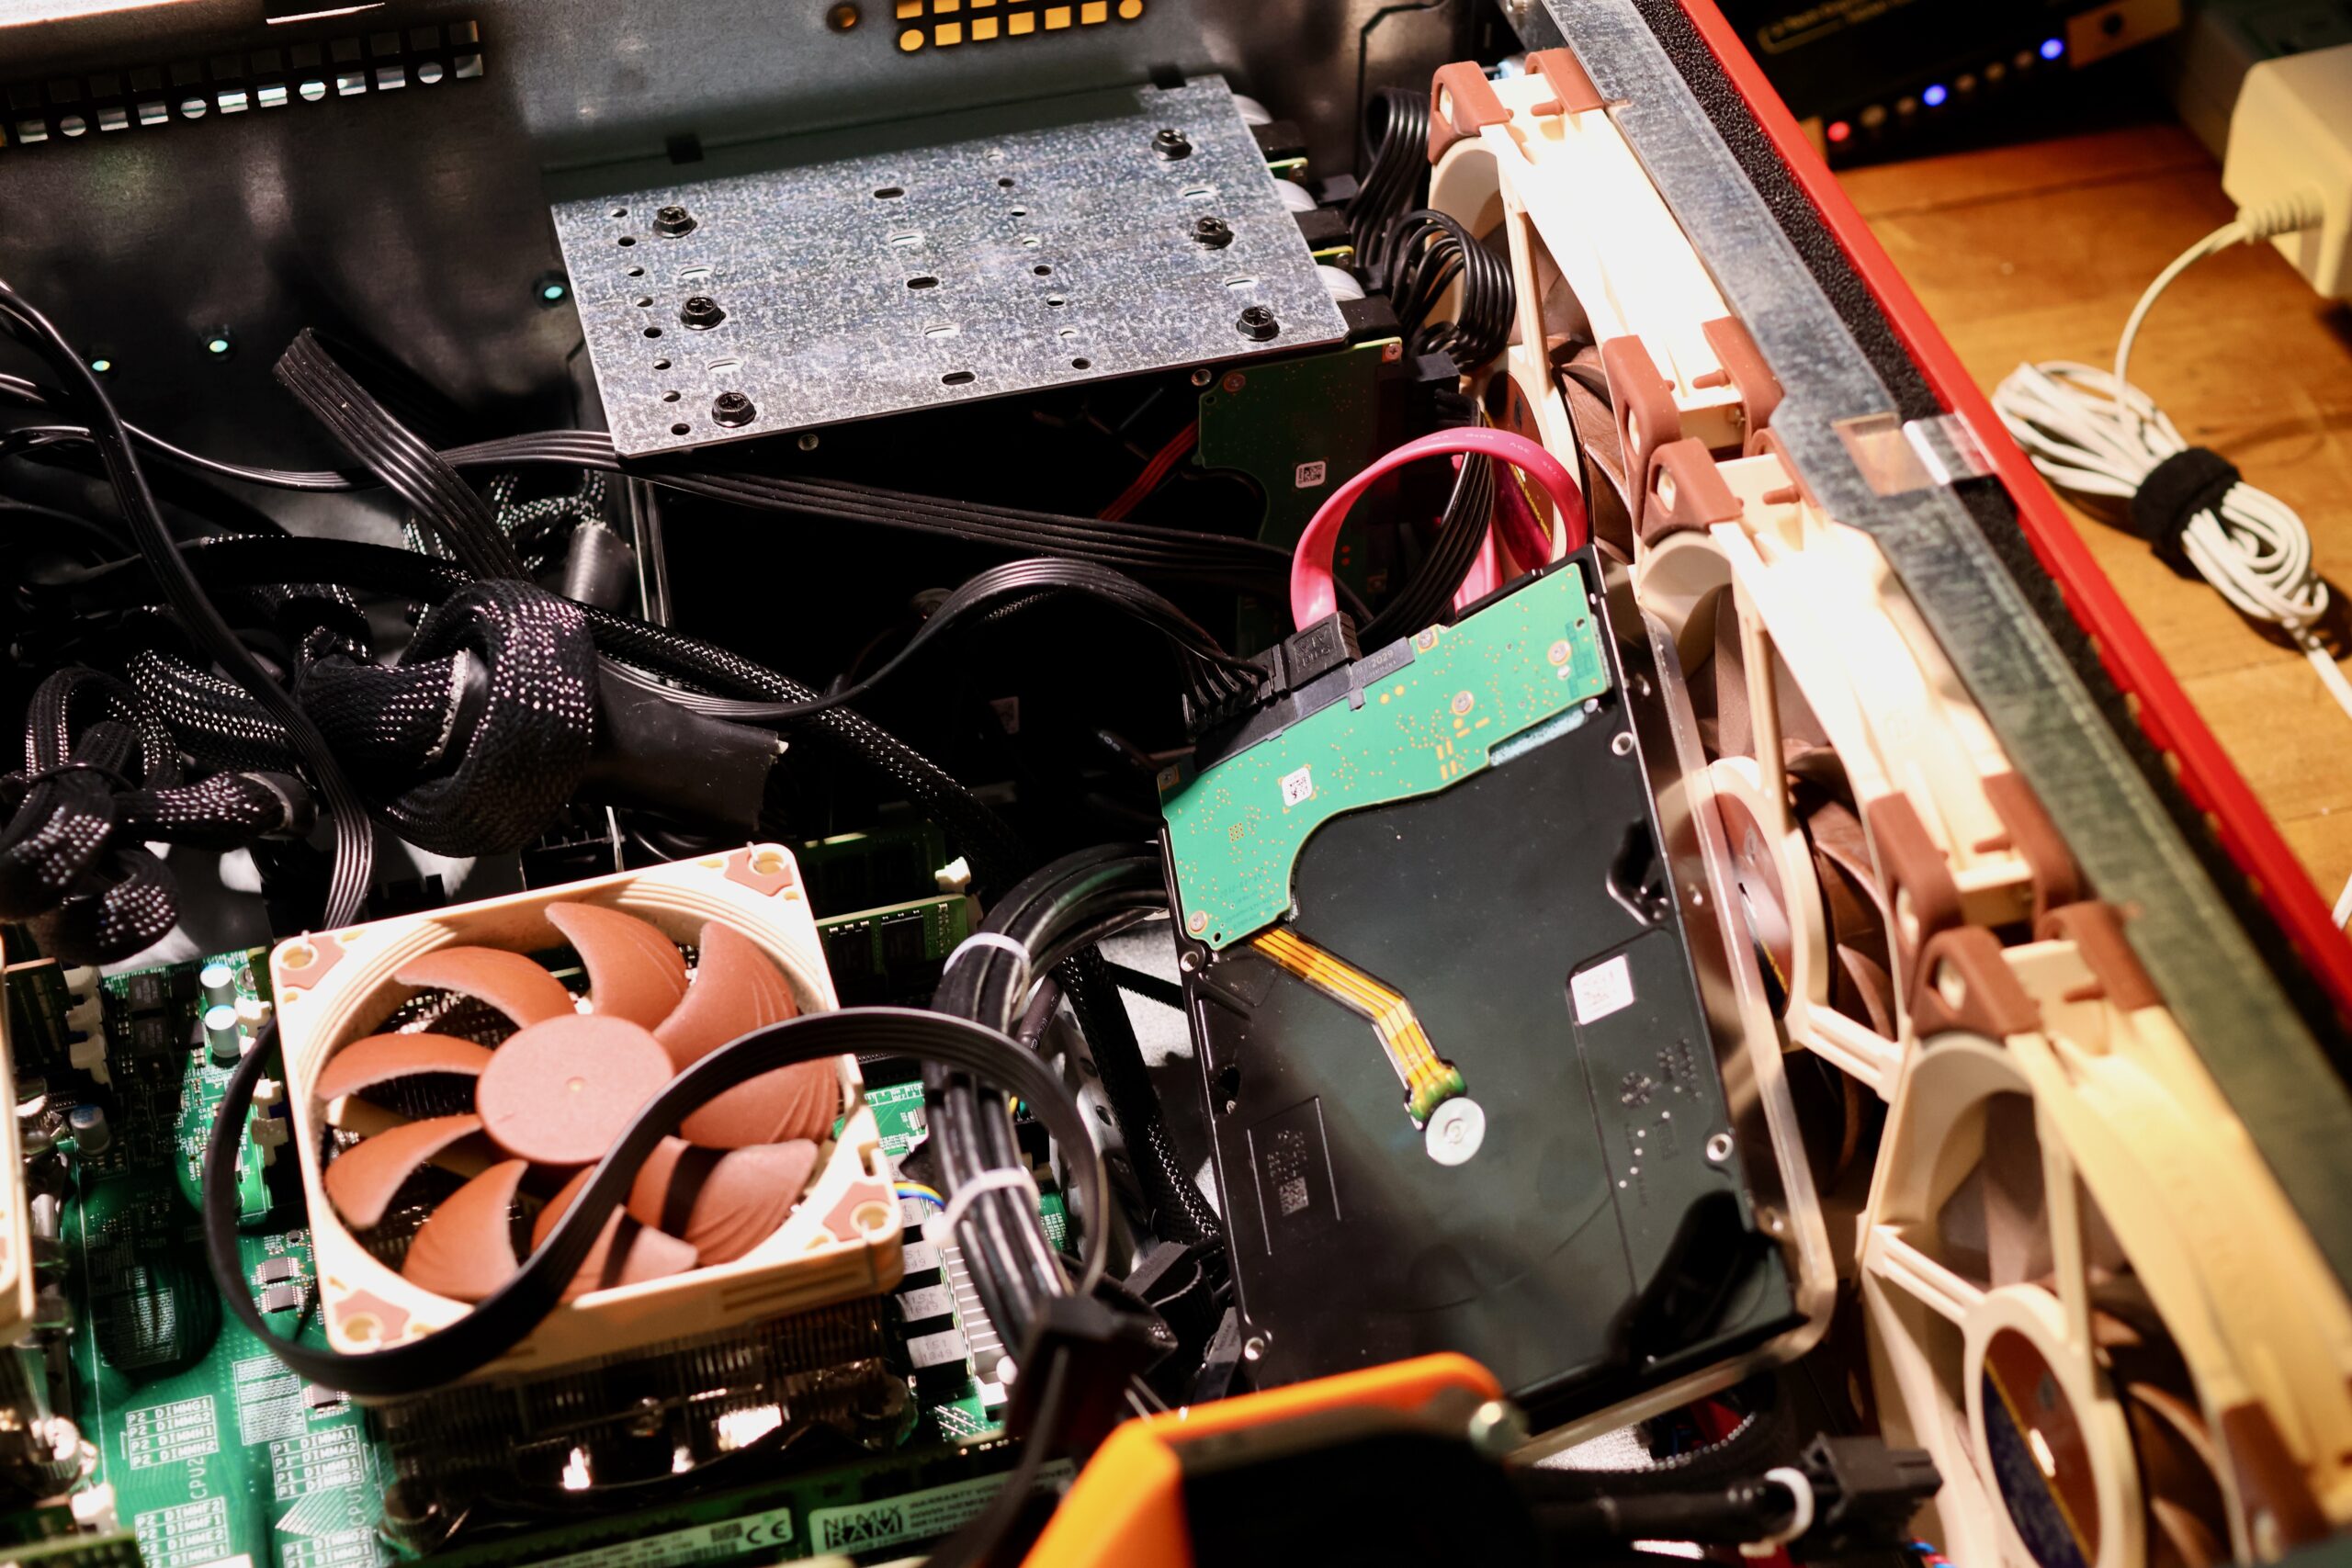
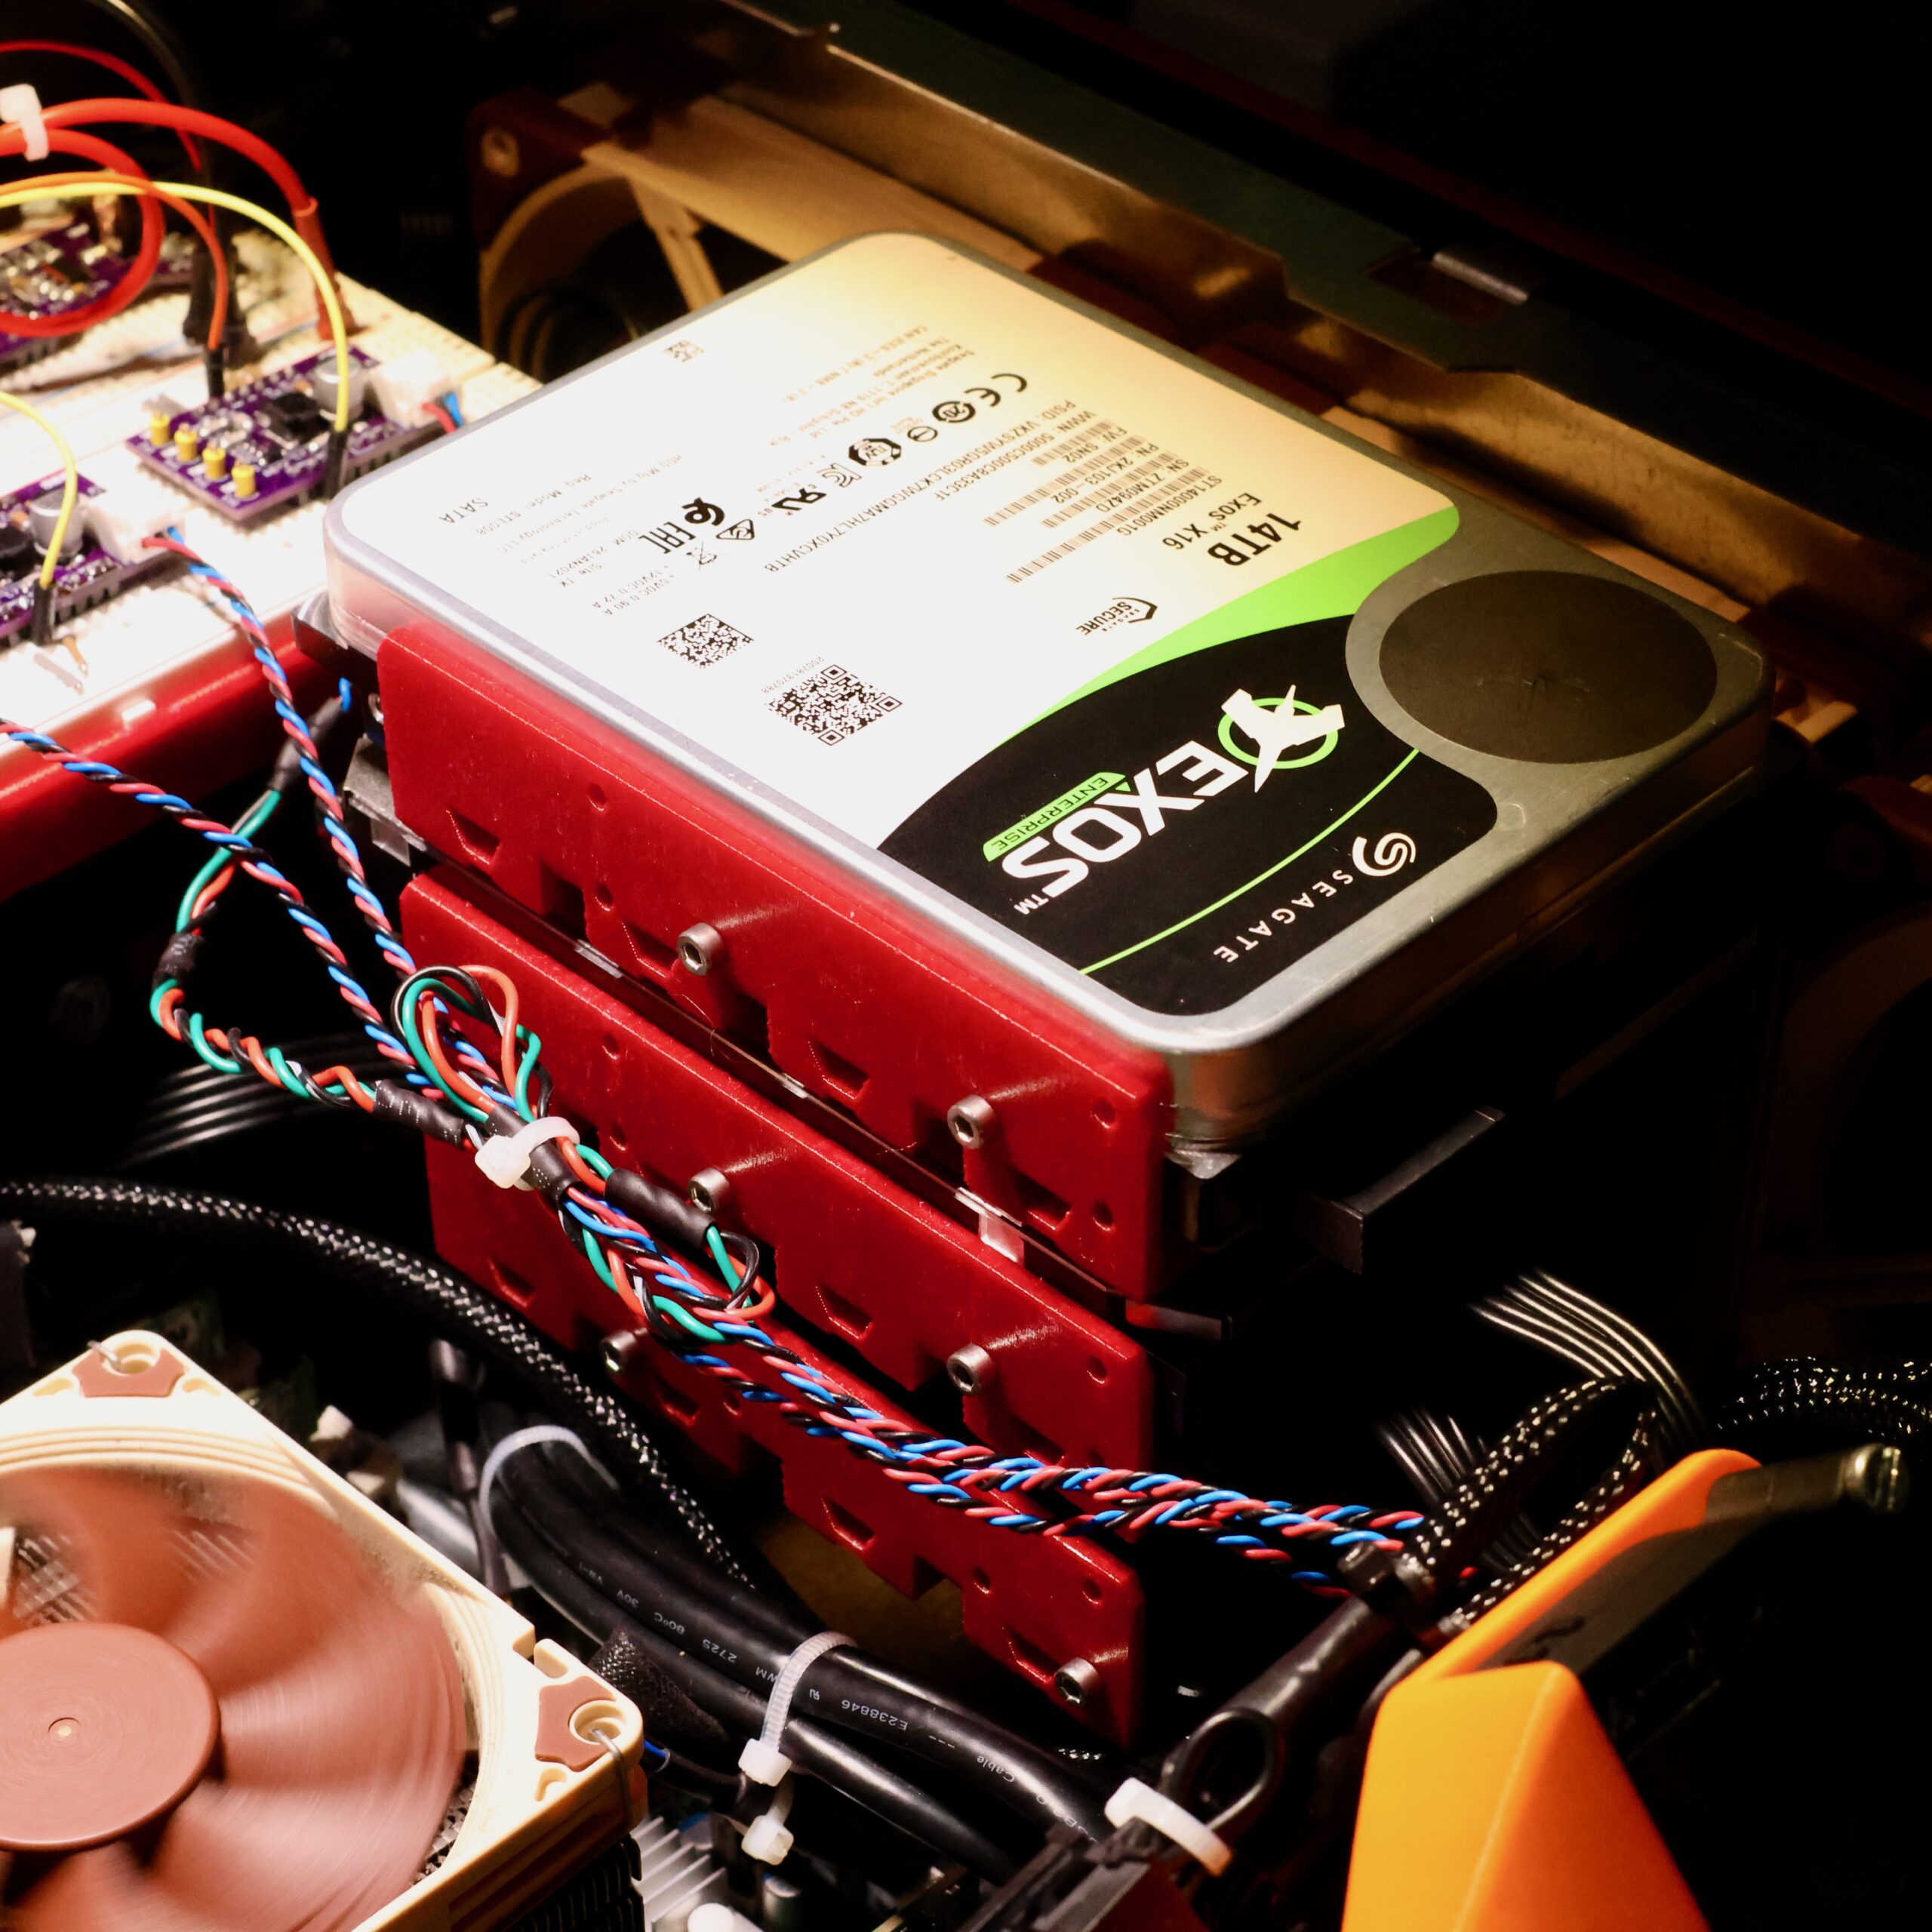
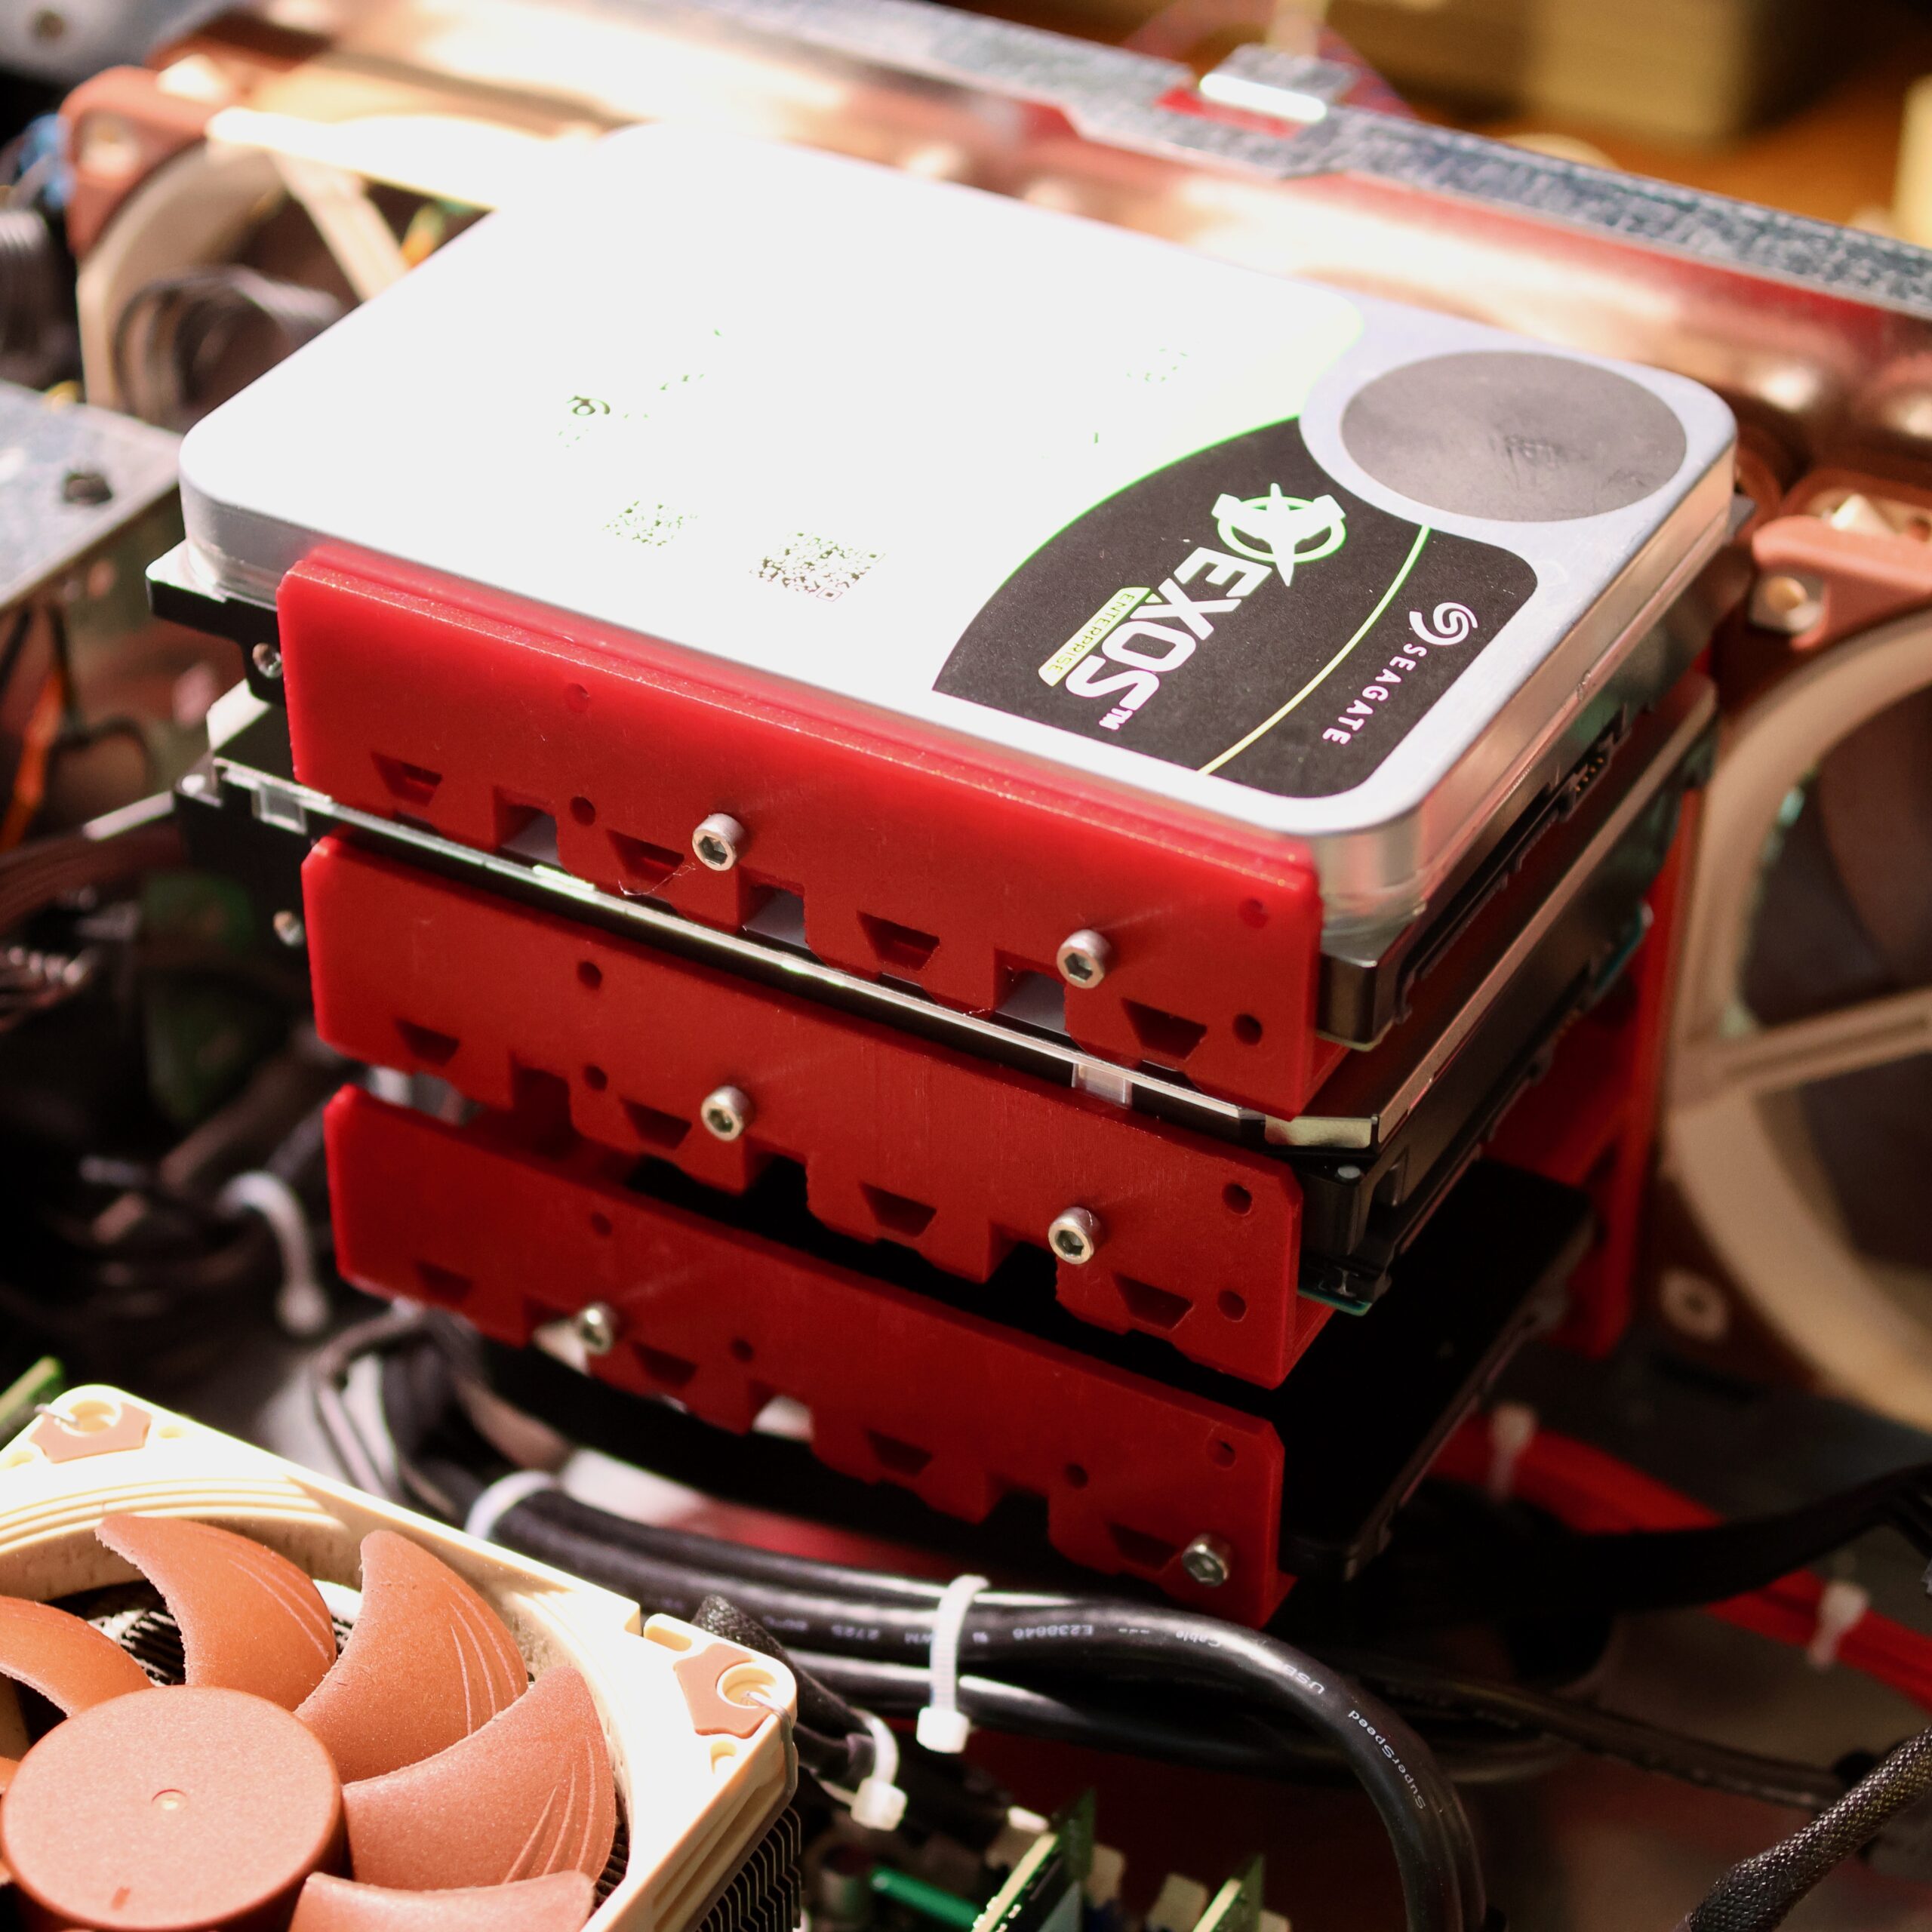
Sliger Drive Shelf
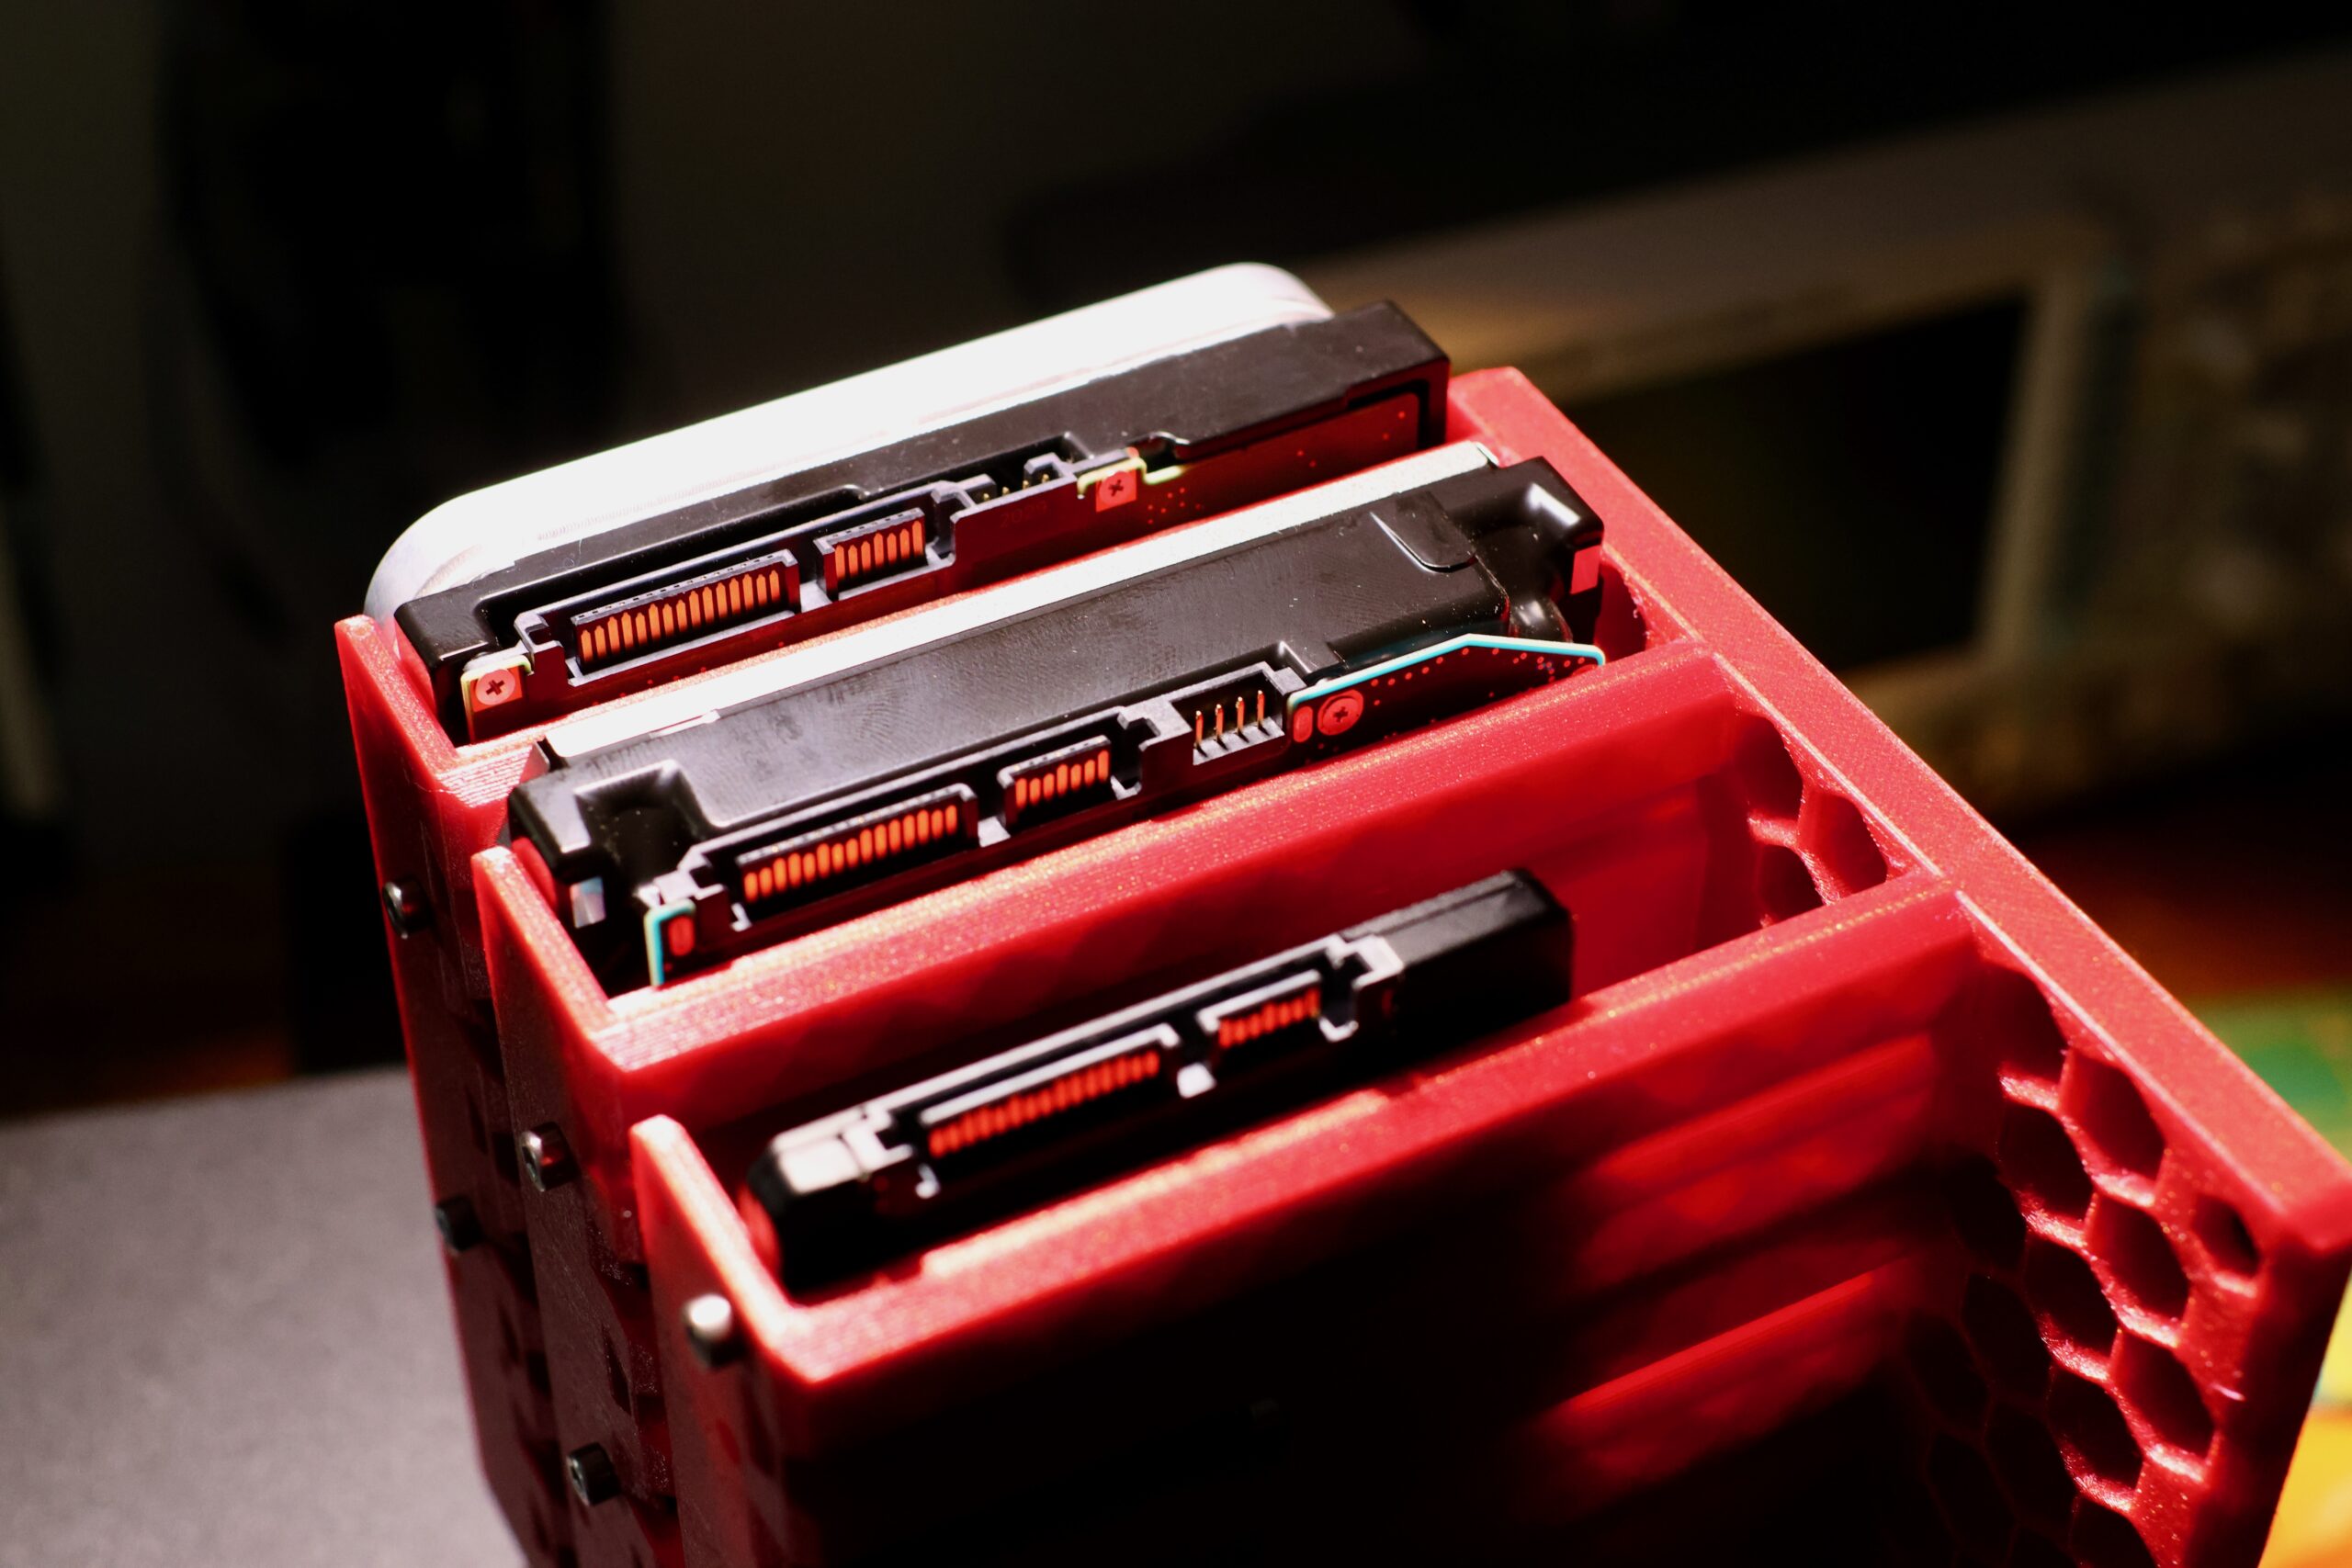
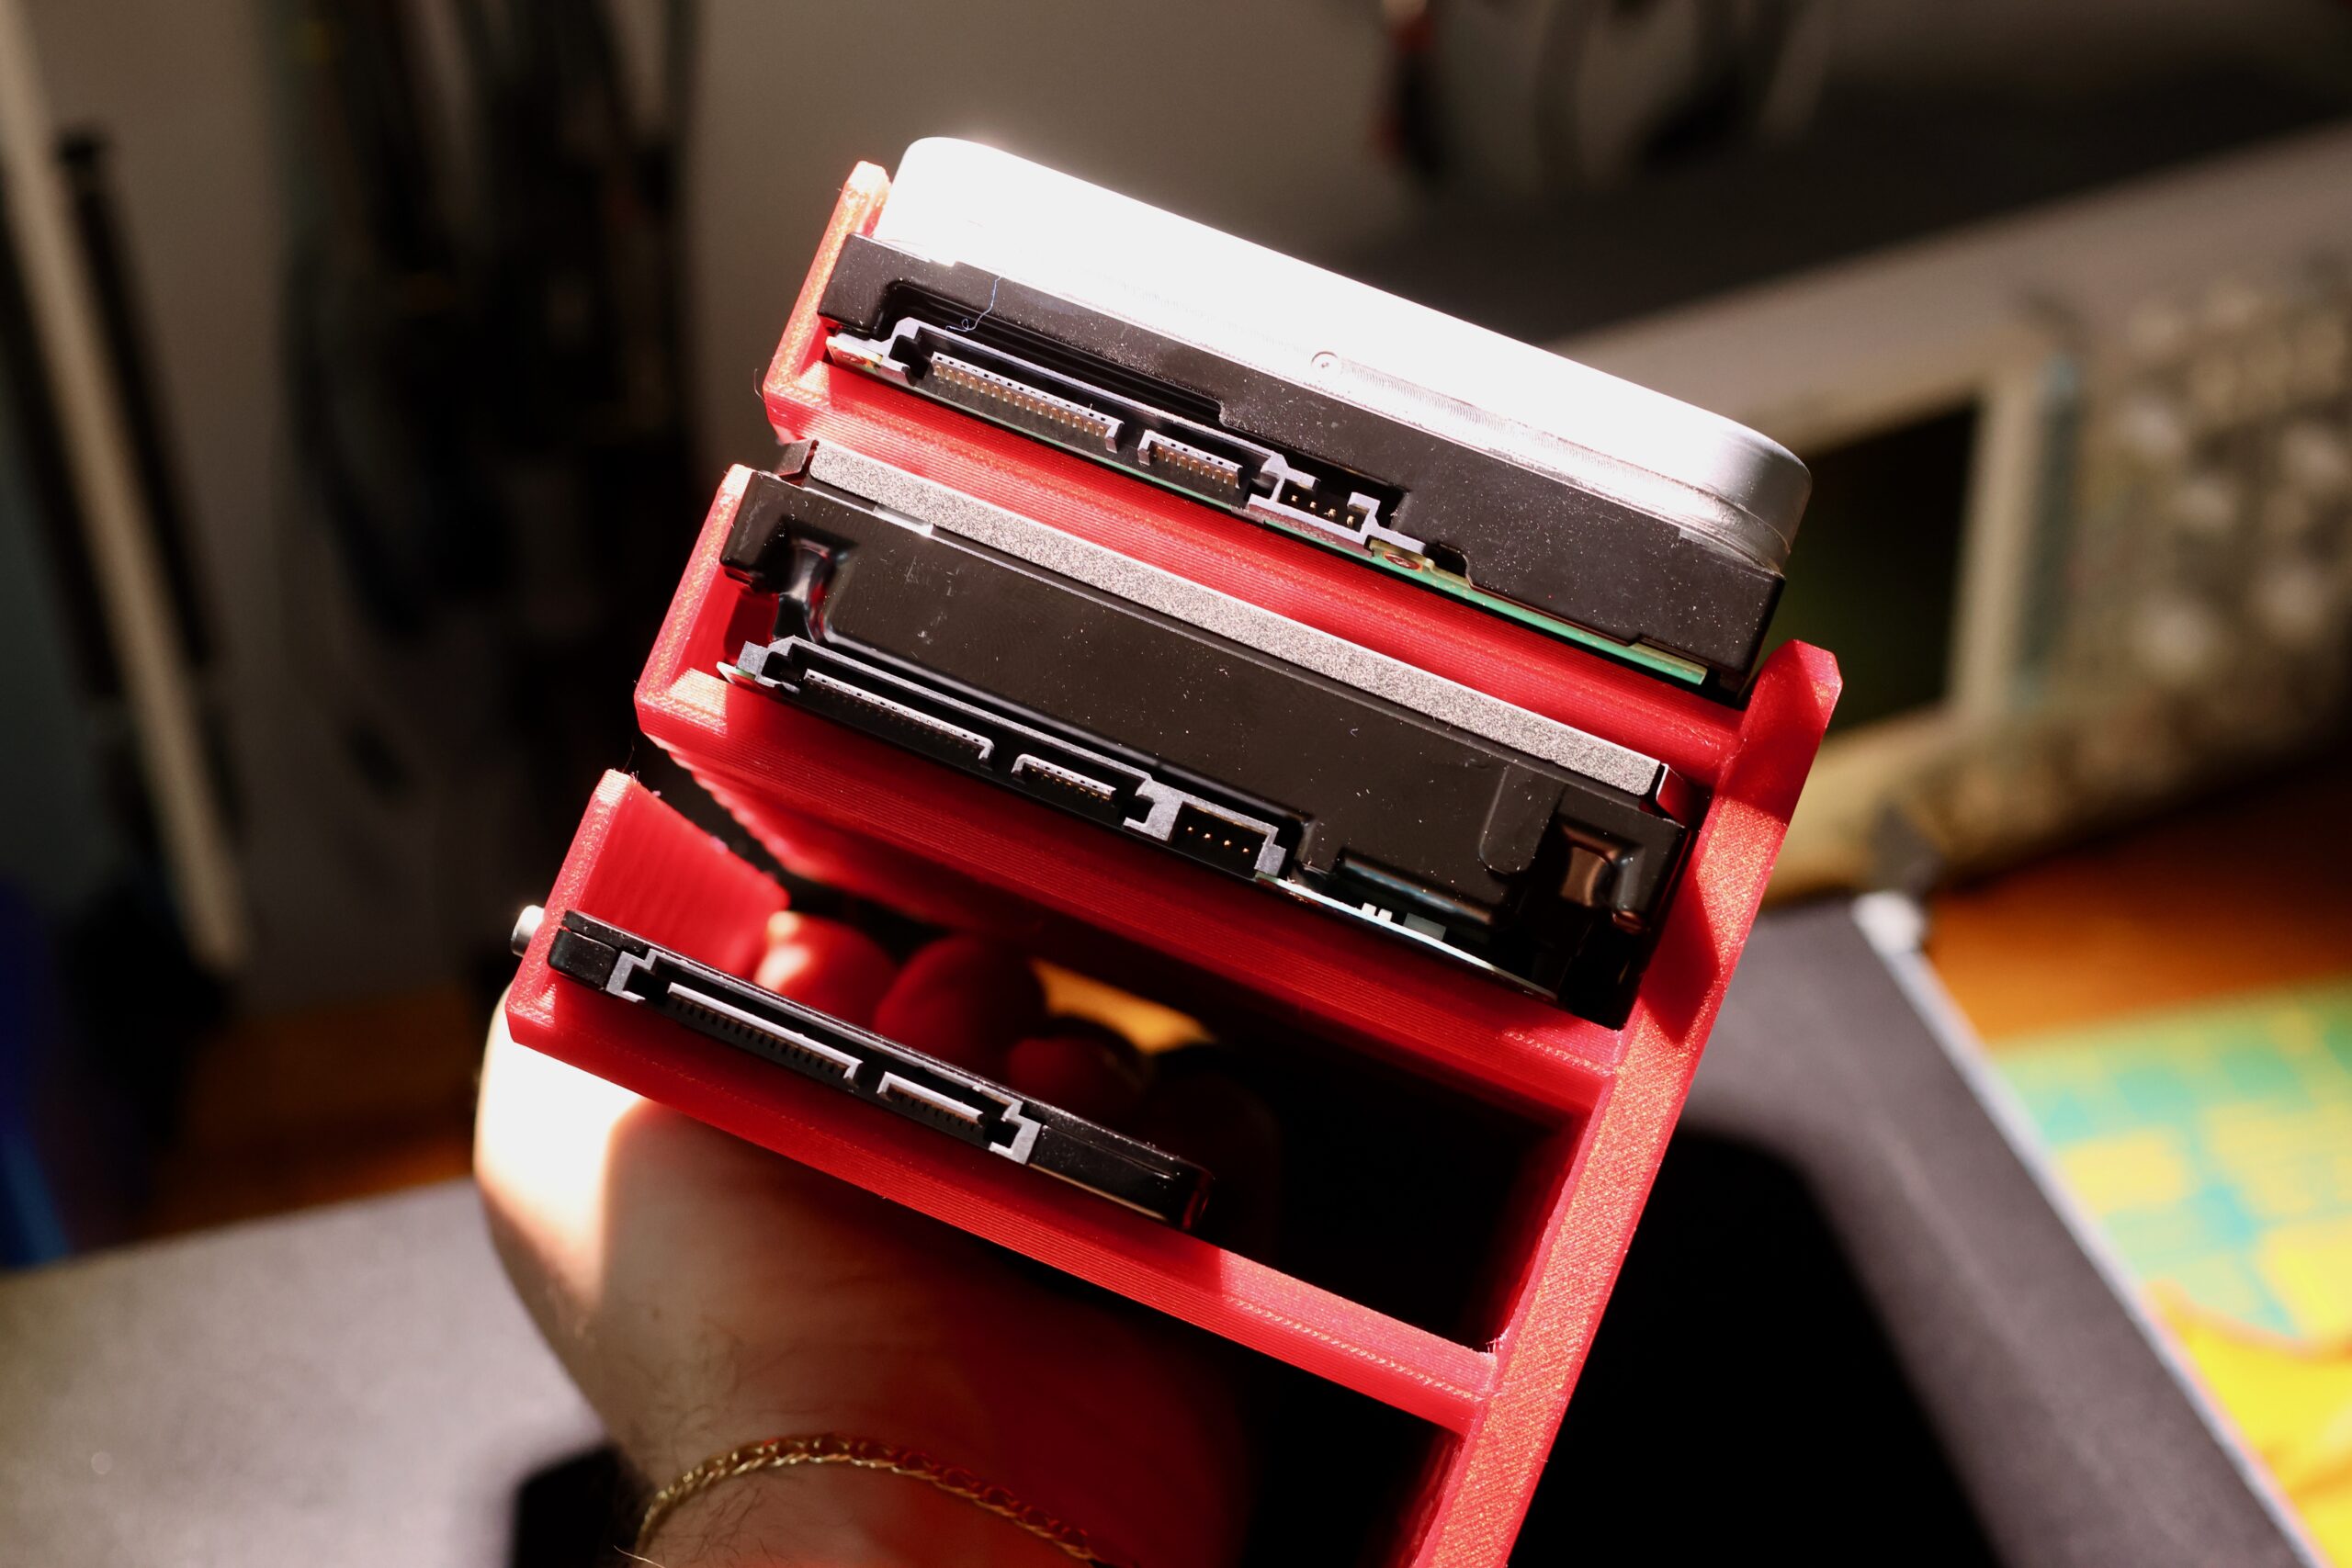
This piece uses the existing mounting pattern for the 120mm fans built into the Sliger to add a few more slots to securely mount hard drives. Each ‘shelf’ can fit either a 3.5″ drive or two 2.5″ drives. The design intent was to align the output connectors of the drives, to make cable management easier but your mileage may vary depending on your hardware. Intentionally, there’s a bit of space left below the bottom drive to store cables and allow more airflow.
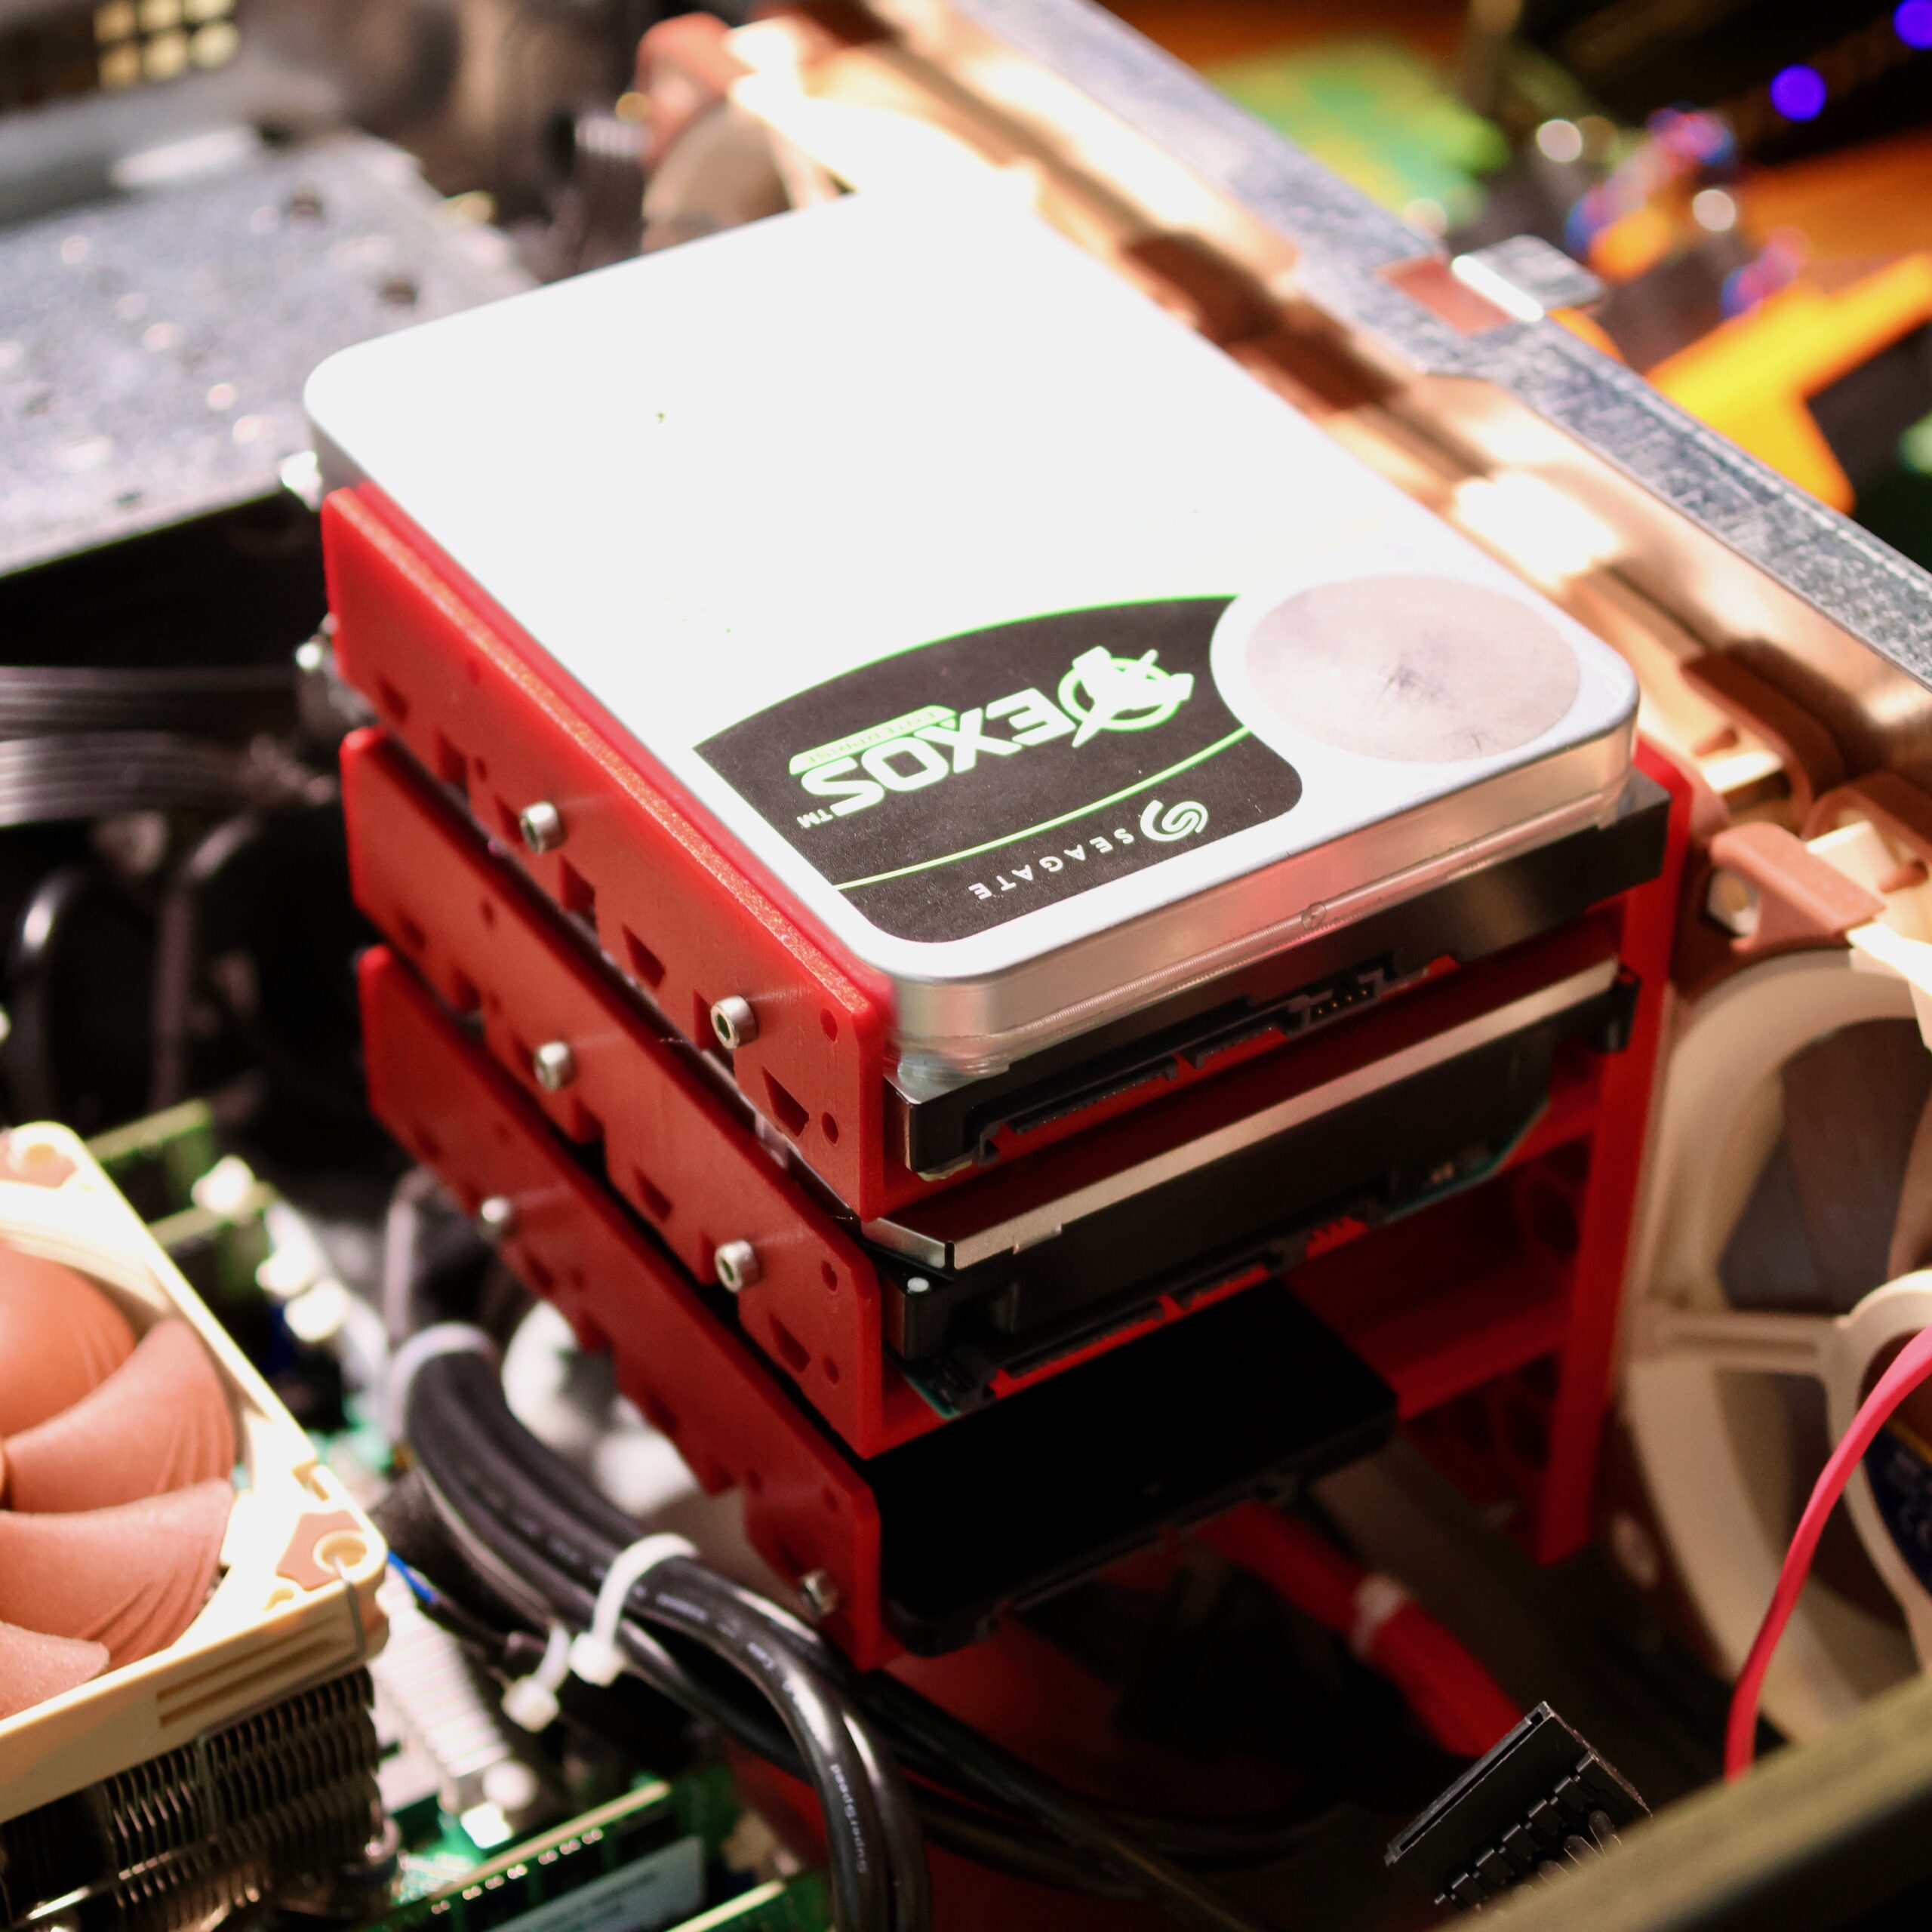
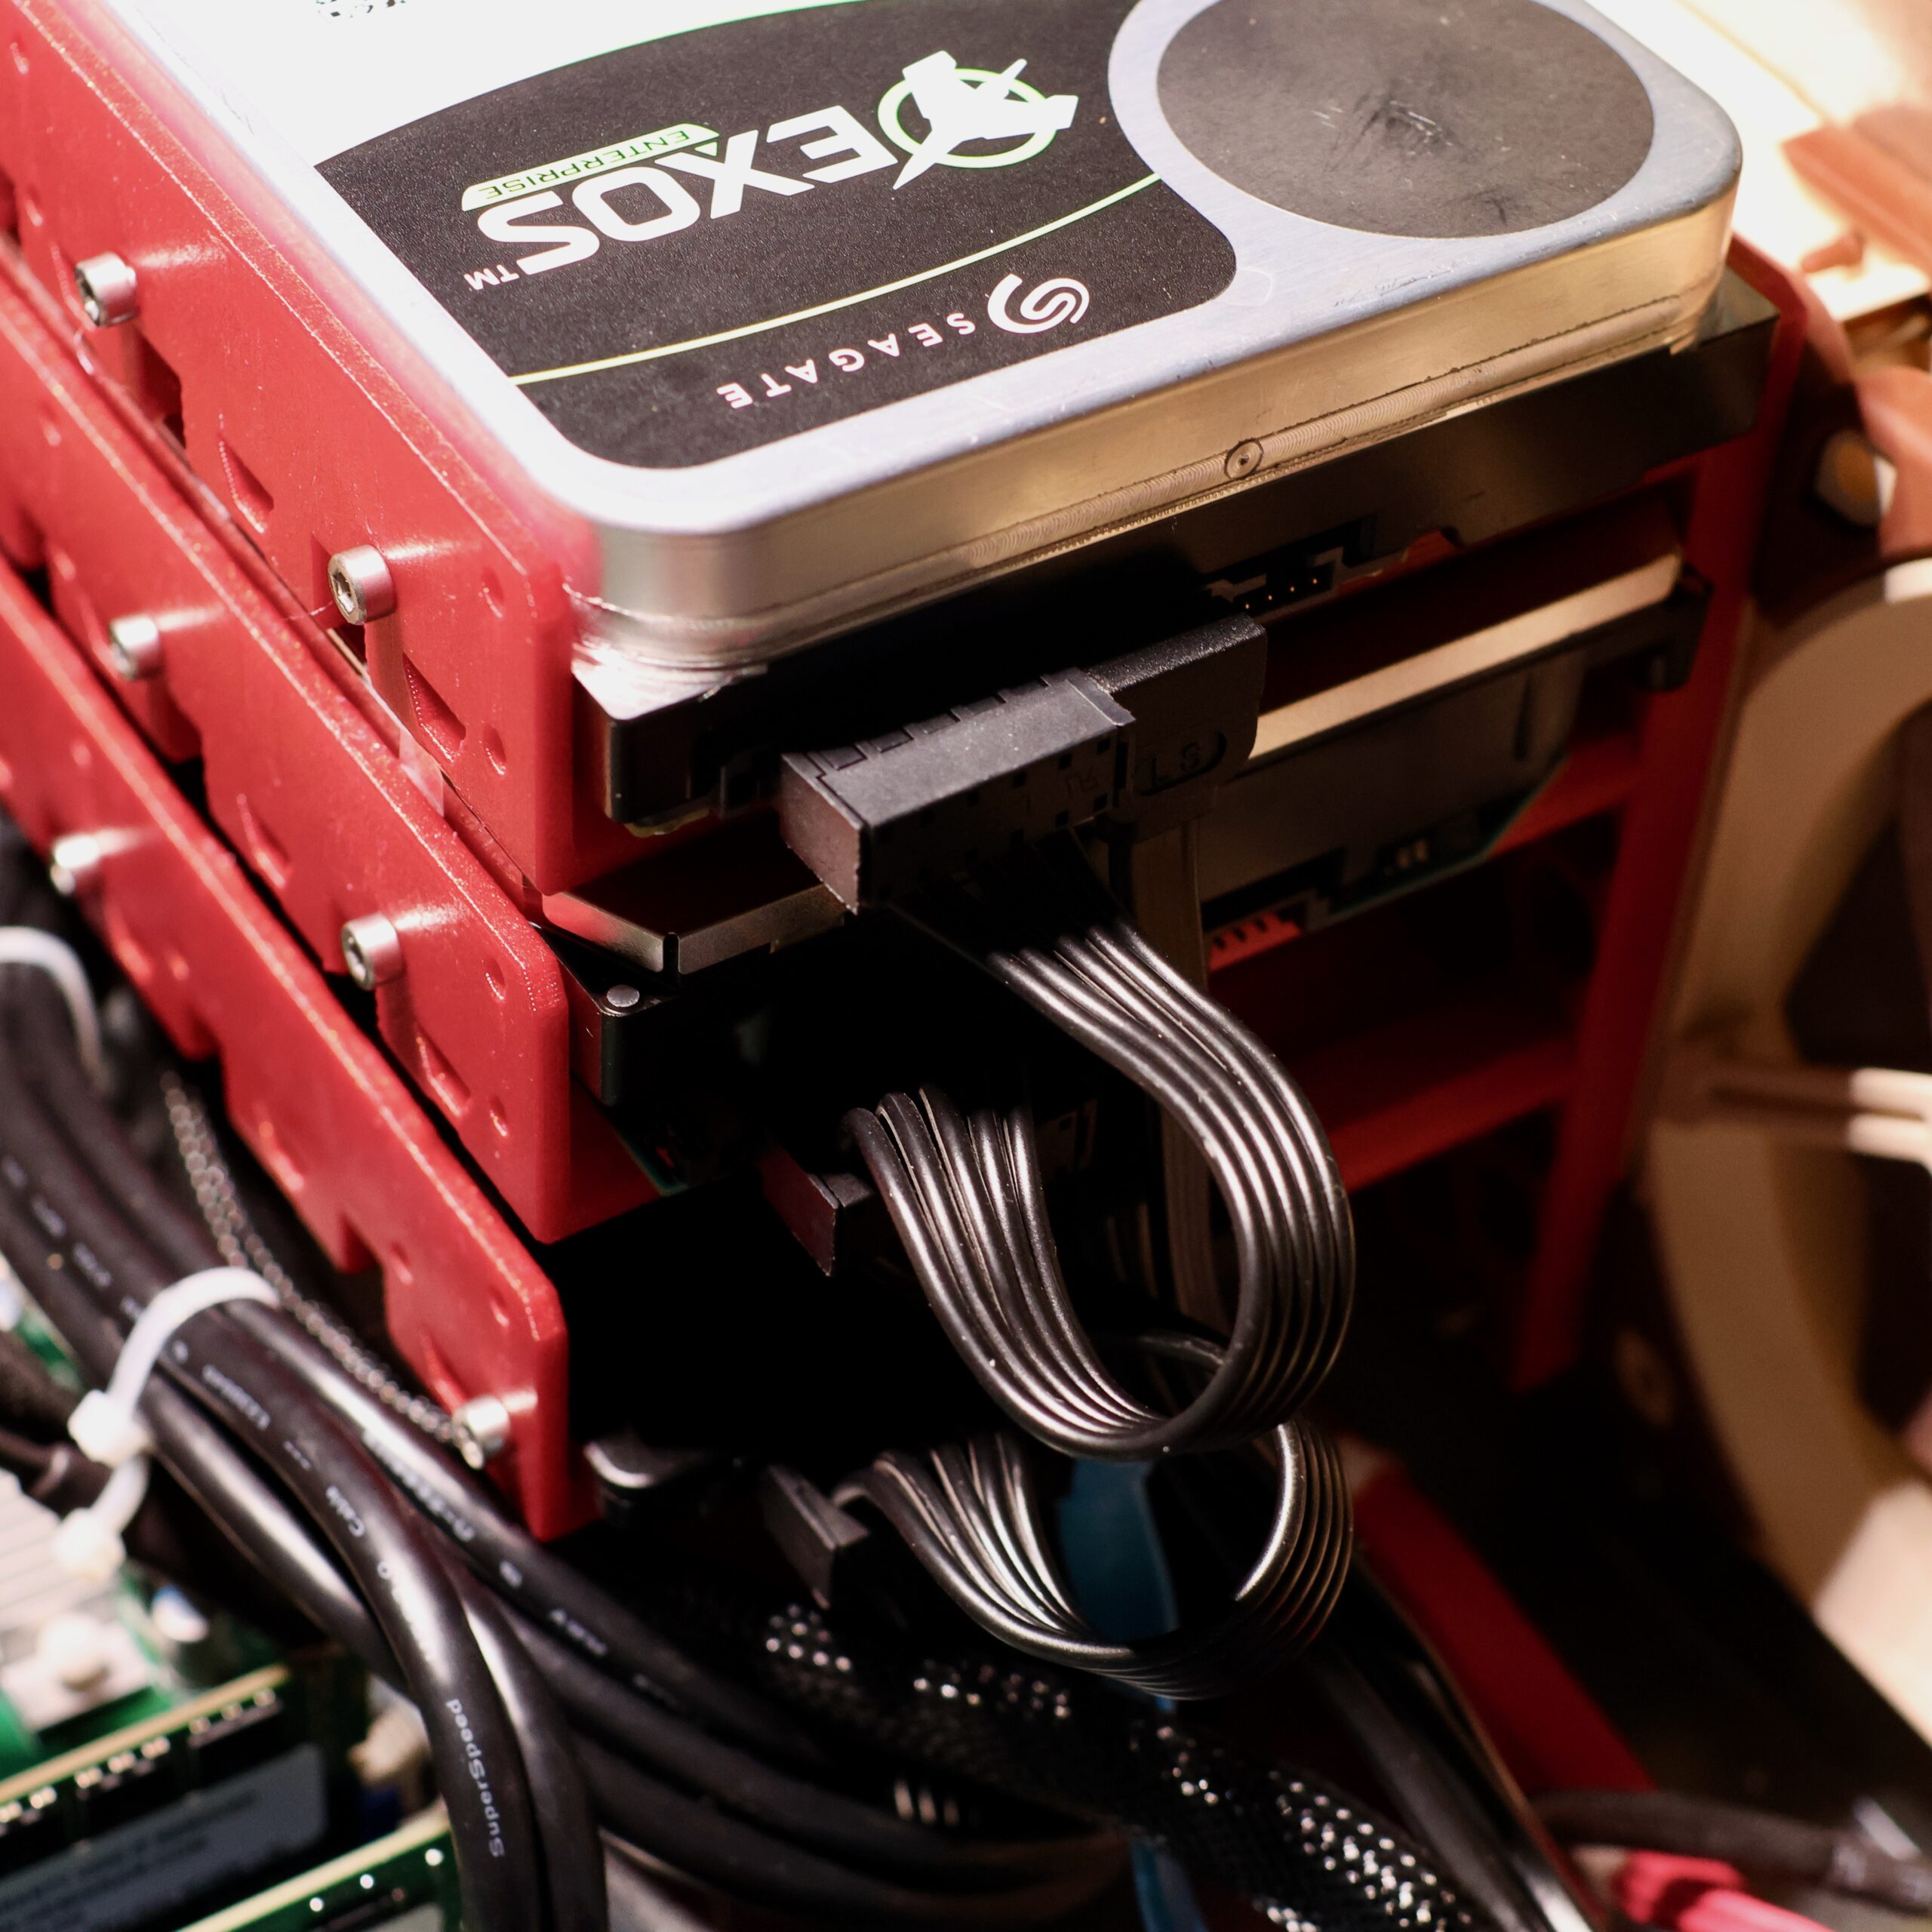
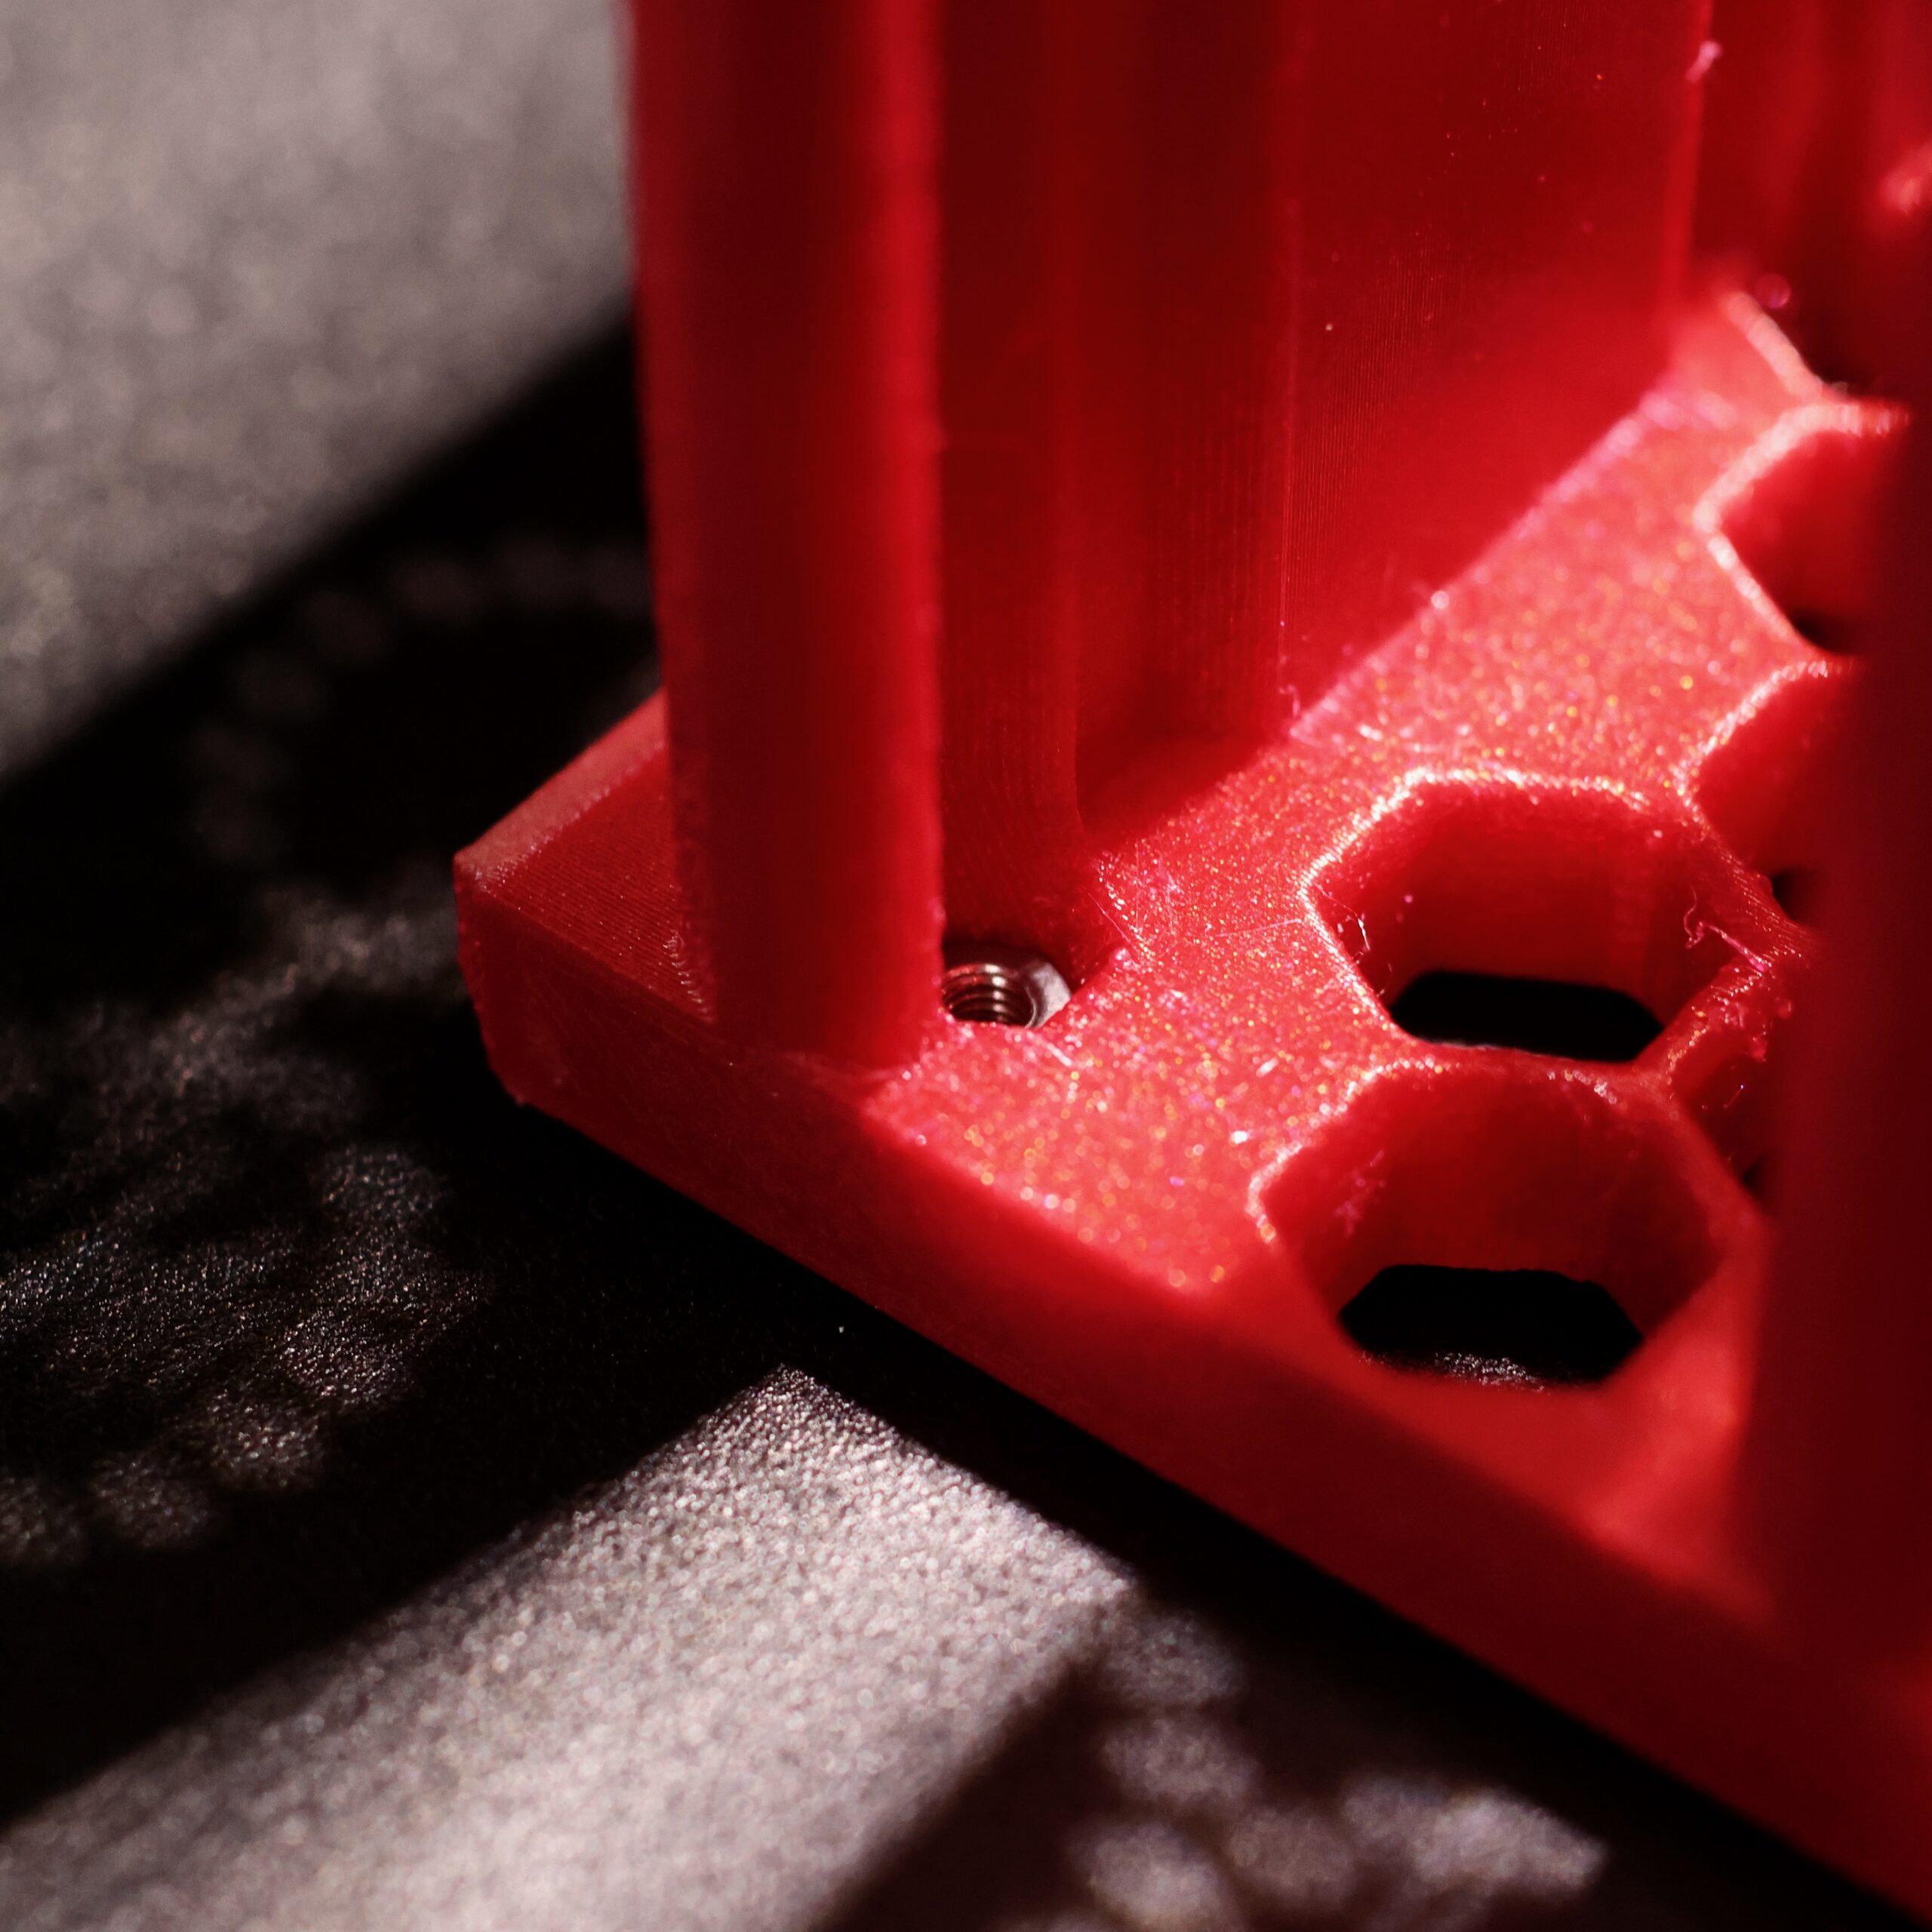
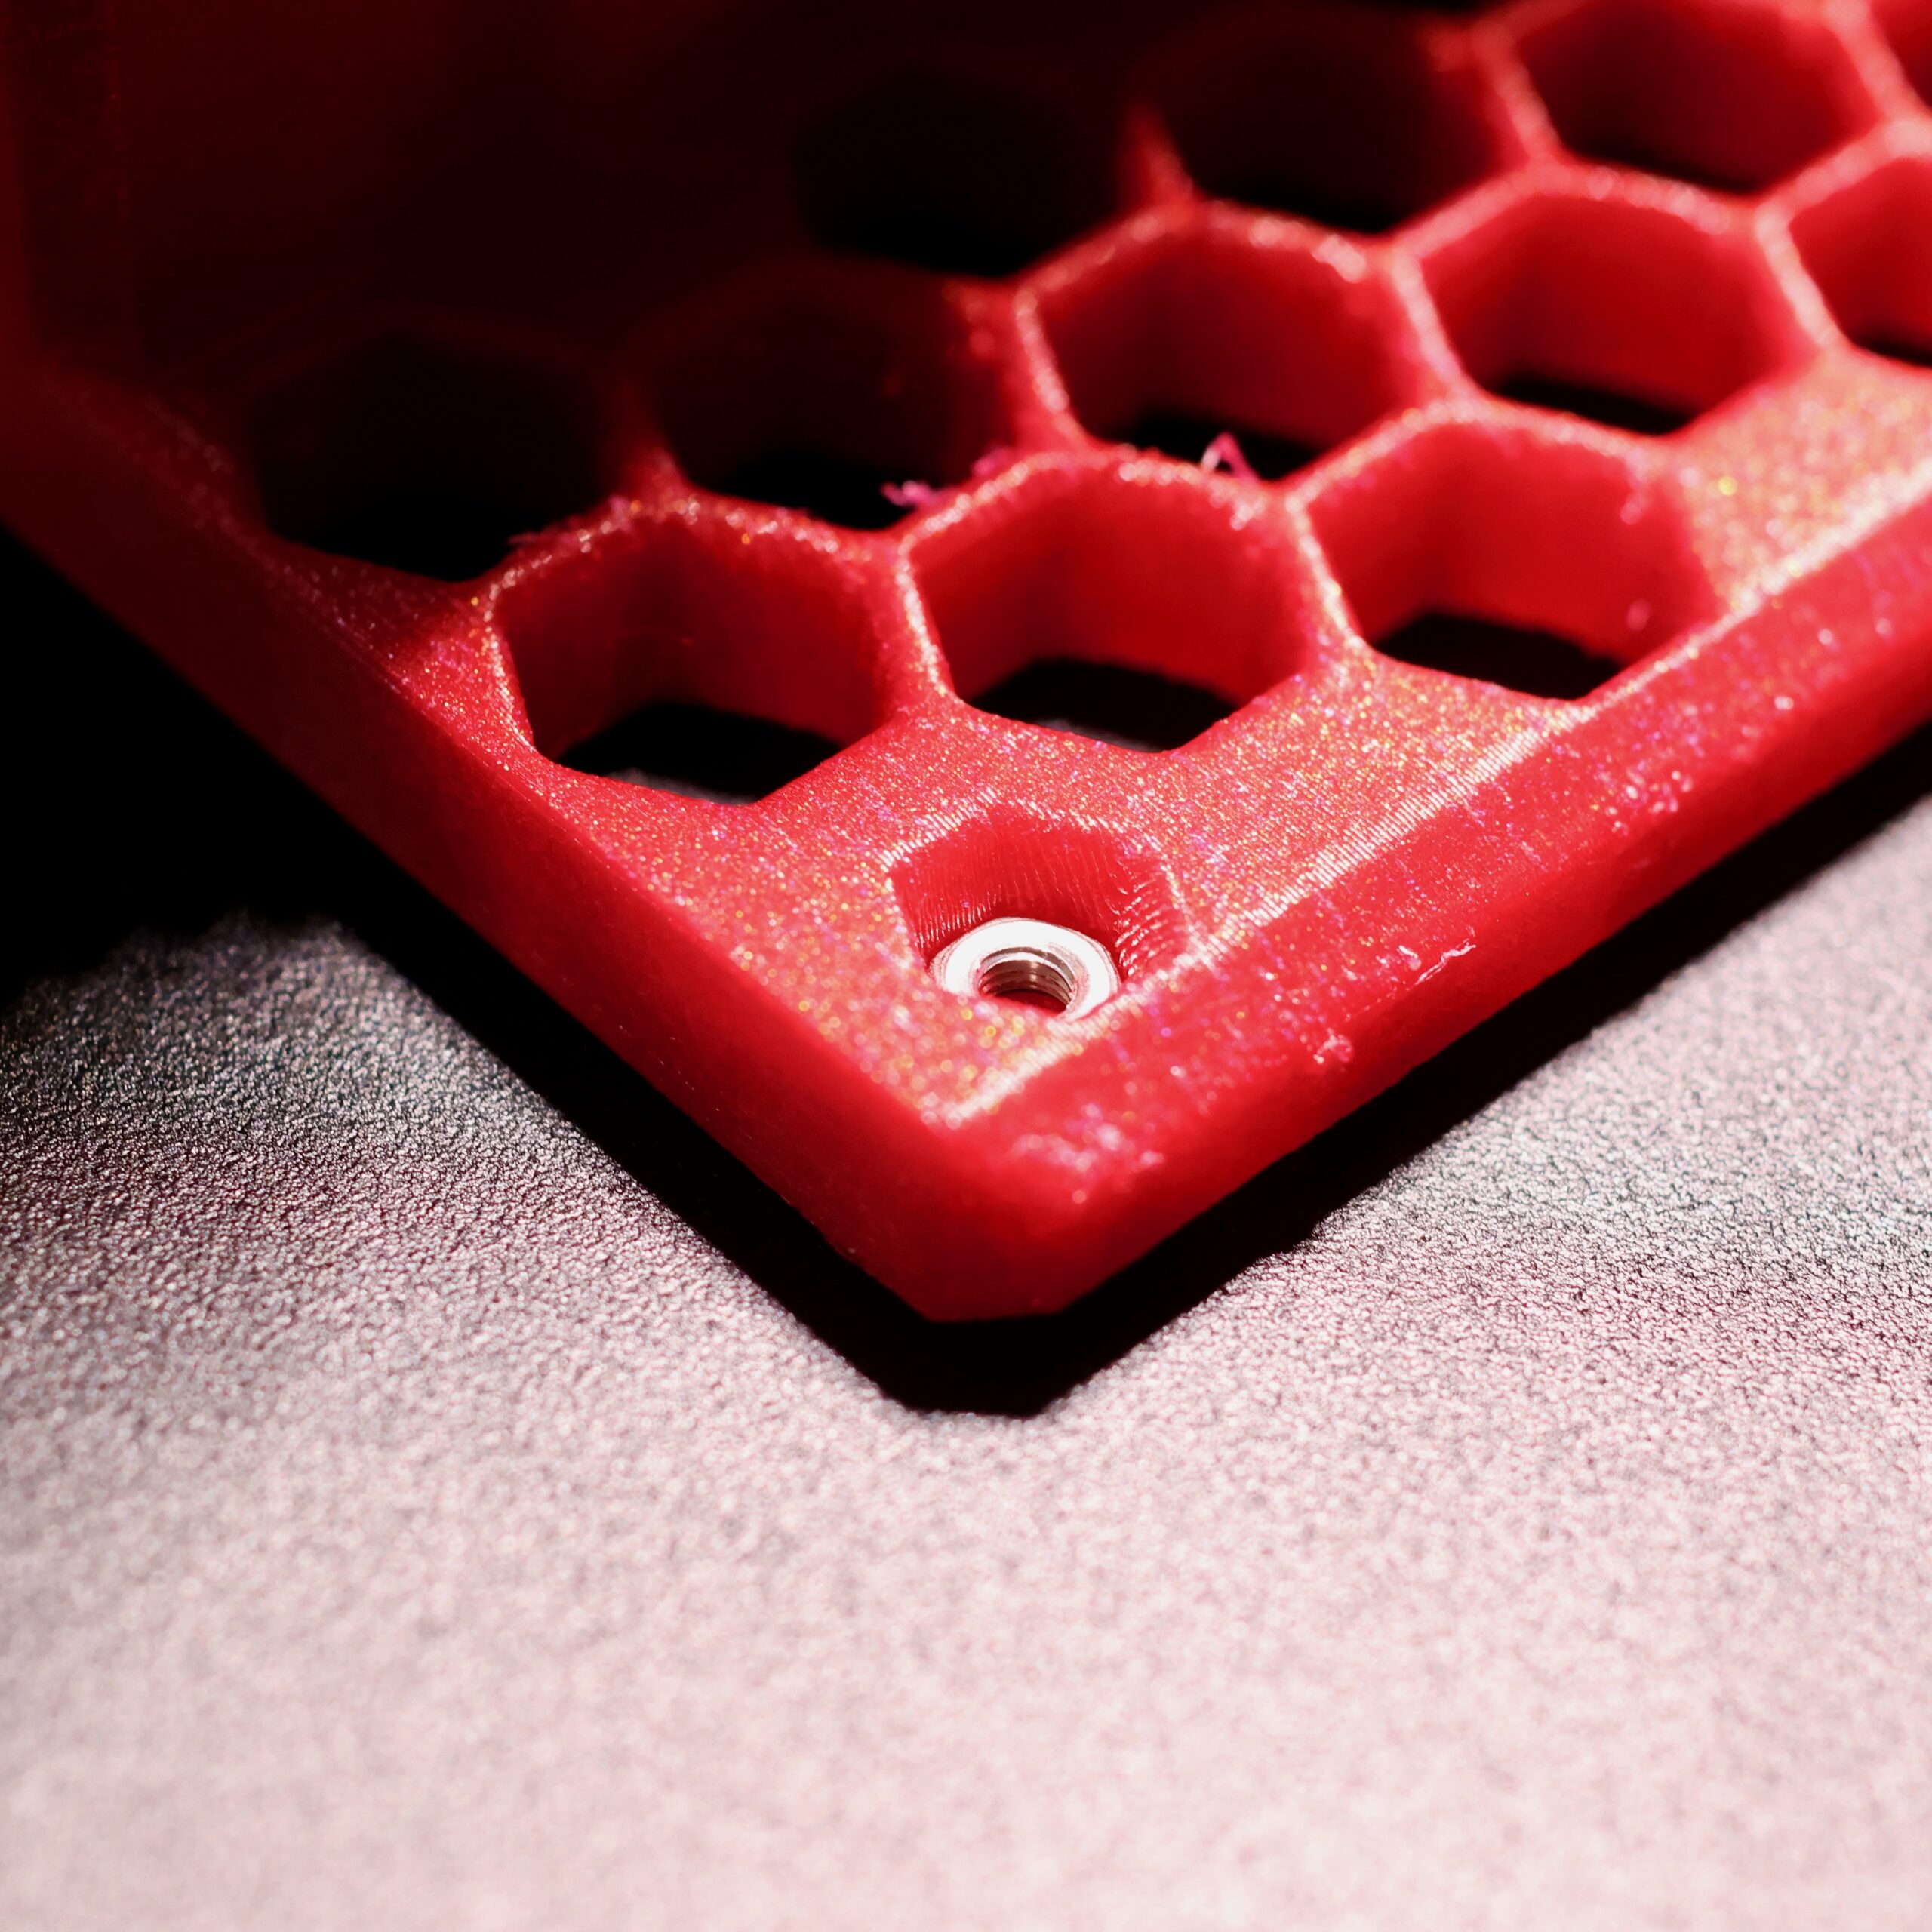

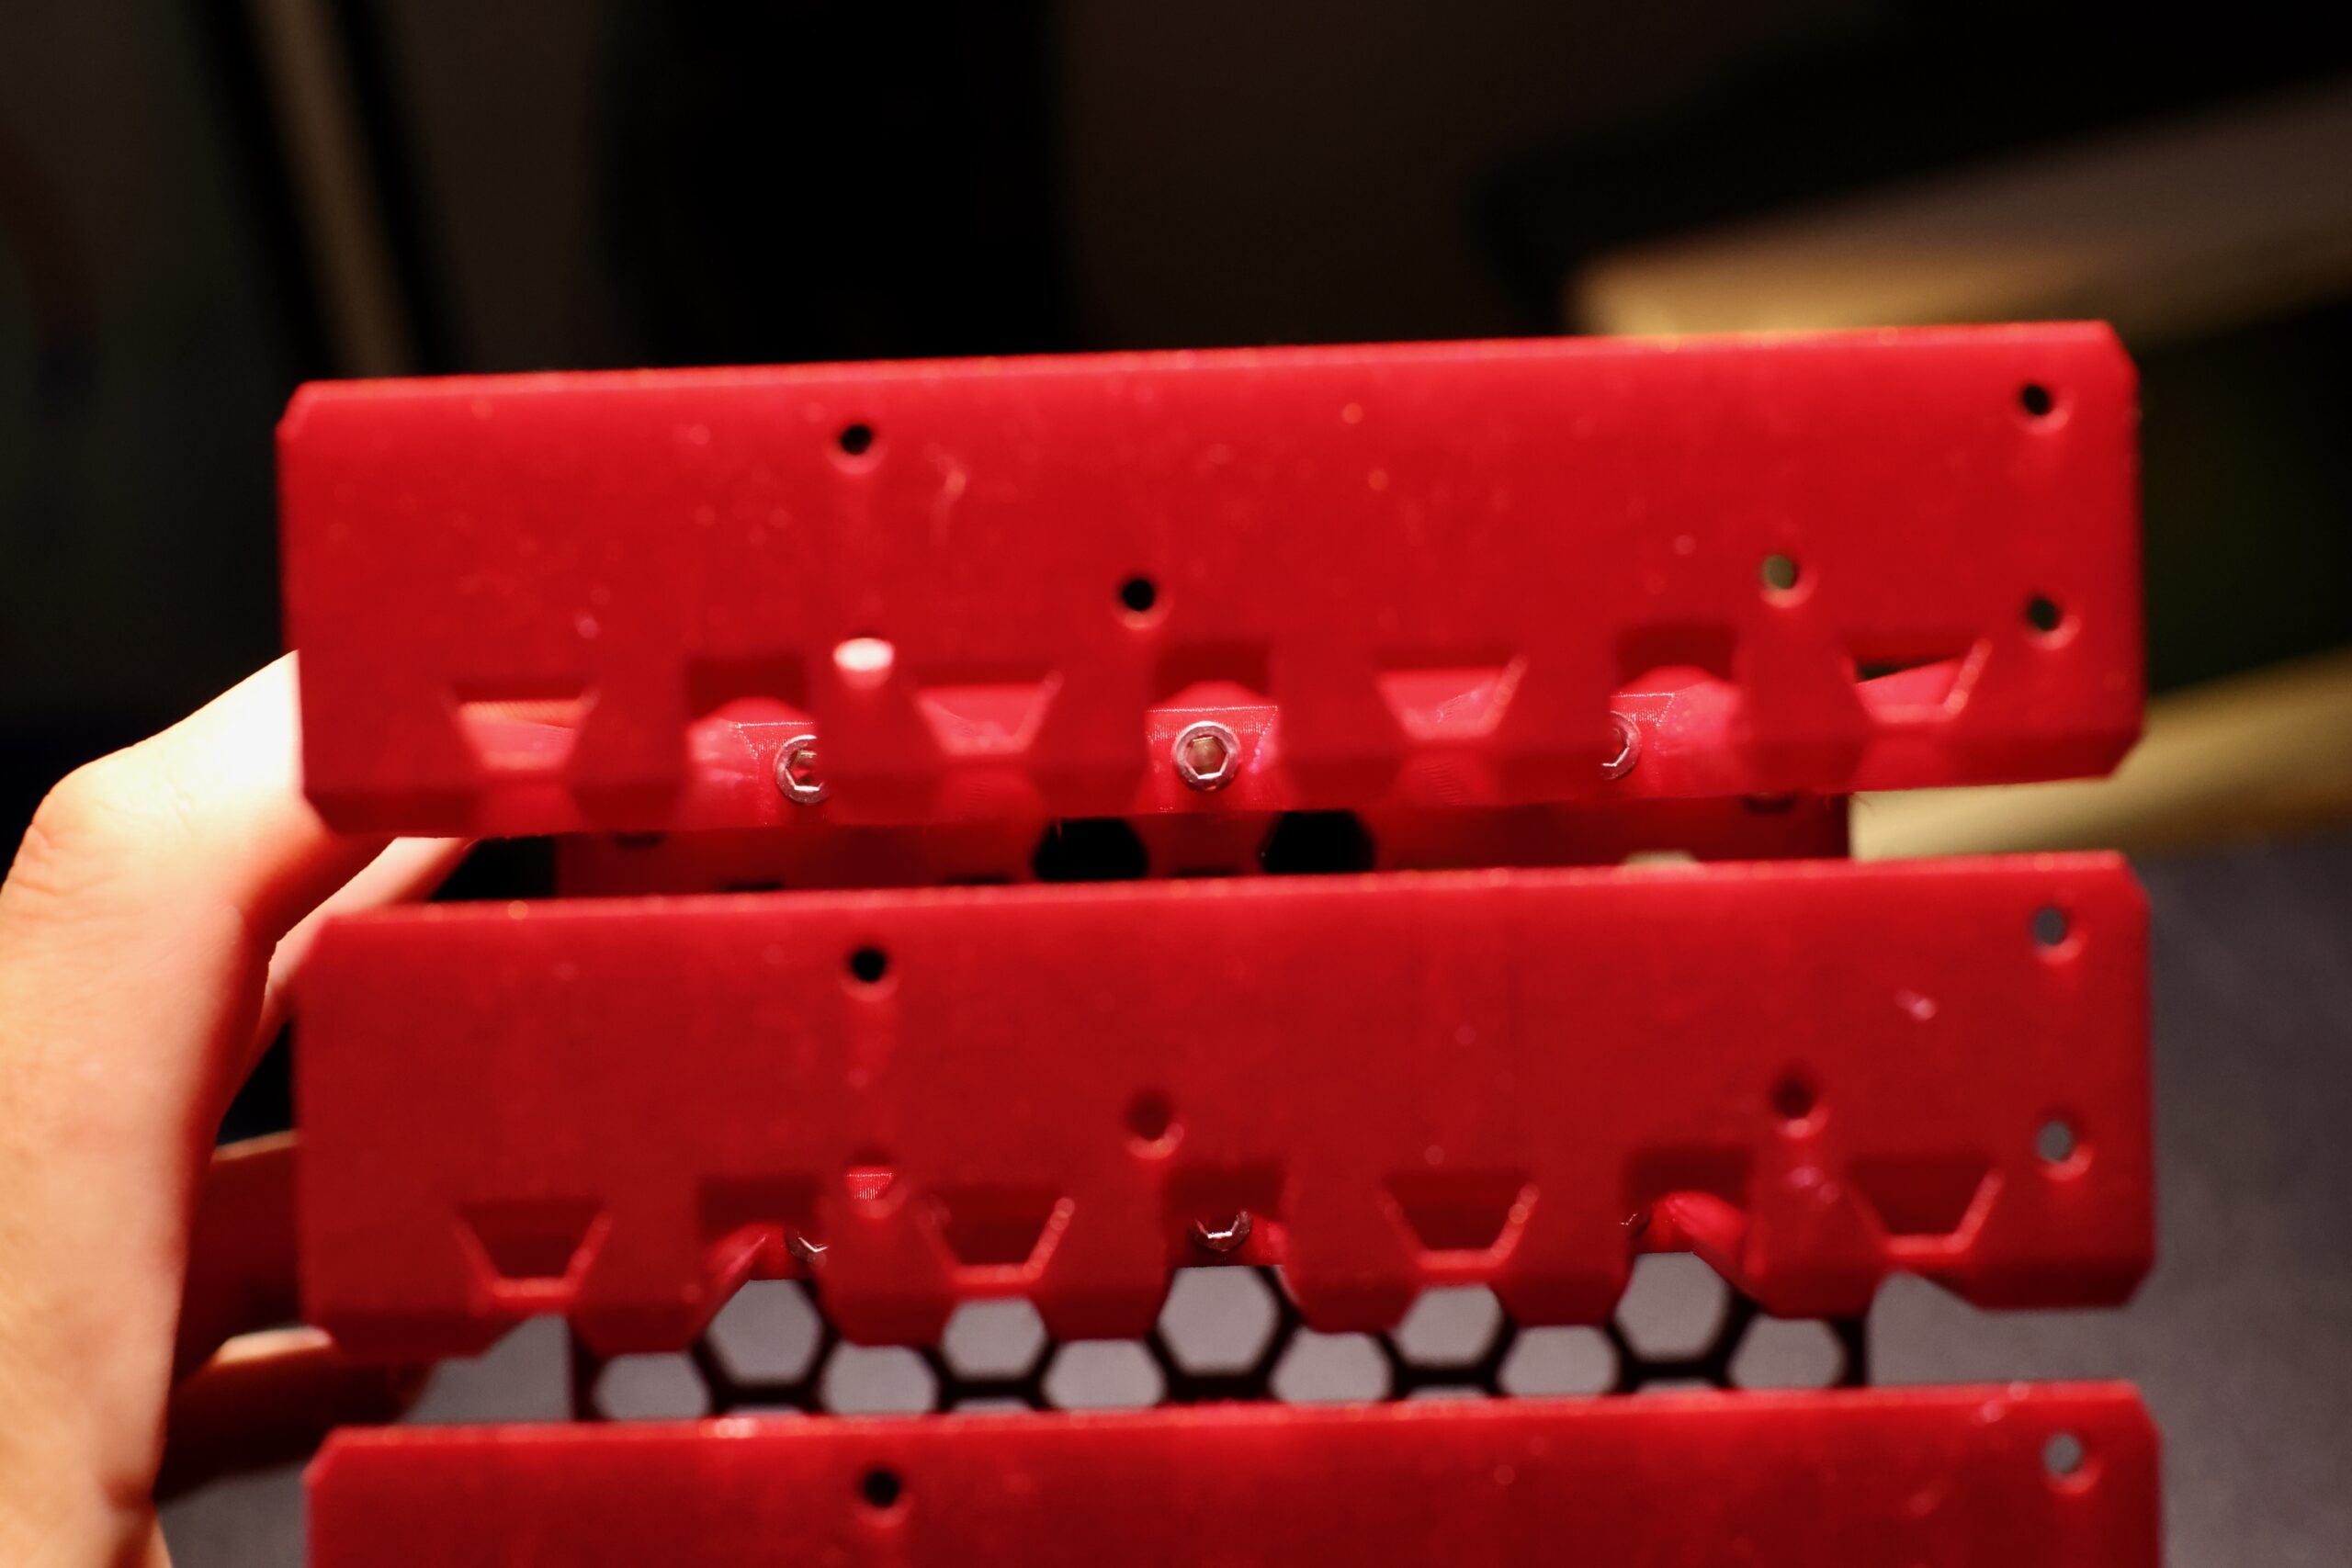
Three M3x70mm bolts are used per shelf to increase the rigidity of the part, hopefully preventing creep over time.
You can download the printable parts for the drive shelf on printables.
The BOM for this assembly is just the mechanical hardware used:
- 9x M3x70mm bolts as previously discussed.
- 4x M3x40mm bolts secure the assembly to the fan through the outer wall of the chassis.
- 13x M3 nuts mate with the M3 bolts.
Countersunk M3 might make things more flush, but I didn’t have any of these in stock.
Breadboard Mount
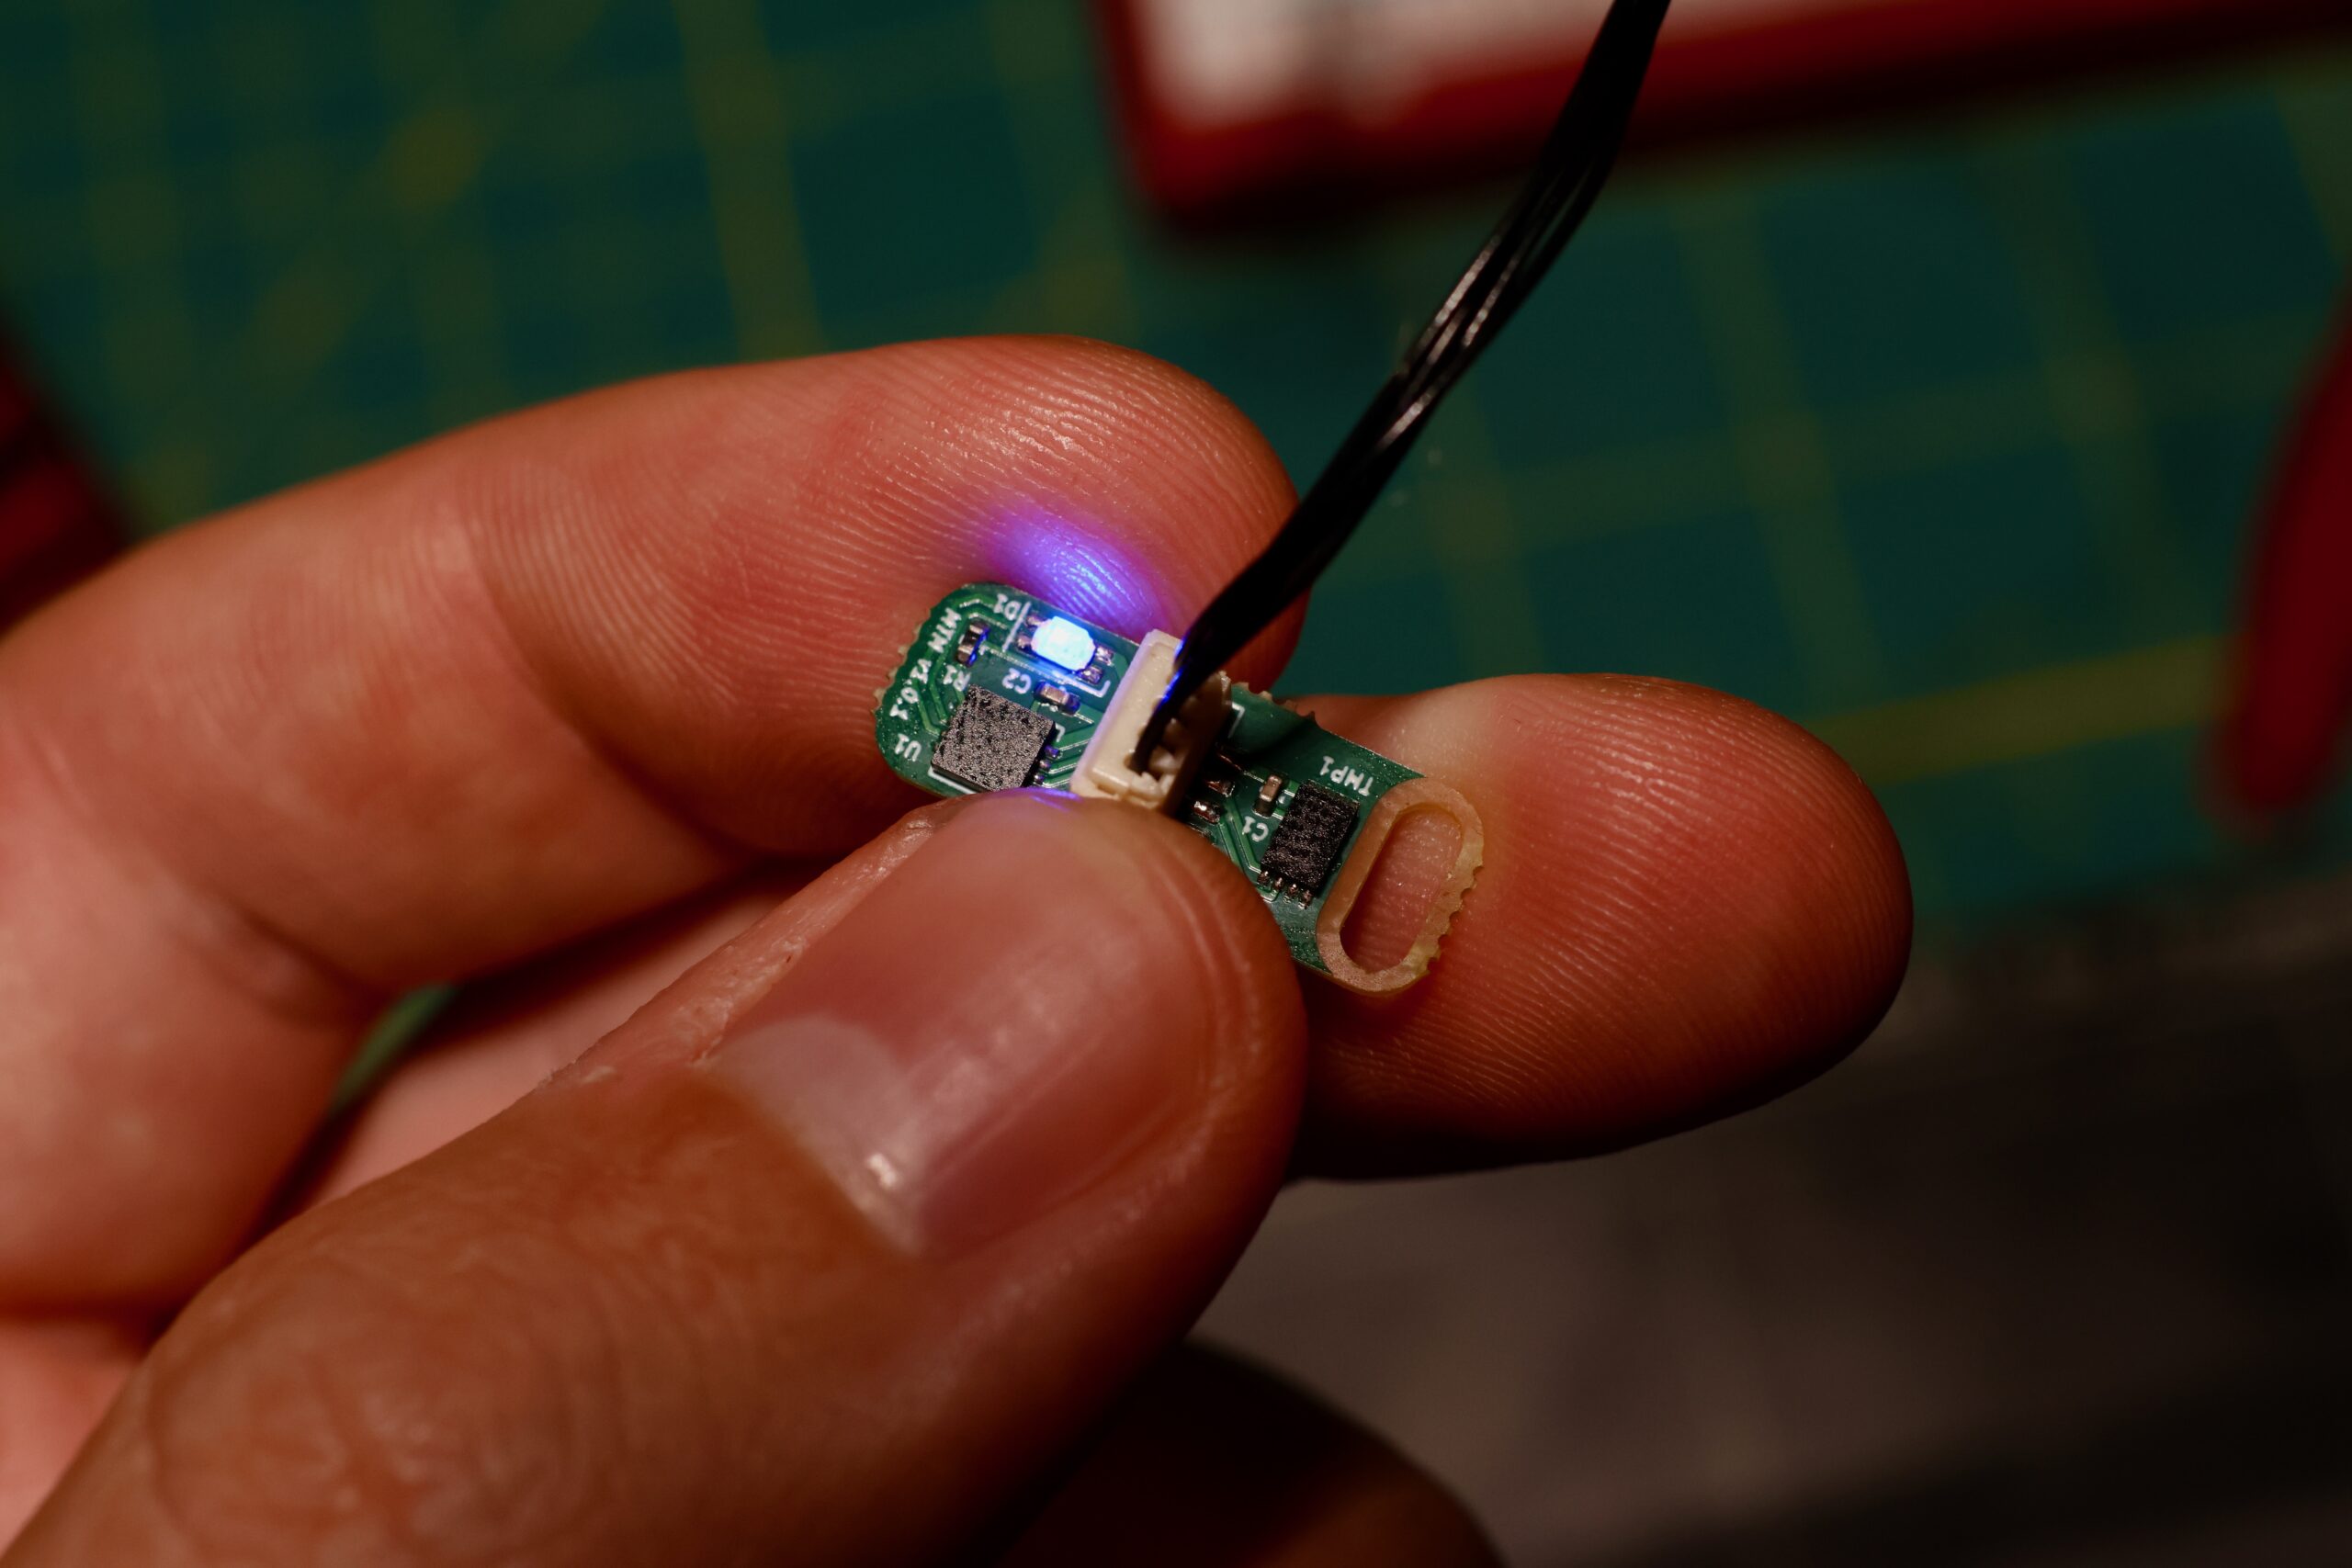
This mounts a pair of standard breadboards to the hard drive tray using 9x M3x10mm bolts. The circuit on this breadboard is going to be used to for developement of a follow up to the tesla cooler project. If you’re interested in that upcoming work, subscribe to the blog.

You can download the printable parts for the breadboard mount on printables.
Conclusions and Future Work

This build is now approaching a “perfect” system for me. It’s my everything box: NAS, virtualization host, main development machine etc. Ease and simplicity of having everything in one place has overpowered my instinctual tendencies to hoard gear. Sliger CX4200A will hopefully house the build for the rest of its existence.
Flying a breadboard like this forever isn’t going to work out. Obviously as that project moves along, I’ll end up taking the breadboard out. One could probably fit a few more drives in the space where the breadboard is installed but that’s a project for another day.
Sliger CX4200A for a 4x Tesla P100 Ollama Build?
For a while I’ve been accumulating parts to do a 4x Tesla P100 build for use with Ollama. LLMs have become a part of my workflow for both professionally and personally across a wide range of subjects.
In the same way that the default chamfer profile in solidworks has ended up in so much of my work, LLMs are absolutely going to start impacting my creative output. The prospect of openai being able to change how these systems work without my knowledge is spooky, especially midway through projects.
Additionally, I would love to be able to surface all of my writings: engineering notebooks, blog posts, memos and technical documents from work, emails, tweets, school papers, even facebook messages to an LLM so it can learn my voice. It is shattering to think about what fraction of my correspondences with people (including myself) are ripening on the vine, ready to be consumed by an LLM.
No one should be comfortable with this amount of personality capture being trusted in the hands of any company, but for me the prospect of being able to do this locally is just too good to ignore.
Unless something changes, I’ll likely use Sliger CX4200A for that project. I’ve verified that mechanically it can support the four GPUs. The three 120mm fans in the front should provide enough intake air for the coolers I’ll be installing on the cards. Plus now I have the design for the exhaust fans, adding even more airflow.